
We have all been there. You reach into the back of your closet, pull out your absolute favorite pair of rugged, perfectly faded jeans, and pull them up only to discover… they will not button. Whether it was an accidental trip through a high-heat dryer cycle, a little holiday weight fluctuation, or a spectacular vintage thrift store find that is just one inch too snug, a tight waistband is a universal frustration.
As frugal DIYers, handy parents, and budget-savvy upcyclers, our first instinct should never be to toss perfectly good clothing into the donation bin—or worse, the trash. Replacing high-quality denim can easily cost anywhere from $50 to $150. Why spend that hard-earned cash when you can use a little crafty ingenuity to solve the problem for exactly $0.00?
Welcome to the ultimate guide to rescuing your tight jeans. Today, we are diving deep into the resourceful world of no-sew clothing hacks. You do not need a sewing machine, you do not need to know how to thread a needle, and you certainly do not need to pay a professional tailor. Armed with everyday household items and a bit of practical know-how, you are about to learn how to add up to two inches of breathing room to your waistband in mere seconds.
The Anatomy of a Shrinking Waistband: Why Denim Betrays Us
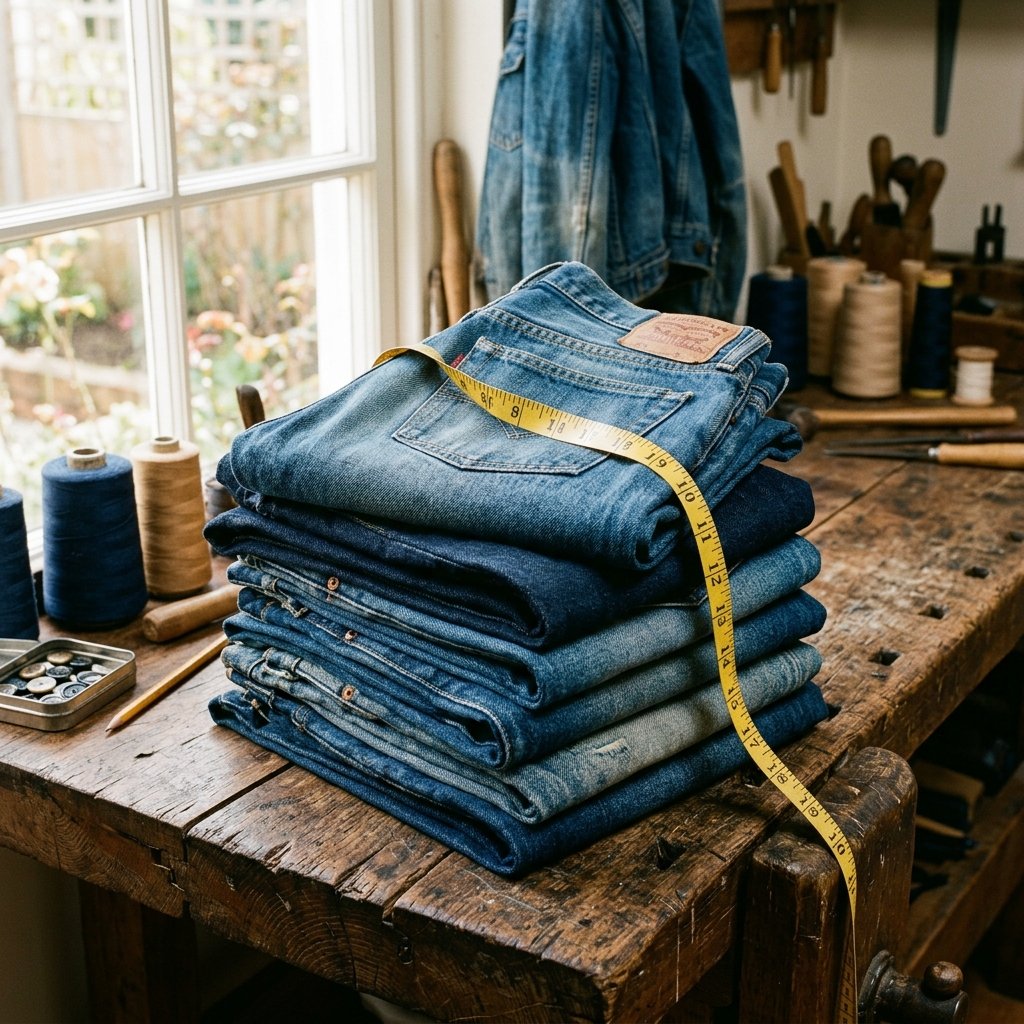
Before we execute our clever hacks, it is crucial to understand the material we are working with. Denim is a sturdy cotton warp-faced textile. Historically, it was designed for rugged workwear, built to withstand the harsh conditions of mining and farming. However, modern denim is often blended with synthetic elastane or polyester to provide stretch.
The problem arises in the wash cycle. Heat is the natural enemy of cotton fibers. When exposed to hot water or the high heat of a tumble dryer, the microscopic cotton fibers constrict and pull tightly together. The waistband, which is constructed with multiple layers of thick denim and heavy interfacing, shrinks aggressively and loses its mechanical stretch. This is why the legs of your jeans might feel fine, but the waist feels like a medieval torture device.
Store-Bought Solutions vs. The Frugal DIY Approach
Retailers are well aware of this problem, which is why they sell specialized “waistband extenders.” But why buy what you can engineer at home for free? Let us look at the financial breakdown of your options:
| Solution | Estimated Cost | Time Required | Skill Level Required |
|---|---|---|---|
| Professional Tailor Alteration | $30 – $50 | 1 to 2 Weeks | N/A (Outsourced) |
| Store-Bought Maternity/Waist Band | $15 – $25 | 10+ mins (Shopping) | None |
| The Hair Tie Hack (DIY) | $0.00 | 5 Seconds | Absolute Beginner |
| The Wet Stretch Method (DIY) | $0.00 | 30 Minutes | Beginner |
As the table clearly shows, utilizing our crafty-expert methods keeps your budget intact while providing immediate results.
The “Grandma’s Secret” Hair Tie Hack: The 5-Second Fix
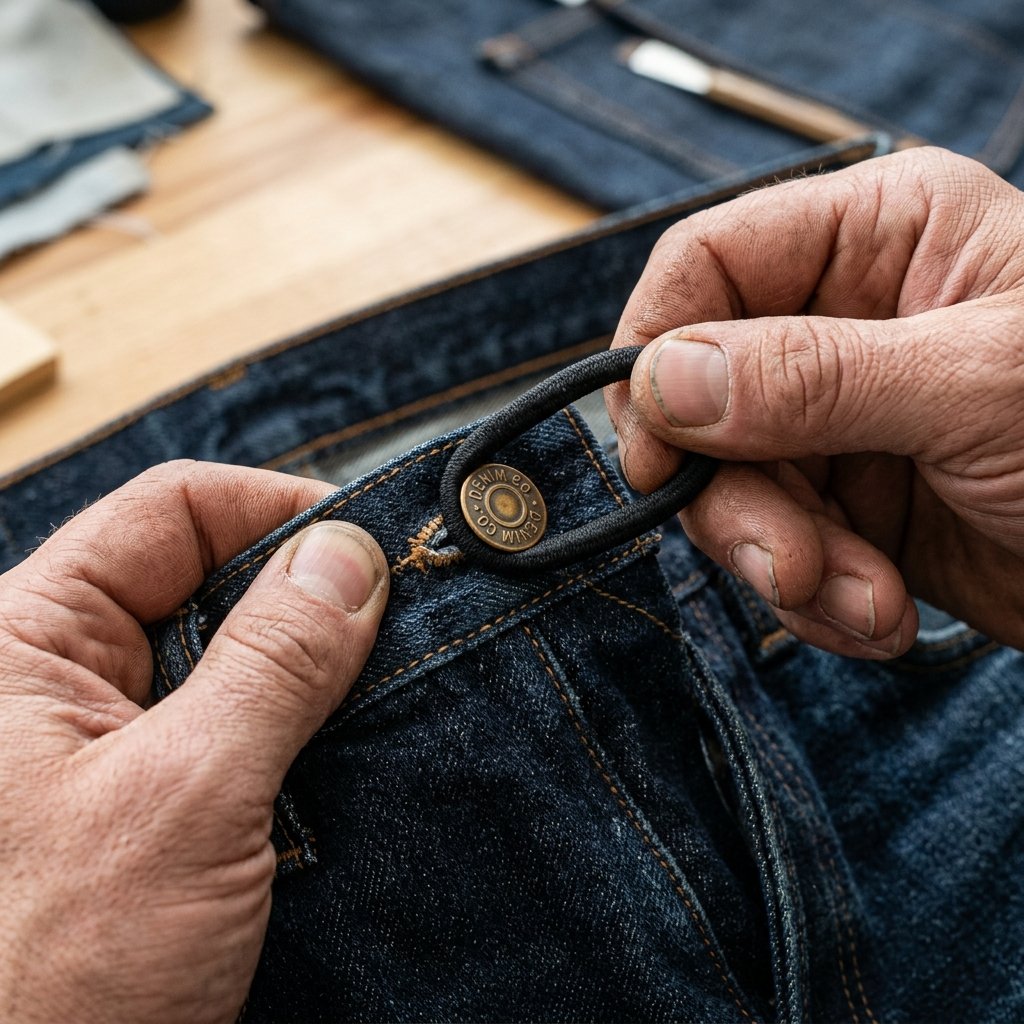
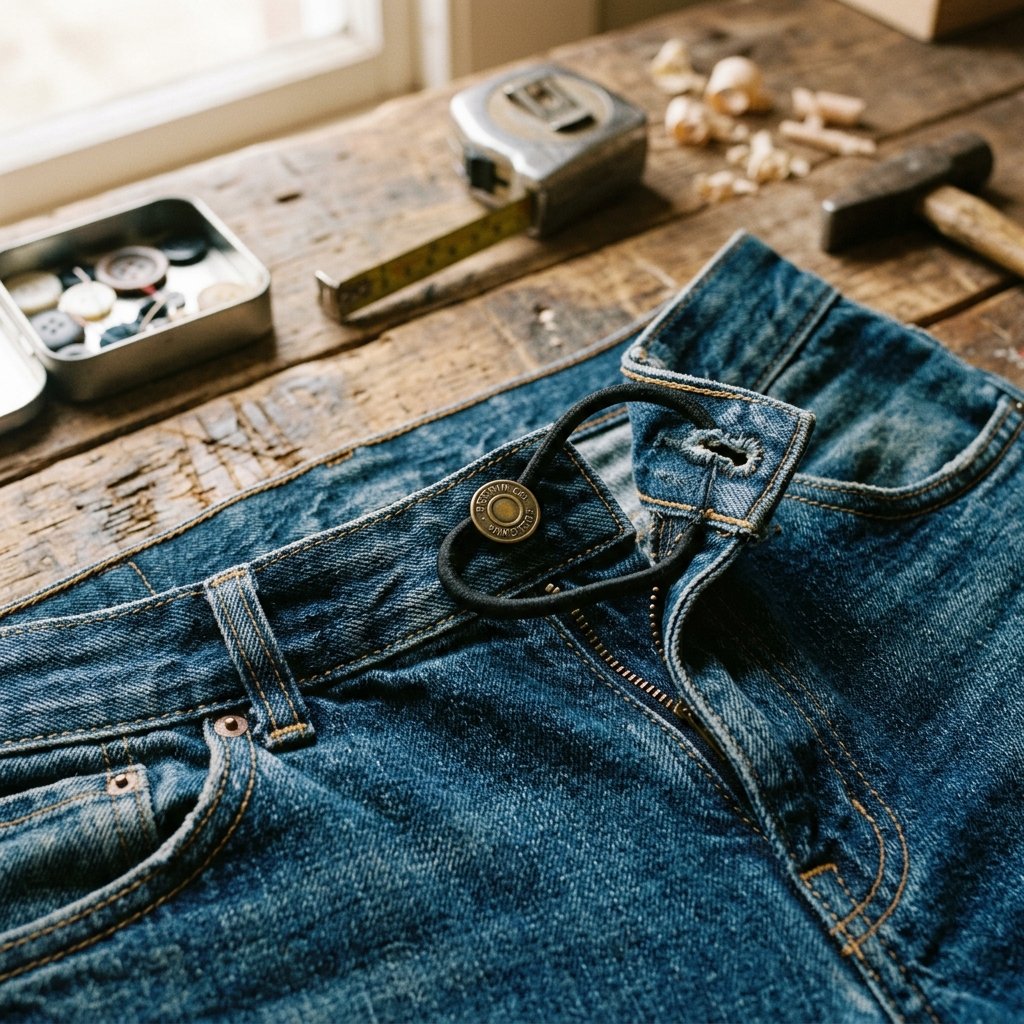
This is the holy grail of quick, practical clothing hacks. It is an old-school trick utilized by budget brides, resourceful moms, and clever gentlemen who need a quick fix after a hearty Thanksgiving dinner. It requires zero tools, zero sewing, and exactly one item you likely already have lying around the house: a sturdy elastic hair tie or a thick rubber band.
Step-by-Step Instructions for the Hair Tie Hack
- Locate the Perfect Elastic: Find a strong, thick elastic hair tie. Avoid thin rubber bands that might snap under pressure. For a stealthy look, choose a color that matches your denim (navy, black, or dark blue).
- Thread the Loop: Push one end of the hair tie through the buttonhole on your jeans from the outside in.
- Create the Knot: Take the end of the hair tie that is now inside the waistband and feed it through the loop of the other end (the part still on the outside). Pull it tight to create a secure slipknot anchored to the buttonhole.
- Secure the Button: You now have an elastic loop extending from your buttonhole. Simply pull this loop across the gap and hook it over the metal button on the opposite side of the waistband.
- Conceal and Go: Zip up the jeans as far as they will go. The elastic bridge will give you an extra 1 to 2 inches of comfortable stretch. Simply wear a slightly longer shirt, a chunky sweater, or a stylish belt over the top to completely hide the clever mechanics underneath.
“The best DIYs are the ones that solve a daily frustration in under ten seconds without spending a dime. The hair tie hack is the ultimate testament to frugal ingenuity.”
The Wet Stretch Method: Permanent Resizing Without Needles
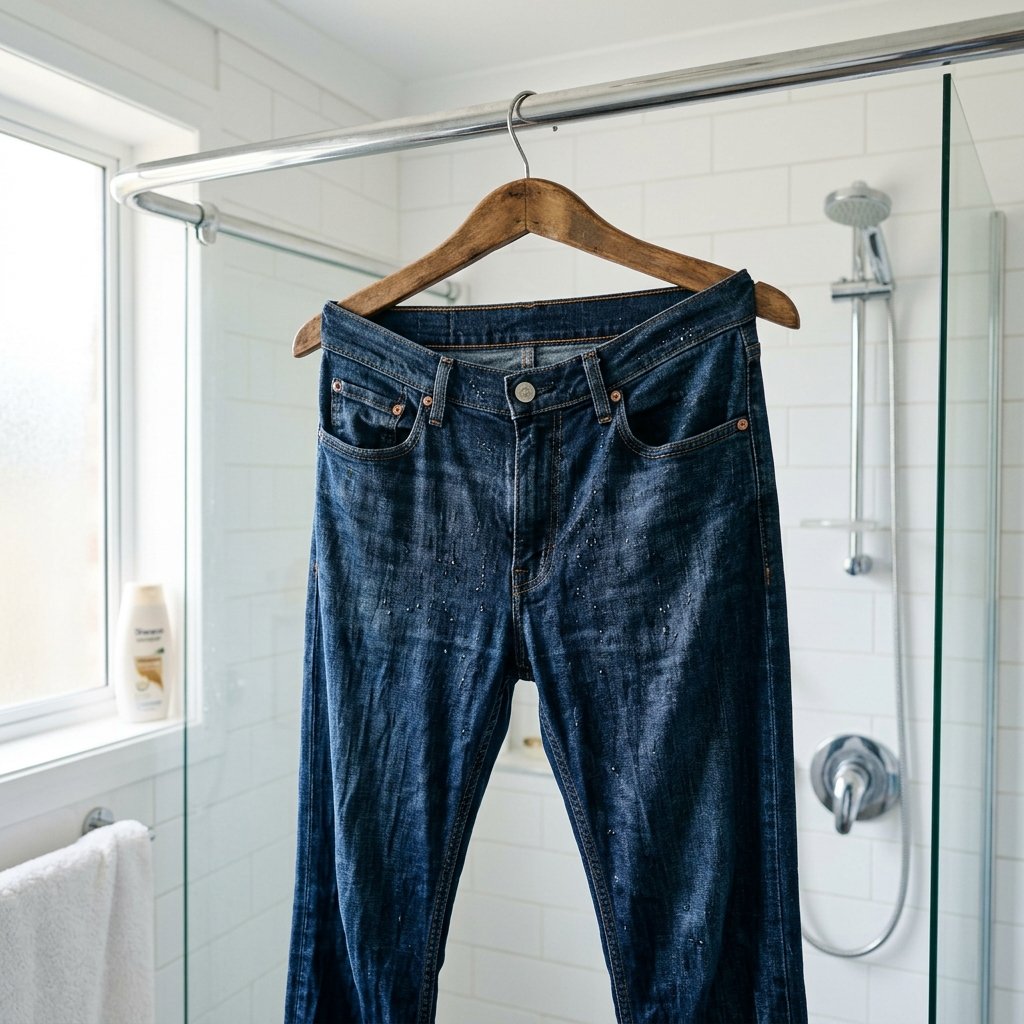
While the hair tie hack is brilliant for temporary relief, what if you want a permanent solution? If you have scored a rugged pair of vintage Levi’s that are just a fraction too tight, you can manipulate the cotton fibers using the Wet Stretch Method. This technique is favored by denim purists and thrifty upcyclers alike.
Safety Note: This method requires warm water and physical stretching. Be cautious not to use boiling water, which can burn your hands and damage synthetic fibers in stretch denim. Always pull evenly to avoid popping the metal rivets.
How to Execute the Wet Stretch
This method relies on the principle that wet cotton fibers are malleable and can be reshaped before they dry and lock into their new position.
- Step 1: The Soak. Fill a spray bottle with lukewarm water. For extra stubborn denim, add one teaspoon of gentle baby shampoo or hair conditioner. The conditioner acts as a fabric relaxant, lubricating the tightly wound cotton yarns.
- Step 2: Saturate the Waistband. Lay your jeans flat on a clean, waterproof surface. Generously spray the entire waistband—both the inside and the outside—until it is thoroughly damp but not dripping wet. Focus heavily on the side seams and the back of the waist.
- Step 3: The Physical Stretch. Unbutton the jeans. Stand on one side of the waistband with your bare feet (or heavy boots) to anchor it to the floor. Grab the opposite side of the waistband with both hands and pull upward with steady, firm, and rugged force. You are manually forcing the fibers to expand. Do this across the entire circumference of the waist.
- Step 4: The Hanger Lock. Once you have stretched the fabric, you need to lock it in place while it dries. Grab a sturdy wooden coat hanger (or a custom-cut piece of scrap wood if you are feeling exceptionally crafty). Force the hanger inside the buttoned waistband so that it holds the jeans under extreme tension.
- Step 5: Air Dry. Leave the jeans to air dry completely in a well-ventilated room. Do not put them in the dryer, or you will reverse all your hard work! Once dry, remove the hanger. You should now have up to 1.5 inches of permanent new space.
DIY No-Sew Fabric Extenders: For a More Polished Look
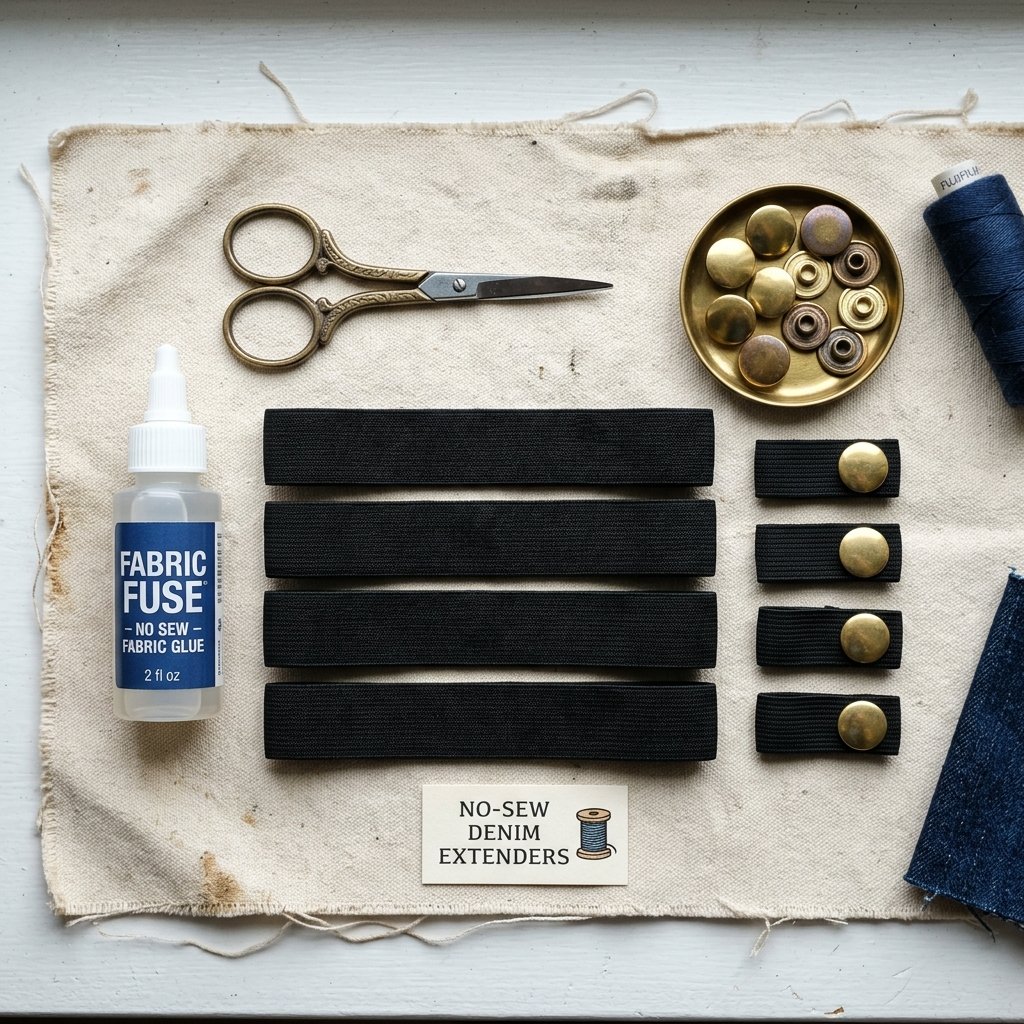
If the hair tie hack feels a bit too temporary and the wet stretch method isn’t suitable for your fabric type, you can craft a custom, reusable no-sew waistband extender. This is a fantastic mini-project for handy parents looking to extend the life of their kids’ rapidly outgrown clothes, or for anyone wanting a more polished, masculine-elegant fix.
Materials Needed for Your Custom Extender
- A spare denim button (often found in the little plastic bag attached to the tags of new jeans, or salvaged from a ruined pair).
- A small strip of heavy-duty elastic (about 2 inches long).
- No-sew fabric glue (like Dritz or Tear Mender) OR two heavy-duty safety pins.
- A small piece of scrap denim or sturdy canvas.
Assembly Instructions
Cut your heavy-duty elastic into a 2-inch strip. Take your scrap denim and fold it over the elastic, leaving half an inch of elastic exposed on one end. Use your fabric glue to secure the denim tightly around the elastic, creating a sturdy base. Allow it to cure for the recommended time (usually 24 hours).
Once dry, use a sharp pair of craft scissors to cut a small slit (a buttonhole) into the exposed denim end of your new extender. On the exposed elastic end, glue or safety-pin your spare denim button. You have just created a custom, rugged bridge! To use it, simply push the button of your jeans through the buttonhole of your extender, and push the button of your extender through the buttonhole of your jeans. It is a brilliant, zero-waste upcycling triumph.
Fabric Compatibility & Troubleshooting Guide
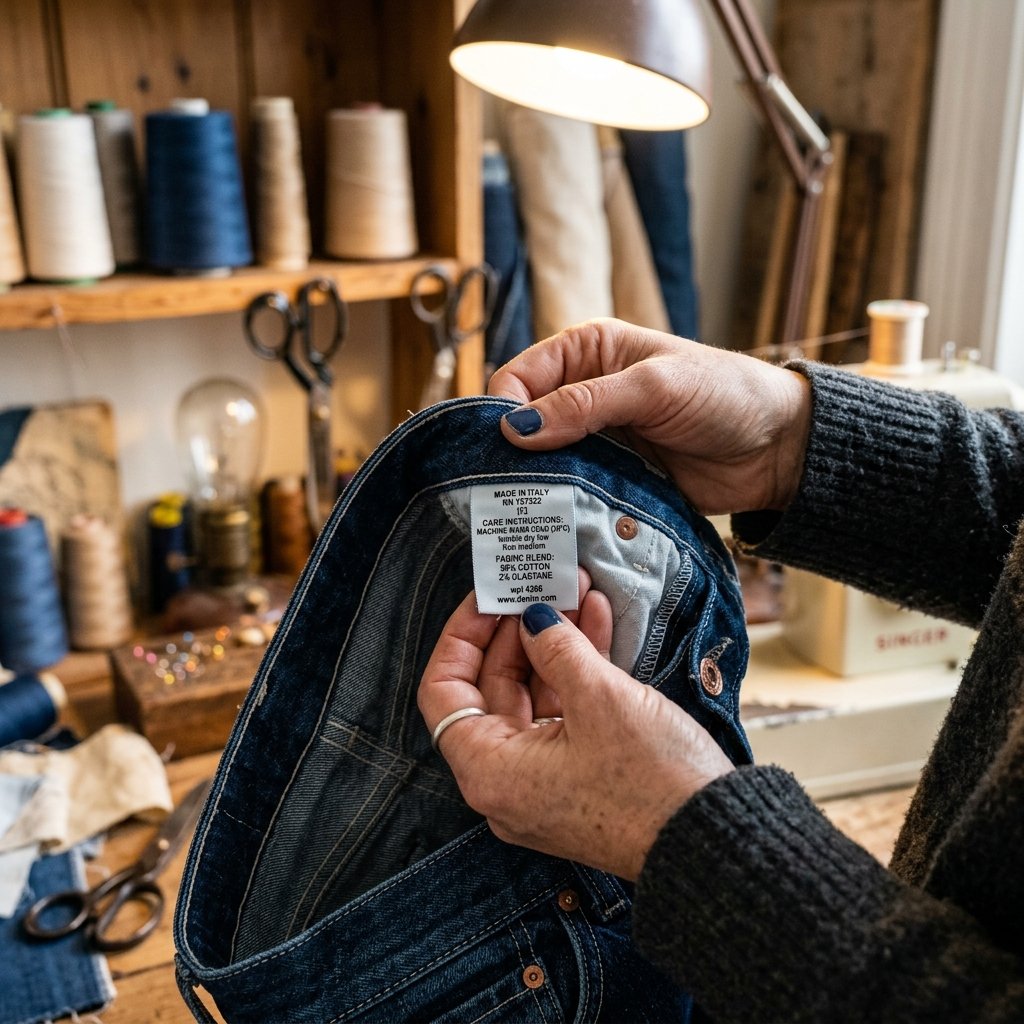
Not all denim is created equal. Before you start stretching and pulling, it is vital to check the care label inside your jeans. Applying the wrong technique to the wrong fabric blend can result in warped seams or ruined elasticity. As a savvy upcycler, knowing your materials is half the battle.
| Fabric Blend | Characteristics & Stretch Potential | Best No-Sew Resizing Method |
|---|---|---|
| 100% Cotton (Rigid Denim) | Heavy, durable, no built-in stretch. Can be permanently reshaped. Stretch potential: Up to 1.5 inches. | Wet Stretch + Hanger Technique |
| 98% Cotton / 2% Elastane | Softer, features mechanical stretch. Rebounds easily. Stretch potential: Up to 2 inches (temporary). | The Hair Tie Hack or Gentle Wear-Stretch |
| Poly-Cotton Blends | Highly resistant to stretching. Fibers are locked in place. Stretch potential: Minimal (0.5 inch). | DIY No-Sew Fabric Extender |
Pro-Tips for Long-Term Maintenance
Once you have achieved the perfect fit using our crafty hacks, you want to maintain it. The golden rule for frugal denim care is to stop washing your jeans after every wear. Unless you have been rolling in mud or working with heavy machinery, denim only needs to be washed every 5 to 10 wears. Spot clean stains with a damp cloth and a drop of dish soap. When you absolutely must wash them, use cold water and line dry them. This prevents the heat-induced shrinkage that caused the tight waistband in the first place.
Conclusion
There is a profound sense of satisfaction that comes from solving a problem with your own two hands, especially when it saves you money and keeps perfectly good clothing out of the landfill. Whether you opt for the lightning-fast hair tie hack, the permanent wet stretch method, or you craft your own custom no-sew extender, you are taking control of your wardrobe in the most resourceful way possible.
Being a frugal DIYer isn’t just about cutting corners; it is about looking at everyday items and seeing their hidden potential. The next time you or a family member struggles with a stubbornly tight waistband, you will not panic or reach for your wallet. You will simply smile, grab a spray bottle or a spare hair elastic, and get to work. Stay crafty, stay budget-savvy, and wear those perfectly fitted jeans with pride!

Makenzie is the founder and lead writer at MoneyHackTips.com — a personal finance blog dedicated to delivering street-smart financial wisdom for real people on real budgets. With 300+ published articles covering everything from debt management to investing fundamentals, Makenzie’s mission is to make every dollar work harder. When not writing about money hacks, Makenzie is testing frugal living strategies, optimizing side hustles, and helping readers build financial freedom from scratch.