
If you are a handy parent, a frugal DIYer, or simply someone trying to survive a rainy afternoon with a highly energetic toddler, you already know the struggle. Keeping little hands occupied without resorting to screens is a daily battle. You have probably scrolled through social media and seen those gorgeous, high-end wooden Montessori busy boards. They are beautiful, they are educational, and they also cost upwards of $80 to $150. For a toy that your child might outgrow in a year, that price tag is enough to make any budget-savvy parent wince.
But here is the crafty expert secret: your toddler does not care about artisanal, sustainably sourced birchwood. Your toddler cares about pushing buttons, flicking switches, unzipping things, and making noise. They want tactile feedback, cause-and-effect challenges, and the thrill of playing with ‘forbidden’ adult items like door latches and keys. You can deliver all of this for exactly $0 using the ultimate upcycler’s canvas: the humble cardboard box.
“True resourcefulness isn’t about buying the best materials; it’s about looking at the trash in your recycling bin and seeing an afternoon of peace, quiet, and developmental play.”
In this comprehensive, rugged, and practical guide, we are going to dive deep into the art of building a heavy-duty cardboard sensory board. We will raid the garage, dig through the junk drawer, and upcycle everyday household scraps into a masterpiece of fine-motor-skill development. Grab your utility knife, fire up the hot glue gun, and let’s turn that leftover Amazon box into a toddler-taming treasure.
Why Pay Retail When You Can Upcycle? The Budget Breakdown
The True Cost of Toddler Entertainment
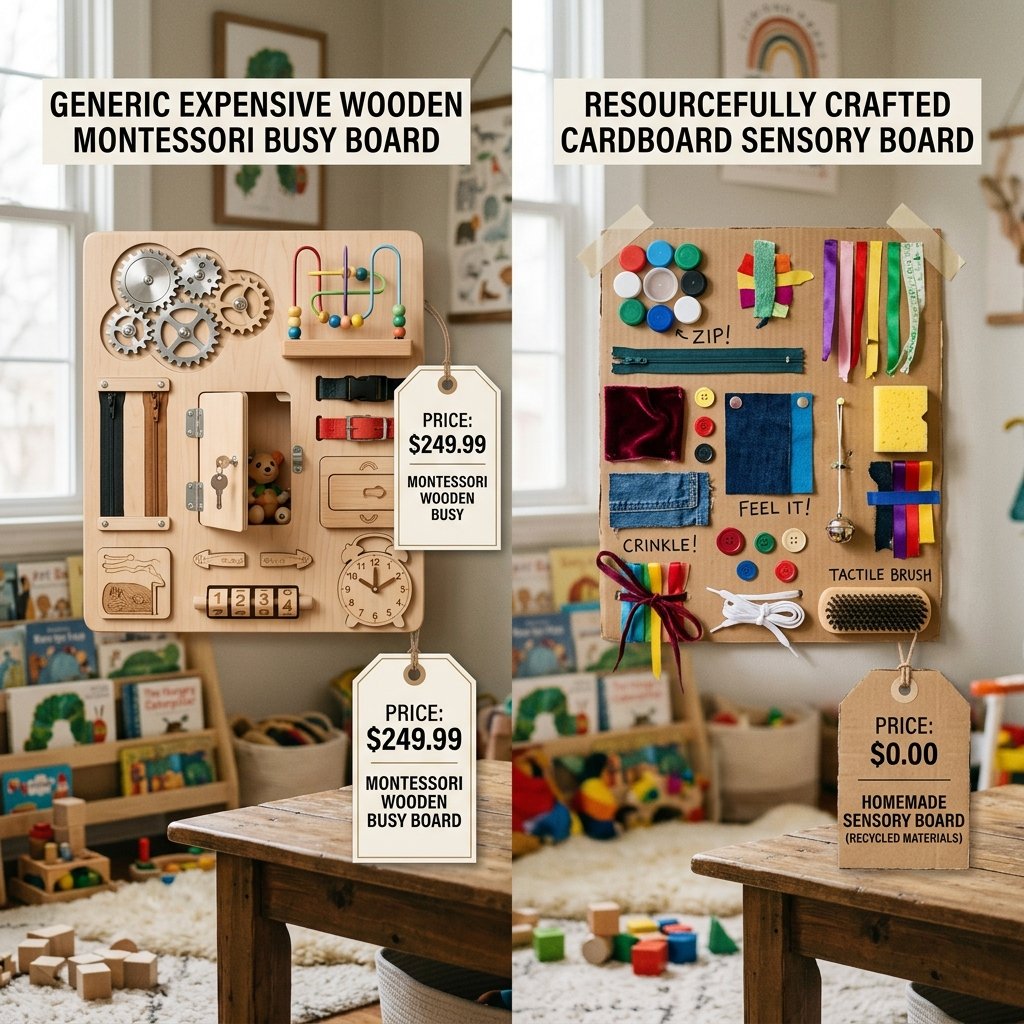
Before we start cutting cardboard, let us talk about the economics of toddler toys. The baby industry thrives on convincing parents that they need expensive, single-purpose gadgets for their children to hit developmental milestones. A sensory board (or busy board) is genuinely excellent for developing fine motor skills, hand-eye coordination, and problem-solving abilities. However, the mechanism of learning comes from the action, not the aesthetic.
By building your own board, you are not just saving money; you are creating a custom-tailored experience for your child. Does your kid love the sound of crinkling paper? Add more of it. Are they obsessed with buckles? Cut them off an old backpack. You have total creative control.
Store-Bought vs. Zero-Budget DIY Comparison
Let us look at the hard numbers. Below is a breakdown of what you would typically spend on a commercial board versus our resourceful, scavenged DIY approach.
| Toy Component / Feature | Store-Bought Busy Board Cost | Our Scavenged DIY Cost |
|---|---|---|
| Base / Foundation | $20 – $40 (Wood/Plastic) | $0 (Heavy-duty appliance box) |
| Hardware (Latches, Locks) | $15 – $25 (Pre-installed) | $0 (Spare parts from the garage) |
| Textiles & Zippers | $10 – $20 | $0 (Old clothes, carpet scraps) |
| Sensory/Auditory Items | $15 – $30 (Bells, beads) | $0 (Bottle caps, dried beans, old keys) |
| Total Estimated Cost | $60 – $115+ | $0 – $5 (Maybe buying zip ties) |
As you can see, the savings are massive. You are keeping 100% of your hard-earned cash in your wallet while keeping waste out of the landfill. That is a win for your budget and a win for the environment.
Scavenging the Garage and Junk Drawer: Gathering Your Materials
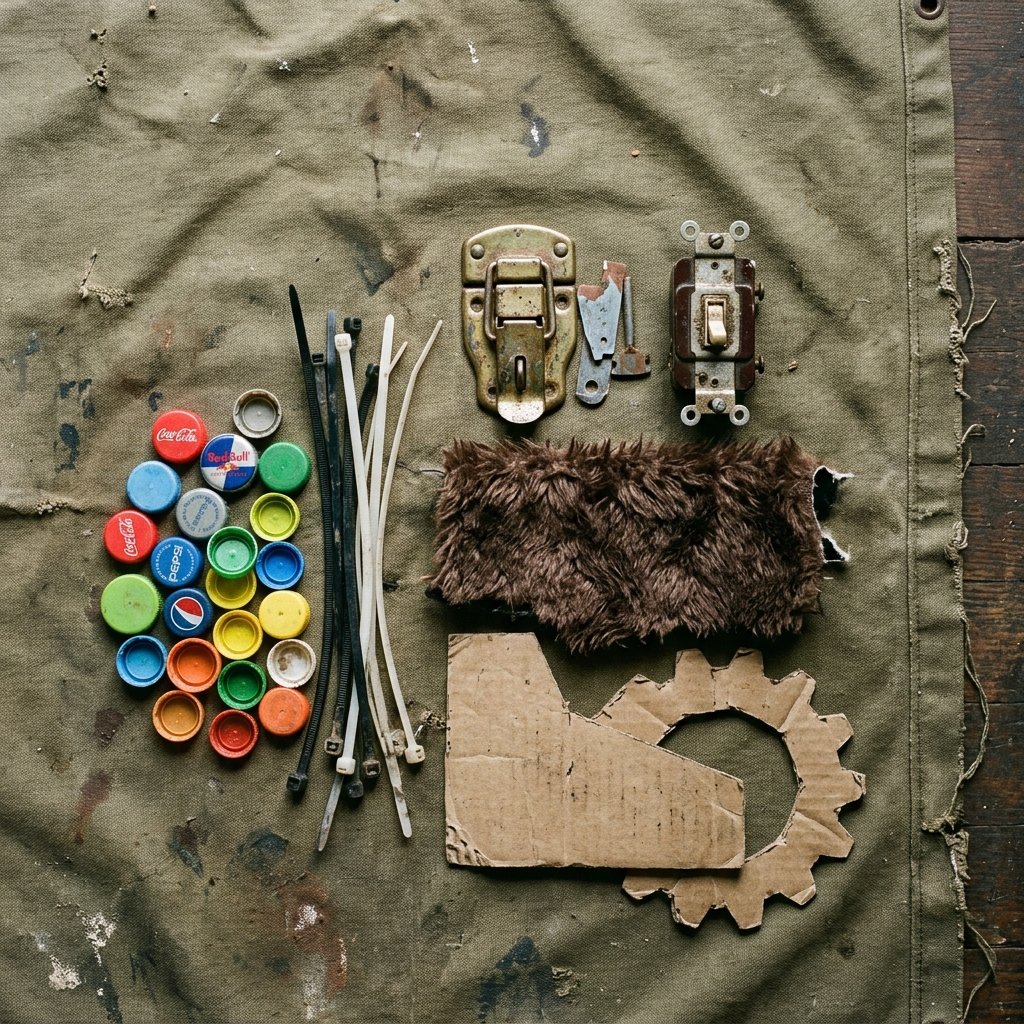
The Thrill of the Hunt
The best part of this project is the scavenger hunt. You do not need to make a trip to the craft store. Instead, you are going to take a rugged, masculine-elegant approach to foraging through your own home. You are looking for items that offer different textures (rough, smooth, squishy), different sounds (clicks, crinkles, rattles), and different mechanical actions (push, pull, slide).
The Ultimate Upcycler’s Materials List
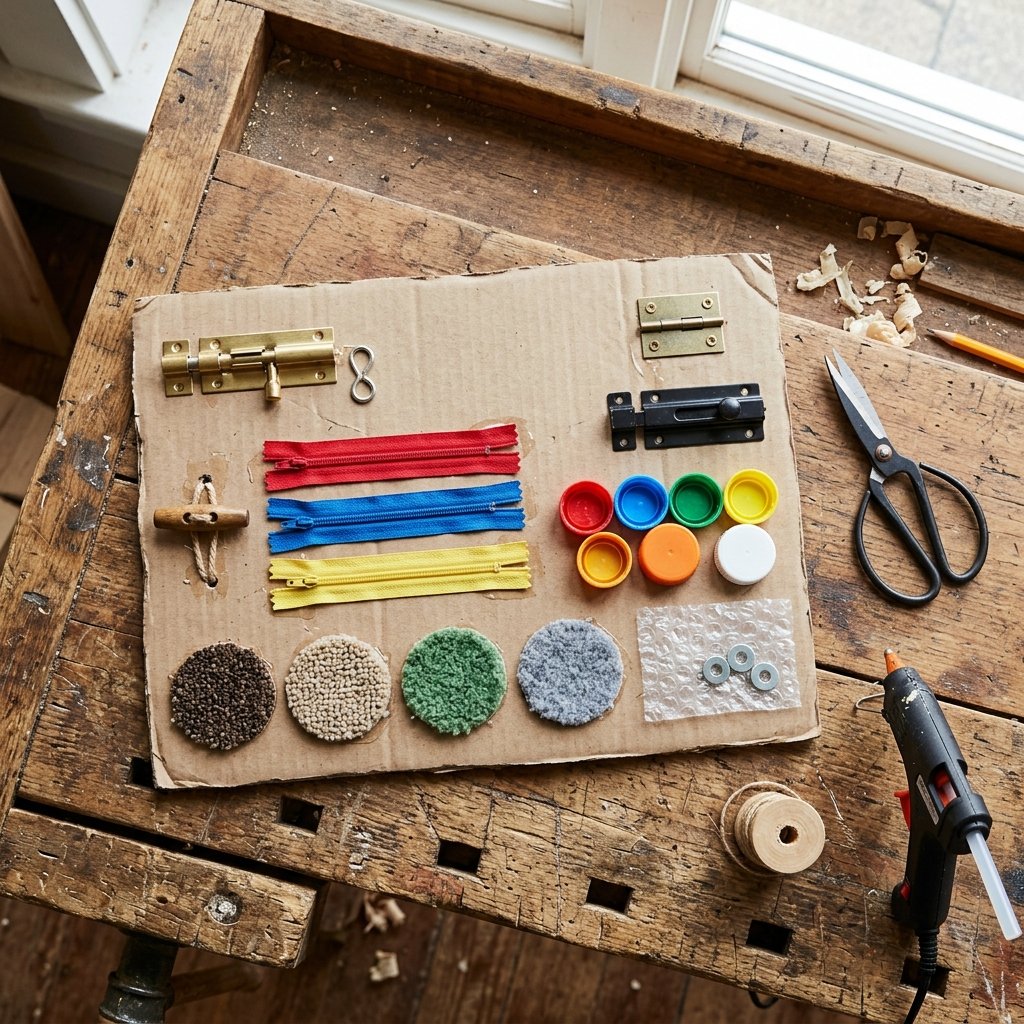
- The Foundation: You need heavy-duty, double-corrugated cardboard. Think TV boxes, appliance boxes, or thick shipping boxes. Flimsy cereal boxes will not survive a toddler’s wrath.
- The Hardware Store (Mechanics): Old light switches (not connected to anything, obviously), spare barrel bolt latches, chain locks, caster wheels, large nuts and bolts, or old padlocks with lost keys (just for the weight and jingle).
- The Textile Mill (Textures): Scraps of faux fur, a square of rough sandpaper (fine grit, not too harsh), a piece of a clean kitchen sponge, bubble wrap, ribbed corduroy from worn-out pants, or carpet swatches.
- The Haberdashery (Fastenings): Zippers cut from old jackets, plastic buckles from broken backpacks, Velcro strips, large buttons, and shoelaces.
- The Junk Drawer (Auditory & Visual): Old sets of keys on a ring, colorful plastic bottle caps, empty travel-wipe lids (perfect for peek-a-boo windows), and old CDs (for a mirrored effect).
Tools of the Trade
To assemble this beast, you will need a few trusty tools from your workbench:
- A sharp utility knife (a fresh blade is crucial for clean cardboard cuts).
- A high-temperature hot glue gun with plenty of extra sticks.
- Heavy-duty zip ties (the unsung hero of DIY toddler toys).
- An awl or a Phillips-head screwdriver for punching holes in the cardboard.
- Duct tape or packing tape for reinforcing edges.
“Safety First: When scavenging hardware, ensure there are no sharp edges, rust, or small parts that could easily snap off and become a choking hazard. Clean everything thoroughly with a baby-safe disinfectant before attaching it to the board.”
Engineering the Foundation: Prepping the Cardboard Canvas
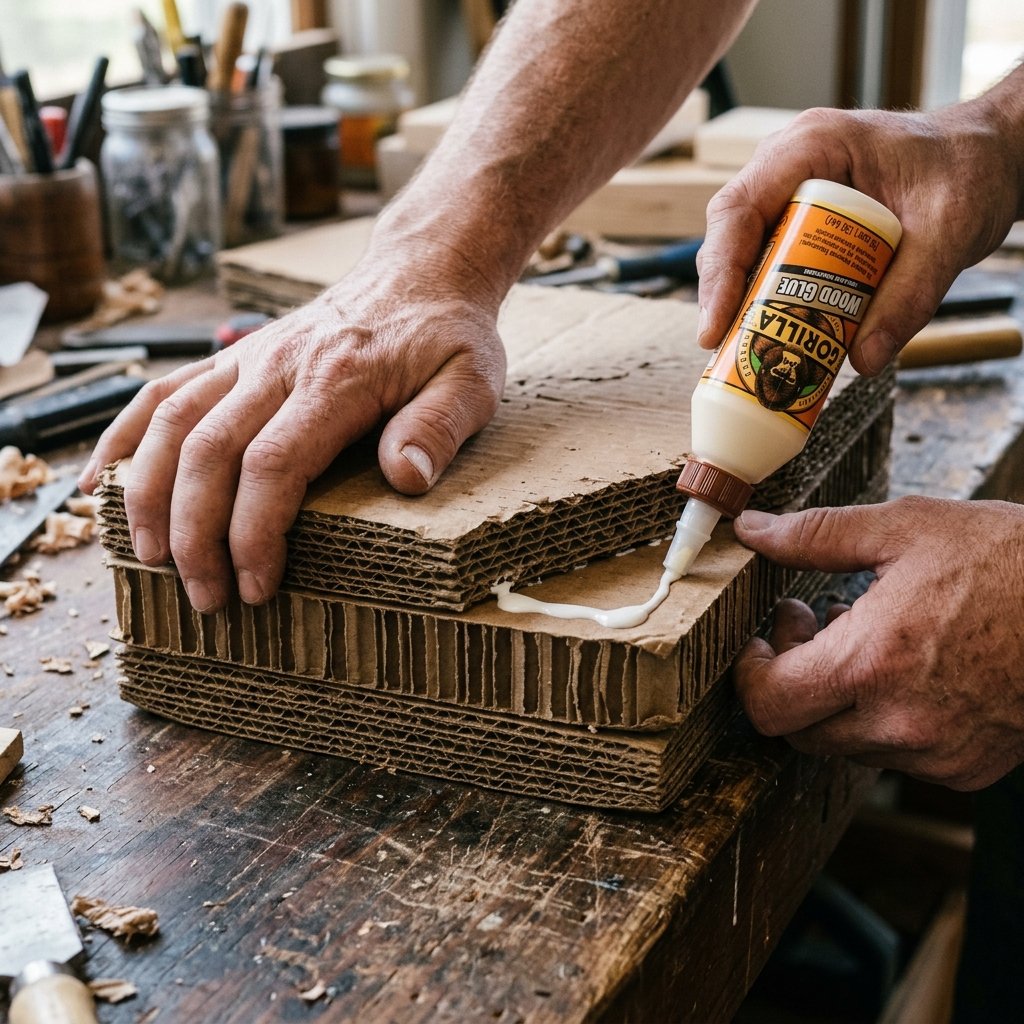
Building a Toddler-Proof Base
Let us be honest: toddlers are basically tiny, adorable wrecking balls. If you just glue a heavy metal latch to a single sheet of standard Amazon box cardboard, it will be ripped off within 5 minutes. To make this board durable, we need to engineer the foundation. We are going to borrow a concept from plywood manufacturing: cross-lamination.
The Cross-Lamination Technique
By gluing multiple sheets of cardboard together with their corrugation (the wavy lines inside) running in alternating directions, you create a remarkably stiff and rugged board that can withstand pulling, yanking, and dropping.
- Measure and Cut: Decide on the size of your board. A 18×24 inch rectangle is a great size—large enough to hold plenty of activities, but small enough to slide under a couch when not in use. Cut three identical rectangles from your scavenged boxes.
- Check the Grain: Look at the edges of your cut cardboard. You will see the wavy flutes. For your first layer, orient the flutes vertically. For the second layer, orient them horizontally. For the third layer, go vertical again.
- Glue and Press: Apply a generous, even layer of standard white school glue or wood glue between the layers. Do not use hot glue for this step, as it cools too quickly to spread over a large area.
- Clamp it Down: Place the stacked cardboard on a flat floor and weigh it down with heavy books, paint cans, or a toolbox. Leave it to cure overnight. You will wake up to a slab of cardboard that feels almost as rigid as a piece of MDF wood.
Binding the Edges
Once your laminated base is dry, the raw edges can be a bit rough and prone to peeling. Take a roll of heavy-duty duct tape—perhaps a rugged matte black or a bright, sporty color—and bind the edges. Fold the tape evenly over the front and back, sealing the corrugated gaps. This gives the board a polished, finished look and prevents little fingers from picking the layers apart.
Designing the Sensory Zones: Installation Masterclass
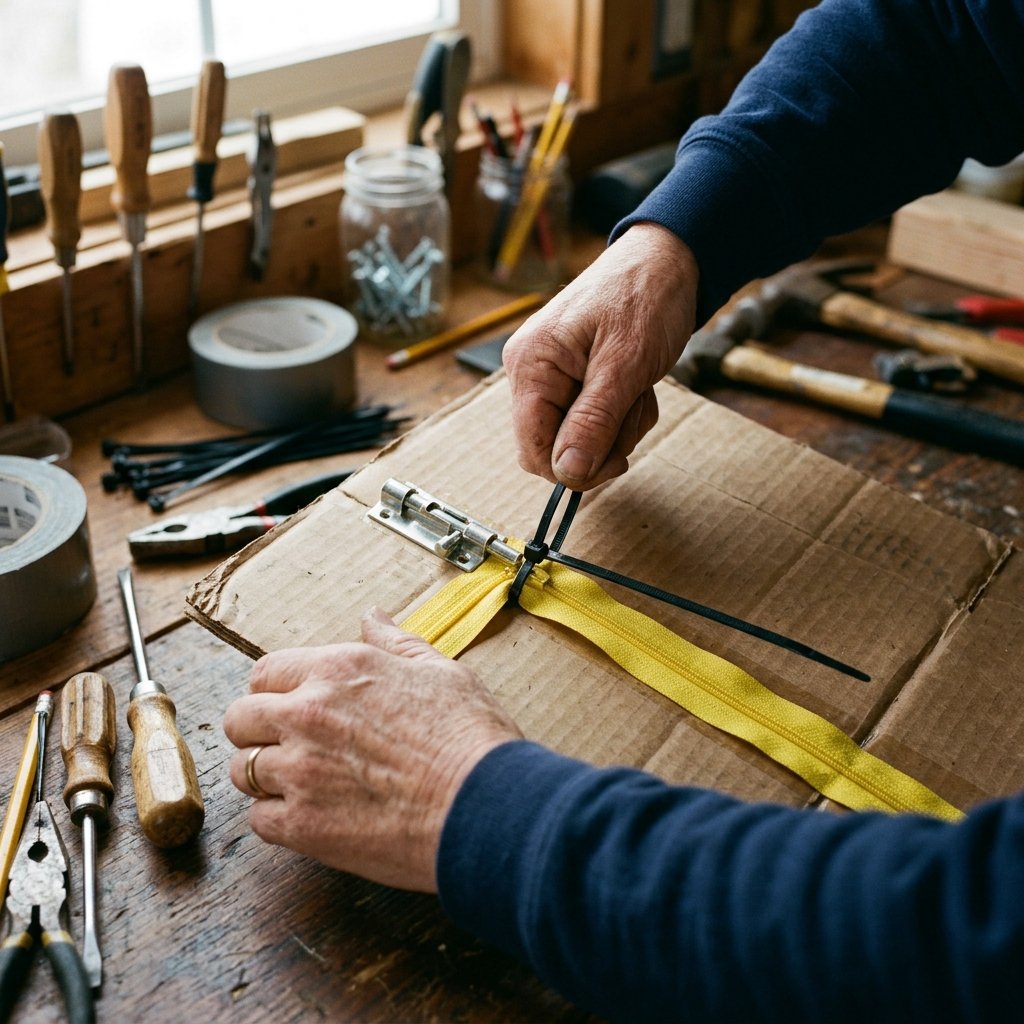
Zoning Your Board for Maximum Engagement
A well-designed sensory board is not just a chaotic jumble of junk. It is curated. To keep a toddler engaged for hours, you want to group activities into logical ‘zones’. This encourages focused play. Let us break down how to install the most popular elements securely.
Zone 1: The Hardware & Mechanics Sector
This is usually the favorite zone. Toddlers love doing things they see adults do. Installing hardware requires more than just glue; it requires mechanical fastening.
- Barrel Bolt Latches: Position the latch on the board. Mark the screw holes with a pen. Use your awl to punch holes all the way through the thick cardboard base. Instead of screws (which will easily pull out of cardboard), thread small zip ties through the holes and the latch, securing them tightly at the back of the board. Snip the zip tie tails flush and cover the back with a square of duct tape so it does not scratch the floor.
- Light Switches: Standard light switches have mounting brackets. Cut a small, shallow recess in the top layer of the cardboard to accommodate the back of the switch. Punch holes and zip-tie the metal mounting brackets securely to the board.
Zone 2: The Textile & Tactile Patchwork
This zone is all about sensory input for their fingertips. Hot glue is your best friend here.
- Zippers: Take an old zipper (at least 6 inches long). Hot glue the fabric edges of the zipper directly to the cardboard. Pro-Tip: Glue the bottom end of the zipper extra securely so they cannot pull the zipper pull completely off the track.
- Carpet & Fur Swatches: Cut your textures into neat squares or fun shapes (like circles or stars). Apply a generous zigzag of hot glue to the back and press firmly onto the board. Make sure the edges are completely sealed down so they cannot be peeled up.
Zone 3: The Cause-and-Effect & Auditory Center
Toddlers love actions that produce a direct result, especially if that result is a noise.
- Peek-a-Boo Wipe Lids: Save the plastic flip-top lids from baby wipe packages. Hot glue the base of the lid to the board. Inside the flap, glue a family photo, a piece of a mirror (use safe, acrylic craft mirrors, never glass), or a patch of brightly colored felt. Opening the lid to find a surprise is a classic game of object permanence.
- The Bottle Cap Spinner: Take a plastic bottle cap. Poke a hole in the exact center. Thread a zip tie through the cardboard base, up through the cap, and secure it loosely enough that the cap can spin freely, but tight enough that it will not fall off.
“The Crafty Expert Mantra: If you think it is secure, tug on it twice as hard. If it survives your adult strength, it will survive a toddler’s curiosity.”
Toddler-Proofing and Final Safety Checks
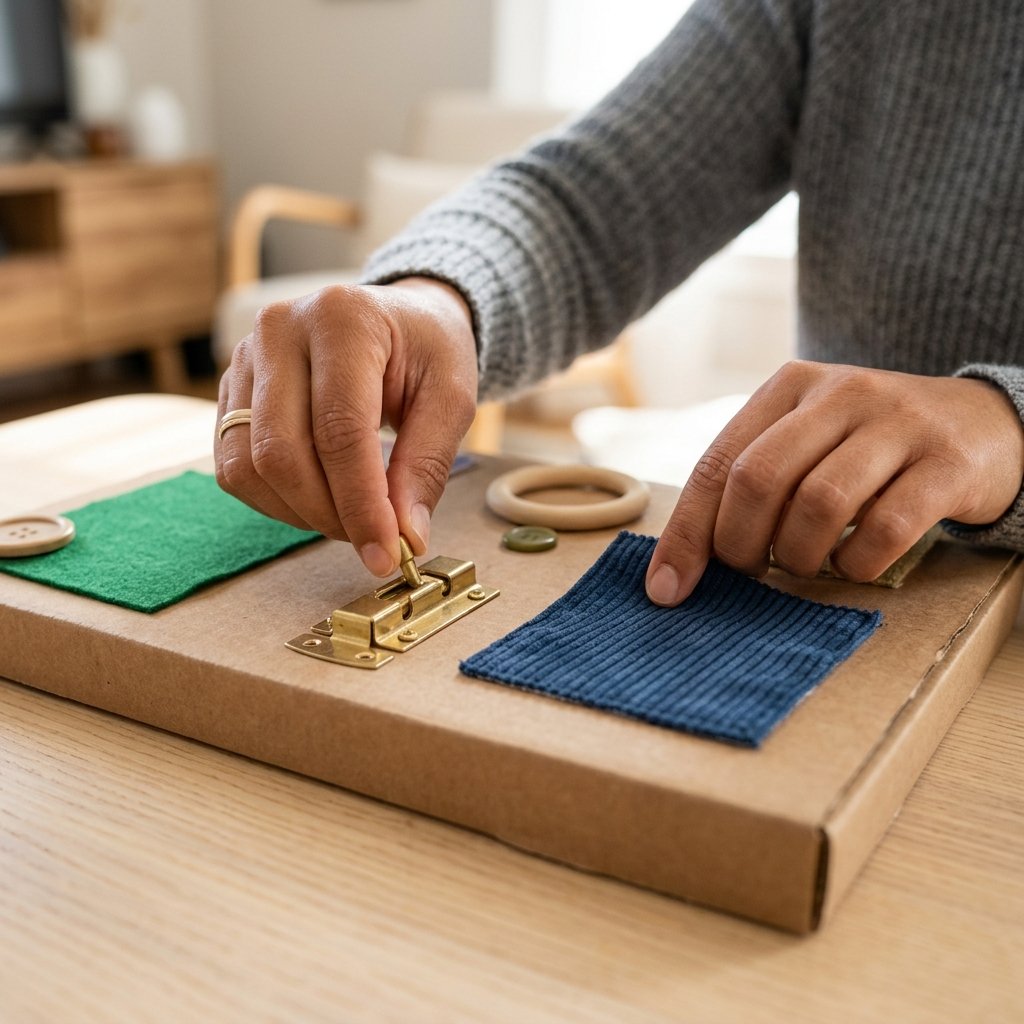
Rugged Durability Meets Child Safety
You have built a masterpiece of frugal engineering. It looks great, it cost nothing, and it is packed with engaging activities. But before you hand it over to your eager toddler, you must perform a rigorous safety inspection. A DIY toy is only as good as its safety standards.
The 5-Point Safety Inspection
- The Choke Test: Inspect every single item on the board. Could it fit inside a toilet paper roll? If yes, it is a choking hazard if it comes loose. Ensure that anything small (like buttons or bottle caps) is fastened with mechanical ties (like zip ties or heavy string), not just hot glue. Hot glue can become brittle over time and snap off.
- The Snag & Scratch Test: Run your hands—firmly—over the entire surface of the board. Are there any sharp edges on the hardware? Did you leave a sharp nub on a cut zip tie? File down any sharp metal edges with a metal file, and cover zip-tie backs with thick layers of duct tape.
- The Yank Test: Channel your inner toddler. Grab the latches, the zippers, and the fabrics, and give them a violent yank. If anything feels loose, reinforce it now. It is better to break it yourself during testing than have it break during playtime.
- The Pinch Hazard Check: Look at your hinges and latches. Is there a gap where a tiny finger could get caught and pinched? If a latch snaps shut too violently, consider removing it or modifying it to close softly.
- Sanitization: Since you scavenged these items, give the entire board a wipe-down with a non-toxic, child-safe cleaner. You do not want garage dust and grime making its way into your toddler’s mouth.
Maintaining Your Sensory Board
Cardboard is incredibly resilient when laminated, but it is not waterproof. Keep the board indoors and away from spills. If a zone gets ripped or worn out, the beauty of this zero-budget project is that you can simply cut that section out, glue a new patch of cardboard over it, and install a brand-new scavenged activity. It is a living, evolving toy that grows with your child’s abilities.
Conclusion
Building a cardboard sensory board is the ultimate exercise in handy, resourceful parenting. You have taken everyday items destined for the recycling bin or the bottom of a junk drawer and engineered them into a high-value, developmentally appropriate tool. You bypassed the outrageous retail markups of the baby toy industry, kept your budget strictly at $0, and created something uniquely tailored to your child.
When you hand this rugged, beautifully crafted board to your toddler and watch them spend the next hour quietly focused on unzipping, latching, and exploring, you will feel a profound sense of crafty triumph. You didn’t just buy their entertainment; you built it with your own two hands. So, keep scavenging, keep upcycling, and remember that the best toys aren’t the ones with the highest price tags—they are the ones made with a little bit of ingenuity and a lot of hot glue. Happy crafting!

Makenzie is the founder and lead writer at MoneyHackTips.com — a personal finance blog dedicated to delivering street-smart financial wisdom for real people on real budgets. With 300+ published articles covering everything from debt management to investing fundamentals, Makenzie’s mission is to make every dollar work harder. When not writing about money hacks, Makenzie is testing frugal living strategies, optimizing side hustles, and helping readers build financial freedom from scratch.