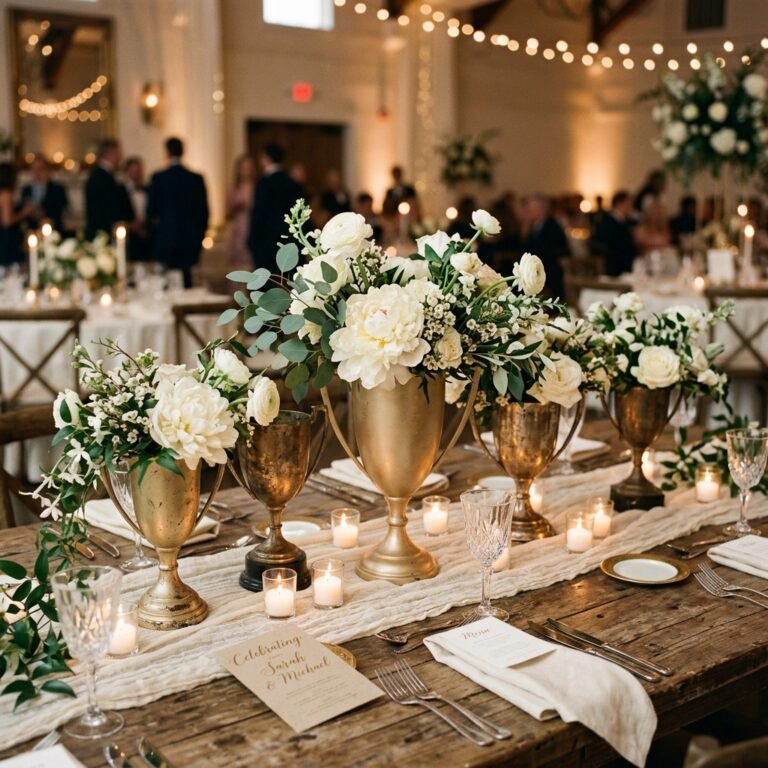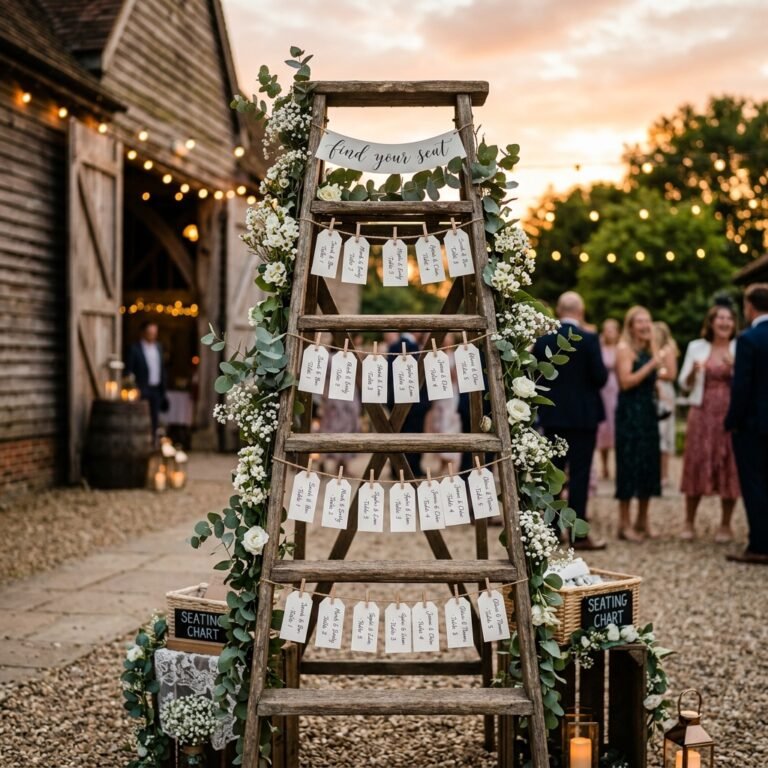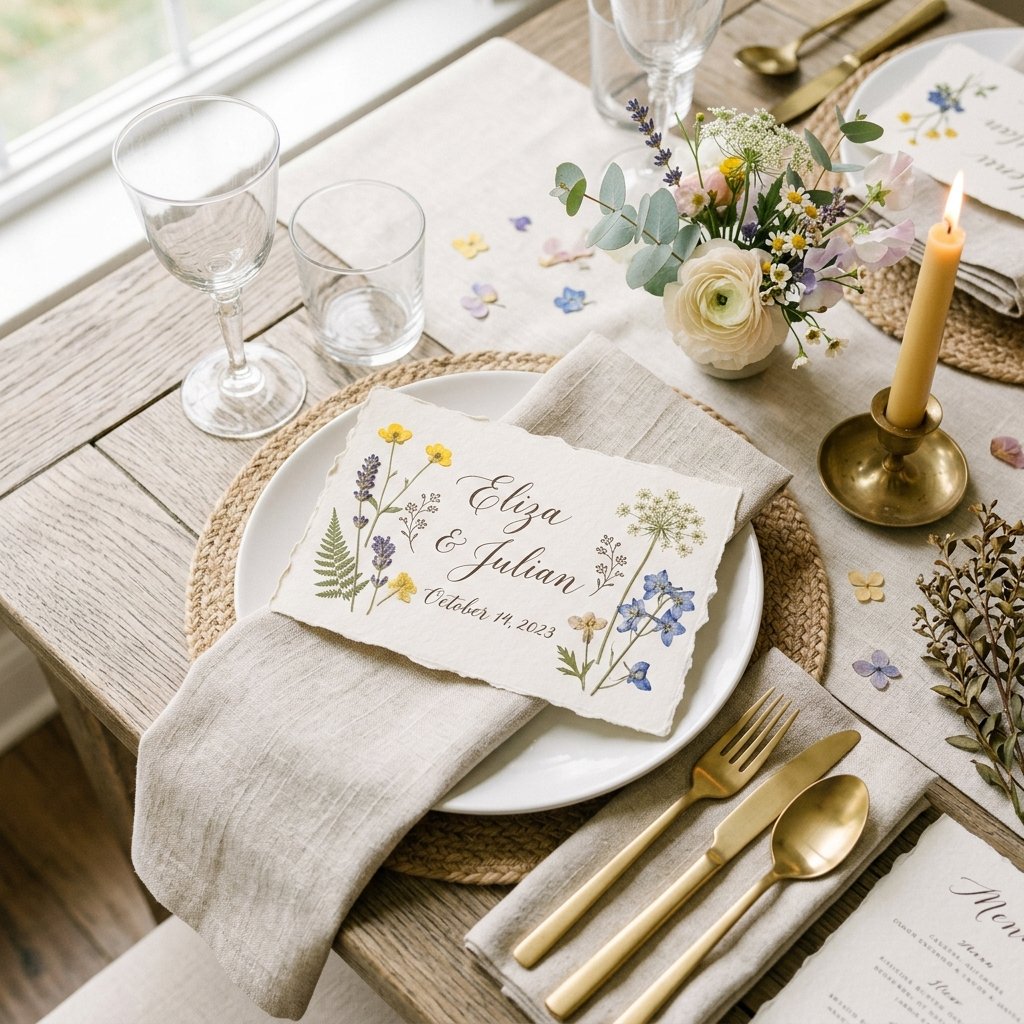

Let us be completely honest for a moment: the second you attach the word ‘wedding’ to any standard piece of paper, the price magically multiplies by ten. As resourceful, budget-savvy brides and frugal DIYers, we simply refuse to play that game. You want your wedding tables to look like they leaped straight out of a high-end bridal magazine, but you certainly do not want to spend $8 to $15 per guest just to tell them where to sit. Enter the ultimate trash-to-treasure, nature-inspired wedding hack: DIY pressed flower place cards.
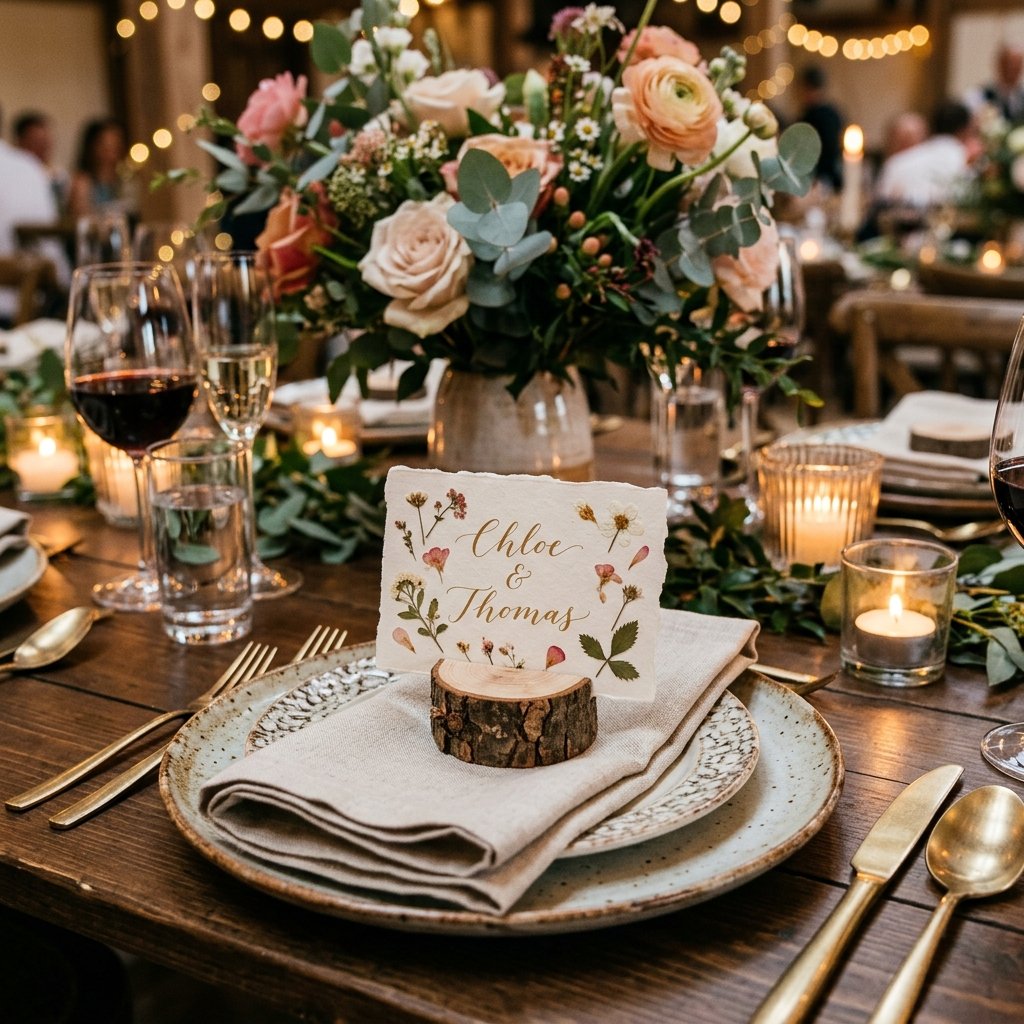
These delicate, botanical masterpieces are the perfect intersection of rustic charm and sophisticated elegance. They look incredibly expensive, yet they can be made for literal pennies using backyard botanicals, a heavy book, and a little bit of crafty ingenuity. Whether you are planning a whimsical cottagecore garden party, a ruggedly elegant barn reception, or a classic minimalist soirée, pressed flower place cards elevate your tablescape instantly.
In this comprehensive, step-by-step masterclass, we are going to walk you through the entire process. From foraging and pressing your own blooms for zero dollars, to selecting the right budget-friendly adhesives, to mastering faux-calligraphy that looks like you hired a professional. Grab your tweezers and your creativity—it is time to craft some breathtaking wedding decor that will leave your guests in awe (and keep your wallet happily intact).
The Economics of Elegance: Why DIY is the Ultimate Win
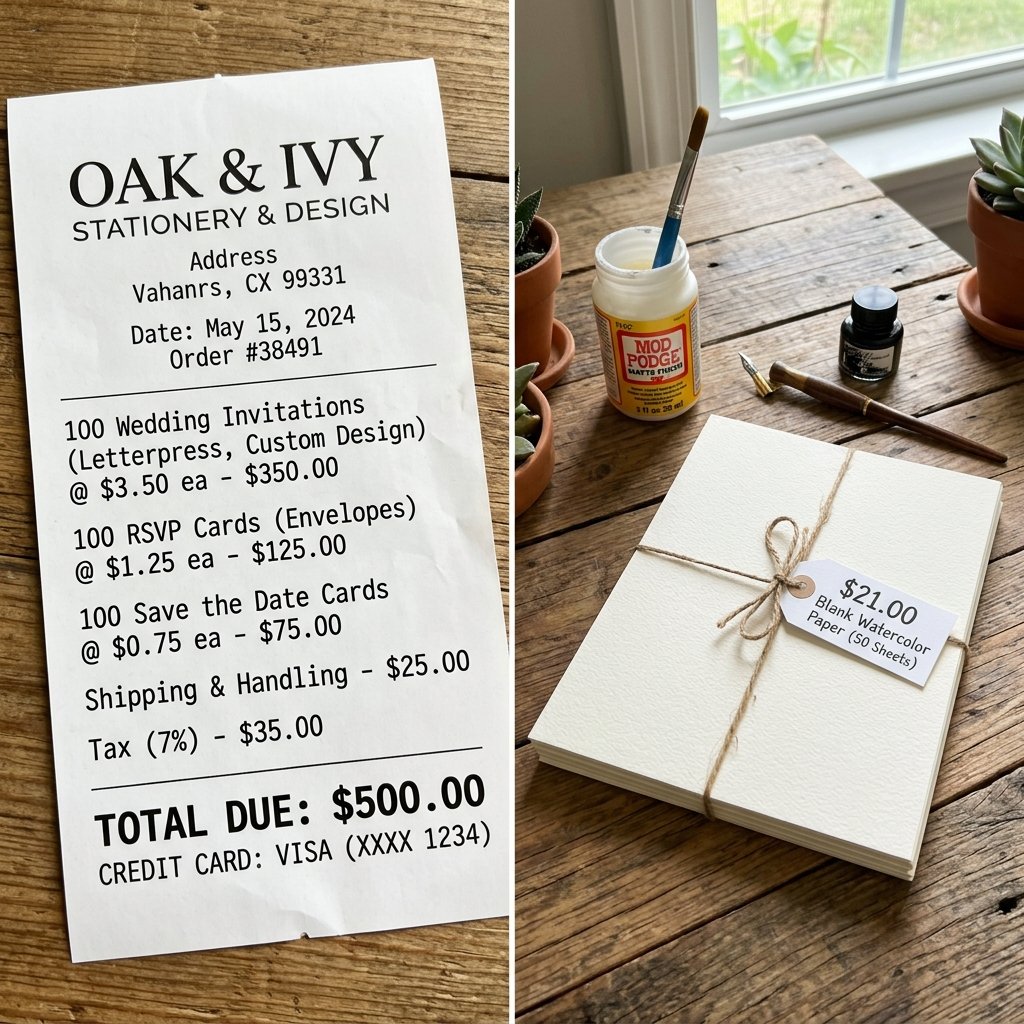
Before we dive into the glue and petals, let us talk numbers. Wedding budgets can spiral out of control incredibly fast, and stationery is often one of those hidden sinkholes. Professional stationers and calligraphers charge a premium for handmade, botanical-infused paper goods because of the labor involved. But as handy upcyclers and crafty gift-givers, labor is our superpower. By taking this project into your own hands, you are essentially paying yourself an exorbitant hourly rate in savings.
Store-Bought vs. Zero-Budget DIY
To truly appreciate the value of this project, let us look at a cost comparison for a wedding with 100 guests. When you source your own materials and forage your own flowers, the savings are absolutely staggering.
| Expense Category | Professional / Etsy Estimate | Our Crafty DIY Method |
|---|---|---|
| Place Card Blanks | $150.00 (Handmade cotton paper) | $12.00 (Torn watercolor paper hack) |
| Pressed Flowers | $80.00 (Pre-pressed floral packs) | $0.00 (Foraged & home-pressed) |
| Calligraphy / Printing | $250.00 ($2.50 per name) | $4.00 (One good archival ink pen) |
| Adhesives & Sealants | $20.00 (Professional waxes) | $5.00 (Mod Podge or craft glue) |
| Total Cost (100 Guests) | $500.00 | $21.00 |
| Cost Per Card | $5.00 | $0.21 |
Yes, you read that correctly. You can create 100 breathtaking, personalized botanical place cards for less than the cost of a single takeout dinner. The secret lies in resourceful material sourcing and utilizing the free bounty of nature.
Foraging and Pressing Your Own Botanicals
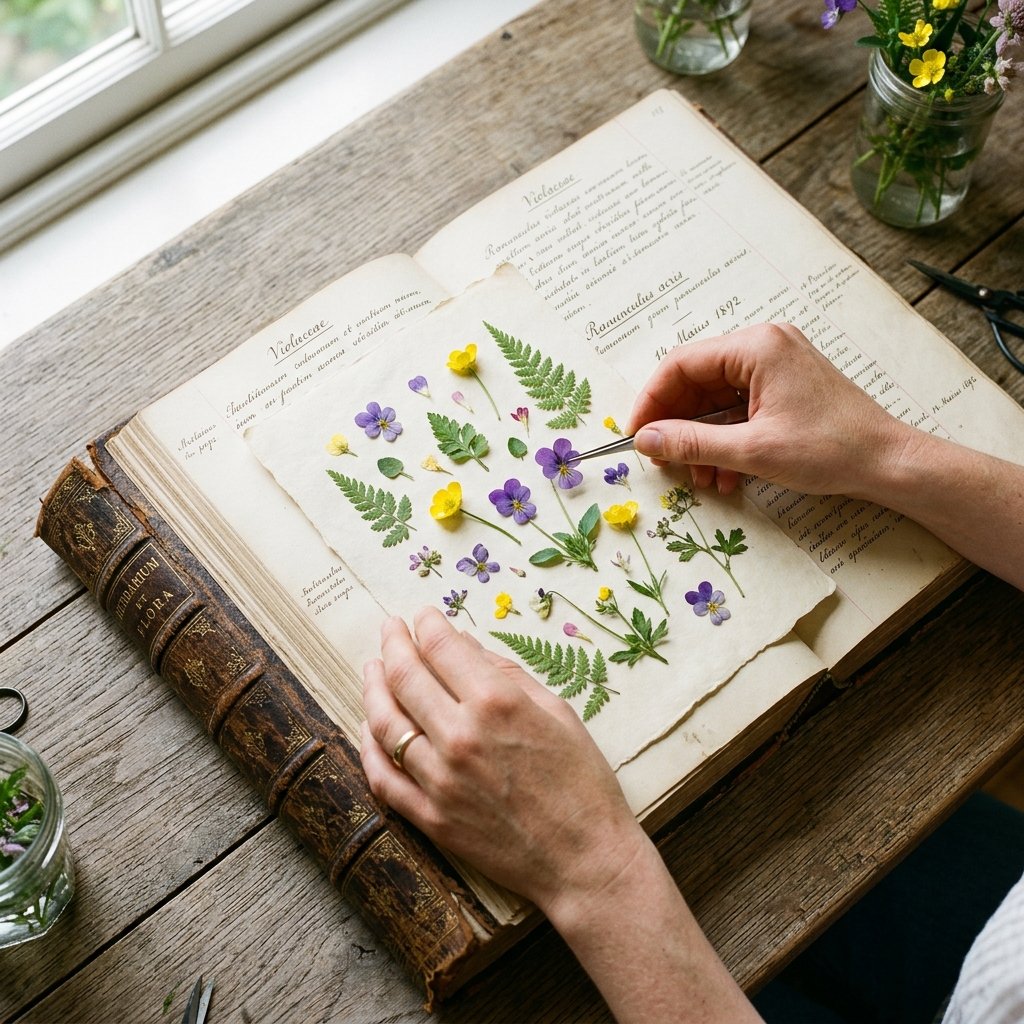
The true heart of this project is the flowers. While you can certainly buy pre-pressed flowers online, the most resourceful and budget-savvy approach is to forage and press them yourself. Not only is this 100% free, but it also allows you to incorporate local flora that holds sentimental value—perhaps flowers from your own garden, a local park where you had your first date, or wildflowers from the side of a country road.
Best Flowers and Leaves for Pressing
Not all flowers are created equal when it comes to pressing. You want to look for blooms that naturally have a relatively flat face and thin petals. Thick, fleshy flowers (like roses or orchids) hold too much moisture and will mold before they dry unless you deconstruct them petal by petal.
- Top Tier for Pressing: Pansies, violas, daisies, cosmos, buttercups, Queen Anne’s lace, and forget-me-nots.
- Excellent Greenery: Fern fronds, eucalyptus leaves, dusty miller, and delicate grass blades.
- Herbs (Bonus for scent!): Lavender sprigs, thyme, and flat-leaf parsley.
The Classic Heavy Book Method
This is the old-school, tried-and-true method that requires absolutely zero special equipment. It takes patience, but the results are flawless.
- Gather your flowers mid-morning, after the dew has dried but before the midday sun wilts them.
- Open a large, heavy book (old encyclopedias or phone books are perfect). Line the pages with standard printer paper or parchment paper to protect the book from moisture.
- Lay your flowers flat on the paper. Make sure they are not touching each other.
- Carefully close the book, ensuring the petals do not fold over on themselves.
- Stack 3 to 5 more heavy books on top. Add a brick or a heavy weight if you have one.
- Leave them undisturbed for 2 to 3 weeks. Check them after week two; they should be papery and completely dry.
“Patience is a crafter’s best friend. Rushing the drying process will leave moisture in the petals, which will eventually rot and discolor your beautiful place cards. Give them the full three weeks!”
Safety & Ethical Foraging Note
Whenever you are foraging, always ensure you are not trespassing on private property or harvesting protected plant species in state or national parks. Never take more than 10% of a plant’s blooms so it can continue to thrive and support local pollinators.
Gathering Your Crafting Arsenal: Materials Guide

Now that your flowers are pressing, it is time to assemble your crafting arsenal. To achieve a luxurious, masculine-elegant or rustic-chic look without the premium price tag, we have to be clever about our material choices. We are going to bypass the expensive stationery store and head straight to the craft aisle (or our own recycling bins).
The Paper: Faking the Deckled Edge
Real handmade cotton paper with a natural deckled (torn, feathery) edge is incredibly expensive. We are going to fake it using standard, budget-friendly cold-pressed watercolor paper.
- The Hack: Buy a large pad of 140lb cold-pressed watercolor paper. Using a ruler and a damp paintbrush, paint a straight water line where you want your cut to be. Let the water soak in for 30 seconds, then gently pull the paper apart. This creates a beautiful, soft, feathery edge that looks identical to artisan handmade paper!
The Adhesive: Sealing the Deal
You need an adhesive that dries completely clear, matte, and will not warp the paper. While there are specialty floral glues out there, our trusty, budget-savvy friend Mod Podge (Matte finish) works perfectly. Alternatively, a simple clear glue stick or a specialized glue pen works wonders for tiny stems.
The Tools
- Fine-tipped Tweezers: Absolutely essential. Pressed flowers are as fragile as butterfly wings. You cannot handle them with your fingers without risking tearing them.
- A Small, Soft Paintbrush: For applying the Mod Podge.
- Calligraphy Pen: A Tombow Fudenosuke brush pen or a simple Micron fine-liner in black, sepia, or gold.
| Material | Purpose | Budget-Savvy Tip |
|---|---|---|
| Watercolor Paper | The base of the card | Buy in large pads and tear down to size instead of buying pre-cut cards. |
| Matte Mod Podge | Adhering the flowers | Dilute slightly with a drop of water for a smoother, thinner application. |
| Tweezers | Handling delicate petals | Use standard eyebrow tweezers if you don’t have craft tweezers on hand. |
| Brush Pen | Writing guest names | Practice faux-calligraphy to avoid buying expensive nibs and ink wells. |
Step-by-Step Assembly: Crafting Your Masterpieces
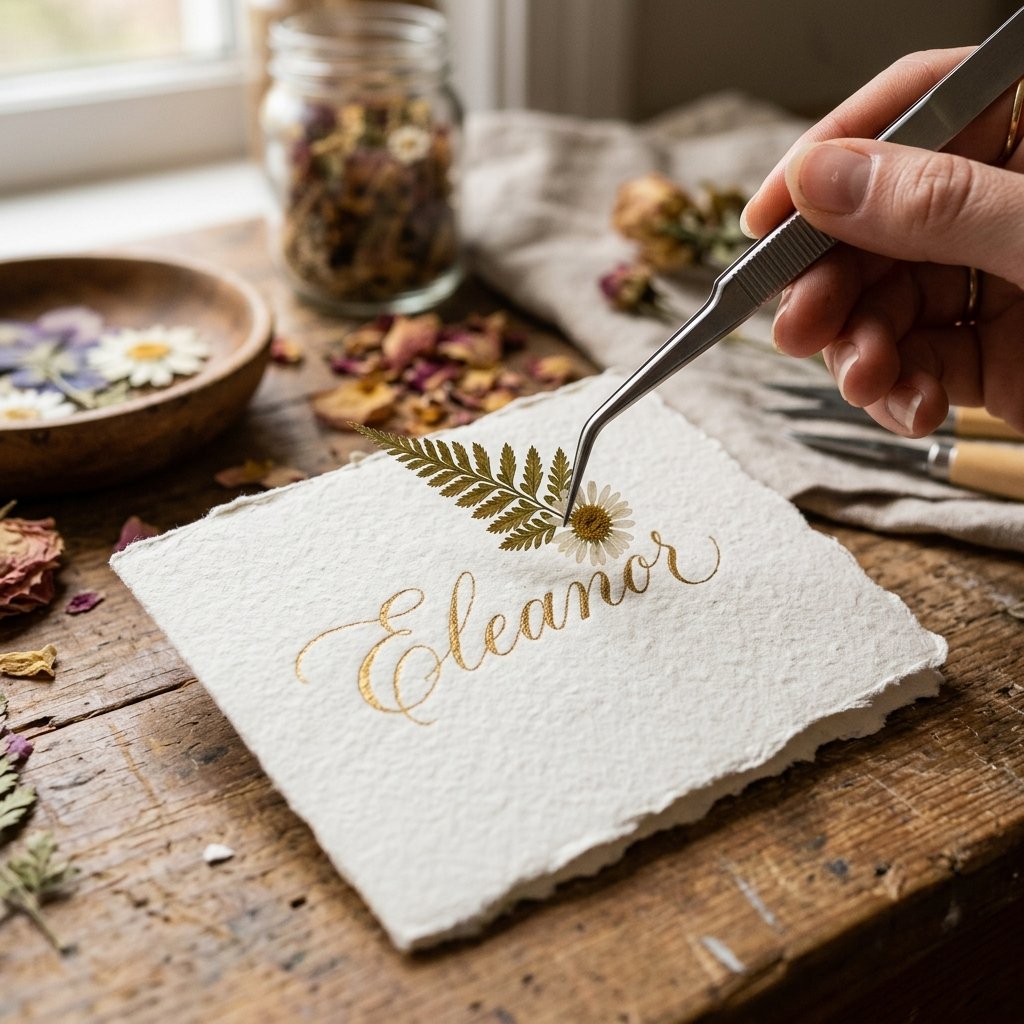
This is where the magic happens. Set up a clean, well-lit workspace, put on your favorite podcast, and get ready to mass-produce some elegance. Here is the step-by-step breakdown of how to assemble your botanical place cards with professional-level precision.
- Prepare the Canvas: Tear your watercolor paper into your desired place card size. A standard flat place card is usually 2 inches by 3.5 inches. If you want a tented card (one that stands up on its own), tear the paper to 4 inches by 3.5 inches and score it down the middle.
- Write the Names First: Always write your guest’s name before attaching the flowers. If you make a spelling mistake or an ink smudge, you only waste a piece of paper, not a precious pressed flower. Use your brush pen to write the name slightly off-center to leave room for the botanical arrangement.
- Dry Fit the Arrangement: Using your tweezers, pick up your pressed flowers and greenery and arrange them on the card. Play with the composition. A popular, elegant layout is a sweeping curve of greenery hugging the bottom left corner of the name, accented by one or two small, colorful blooms.
- Apply the Adhesive: Once you are happy with the layout, carefully lift the largest piece of greenery with your tweezers. Using your small paintbrush, dab a microscopic amount of Matte Mod Podge onto the back of the botanical. You do not need to cover every millimeter; just a few dots on the thicker parts of the stem and petals will do.
- Place and Press: Gently lay the glued botanical back onto the card. Use the clean, flat back of your tweezers or a dry fingertip to press it down firmly. Hold for 5 seconds.
- Layer and Build: Repeat the gluing process with your smaller accent flowers, layering them over the greenery for a three-dimensional, organic look.
- The Final Seal (Optional but Recommended): If your cards will be transported or handled roughly, you can apply a very thin, watered-down layer of Mod Podge over the top of the flowers to seal them to the paper. Note: This may slightly alter the texture of the paper, so test it on a scrap piece first!
“Pro-Tip for Frugal Calligraphers: If your handwriting resembles chicken scratch, do not panic! Lightly print the names using a standard home printer in a beautiful script font, then trace over the printed letters with your gold or black brush pen. No one will ever know!”
Elevating the Look: Gold Leaf, Wax Seals, and Ribbons
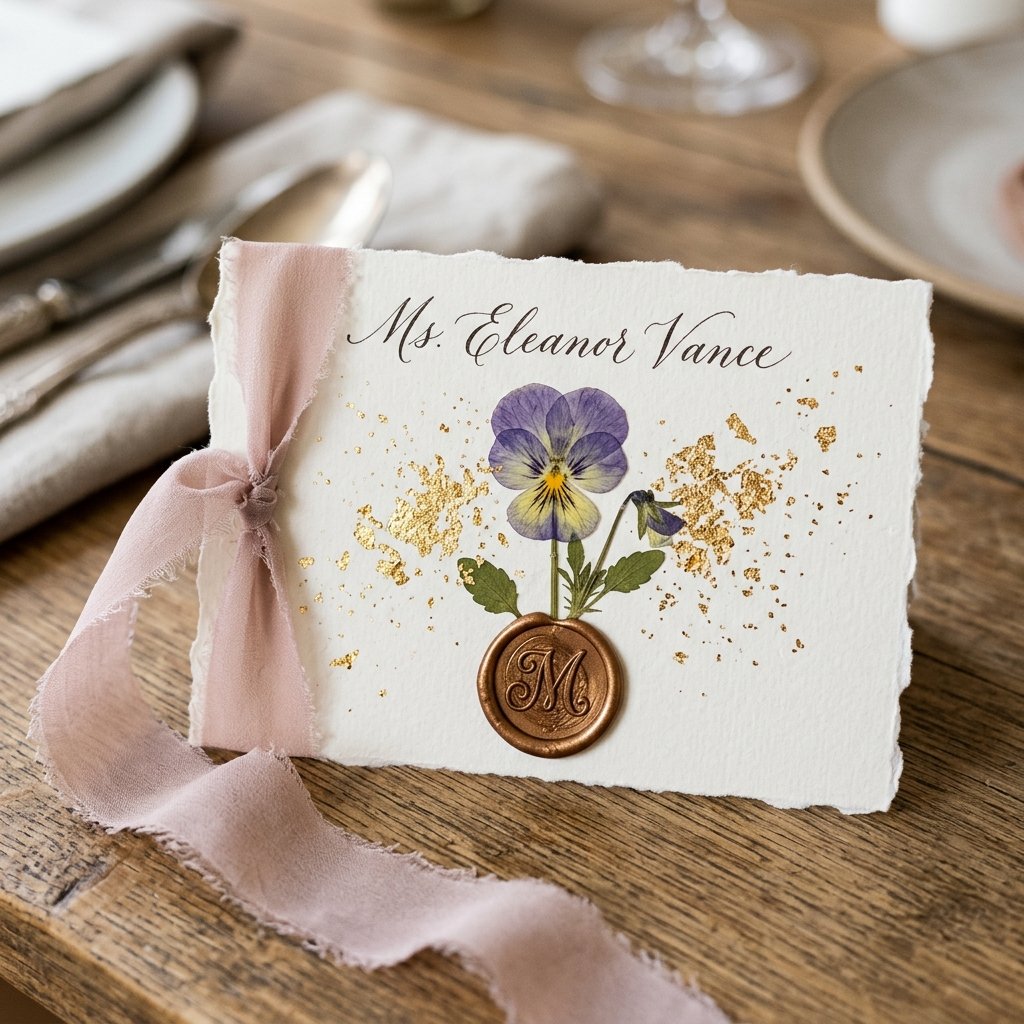
You have mastered the basic pressed flower card, and honestly, they probably look stunning as-is. But what if we want to push the envelope? What if we want these $0.21 cards to look like they cost $10 each? Let us tap into our inner Dollar Tree Interior Designer and add some high-end, masculine-elegant embellishments.
Adding Gold Leaf Flakes
Imitation gold leaf flakes can be purchased at any craft store or online for about $5 for a massive tub that will last you a lifetime. Adding tiny flecks of gold around your flowers creates a luxurious, ethereal aesthetic.
- Take a toothpick and dab a tiny speck of Mod Podge onto the paper near your flower arrangement.
- Use your tweezers to pick up a microscopic flake of gold leaf and drop it onto the glue dot.
- Use a dry, soft paintbrush to gently brush away any excess gold leaf. The result is a subtle, expensive-looking shimmer.
The Wax Seal Hack
Wax seals scream vintage elegance. You can buy a custom wax seal stamp with your new shared initial for under $15 online. Instead of buying expensive sealing wax sticks, use a hot glue gun!
- Buy a pack of colored hot glue sticks (gold, bronze, or champagne look incredible).
- Load them into a standard, cheap hot glue gun.
- Squeeze a dime-sized dollop of colored glue onto the top corner of your place card, slightly overlapping the stem of your pressed flower.
- Press your cold wax seal stamp into the hot glue. Hold for 10 seconds, then peel away to reveal a perfect, durable seal that secures your flower and looks incredibly regal.
Chiffon Ribbon Ties
If you are using flat cards, punch a small hole in the top left corner. Thread a thin piece of raw-edge chiffon ribbon or rustic jute twine through the hole. You can buy cheap chiffon fabric by the yard and tear it into strips yourself to save even more money. The trailing ribbon adds a romantic, tactile element to the table setting.
Transport, Display, and Day-Of Execution
You have spent hours foraging, pressing, tearing, and gluing. The last thing you want is for your gorgeous, frugal masterpieces to get crushed in transit to the venue. Handling and displaying these delicate items requires a bit of practical, rugged planning.
Safe Transportation
Pressed flowers are brittle. To transport your place cards safely:
- Find a shallow, wide cardboard box (like a clean pizza box or a laptop shipping box).
- Line the bottom with a layer of soft tissue paper.
- Lay the place cards perfectly flat in a single layer. Do not stack them directly on top of each other, as the dried flowers can catch on the paper above them and snap off.
- If you must stack, place a sheet of smooth wax paper or parchment paper between each layer of cards to prevent snagging.
Creative & Budget-Savvy Display Ideas
How you display the cards on the table is just as important as the cards themselves. Here are a few practically free, highly creative ways to present them:
- The Rustic Log Holder: If you or your partner are handy with a saw, find a thick fallen branch (about 1 to 2 inches in diameter). Saw it into 1-inch thick wooden discs. Use a hand saw to cut a small slit across the top of the disc, and slide your flat place card right in. Cost: $0.00.
- The Pinecone Stand: For a fall or winter wedding, forage for clean, uniform pinecones. The natural scales of the pinecone act as the perfect little slot to hold a flat place card upright. Cost: $0.00.
- The Minimalist Napkin Tuck: Simply fold your cloth napkin neatly on the charger plate and tuck the place card into the fold of the napkin, perhaps with a fresh sprig of rosemary tucked behind it for an aromatic touch.
- Dollar Tree Acrylic Stands: If you want a modern look, the dollar store often sells mini acrylic easels or picture stands in packs of three. Spray paint them gold or matte black for an instant high-end upgrade.
Conclusion
And there you have it—the ultimate, resourceful guide to creating breathtaking DIY pressed flower wedding place cards. By leveraging the free beauty of nature, utilizing smart upcycling hacks for your paper, and applying a little bit of crafty patience, you have completely bypassed the wedding industry markup. You have created something that doesn’t just look incredibly elegant, but also carries the personal, handmade touch that your guests will cherish. Some guests might even frame them as tiny, botanical keepsakes from your special day!
Remember, being a budget-savvy bride or a frugal DIYer doesn’t mean sacrificing style or settling for less. It means being clever, getting your hands a little messy, and turning everyday materials into pure magic. So go forage those wildflowers, crack open that heavy book, and start crafting. Your beautiful, budget-friendly tablescape awaits!

Makenzie is the founder and lead writer at MoneyHackTips.com — a personal finance blog dedicated to delivering street-smart financial wisdom for real people on real budgets. With 300+ published articles covering everything from debt management to investing fundamentals, Makenzie’s mission is to make every dollar work harder. When not writing about money hacks, Makenzie is testing frugal living strategies, optimizing side hustles, and helping readers build financial freedom from scratch.