
When it comes to wedding planning, the difference between a ‘nice’ event and a ‘magical’ atmosphere often boils down to one thing: lighting. Professional lighting packages can easily devour $1,000 to $5,000 of your budget, leaving little room for the things that truly matter. But what if I told you that you could achieve a high-end, ethereal glow for less than the cost of a single bridesmaid’s bouquet? Enter the humble paper bag luminary.
As a seasoned DIYer and budget-savvy stylist, I’ve seen these simple creations transform everything from rugged outdoor barn weddings to sophisticated city rooftop receptions. They are the ultimate ‘trash-to-treasure’ hack, utilizing basic materials to create a visual impact that is both ruggedly practical and elegantly masculine. Whether you are a crafty gift-giver looking to surprise a friend or a handy parent helping with your child’s big day, mastering the art of the luminary is a skill that pays dividends in both savings and style.
In this comprehensive guide, we will dive deep into the mechanics of creating professional-grade luminaries. We’ll cover the structural integrity needed to withstand a breeze, the clever design tricks that make cheap paper look like laser-cut lace, and the tactical logistics of setting up hundreds of these glowing beacons without breaking a sweat. Let’s get to work on making your wedding glow.
The Anatomy of a High-End Paper Luminary: Materials and Budget Breakdown
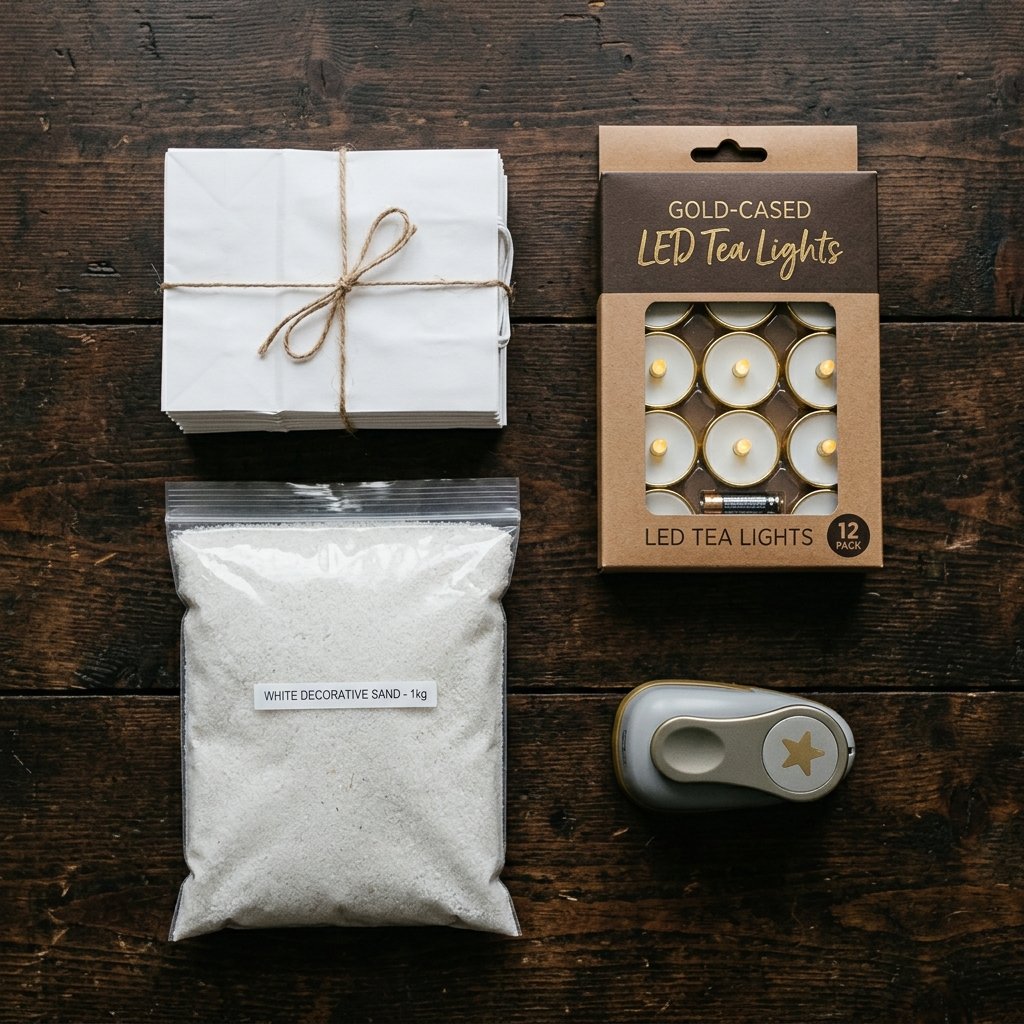
To the untrained eye, a paper bag is just a container for a sandwich. To the resourceful crafter, it is a canvas for light. The key to making these look like a $10-per-piece rental rather than a school project is in the selection of materials. You want a bag with enough ‘tooth’ to hold its shape, but enough translucency to let the light breathe.
Choosing Your Canvas
You generally have two choices: classic brown kraft paper or crisp white. Brown bags offer a rugged, masculine elegance that fits perfectly with barn, forest, or beach weddings. White bags provide a clean, modern, and more formal look. Ensure you buy ‘heavy-duty’ bags (often labeled as #6 or #8 lunch bags) to ensure they don’t collapse under their own weight or wilt in humid conditions.
The Lighting Element
While traditionalists might reach for wax tea lights, the savvy DIYer knows that LED tea lights are the superior choice for weddings. They are wind-proof, fire-safe for venues with strict regulations, and can stay illuminated for 24 to 48 hours, meaning you can set them up well before the ceremony begins.
| Material Item | DIY Cost (per 100 units) | Professional Rental/Florist Equivalent |
|---|---|---|
| Heavy Duty Paper Bags | $8.00 | $150.00 |
| LED Tea Lights (Bulk) | $25.00 | $200.00 (Lighting Fee) |
| Clean Play Sand/Pebbles | $5.00 | Included in Labor |
| Custom Hole Punch/Stencil | $12.00 | N/A |
| Total | $50.00 | $350.00+ |
By choosing the DIY route, you are looking at a savings of over 85%. That is money that can be redirected toward your honeymoon or a better open bar.
From Grocery Store to Gala: Advanced Punching and Stenciling Techniques
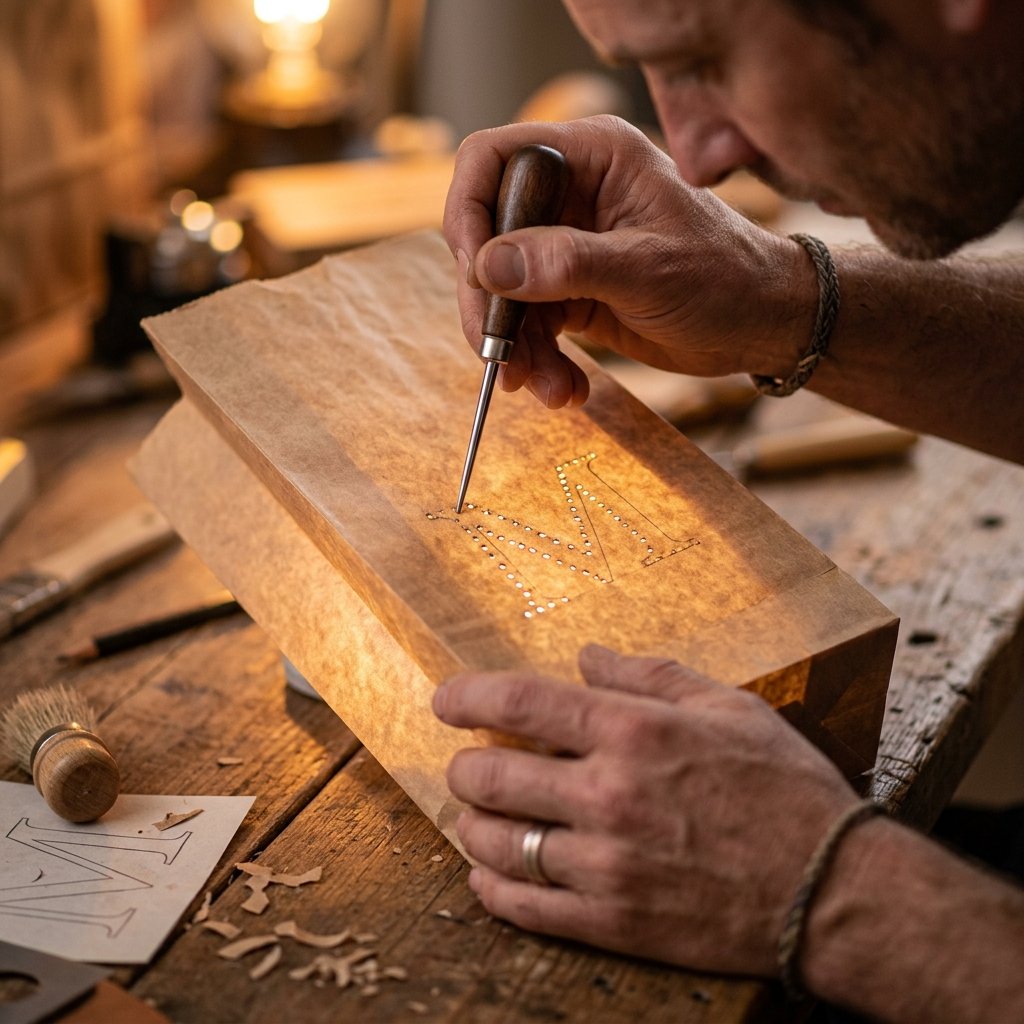
The secret to a ‘wow’ factor is the pattern of light. A plain bag is functional; a punched bag is art. By creating small apertures in the paper, you allow direct beams of light to escape, creating a ‘starry’ effect on the ground around the bag. This is where your crafty expertise shines.
The Geometric Punch Method
Use a heavy-duty decorative punch to create a border around the top or a central motif. For a masculine-elegant look, stick to geometric shapes like small circles, diamonds, or even a simple ‘X’ pattern. Pro Tip: Don’t punch too low on the bag, or the sand/weighting material will leak out or block the holes.
The Stencil and Pin-Prick Technique
If you want a truly bespoke look—such as the couple’s initials or a specific floral motif—stenciling is your best friend.
1. Slide a piece of cardboard inside the bag to prevent punching through both sides.
2. Lightly tape your stencil to the front.
3. Use a large awl or a thick needle to prick holes along the lines of the stencil.
4. Space your holes roughly 1/8 inch apart for a clean, legible glow.
The Folded Edge Trick
Always fold the top of the bag down by about 1 to 2 inches. This serves two purposes: it creates a finished, hemmed look that hides the raw paper edge, and it adds structural rigidity to the ‘mouth’ of the bag, preventing it from sagging or closing up.
Grounding the Glow: Smart and Stealthy Ways to Weight Your Bags
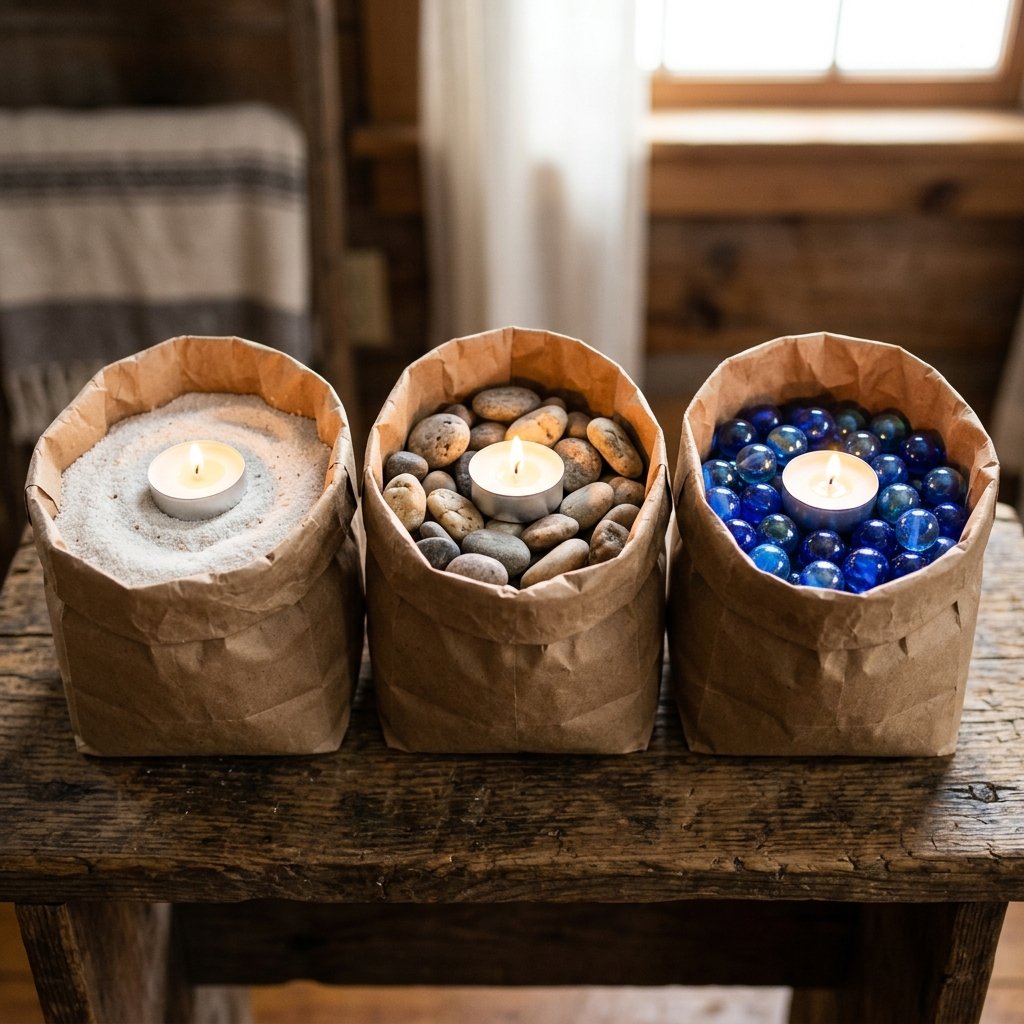
There is nothing less romantic than a stray gust of wind blowing your beautiful decor across the lawn like tumbleweeds. As a practical crafter, you must prioritize stability. You need a weight that is heavy enough to hold the bag down but attractive enough (or hidden enough) not to ruin the aesthetic.
The Sand Standard
Clean ‘play sand’ is the gold standard. It’s cheap, heavy, and conforms to the shape of the bag. You only need about 2 inches of sand at the bottom of each bag. This creates a flat, heat-resistant base for your light source.
Rugged Alternatives: Pebbles and Glass Gems
If you are worried about sand being messy, use small river rocks or decorative glass gems. These are particularly effective for beach weddings where the bag might be sitting on uneven terrain. For a more ‘industrial’ or ‘rugged’ vibe, use clean, grey pea gravel. It’s incredibly cheap at hardware stores—usually around $5 for a 50lb bag.
| Weight Material | Pros | Cons |
|---|---|---|
| Play Sand | Very stable, fire-resistant, cheap. | Can be messy if a bag rips. |
| River Pebbles | Elegant look, reusable in gardens. | Heavier to transport in bulk. |
| Glass Gems | Reflects light beautifully. | Most expensive weighting option. |
| Rice/Dried Beans | Easy to find in a pinch. | Attracts pests; not moisture-friendly. |
Budget Mantra: ‘Stability is the foundation of beauty. A luminary that stands its ground is a luminary that shines its brightest.’
Illuminating Safely: Choosing the Right Light for Your Venue

Safety is paramount, especially when dealing with paper and large groups of people (and potentially children or flowing dresses). While the flicker of a real flame is beautiful, the modern LED tea light has evolved to mimic that flicker perfectly without the fire hazard.
Battery Life and Lumens
When sourcing your lights, look for ‘Warm White’ LEDs. Avoid ‘Cool White’ or ‘Blue’ tones, as they can feel clinical and cold. You want a color temperature around 2700K. Check the battery life; most bulk LED tea lights use CR2032 batteries which should easily last 24+ hours. This allows you to turn them on at noon and have them glow well past midnight.
The Remote Control Advantage
If your budget allows for a slight upgrade (about $0.50 more per unit), look for LED tea lights with a remote control or a timer function. This is a game-changer for large weddings. Imagine being able to click a button and have 200 bags light up simultaneously as the sun sets. It’s a moment of pure magic that requires zero manual labor during your cocktail hour.
Safety Note: If your venue allows real wax candles, always use ‘votive’ style candles in glass holders inside the bags. Never place a naked flame directly on the sand or paper. The glass holder acts as a wind guard and a fire barrier.
Strategic Placement: Creating a Path of Light and Wonder
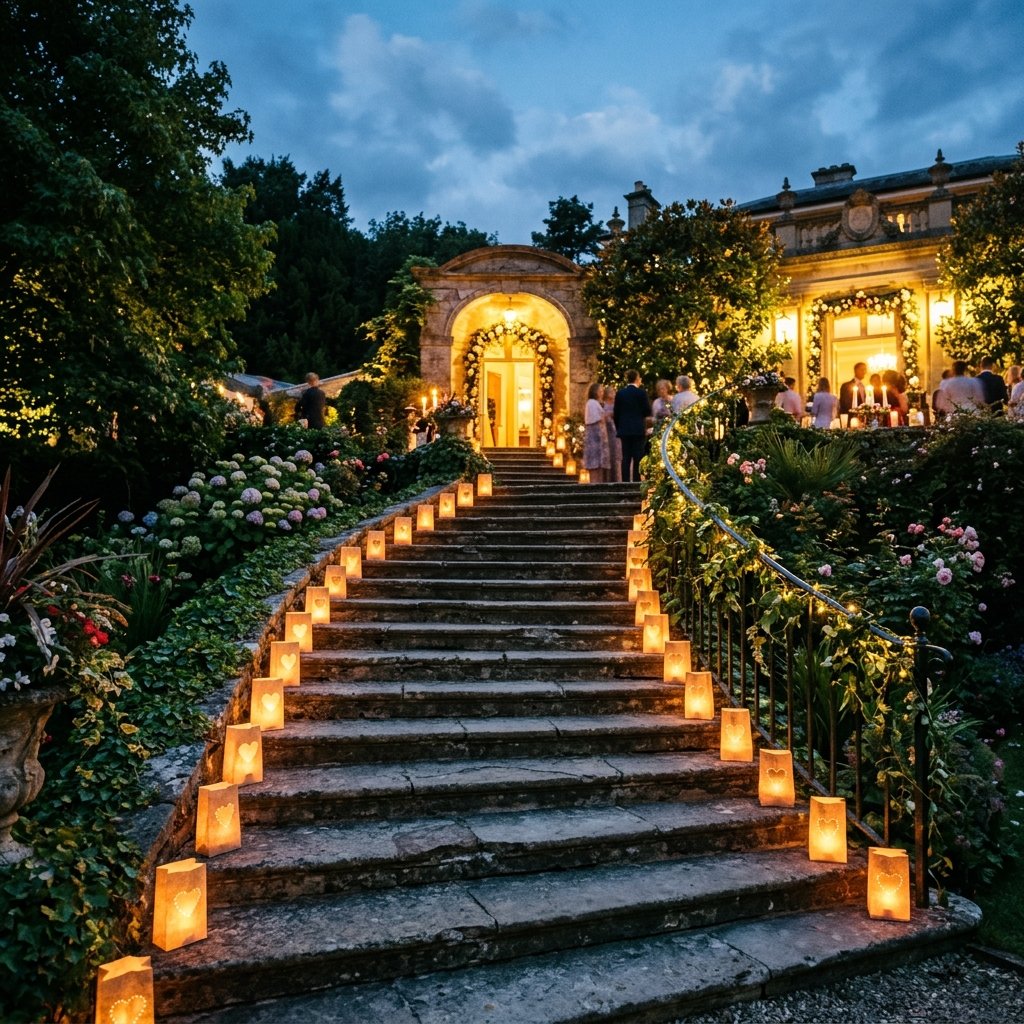
Where you put your luminaries is just as important as how you make them. You are essentially using light to direct the flow of traffic and highlight the architecture of your venue. Think like an event stylist: you want to create ‘zones’ of light.
The Grand Entrance
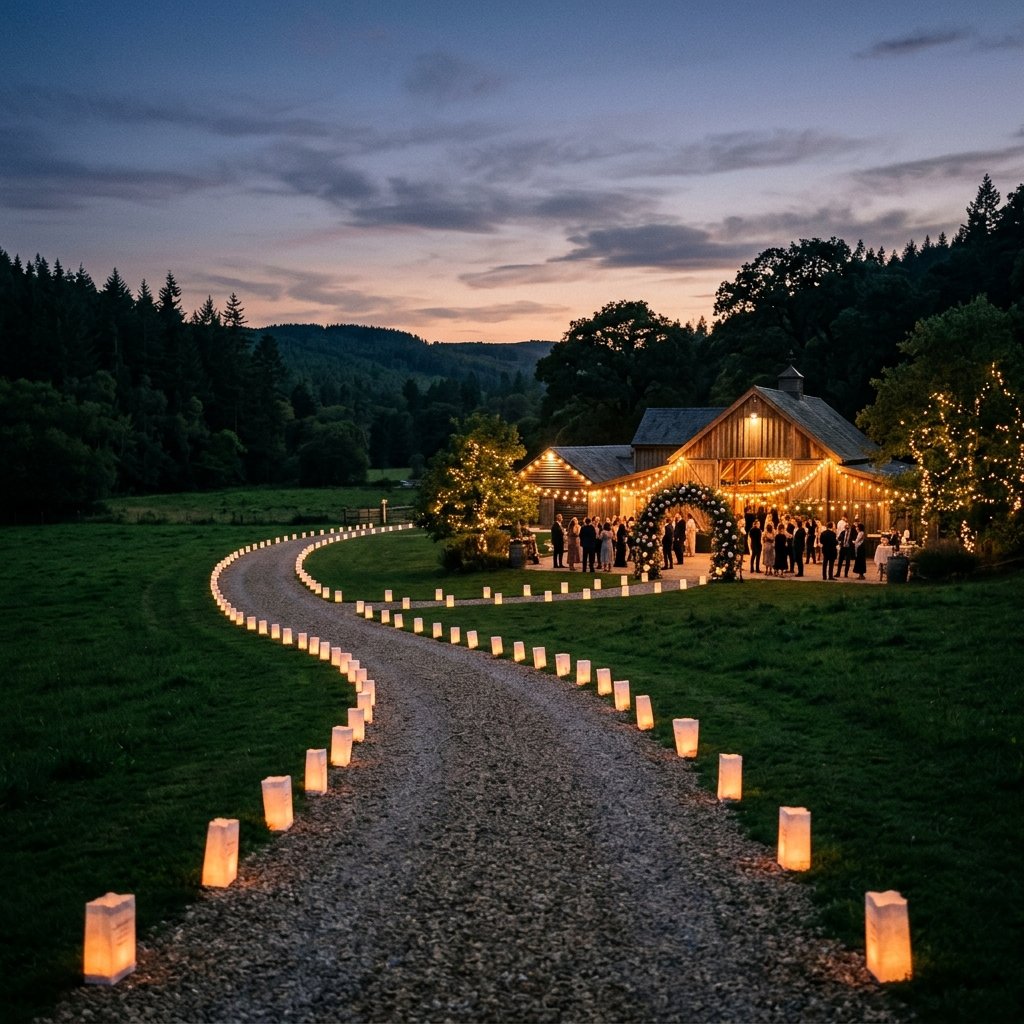
Line the primary driveway or walkway. Space the bags exactly 2 to 3 feet apart for a professional, symmetrical look. If the path is winding, place them slightly closer together on the curves to accentuate the shape of the land.
The Aisle Marker
For outdoor ceremonies, luminaries make incredible aisle markers. They provide a soft glow for the processional, which is especially stunning for sunset ‘I dos.’ Pro Tip: Ensure they are set back at least 12 inches from the actual walking path to avoid being kicked by nervous flower girls or caught in the bride’s train.
The ‘Looming’ Effect: Stairs and Ledges
Luminaries look spectacular when placed on different elevations. Line the steps of a stone staircase or the top of a retaining wall. The verticality adds a layer of sophistication that floor-level lighting lacks.
- Walkways: Use brown bags for a grounded, earthy feel.
- Water Features: Place white bags near ponds or pools to double the glow via reflection.
- Perimeters: Use them to define the edges of a dance floor or a tent.
The Efficient Assembler: Mass-Producing 200+ Luminaries
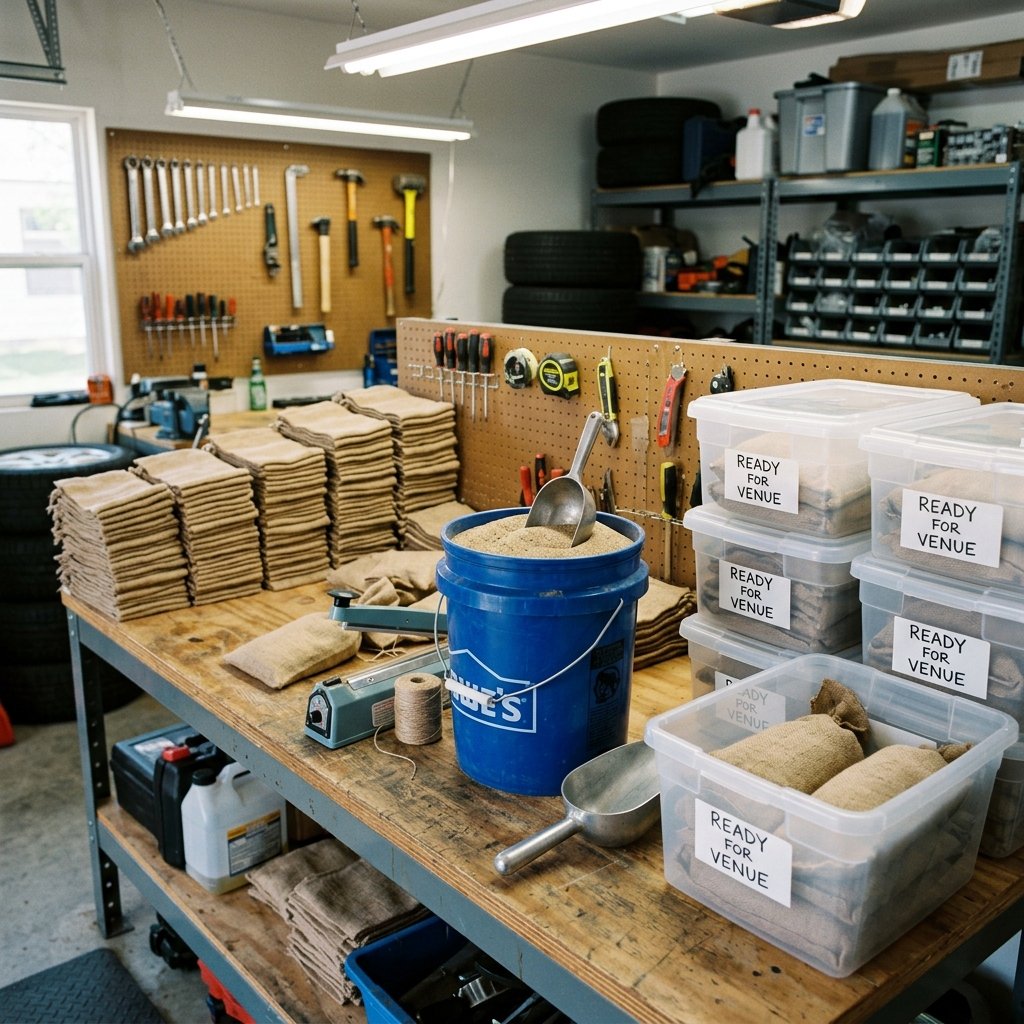
Making five luminaries is a fun afternoon project. Making 250 is a tactical operation. To avoid burnout, you need a system. This is where the ‘handy parent’ or ‘frugal DIYer’ mindset kicks in—efficiency is king.
The Assembly Line Method
Do not try to complete one bag at a time. Work in batches of 50.
1. Batch 1: Fold all the top edges down.
2. Batch 2: Perform all the hole-punching/stenciling.
3. Batch 3: Pre-fill small Ziploc bags with the exact amount of sand needed (this makes transport much cleaner).
4. Batch 4: Test all LED lights to ensure there are no duds.
Storage and Transport
Stack the punched and folded bags flat in plastic bins. Do not add the sand until you are at the venue! Transporting 200 bags filled with sand is a recipe for a back injury and a very messy car. Use a 5-gallon bucket and a small scoop to fill the bags once they are placed in their final positions.
Timeline for Success
Start your punching and folding 2 to 3 weeks before the wedding. This is a great ‘task’ to do while watching a movie. The actual setup (filling with sand and placing) should happen about 3 to 4 hours before the ceremony. Assign this task to a ‘Groom’s Crew’ or a few reliable cousins—it’s a simple, high-impact job that keeps people helpful and out of the couple’s way.
Conclusion
DIY paper bag luminaries are more than just a budget-saving hack; they are a testament to the idea that elegance doesn’t have to be expensive. By taking simple, rugged materials like kraft paper and sand and applying a bit of crafty expertise, you create an atmosphere that your guests will remember long after the last dance. You’ve saved hundreds of dollars, avoided the stress of complex electrical setups, and added a personal, handmade touch to one of the most important days of your life.
So, grab a punch, find some sand, and start creating that magical glow. Your wedding—and your budget—will thank you. Remember, the best designs aren’t always the ones that cost the most; they are the ones that are crafted with care, resourcefulness, and a little bit of DIY magic. Happy crafting!

Makenzie is the founder and lead writer at MoneyHackTips.com — a personal finance blog dedicated to delivering street-smart financial wisdom for real people on real budgets. With 300+ published articles covering everything from debt management to investing fundamentals, Makenzie’s mission is to make every dollar work harder. When not writing about money hacks, Makenzie is testing frugal living strategies, optimizing side hustles, and helping readers build financial freedom from scratch.