
The Death of the Five-Dollar Greeting Card
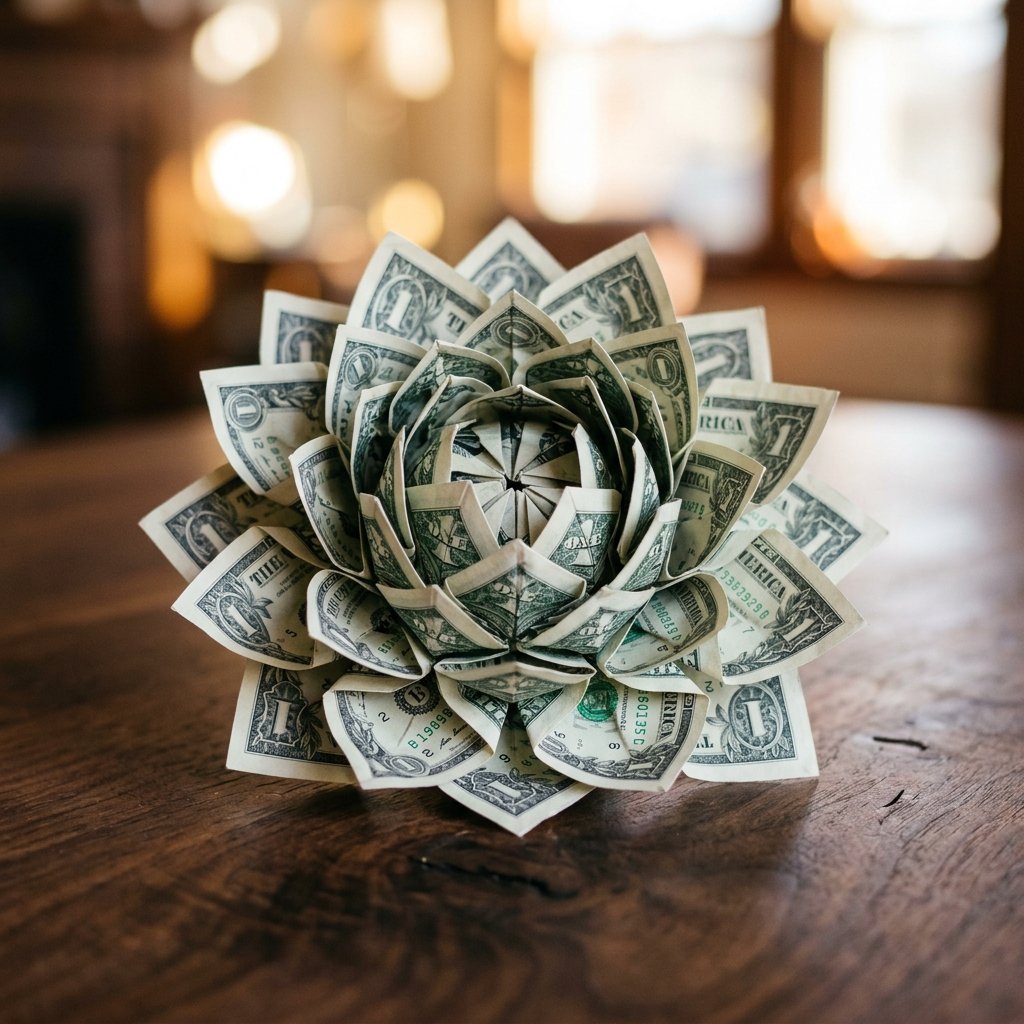
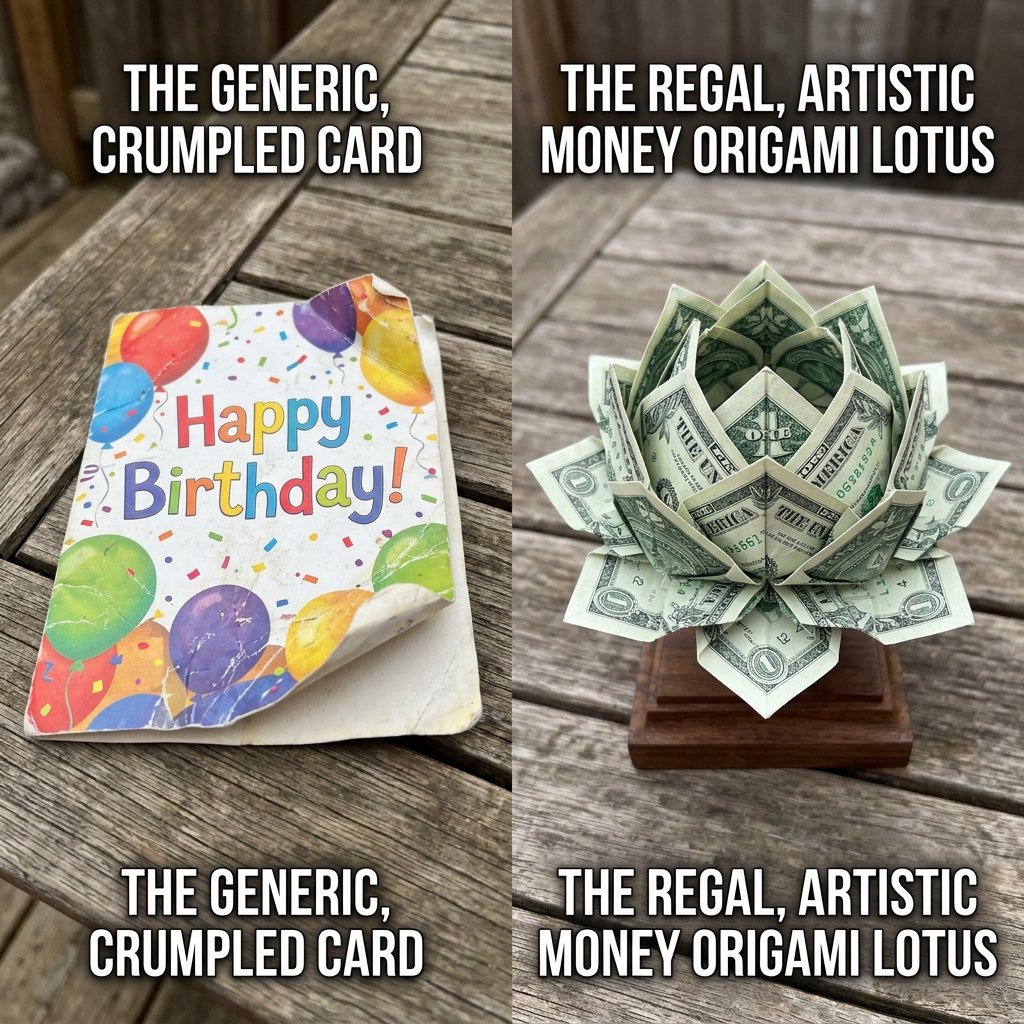
Let’s be honest: spending $7.00 on a piece of cardstock that will eventually end up in a recycling bin—or worse, the trash—is a budget-buster that offers very little ‘wow’ factor. As a frugal DIYer, you know that the best gift is cash, but handing over a plain envelope feels lazy. That’s where the Money Origami Lotus Flower comes in. This isn’t just a gift; it’s a conversation piece, a display of effort, and a clever way to turn a $3 or $30 gift into something that looks like it cost a fortune in a boutique gift shop. Whether you are a crafty parent looking to impress at a graduation or a budget-savvy wedding guest, mastering the lotus fold is your new secret weapon for ruggedly elegant, high-impact gifting.
Why Money Origami Beats the Store-Bought Aisle
The Value Proposition of Hand-Folded Cash
When you choose to fold your gift rather than buy a card, you are practicing the ultimate ‘trash-to-treasure’ philosophy. You are taking legal tender and upcycling its form into art. From a financial perspective, you are saving the 100% markup found in the stationery aisle. More importantly, a money lotus shows the recipient that you gave them your most valuable resource: your time.
| Gift Method | Estimated Extra Cost | Perceived Effort | Keepsake Value |
|---|---|---|---|
| Standard Card | $5.00 – $9.00 | Low | Low (Disposable) |
| Plain Envelope | $0.10 | Minimal | Zero |
| Money Origami Lotus | $0.00 | High | High (Often kept for years) |
By using crisp bills directly from the bank, you create a structural masterpiece that holds its shape without glue or tape, ensuring the money remains 100% spendable whenever the recipient finally decides to deconstruct it.
The Bill Denomination & Visual Impact Matrix
Choosing Your Canvas: Which Bills Work Best?
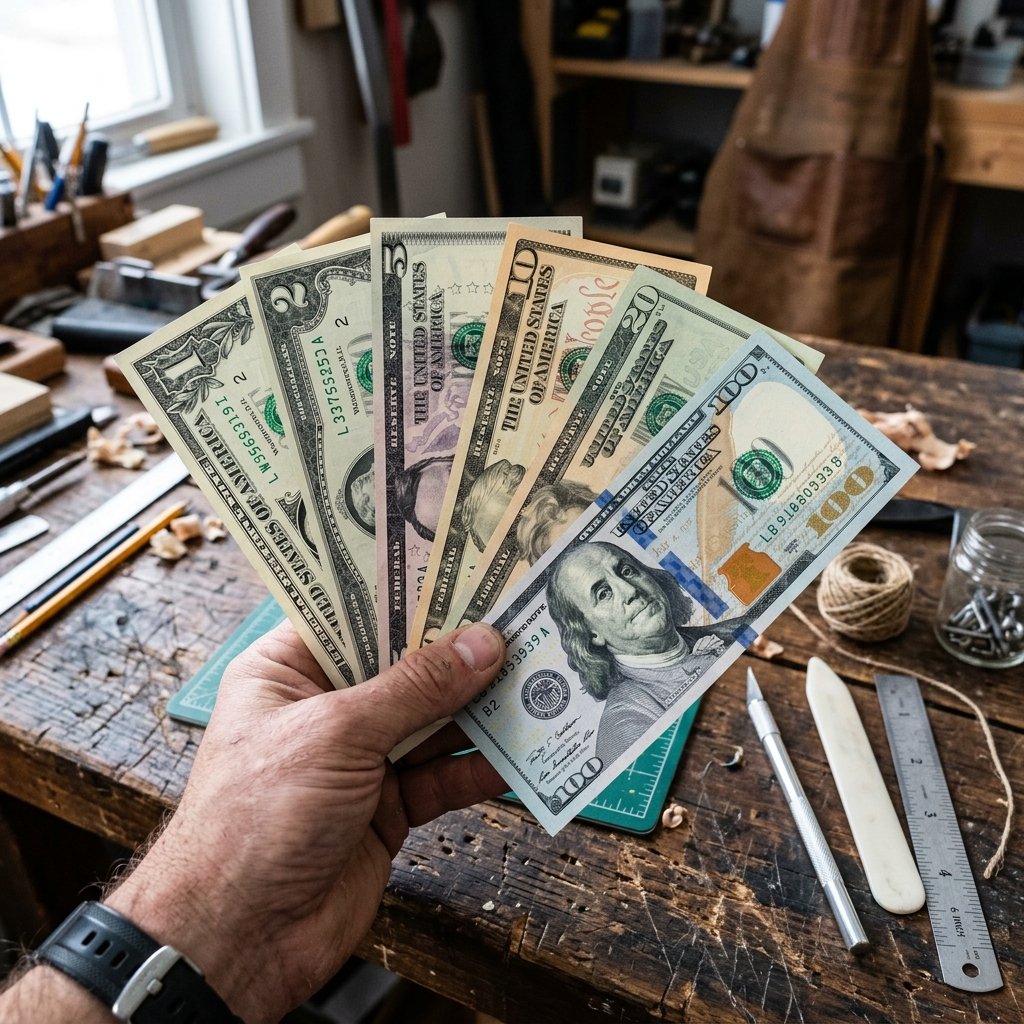
Not all bills are created equal when it comes to the lotus. While you can fold a lotus out of any denomination, the color and ‘crispness’ of the paper play a huge role in the final aesthetic. For a traditional ‘green’ lotus, $1 bills are perfect. If you want a more ‘golden’ or high-contrast look, mixing $10s and $20s can create a stunning multi-tonal effect.
Denomination Strategy Guide
| Bill Type | Visual Effect | Best Occasion | Folding Difficulty |
|---|---|---|---|
| $1 Bills (New) | Classic Forest Green | Graduations / Kids | Easy (Paper is flexible) |
| $2 Bills | Unique Teal/Grey | Weddings / Good Luck | Moderate |
| $10 Bills | Warm Gold/Yellow Tones | Golden Anniversaries | Easy |
| Mixed ($1s & $5s) | Two-Tone Petals | Birthdays | Moderate (Alignment is key) |
Pro-Tip: Always visit your bank teller and specifically request “uncirculated” or “crisp” bills. Old, limp bills will not hold the tension required for the lotus petals to ‘bloom’ upward.
The Master’s Toolkit: Materials for Precision
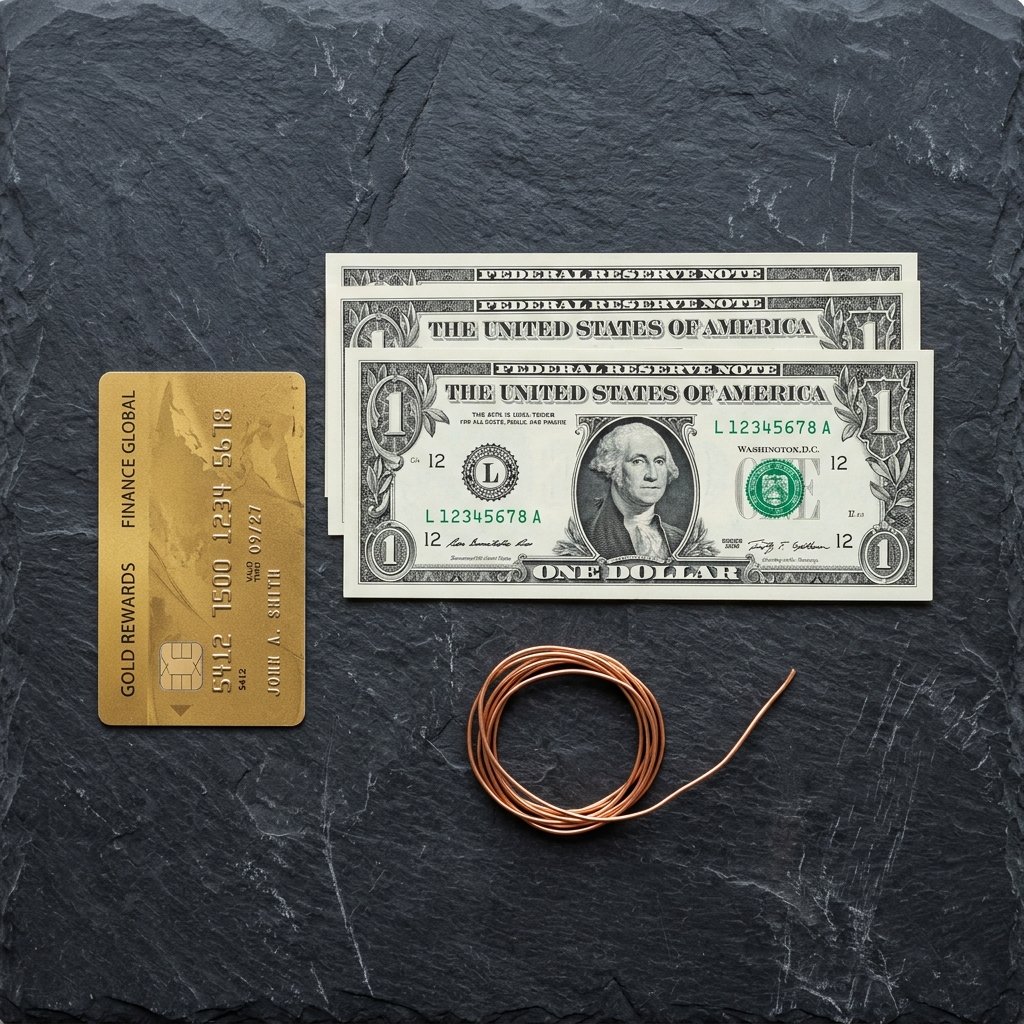
Everything You Need for a Flawless Fold
While the beauty of origami is that it requires no tools, a few household items will help you achieve those sharp, masculine-elegant lines that separate the amateurs from the pros. You don’t need to spend a dime—just look in your junk drawer or kitchen.
- 3 to 5 Crisp Bills: The standard lotus uses 3 bills for petals and 1 or 2 for the base/leaves.
- A ‘Bone Folder’ Substitute: Use the edge of a credit card or a metal ruler to score your folds. Sharp creases are the secret to a flower that doesn’t wilt.
- Thin Wire or Rubber Band: A small piece of floral wire or a tiny clear hair elastic to bind the center.
- Tweezers: Useful for pulling up the inner petals without wrinkling the paper.
Safety Note: Never use tape or glue on currency. It can devalue the bills and make them difficult for the recipient to use. Precision folding and a central tie are all you need for structural integrity.
Step-by-Step: Folding the Lotus Petals
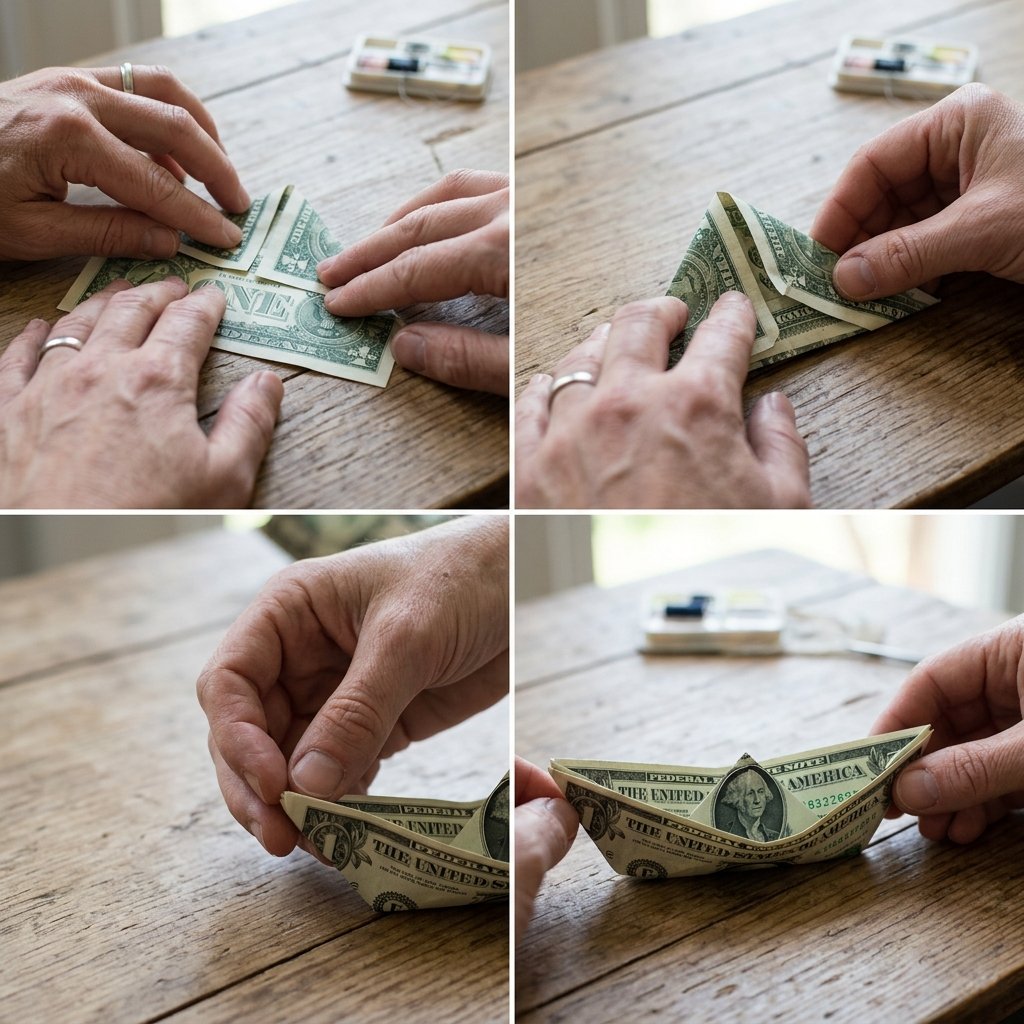
Phase 1: Creating the Petal Units
The lotus is a modular origami piece. You will fold several identical units and then join them. Follow these steps with tactical precision.
- The Initial Fold: Lay the bill flat (face up). Fold it in half lengthwise to create a center crease, then unfold.
- Corner Tucks: Fold all four corners inward so the edges meet at the center crease. Your bill should now look like a long hexagon.
- The Longitudinal Fold: Fold the long top and bottom edges inward to meet at the center line.
- The Final Crease: Fold the entire unit in half lengthwise so the raw edges are hidden inside. You should now have a narrow, boat-like shape.
- Repeat: Perform these steps on three separate bills. These will be your petals.
Phase 2: Assembly and The Bloom
- Stacking: Stack your folded bills directly on top of each other.
- The Center Bind: Find the exact midpoint of the stack. Wrap your wire or rubber band tightly around the center. It will look like a multi-layered ‘bow tie.’
- The Fan Out: Gently fan the ‘wings’ of the bills out from the center so they form a star shape.
- The Petal Lift: This is the magic part. Starting with the top layer, gently pull the corners of the bill upward and toward the center. Use your thumb to ‘pop’ the petal into a curved shape.
- Layering: Repeat the lifting process for each layer, staggering them slightly to fill the gaps.
Styling and Presentation for the ‘Unforgettable’ Factor
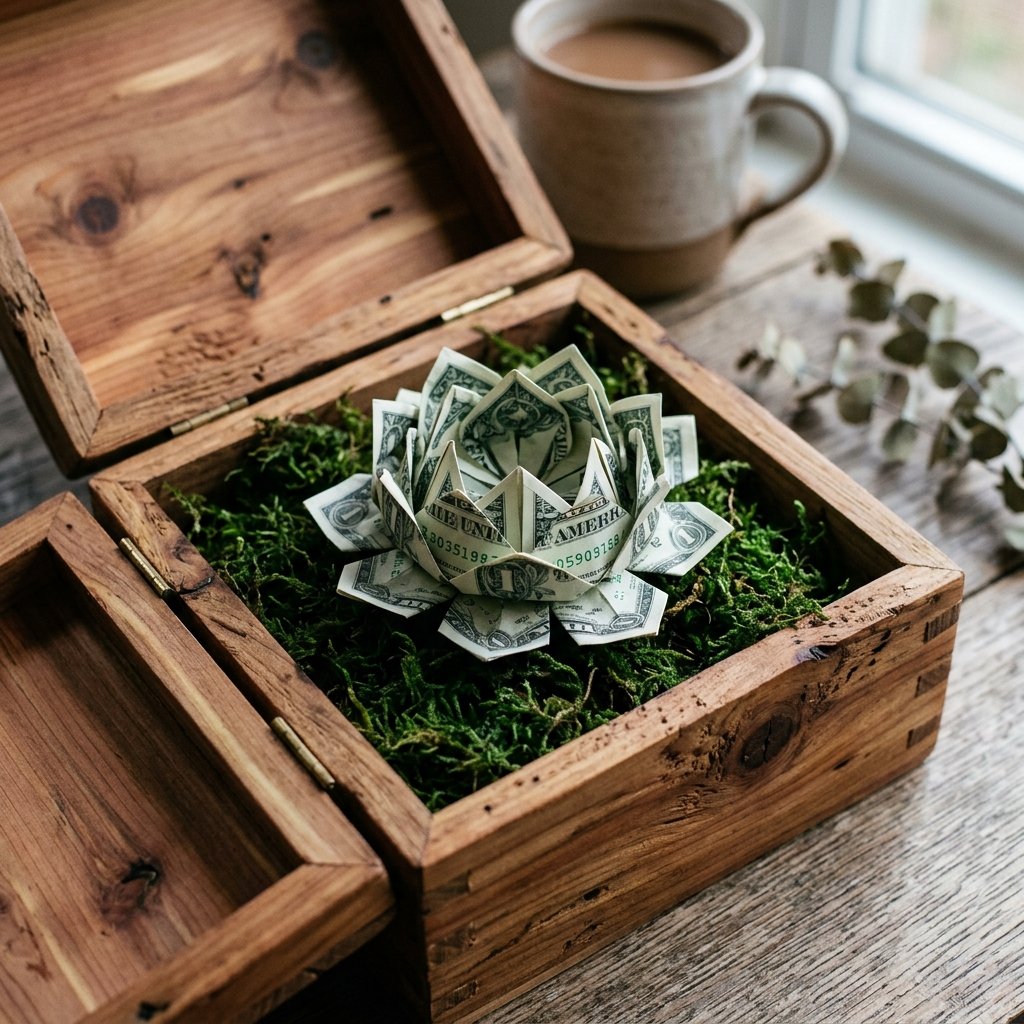
Taking it Beyond the Fold
Now that you have a stunning money lotus, don’t just toss it in a bag. Presentation is where the ‘Elegant’ in ‘Masculine-Elegant’ comes into play. You want the recipient to feel like they are receiving a piece of jewelry.
- The Shadow Box: Place the lotus in a small $1.25 Dollar Tree shadow box lined with black velvet or cardstock. This turns the gift into instant home decor.
- The ‘Blooming’ Card: Attach the lotus to the front of a piece of high-quality kraft paper using a single loop of thread. It replaces the need for a printed graphic.
- The Glass Dome: For a wedding, place the lotus under a small glass cloche with a bit of dried moss at the base. It looks like a $50 centerpiece.
| Presentation Style | Materials Needed | Estimated DIY Cost |
|---|---|---|
| The Minimalist | Kraft Paper & Twine | $0.20 |
| The Executive | Small Wooden Box | $2.00 |
| The Romantic | Glass Cloche / Dome | $3.50 |
Troubleshooting: Common Pitfalls and Pro-Fixes
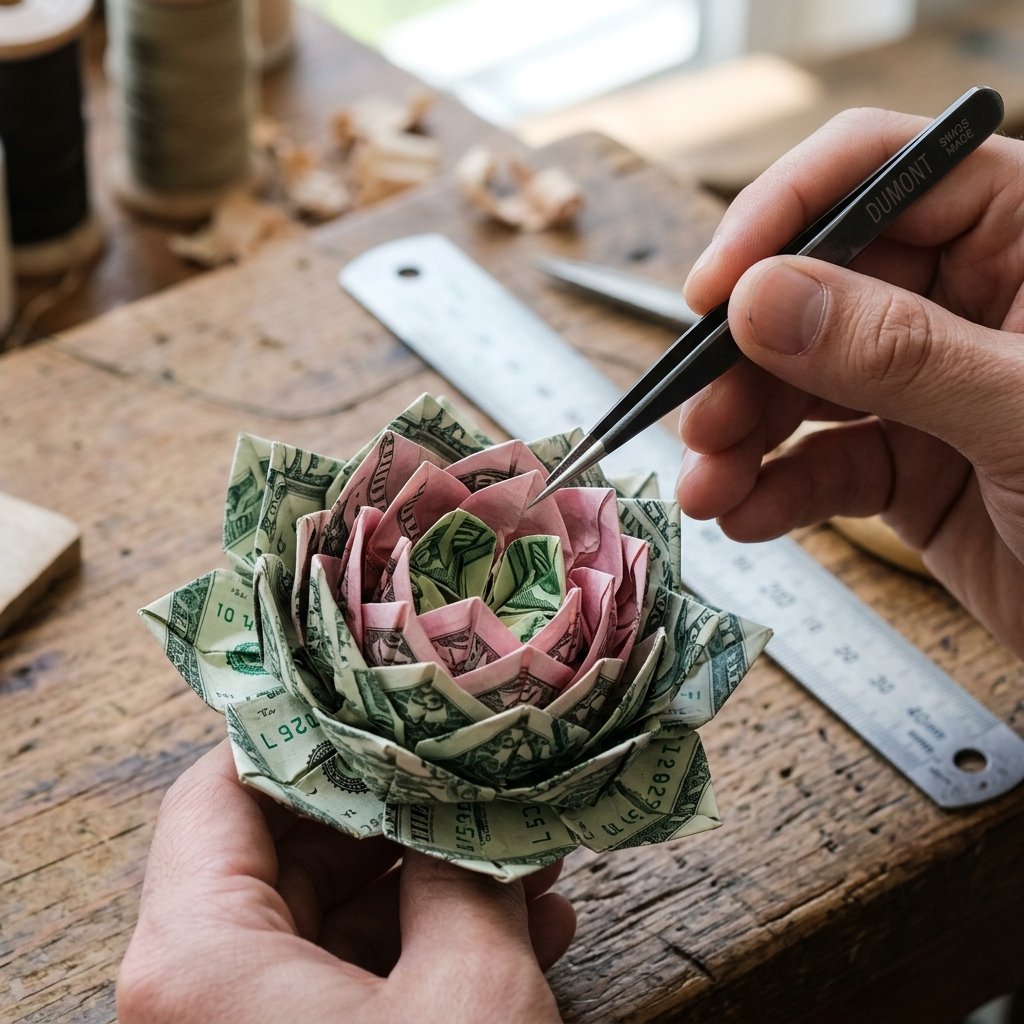
Achieving Origami Perfection
If your lotus looks more like a crumpled napkin than a flower, don’t panic. Even the most resourceful crafters need a few ‘mending’ tricks.
The ‘Limp Petal’ Syndrome
If your petals won’t stay upright, your bills are likely too old. Pro-Tip: You can lightly mist a limp bill with a tiny bit of hairspray (from a distance!) to add temporary stiffness before folding. Let it dry completely first.
Symmetry Issues
If the flower looks lopsided, your central tie is off-center. Use a ruler to find the exact 3.07-inch mark (the center of a US bill) and ensure your wire is tightened exactly there. A 1/8th inch error at the center becomes a half-inch error at the petal tip.
The Frugal Mantra: “Measure twice, fold once, and never pay for a greeting card again.”
Conclusion
Mastering the Art of the Frugal Gift
The Money Origami Lotus is more than just a clever way to give cash—it’s a testament to the power of resourceful creativity. By choosing to fold rather than buy, you’ve saved money, reduced waste, and created a gift that will be remembered long after the cash is spent. You’ve taken a common item and, through the skill of your own hands, turned it into something extraordinary. So, the next time a graduation, wedding, or birthday rolls around, skip the card aisle. Head to the bank, grab some crisp bills, and let your creativity bloom. Your wallet—and your recipient—will thank you.

Makenzie is the founder and lead writer at MoneyHackTips.com — a personal finance blog dedicated to delivering street-smart financial wisdom for real people on real budgets. With 300+ published articles covering everything from debt management to investing fundamentals, Makenzie’s mission is to make every dollar work harder. When not writing about money hacks, Makenzie is testing frugal living strategies, optimizing side hustles, and helping readers build financial freedom from scratch.