
The Art of the Zero-Dollar Toy
Let’s be honest: the toy industry wants you to believe that love is measured in plastic and price tags. But as a resourceful DIYer, you know better. You know that with a bit of grit, a sharp utility knife, and a salvaged Amazon box, you can create something far more meaningful than a mass-produced hunk of plastic. Today, we are diving into the world of high-end cardboard engineering. We aren’t just taping boxes together; we are building a rugged, elegant, and structurally sound doll bed that will survive the rigors of playtime while looking like a boutique find. Whether you are a budget-savvy parent looking to surprise your little one or a crafty gift-giver aiming for that ‘wow’ factor without the ‘ouch’ price, this guide is your blueprint for success. We’re talking about 100% upcycled materials and zero-budget brilliance.
“Frugality isn’t about doing without; it’s about doing better with what you already have.”
Scavenging for Success: The Ultimate Cardboard Inventory
Selecting Your Raw Materials
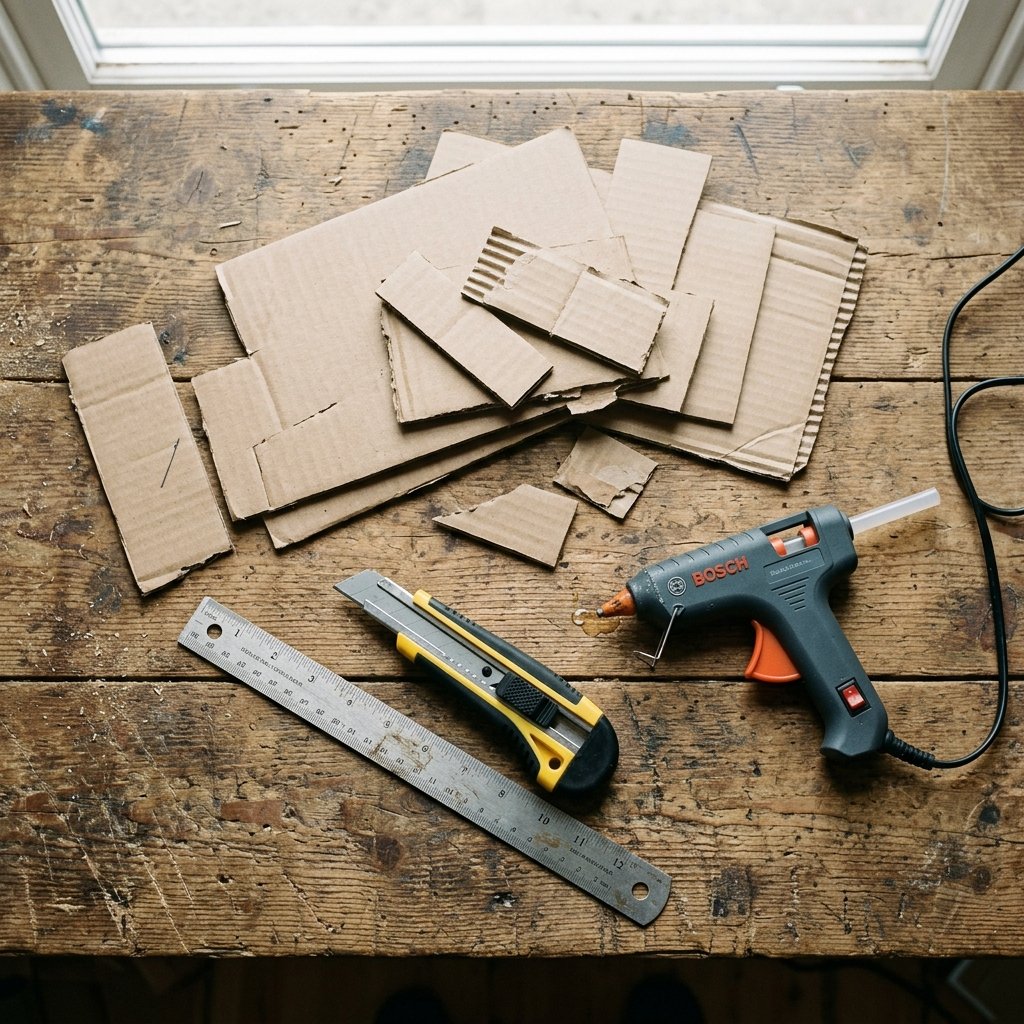
Not all cardboard is created equal. For a project that lasts, you need to be selective about your ‘trash.’ You are looking for double-walled corrugated cardboard for the main structural rails and single-walled, high-density cardboard for the decorative headboard and footboard. Avoid any boxes that have water damage or deep creases, as these are structural weak points. Your mission is to find that ‘Goldilocks’ box—stiff enough to hold weight, but thin enough to cut with precision.
The Tool Kit: Household Essentials
You likely already have everything you need in your junk drawer. Here is the breakdown of what we’ll use to turn waste into a masterpiece:
| Material/Tool | The Frugal Source | Estimated Cost |
|---|---|---|
| Corrugated Cardboard | Shipping boxes / Grocery store bins | $0.00 |
| Utility Knife/Box Cutter | Toolbox essential | $0.00 |
| Hot Glue Gun & Sticks | Craft closet staple | $0.50 |
| Old T-Shirt or Fabric Scraps | The ‘rag’ bin | $0.00 |
| Acrylic Paint or Leftover House Paint | Garage shelf remnants | $0.00 |
| Total Investment | Resourcefulness | Under $1.00 |
Safety First: Always cut away from your body and use a metal ruler as a guide to keep your fingers safe and your lines 100% straight. If you’re working with kids, handle the cutting yourself and let them lead the ‘design department.’
The Architect’s Blueprint: Measuring for Your Doll’s Dimensions
Customizing the Fit
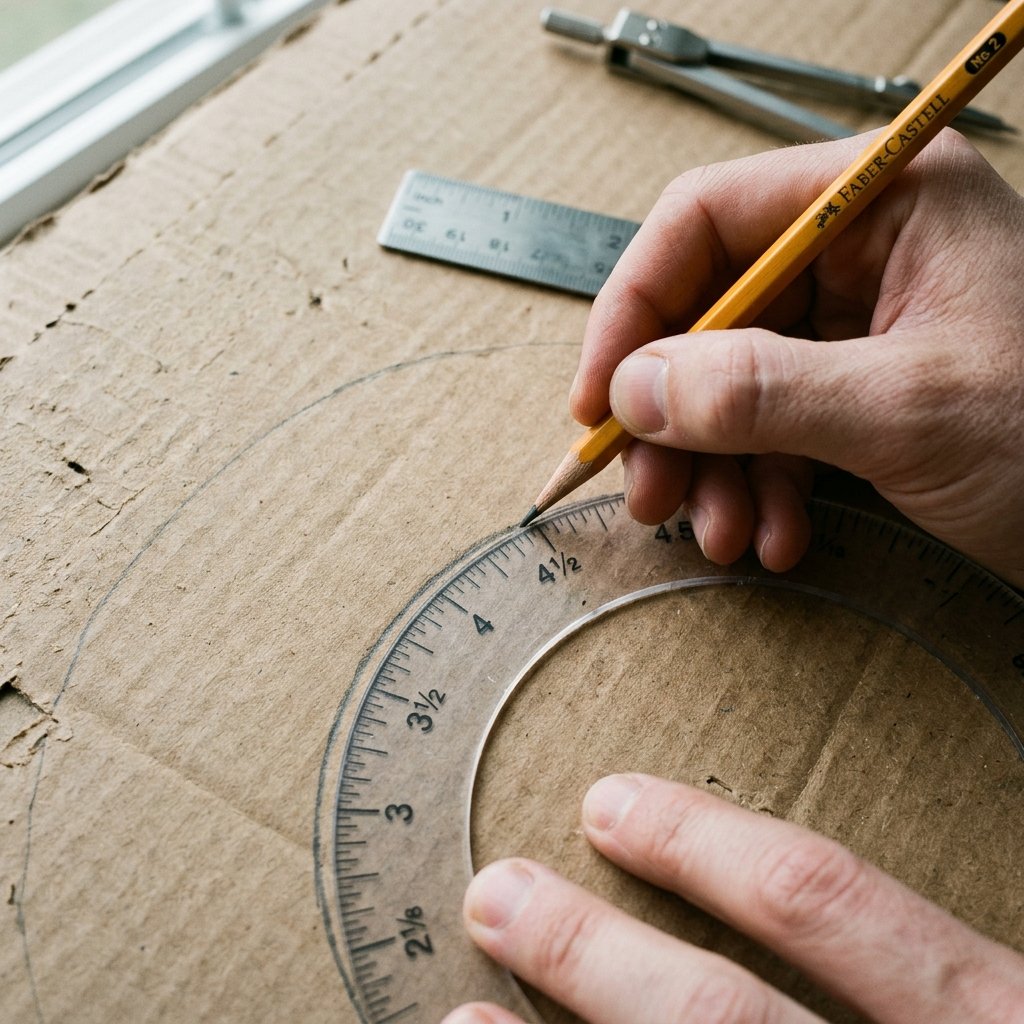
Before you make your first cut, you must know your ‘client.’ Is this for an 18-inch boutique doll, a standard 12-inch fashion doll, or a collection of stuffed animals? The beauty of DIY upcycling is that you aren’t stuck with a one-size-fits-all solution. Use the following standard ratios to ensure a perfect fit:
- For 18-inch Dolls: Bed base should be 20 inches long by 10 inches wide.
- For 12-inch Dolls: Bed base should be 13 inches long by 6 inches wide.
- Headboard Height: Aim for 1/2 the total length of the bed for a classic, regal look.
Marking the Cuts
Use a pencil and a straight edge to draw your components. You will need: one rectangular base, two side rails, one headboard, and one footboard. To achieve a masculine-elegant or modern-chic silhouette, consider rounding the top corners of the headboard using a soup can as a template. This simple trick elevates the look from ‘box’ to ‘furniture.’
Rugged Engineering: Reinforcing Your Joints for Playtime Durability
The Lamination Secret
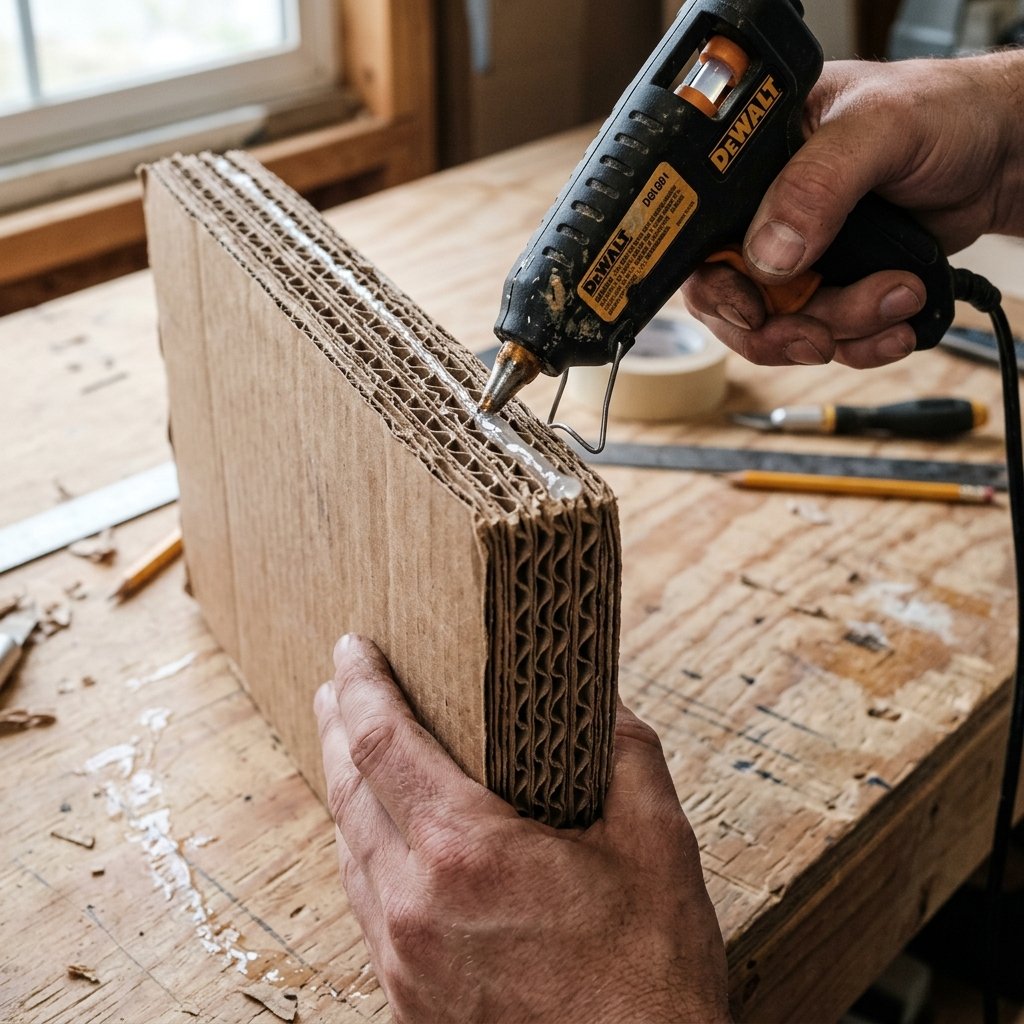
The biggest mistake rookie crafters make is using a single layer of cardboard. To make this bed rugged and durable, we use a technique called lamination. You will cut two identical pieces for every component and glue them together with the ‘grain’ (the internal corrugation) running in opposite directions. This creates a plywood-strength material that won’t bend or buckle under the weight of a heavy doll.
Step-by-Step Assembly
- Glue the Base: Laminate your two base rectangles. Let them dry under a heavy book for 10 minutes to ensure they stay perfectly flat.
- Attach the Side Rails: Apply a thick bead of hot glue to the edge of the base. Press the rail firmly and hold for 30 seconds. For extra strength, add a ‘support cleat’ (a small strip of cardboard) underneath the joint.
- Mount the Headboard and Footboard: These pieces should overlap the ends of the base and the rails, acting as the ‘anchors’ for the entire structure.
- Gap Filling: Use a mixture of flour and water (paper mache paste) or just extra hot glue to fill any visible corrugation holes on the edges for a smooth, finished look.
High-End Aesthetics on a Dime: Painting and Upholstering with Trash
The ‘Baking Soda’ Paint Trick
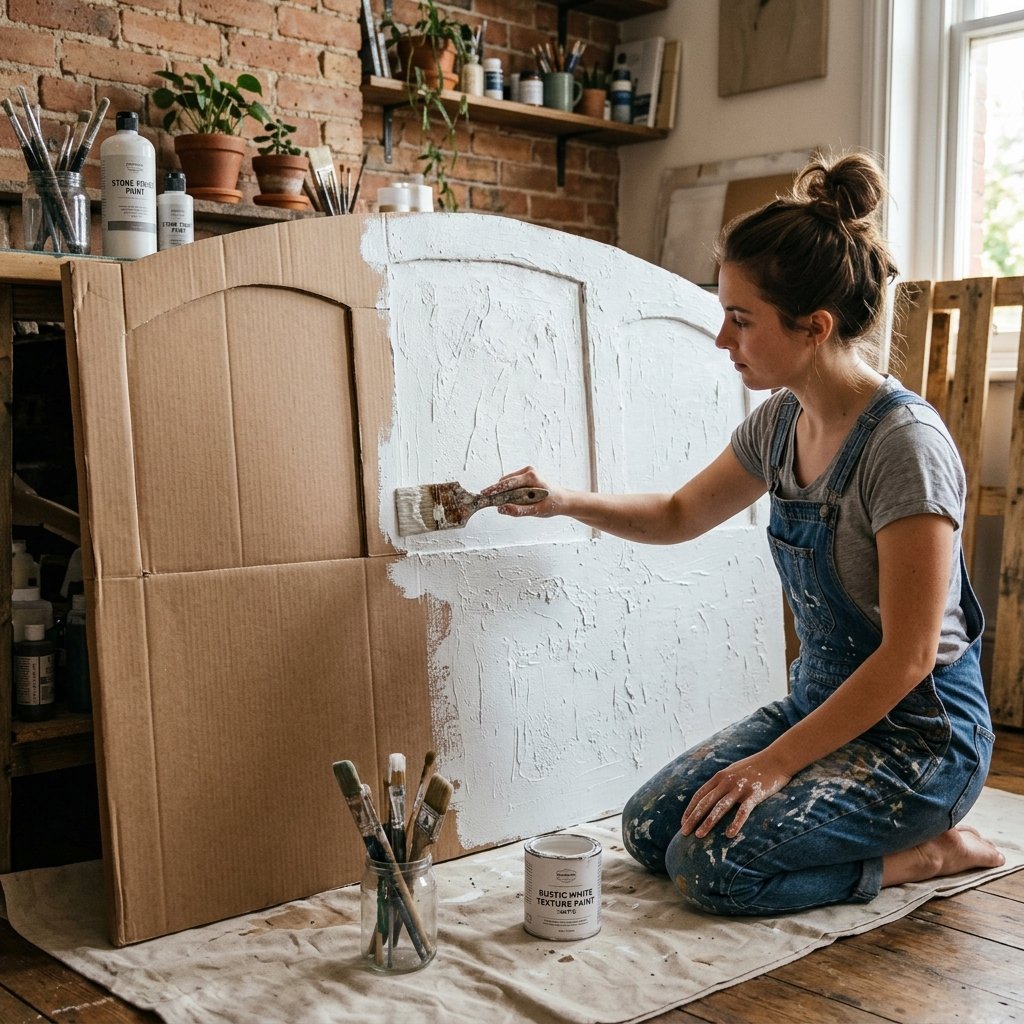
Want to turn cardboard into faux-ceramic or matte-finished wood? Mix a teaspoon of baking soda into your acrylic paint. This creates a thick, textured paste that hides the cardboard’s ‘paper’ texture and gives it a high-end, stone-like appearance. Apply two thin coats rather than one thick one to prevent the cardboard from warping.
Upholstery Without a Sewing Machine
You don’t need to be a master tailor to make this bed look cozy. Grab an old, soft t-shirt or a worn-out flannel shirt. Cut a piece of fabric 2 inches wider than your cardboard base. Wrap the fabric around the base and hot glue it to the underside, just like you would with a real upholstered headboard. This ‘no-sew’ method is fast, frugal, and looks professional.
| Finish Style | Materials Needed | Vibe |
|---|---|---|
| Modern Minimalist | White paint + Baking soda | Clean & Bright |
| Rustic Farmhouse | Brown paint + Dry brush white | Distressed Wood |
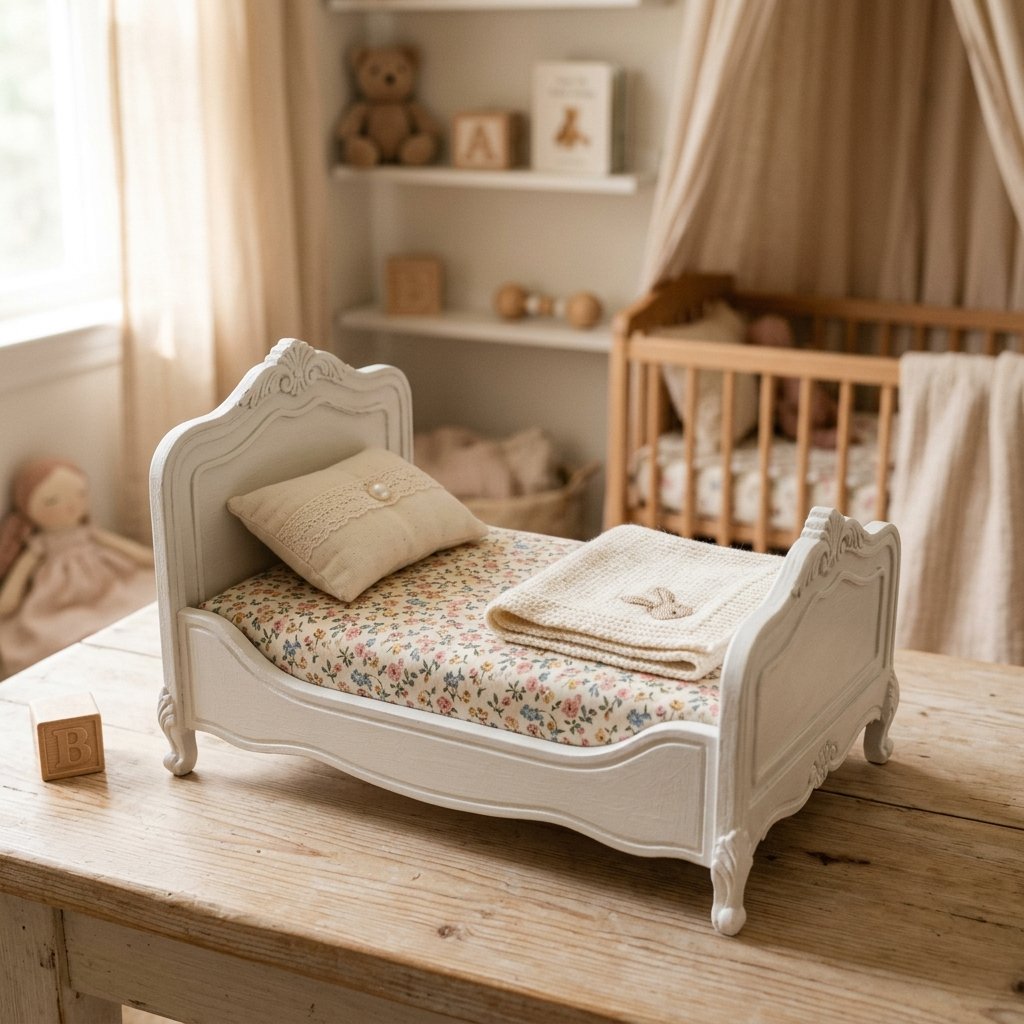
| Vintage Chic | Floral fabric scraps + Lace trim | Elegant & Sweet |
The Master Tailor’s Touch: Crafting No-Sew Bedding from Scraps
The Mattress and Pillows
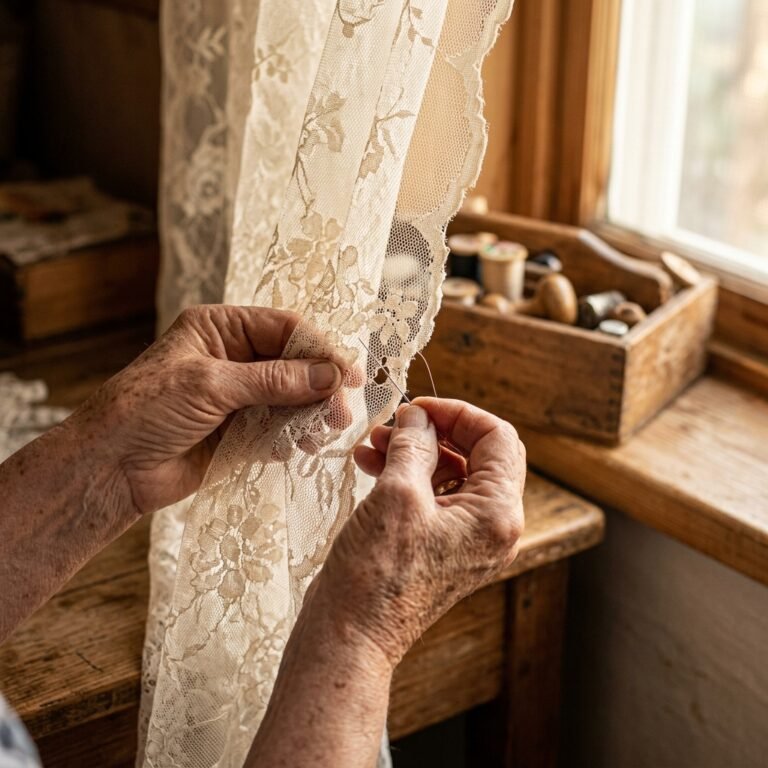
A bed is just a frame without a comfy place to rest. To keep this zero-budget, we are raiding the rag bin again. For the mattress, stack several layers of quilted paper towels or old fleece scraps and wrap them in fabric. Secure the ends with a simple ladder stitch or more hot glue.
Making the Perfect Mini-Pillow
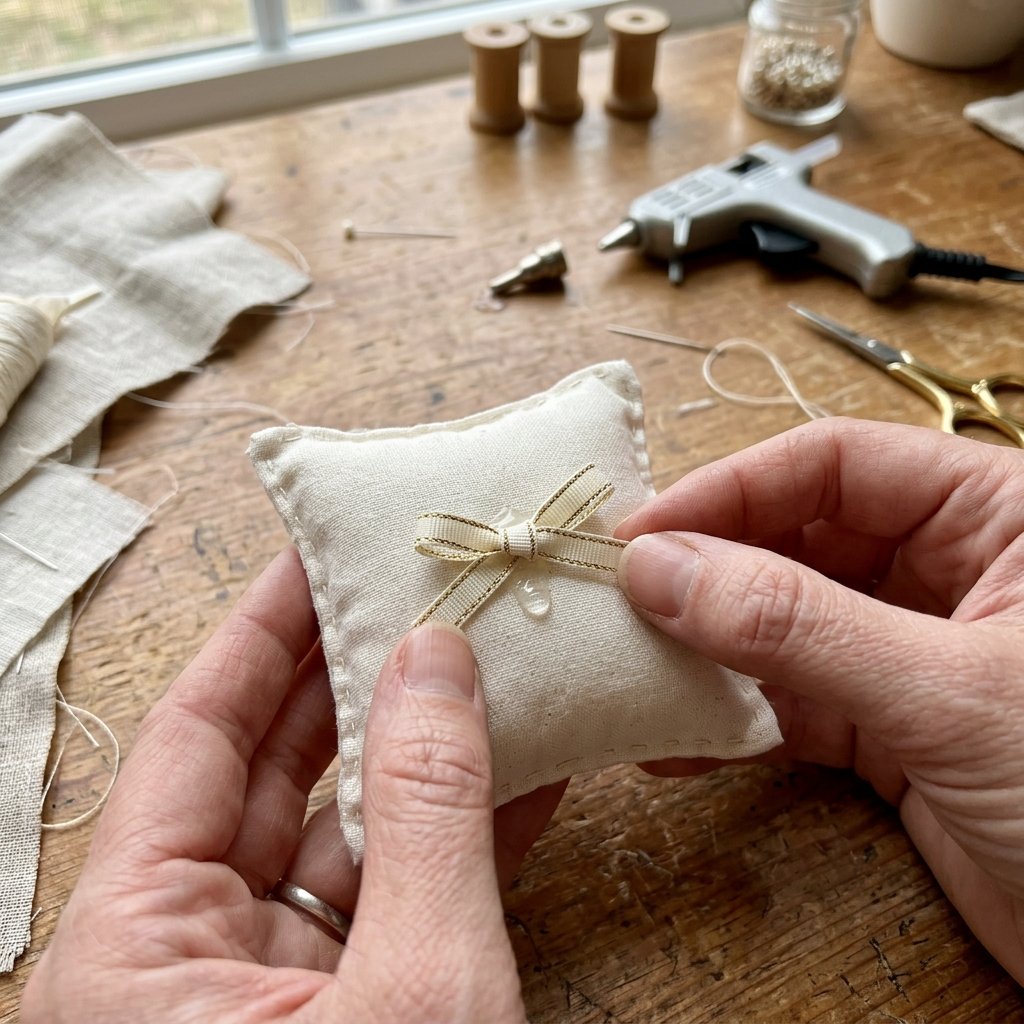
“The secret to a ‘super cute’ doll bed is in the details. A tiny pillow makes the scale feel real.”
To make a pillow without sewing:
- Cut a small rectangle of fabric.
- Fold it in half, pretty sides together.
- Glue three sides shut.
- Turn it right-side out through the remaining hole.
- Stuff it with cotton balls or dryer lint (yes, it’s free and clean!).
- Glue the final seam shut.
The Budget Breakdown: Why Upcycling Wins Every Time
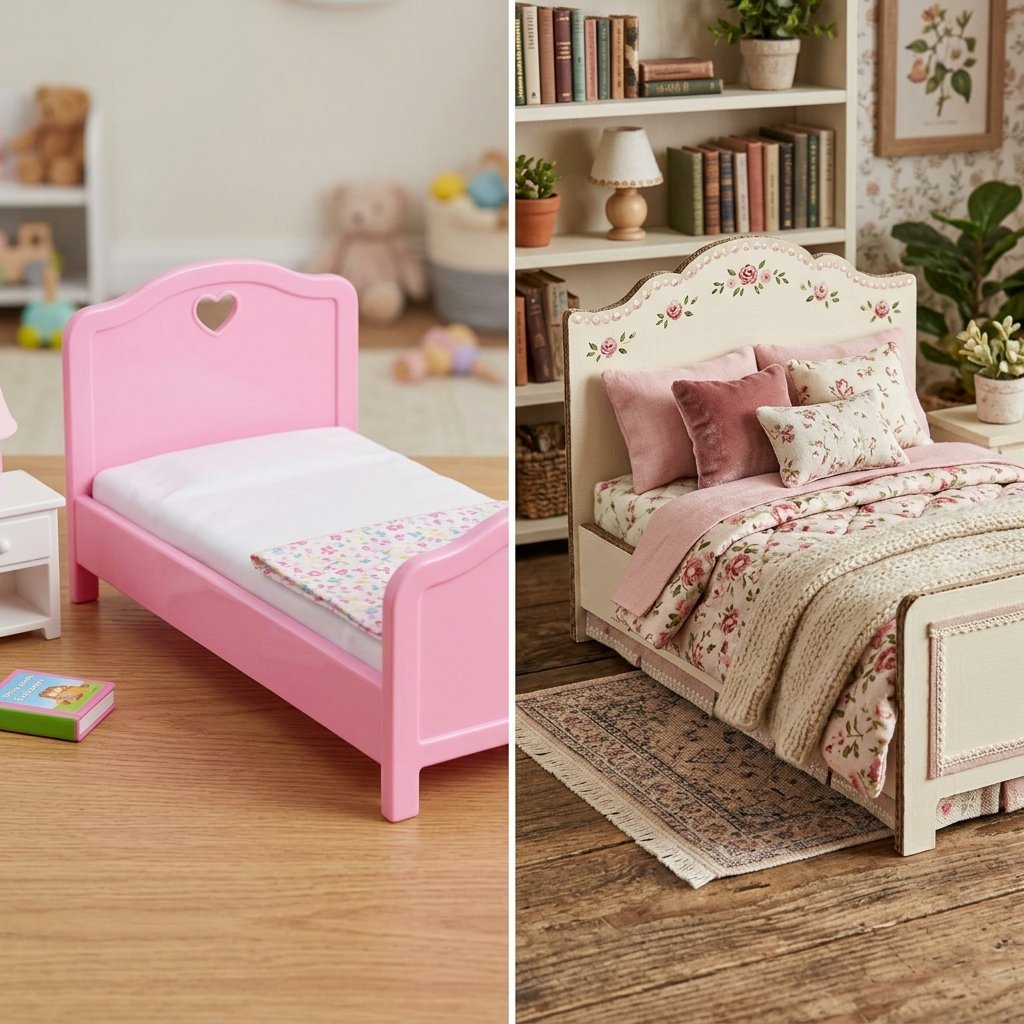
DIY vs. Store-Bought Comparison
Let’s look at the cold, hard facts. When you choose to build instead of buy, you aren’t just saving money; you’re reducing waste and teaching your family the value of resourceful creativity. Here is how the DIY Cardboard Bed stacks up against the leading plastic competitors:
| Feature | Big-Box Store Doll Bed | Our DIY Cardboard Bed |
|---|---|---|
| Retail Price | $24.99 – $39.99 | $0.00 – $0.50 |
| Material | Virgin Plastic (Non-recyclable) | Recycled Corrugated Fiberboard |
| Customization | None (Take it or leave it) | Infinite (Your choice of color/size) |
| Assembly Time | 10 minutes (Snap together) | 45 minutes (Crafting joy) |
| Sentimental Value | Low | Extremely High |
The winner is clear. By spending 45 minutes of your time, you save nearly $40 and keep plastic out of the landfill. That is what we call a clever win.
Conclusion
You’ve Built More Than a Toy
Congratulations! You’ve just turned a discarded shipping box into a super cute, heirloom-quality doll bed. By using clever engineering and budget-savvy finishes, you’ve proven that you don’t need a big bank account to create big magic. This project isn’t just about the ‘zero-dollar’ price tag; it’s about the rugged satisfaction of building something with your own two hands. Now that you’ve mastered the cardboard bed, what’s next? A matching wardrobe? A three-story dollhouse? The limit is only your imagination (and your supply of boxes). Stay crafty, stay frugal, and keep upcycling!

Makenzie is the founder and lead writer at MoneyHackTips.com — a personal finance blog dedicated to delivering street-smart financial wisdom for real people on real budgets. With 300+ published articles covering everything from debt management to investing fundamentals, Makenzie’s mission is to make every dollar work harder. When not writing about money hacks, Makenzie is testing frugal living strategies, optimizing side hustles, and helping readers build financial freedom from scratch.