
The Art of the Denim Resurrection
We have all been there: that favorite pair of jeans finally gives up the ghost. Whether it is a blowout in the inner thigh or a permanent grease stain from a weekend under the truck, the denim is ‘done.’ But for the resourceful DIYer, the end of a garment’s life is merely the beginning of a new utility. Denim is one of the most resilient fabrics ever created, designed for the gold mines and the rugged outdoors. It is a crying shame to let those sturdy, reinforced pockets go to a landfill when they could be serving a higher purpose on your office or workshop wall.
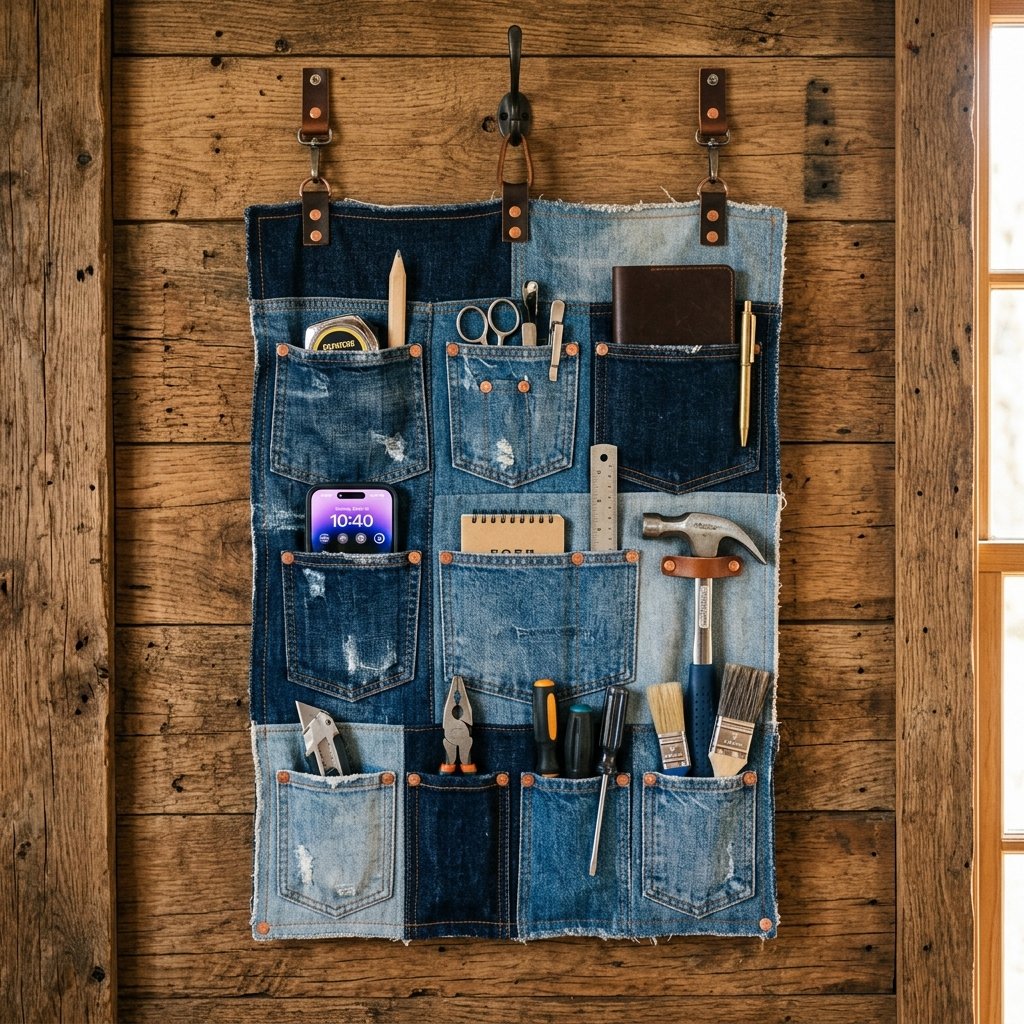
In this guide, we are going to execute a zero-budget transformation. We are taking the most functional part of your old trousers—the pockets—and mounting them onto a backing to create a ‘Stunning Wall Organizer.’ This isn’t just about storage; it is about creating a piece of masculine-elegant decor that tells a story of hard work and clever upcycling. By the time we are finished, you will have a custom organizational hub that would easily retail for $65 to $120 in a high-end boutique, all for the cost of a few scraps and a little elbow grease.
The Inventory: Sourcing Your Materials for Zero Dollars
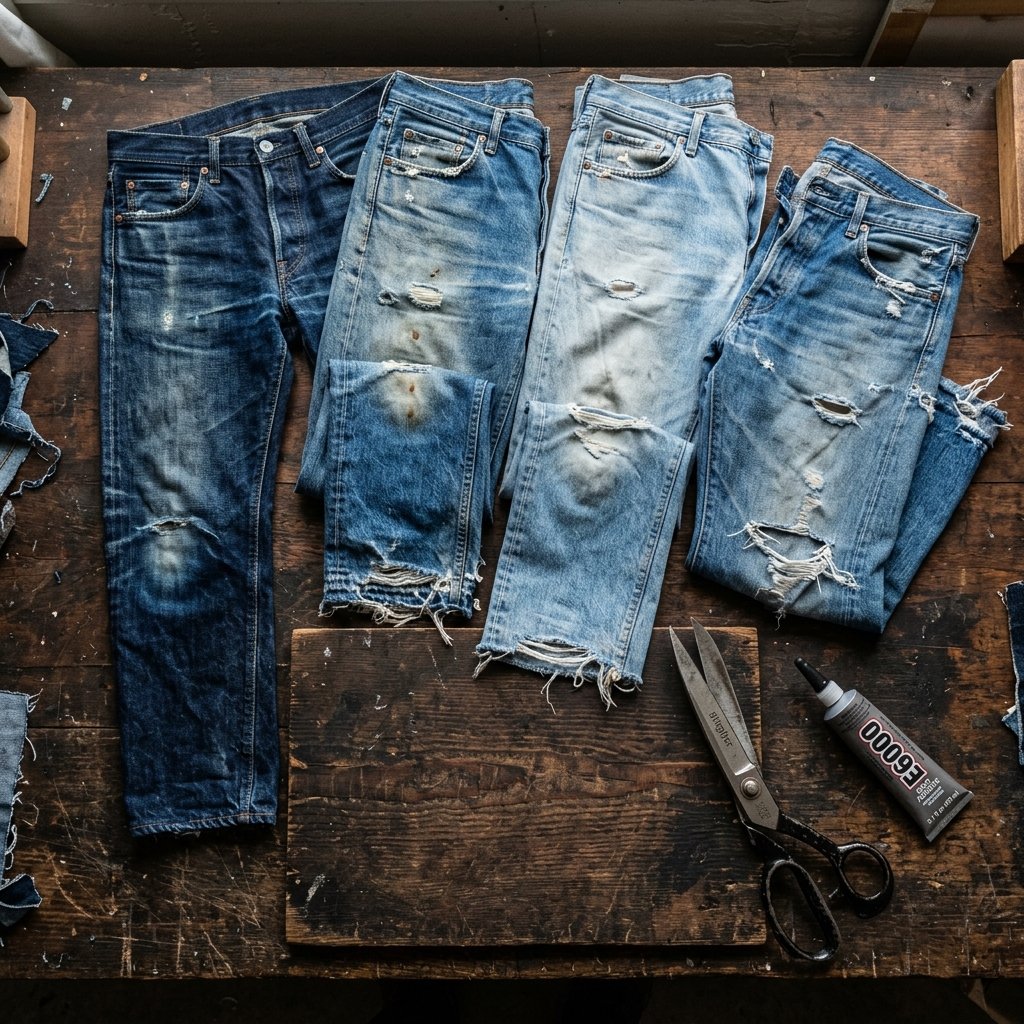
Before we start cutting, we need to gather our ‘trash.’ The beauty of this project is that the more varied your denim sources, the more character the final piece will have. Look for different washes—acid wash, deep indigo, and distressed light blues—to create a visual ‘quilt’ effect. We are aiming for a rugged aesthetic that thrives on imperfection.
| Material | Source | Estimated Cost |
|---|---|---|
| Old Jeans (3-5 pairs) | Your closet or thrift store ‘rag’ bin | $0.00 |
| Backing Board | Plywood scrap or heavy cardboard | $0.00 |
| Adhesive/Fasteners | Heavy-duty staples or fabric glue | $2.00 |
| Hanging Hardware | Old soda can tabs or twine | $0.00 |
| Total Investment | Resourceful Sourcing | $2.00 |
The frugal maker’s mantra: Never buy what you can scavenge. A discarded shipping pallet or a piece of heavy corrugated cardboard makes a perfect structural foundation for your denim masterpiece.
The Surgical Extraction: How to Harvest Pockets Like a Pro
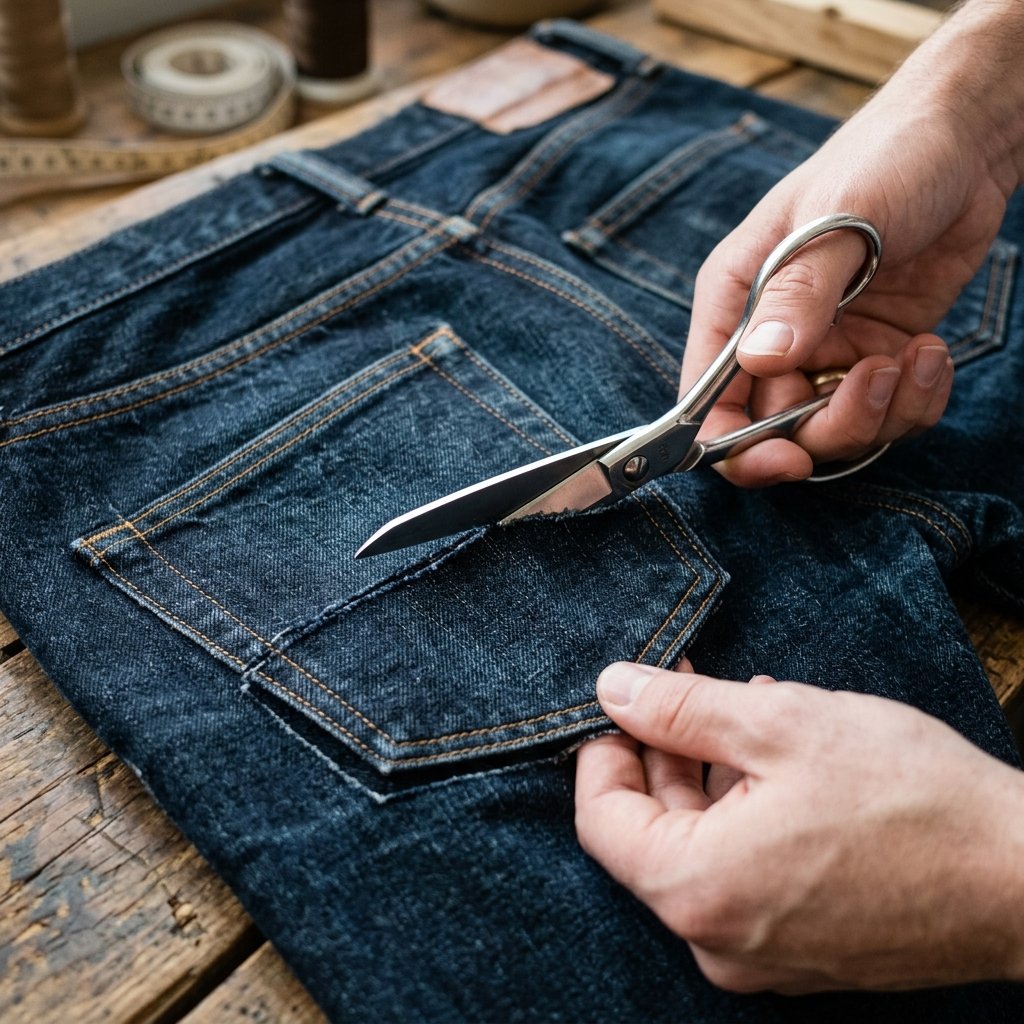
Removing the pockets is a delicate operation. You want to preserve the structural integrity of the pocket while ensuring you have enough ‘buffer’ fabric to secure it to your board. For this project, we are focusing on the back pockets, but don’t overlook the ‘watch pocket’ (that tiny one inside the front pocket)—it is perfect for holding guitar picks or USB drives.
Step-by-Step Harvesting
- Lay the jeans flat on a hard surface.
- Using sharp fabric shears, cut approximately 0.5 inches outside the reinforced stitching of the back pocket.
- Do NOT cut through the pocket itself; you want the back layer of the jeans to remain attached to the pocket to act as a ‘backing’ for your storage slot.
- For a ‘rugged’ look, leave the edges raw and slightly frayed. For a ‘masculine-elegant’ look, trim the edges tight to the stitching.
- Repeat this for all pairs until you have a collection of 6 to 10 pockets of varying sizes and colors.
Pro Tip: Look for pockets with unique stitching patterns or ‘whisker’ fading. These details add a layer of sophistication that makes the final product look intentional rather than accidental.
The Blueprint: Designing Your Layout for Maximum Utility

Now that you have your harvest, it is time to play architect. The layout should be dictated by what you plan to store. If this is for a home office, you need vertical space for pens. If it is for a workshop, you need wider spacing for wrenches or pliers.
Layout Configurations
- The Grid: Align pockets in perfect rows and columns for a clean, modern look.
- The Mosaic: Overlap pockets slightly and vary their angles for a more artistic, ‘shabby-chic’ vibe.
- The Functional Flow: Place larger pockets at the bottom for heavy items and smaller ‘watch pockets’ at the top for easy access to small bits.
Before applying any glue or staples, spend at least 10 minutes rearranging the pockets on your backing board. Take a photo with your phone to compare different layouts. This is where the ‘stunning’ part of the wall organizer happens.
The Assembly: Securing the Denim Without a Sewing Machine

You don’t need to be a master tailor to assemble this. Since we are mounting this to a rigid backing, we can use ‘hard’ fastening methods that are much faster than hand-sewing. We want a bond that can withstand the weight of tools or a heavy smartphone.
| Method | Best For… | Durability Rating |
|---|---|---|
| Heavy-Duty Staples | Wooden backing/Workshop use | 9/10 |
| Industrial Fabric Glue | Cardboard backing/Office use | 7/10 |
| Upholstery Tacks | Decorative/Rugged look | 8/10 |
The ‘No-Sew’ Mounting Process
- Apply a bead of high-tack glue to the outer edge of the pocket’s ‘buffer’ fabric (the part you left when cutting).
- Press the pocket firmly onto your board.
- For extra security, use a staple gun to drive staples into the corners where the fabric is thickest.
- If using wood, consider using copper upholstery tacks in the corners of the pockets. This adds a ‘riveted’ look that mimics high-end denim construction.
- Allow the glue to cure for at least 24 hours before hanging.
Safety Note: When using a staple gun or industrial adhesives, always work in a well-ventilated area and keep your fingers clear of the staple discharge point. Denim is thick, so you may need to apply significant pressure.
The Final Flourish: Hardware and Mounting

A wall organizer is only as good as its ability to stay on the wall. To keep this project within our zero-budget goal, we are going to upcycle the hanging hardware as well. If you have old picture wire, use it. If not, the ‘pull-tabs’ from aluminum cans make surprisingly sturdy hangers when screwed into the back of a wooden board.
Adding ‘The Detail’
To elevate this from a craft project to a piece of ‘Stunning’ decor, add a few masculine touches:
- Leather Accents: If you have an old leather belt, cut a small strip to create a loop for hanging a hammer or a pair of headphones.
- Stenciling: Use a white paint pen or bleach pen to label the pockets (e.g., ‘Keys,’ ‘Mail,’ ‘Tools’).
- The Patina: Lightly sand the edges of the board to give it a weathered, ‘lived-in’ look that matches the aged denim.
Total time for the final touches: 15 minutes. Total aesthetic value added: 100%.
Conclusion
The Reward of Resourcefulness
Congratulations! You have successfully diverted textiles from the waste stream and created a functional piece of art. This denim wall organizer is a testament to the fact that you don’t need a massive budget or a trip to a big-box store to organize your life. By looking at a pair of ‘trash’ jeans with the eyes of a creator, you’ve saved roughly $80 and built something with more soul than any mass-produced plastic bin. Hang it with pride in your entryway, your garage, or your craft room. Every time you reach for a pen or a tool, you’ll be reminded that true style is built, not bought. Now, go find those old blues and get cutting!

Makenzie is the founder and lead writer at MoneyHackTips.com — a personal finance blog dedicated to delivering street-smart financial wisdom for real people on real budgets. With 300+ published articles covering everything from debt management to investing fundamentals, Makenzie’s mission is to make every dollar work harder. When not writing about money hacks, Makenzie is testing frugal living strategies, optimizing side hustles, and helping readers build financial freedom from scratch.