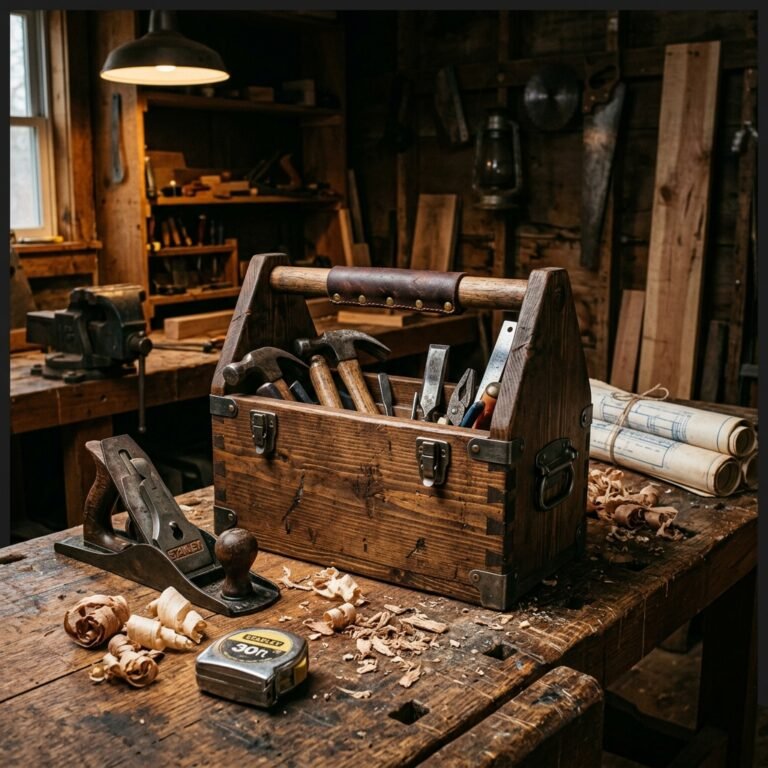
Let us face a hard truth: the world of groomsmen gifts is saturated with uninspired, mass-produced trinkets. From cheaply engraved flasks that leak after one use to novelty socks that get shoved to the back of a drawer, treating the men who have stood by your side deserves a touch more thoughtfulness. You want to give them something rugged, masculine, and deeply personal. You want an item that commands respect when placed on an office desk or a home library shelf. But when you are balancing a wedding budget, dropping $150 per person on artisanal, high-end boutique gifts simply is not feasible. Enter the ultimate frugal craftsman solution: The DIY Luxurious Wooden Desk Clock.
This is not your average arts and crafts project. This is a masterclass in budget-savvy elegance and rugged resourcefulness. By utilizing inexpensive wood blocks, high-quality but affordable quartz clock movements, and a little bit of elbow grease, you can manufacture a bespoke, heirloom-quality timepiece that looks like it came straight out of a high-end men’s catalog. The best part? You can craft these stunning gifts for roughly $12 to $15 each. Whether you are a seasoned woodworker or a handy groom who has never held a sander, this guide will walk you through transforming basic timber into a sophisticated statement piece. We will cover everything from sourcing budget materials and applying rich, masculine stains, to the precision installation of brass hands. Roll up your sleeves, grab your safety glasses, and let us build a gift that your groomsmen will proudly display for decades.
The Blueprint of Rugged Elegance: Sourcing Materials on a Dime
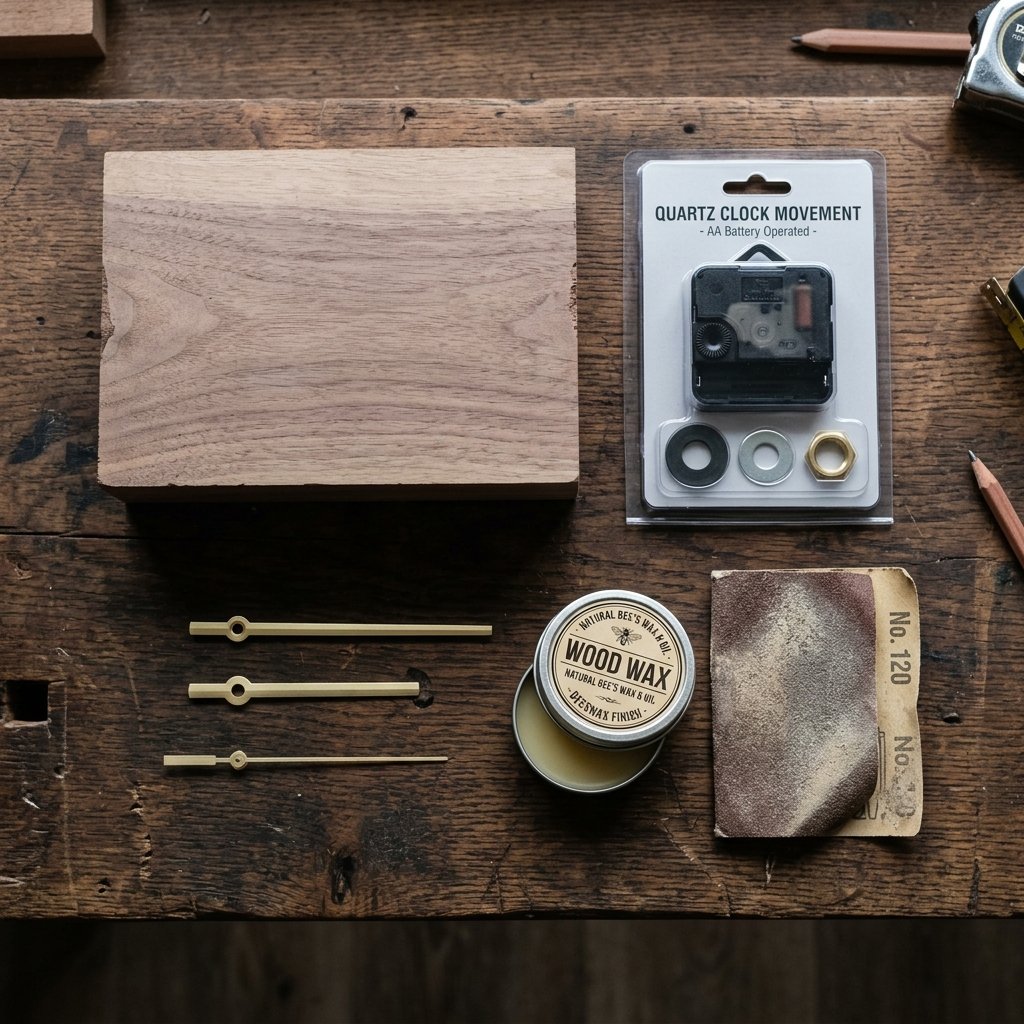
The secret to crafting a high-end look without the high-end price tag lies entirely in your material sourcing. You do not need exotic, imported hardwoods to create a masterpiece. Often, the most striking pieces come from upcycled offcuts, construction lumber, or inexpensive craft store basswood blocks. The goal is to find wood with character—look for interesting grain patterns, knots, or even slight imperfections that will absorb stain beautifully and tell a story.
Budget Breakdown and Material Comparison
To truly appreciate the value of this DIY endeavor, let us look at the numbers. When you purchase a minimalist wooden desk clock from a luxury retailer, you are paying for the brand name, the overhead, and the assembly labor. By becoming the craftsman, you slash those costs exponentially.
| Material / Component | Estimated DIY Cost (Per Clock) | High-End Retail Equivalent |
|---|---|---|
| Solid Wood Block (Scrap, Offcut, or Craft Store Blank) | $2.00 | $45.00 |
| Quartz Clock Movement & Minimalist Brass Hands | $4.50 | $35.00 |
| Wood Stain, Sandpaper & Beeswax Sealer (Prorated) | $1.50 | $20.00 |
| Custom Brass Monogram Plate or Leather Tag | $3.00 | $50.00 |
| Total Cost Per Clock | $11.00 | $150.00+ |
Beyond the wood, the clock movement is your most critical purchase. You can find bulk packs of silent, continuous-sweep quartz clock mechanisms online for a fraction of the cost of buying them individually. Opt for mechanisms that include sleek, unadorned brass or matte black hands. Avoid ornate, filigree hands; minimalist straight hands provide that modern, masculine, and expensive architectural aesthetic.
Safety & Sourcing Tip: If you are sourcing scrap wood from pallets or old furniture, always inspect for hidden nails or staples before cutting or sanding. A quick pass with a strong magnet can save your tools and your hands from nasty surprises!
Sanding and Shaping: Sculpting Your Timber

Once you have your wood blocks cut to size—typically a sturdy 5×5 inches or a commanding 4×6 inches rectangle—the real transformation begins. Raw wood is just potential; sanding is what unlocks its luxury. The difference between a cheap DIY project and a sophisticated bespoke gift is entirely in the smoothness of the finish and the softening of the edges.
The Sanding Progression
Do not rush this step. If you do not have an orbital sander, a simple sanding block and some elbow grease will work perfectly. You will want to follow a strict progression of grits to ensure a glass-like finish that begs to be touched.
- 60 to 80 Grit (The Heavy Lifter): Use this to remove saw marks, level out any uneven surfaces, and aggressively round over the sharp 90-degree corners. A slightly chamfered or rounded edge instantly elevates the piece from a block of wood to a crafted object.
- 120 Grit (The Smoother): This grit removes the deep scratches left by the rougher paper. Spend a good 5 to 10 minutes per block ensuring the surface feels uniform.
- 220 Grit (The Polisher): This is your finishing grit before staining. It closes the pores of the wood slightly and creates a buttery smooth texture. Wipe the wood down with a slightly damp cloth to raise the grain, let it dry for 15 minutes, and give it one final pass with the 220 grit.
By taking the time to properly sand the wood, you ensure that the stain will apply evenly without splotching, creating a professional-grade aesthetic that rivals any luxury home goods store.
The Art of the Finish: Stains, Waxes, and Masculine Aromas
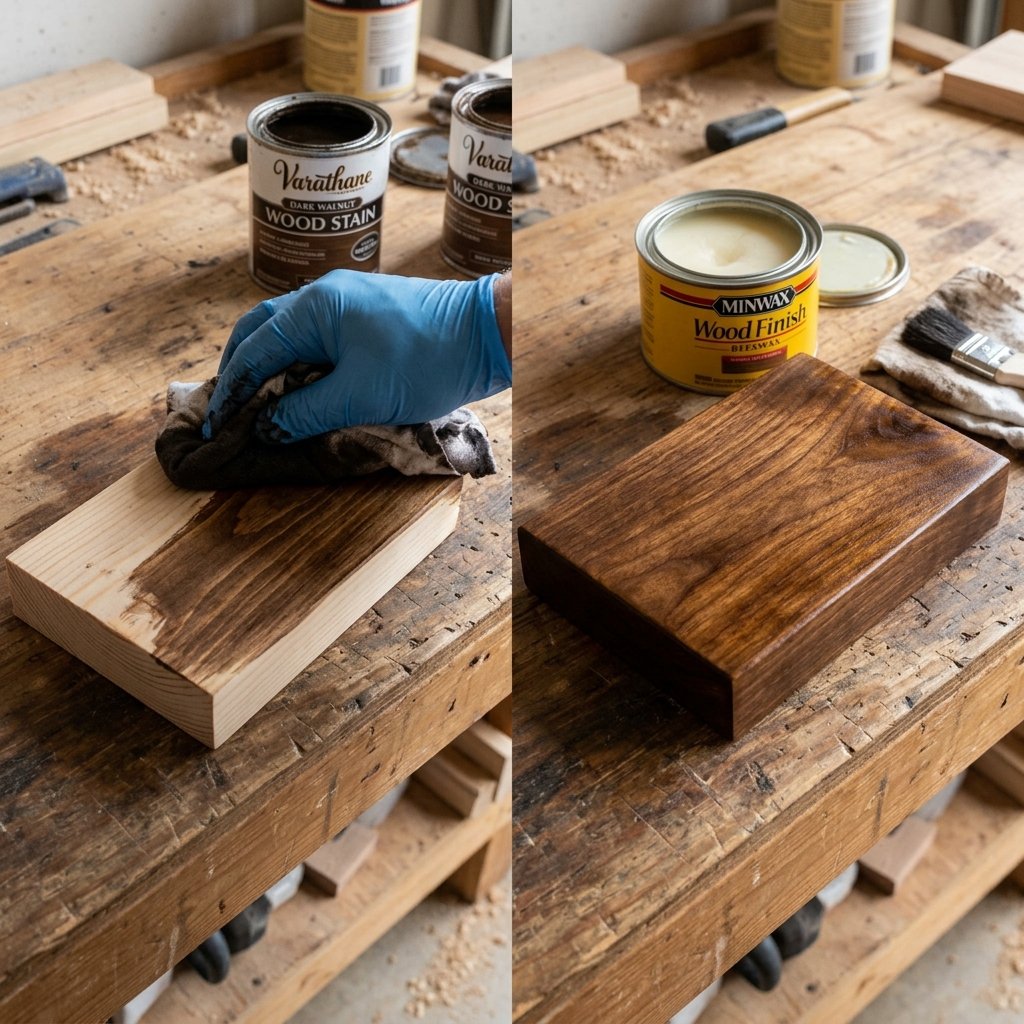
Now comes the magic. The finish is where you dictate the personality of the clock. For a groomsmen gift, we want a finish that screams a dimly lit speakeasy, a leather club chair, and a neat glass of bourbon. If you used cheap pine or whitewood, do not worry—we can make it look like rich mahogany or deep walnut with the right application.
Applying the Perfect Stain
If you are on a strict budget, you can even use the classic steel wool and vinegar trick (soaking steel wool in white vinegar for a few days, then painting it onto the wood to react with the tannins, creating a naturally aged, grayish-brown barn wood look). However, for a truly luxurious feel, a small can of oil-based penetrating stain in ‘Dark Walnut’, ‘Espresso’, or ‘Provincial’ is a worthy $5.00 investment that will cover dozens of clocks.
- Preparation: Wipe away all sanding dust using a tack cloth or a rag lightly dampened with mineral spirits.
- Application: Using a clean, lint-free cloth (an old cotton t-shirt works perfectly), rub the stain into the wood following the direction of the grain. Apply generously.
- Penetration: Let the stain sit for exactly 3 to 5 minutes. The longer it sits, the darker and richer the color will become.
- Wipe Off: Take a clean cloth and wipe off all excess stain. Never let stain dry in puddles on the surface, or it will become sticky and ruin the finish.
Sealing with Beeswax
Skip the glossy, plastic-looking polyurethane. For a rugged, tactile finish, use a natural beeswax and orange oil polish. Rub the wax into the stained and dried wood, let it haze over for 20 minutes, and buff it out with a clean cloth. Not only does this protect the wood and give it a subtle, expensive satin sheen, but it also leaves the clock smelling incredibly masculine and fresh.
Crafty Expert Tip: To prevent softwoods like pine from absorbing stain unevenly and looking blotchy, apply a pre-stain wood conditioner 30 minutes before staining. It acts as a primer and guarantees a flawless, even color distribution.
Precision Engineering: Installing the Heart of the Clock
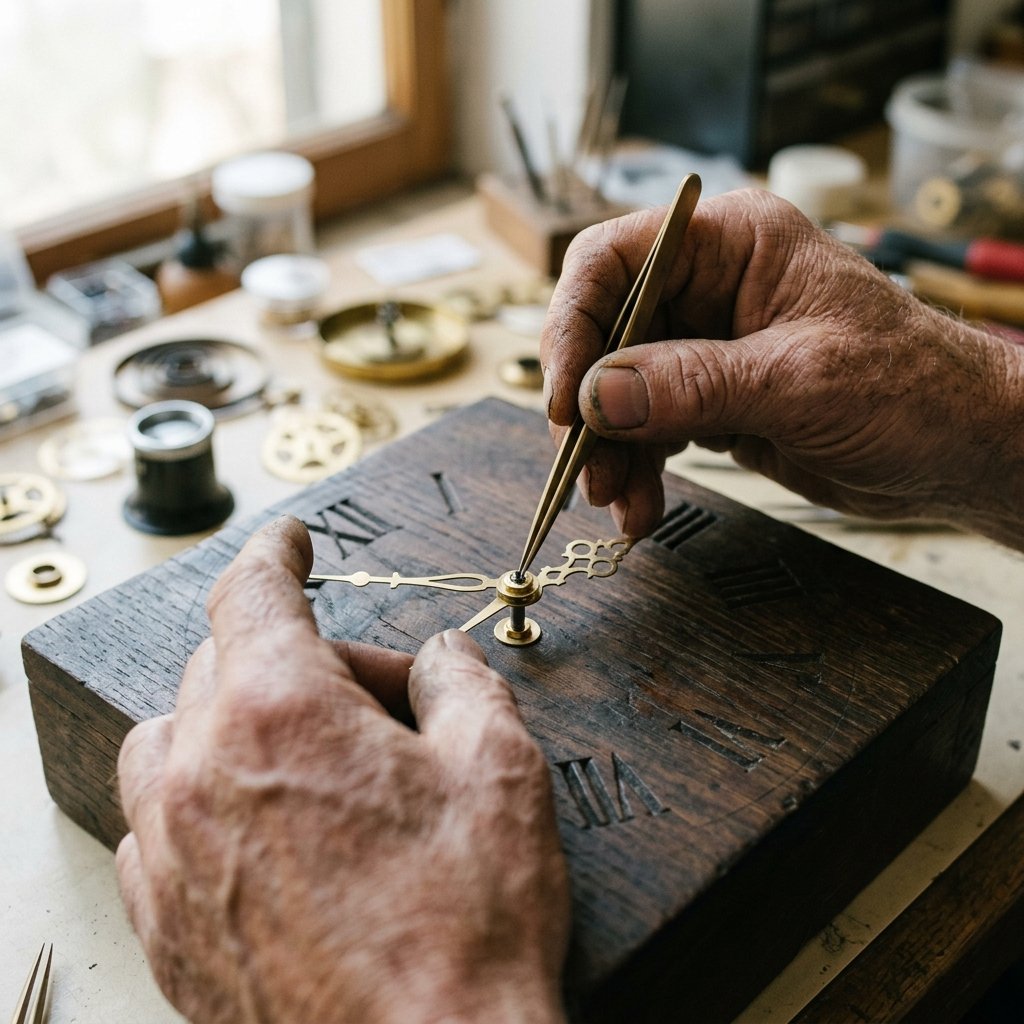
With your beautifully finished wood blocks ready, it is time to turn them into functional timepieces. This requires a bit of precision drilling. You need to create a cavity in the back of the wood block to house the square quartz mechanism, allowing it to sit flush or recessed, while a smaller hole goes all the way through for the clock shaft.
The Drilling Process
If you have a router, hollowing out the back is a breeze. If you are a frugal DIYer working with basic tools, a Forstner bit or a spade bit on a standard power drill is your best friend. Mark the exact center of your wood block. Drill a shallow recess on the back side just large enough and deep enough to hide the black plastic mechanism box (usually about 2×2 inches and 0.6 inches deep). Then, drill a smaller hole (usually 5/16 inch) straight through the center of that recess to the front of the clock for the metal shaft.
Assembling the Hardware
Insert the clock mechanism from the back, pushing the threaded shaft through to the front. Slide on the brass washer, followed by the hex nut, and tighten gently with pliers. Do not overtighten, or you risk denting your beautifully finished wood. Now, the most delicate part: attaching the hands.
- The Hour Hand: Press the shorter hour hand onto the shaft first, aligning it perfectly pointing to the 12 o’clock position. Ensure it sits flat and parallel to the wood.
- The Minute Hand: Place the longer minute hand onto the shaft, also pointing exactly at 12 o’clock. Secure it with the tiny brass cap nut provided with your kit.
- The Sweep Second Hand (Optional): If your kit includes a second hand, gently press the tiny pin into the very center of the shaft.
Troubleshooting Alignment: Before gifting, manually turn the dial on the back of the mechanism to sweep the hands through a full 12-hour cycle. Watch closely to ensure the minute and hour hands never cross paths or scrape against each other. If they do, gently bend them slightly apart.
Personalization and Presentation: The Final Gentleman’s Touch
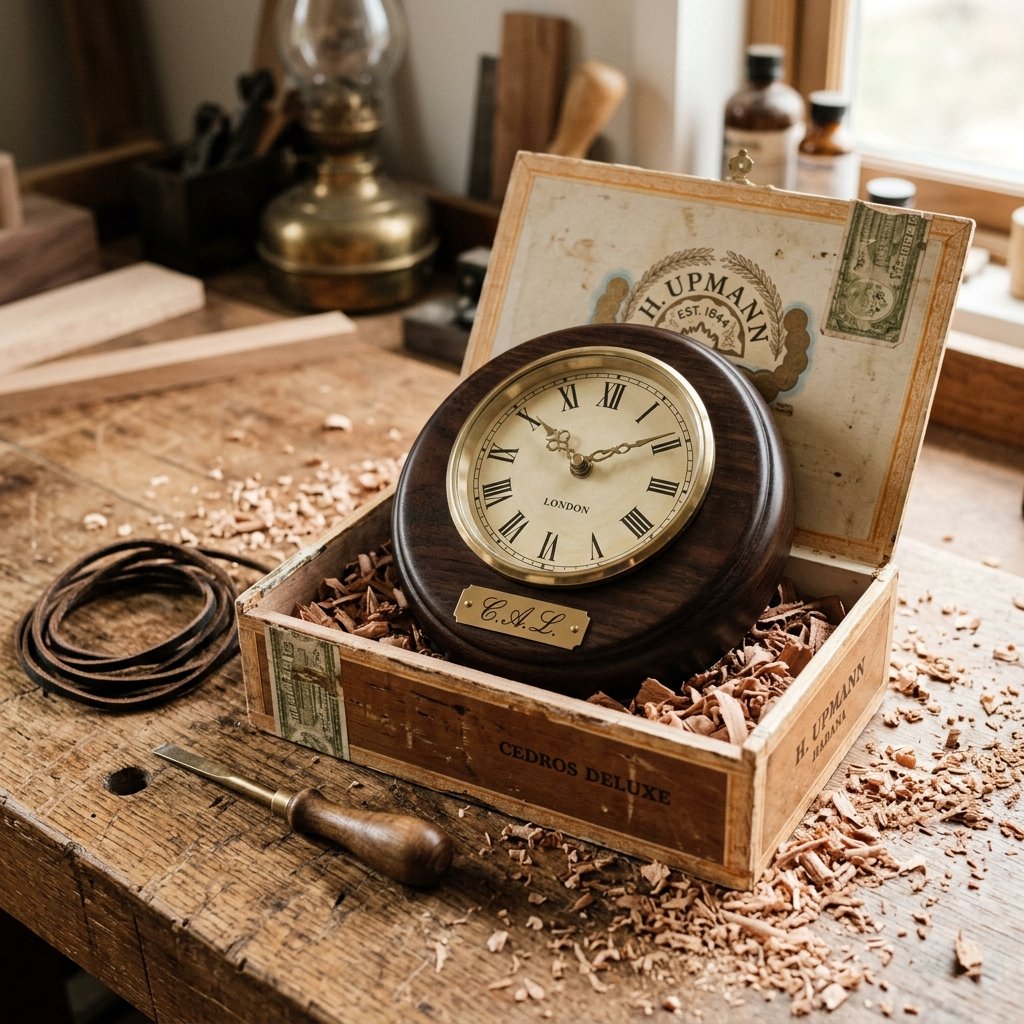
A custom wooden clock is an incredible gift, but personalization is what elevates it to a cherished keepsake. You want your groomsmen to look at this timepiece and remember the bond you share. Because you saved so much money on the build, you can afford to invest a few dollars and some creativity into making each clock unique to the recipient.
Adding the Monogram
There are several budget-savvy ways to add a name, monogram, or wedding date to the clock without buying an expensive laser engraver:
- Wood Burning (Pyrography): A basic wood-burning pen costs about $15 at a craft store. Practice on scrap wood first. Burn their initials into the bottom right corner of the clock face for a rugged, branded look.
- Metal Stamping: Buy cheap blank brass tags (about $0.50 each). Use a metal stamp set to hammer their initials into the brass, then attach the tag to the wood using tiny brass escutcheon pins. This adds an incredible mixed-material, industrial vibe.
- Custom Leather Tags: Cut a small strip of scrap leather, stamp or write their name on it, and tack it to the side or back of the clock block.
The Unboxing Experience
Do not hand your groomsmen a naked clock. The presentation is half the gift. Head to a local cigar shop—they often sell empty wooden cigar boxes for $2 to $3 each, or sometimes give them away for free. Nestle the finished clock inside the cigar box on a bed of natural wood excelsior (wood shavings) or crinkle paper. Toss in a handwritten note, maybe a miniature bottle of their favorite spirit, and tie the box closed with thick jute twine or a strip of raw leather.
By executing this project, you are not just saving money; you are investing your time and craftsmanship into your closest friends. You have transformed about $12 of raw materials into a bespoke, heirloom-quality piece of functional art. Every time they check the time on their desk, they will be reminded of your wedding day and the brotherhood you share.
Conclusion
Crafting a luxurious wooden desk clock for your groomsmen is the ultimate flex of a frugal, resourceful groom. It proves that elegance, masculinity, and high-end design do not require a bottomless budget—they simply require vision, a little bit of sandpaper, and the willingness to create something with your own two hands. By stepping away from the generic catalogs of personalized flasks and cheap shot glasses, you are gifting a functional, stylish piece of decor that will actually be used and admired for years to come.
Remember, the beauty of DIY lies in the imperfections and the personal touches. Whether the stain came out a little darker on one clock, or the wood grain has a unique knot in another, those variations make each piece a true one-of-a-kind heirloom. So gather your timber, fire up your drill, and start building. Your groomsmen will be blown away by the craftsmanship, and your wallet will thank you for the incredible savings. Happy building, gentlemen!

Makenzie is the founder and lead writer at MoneyHackTips.com — a personal finance blog dedicated to delivering street-smart financial wisdom for real people on real budgets. With 300+ published articles covering everything from debt management to investing fundamentals, Makenzie’s mission is to make every dollar work harder. When not writing about money hacks, Makenzie is testing frugal living strategies, optimizing side hustles, and helping readers build financial freedom from scratch.