
The Ultimate Heirloom Gift on a Shoestring Budget
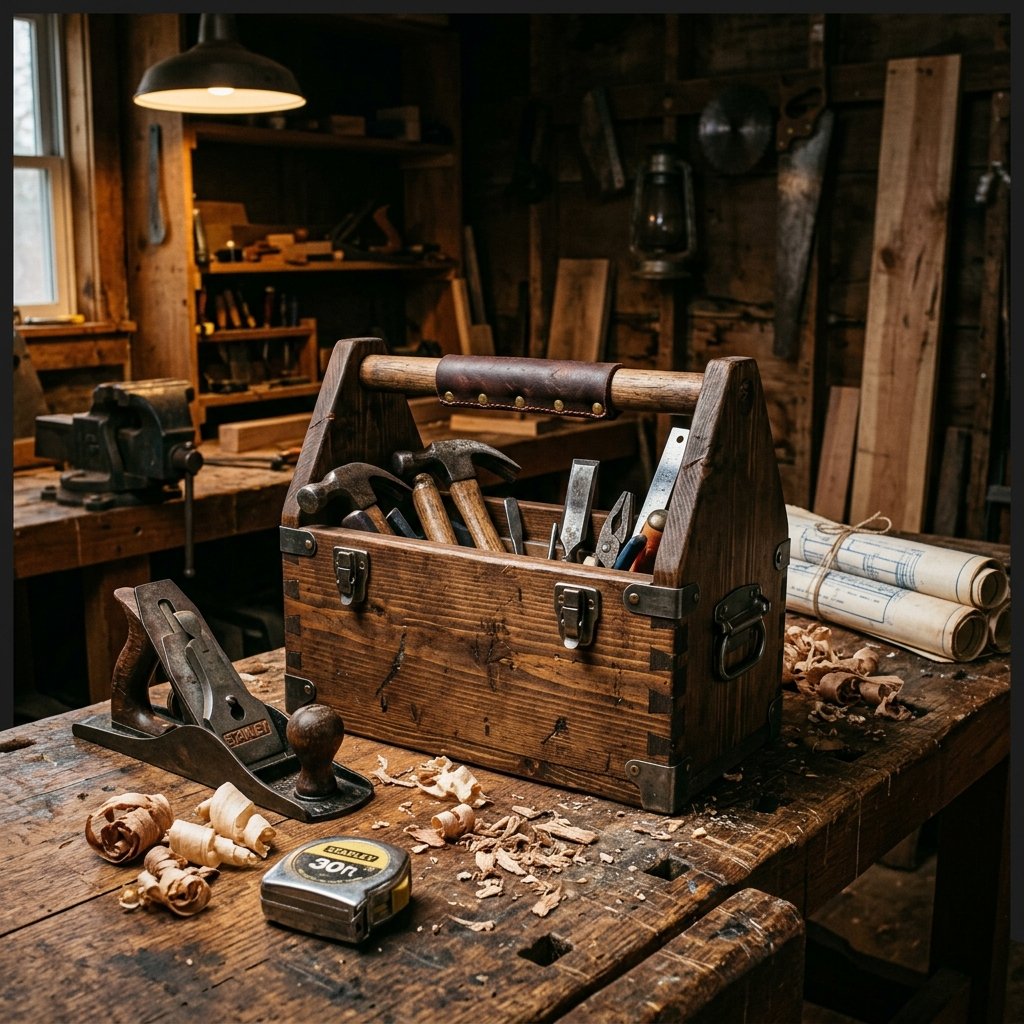
Let us be honest for a moment—Dad does not need another novelty mug, and those flimsy plastic tool caddies from the big box stores lack the soul and durability of a truly thoughtful gift. If you are looking for a project that screams rugged, masculine elegance while keeping your wallet incredibly happy, you have struck gold. Building a heavy-duty DIY wooden tool box is the ultimate frugal, crafty-expert move. It is a classic, timeless piece of functional art that he can use for hauling tools, organizing gardening supplies, or even carrying BBQ accessories out to the grill.
The best part? You can complete this entire build in exactly one afternoon, spending under $15 on materials—or absolutely $0 if you are a savvy upcycler with a scrap wood pile or a dismantled pallet in the garage. This project requires only basic tools, making it perfect for handy moms, budget-savvy crafters, and anyone willing to roll up their sleeves and create something unforgettable. We are going to walk through every single cut, every dab of wood glue, and every clever finishing technique to turn cheap pine into a high-end, artisan-style carpenter’s tote.
Crafty Mantra: True craftsmanship isn’t about having the most expensive materials; it is about resourcefully transforming the ordinary into the extraordinary. A little elbow grease and a clever design are worth their weight in gold.
Grab your safety glasses, dust off your tape measure, and let us dive into building a legacy piece that Dad will proudly carry for decades to come.
Section 1: The Blueprint & Frugal Material Sourcing
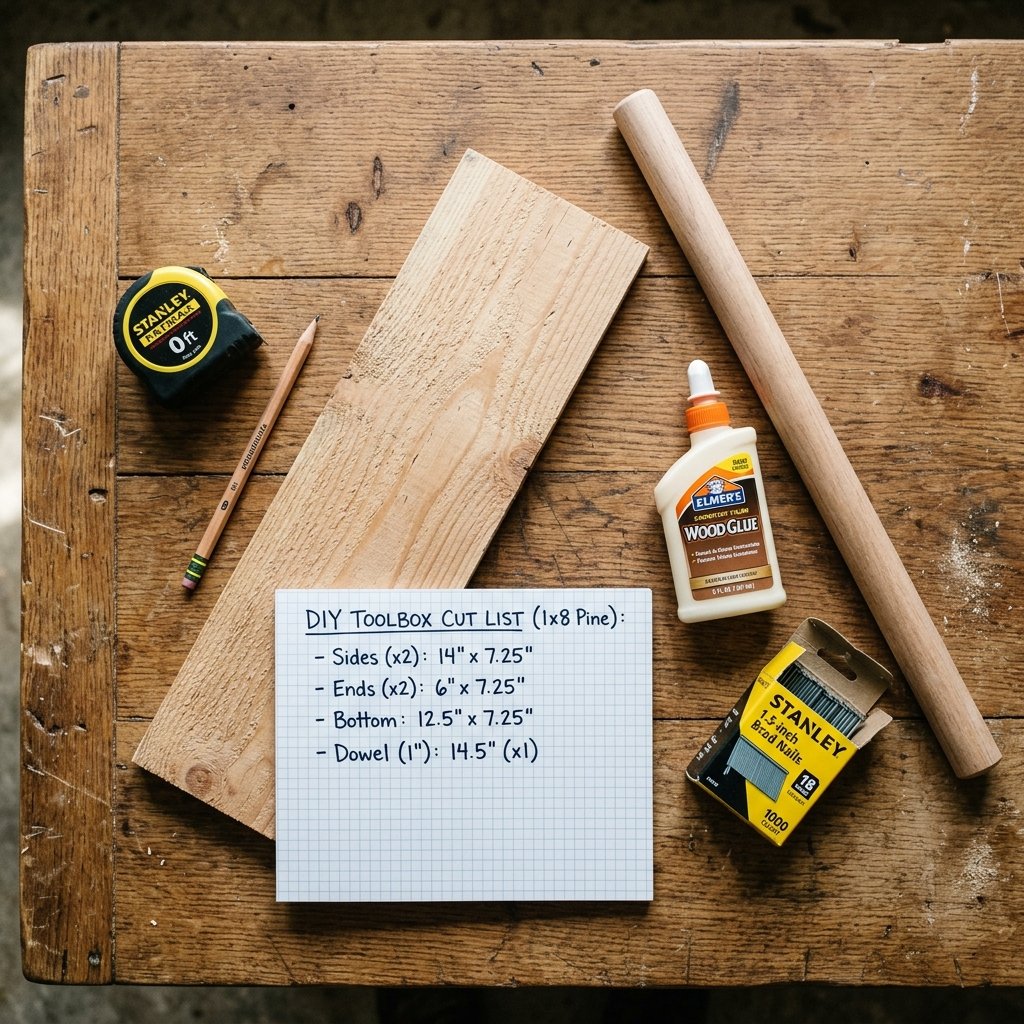
Before we make sawdust fly, we need a solid game plan. The classic wooden tool tote relies on a straightforward, sturdy geometry: a solid base, two angled side panels, two end pieces, and a thick dowel for a comfortable grip. To keep this project incredibly budget-friendly, we are designing the entire box to be built from a single 1x8x6 pine board. Pine is lightweight, easy to cut, takes stain beautifully, and is exceptionally cheap.
Upcycling & Zero-Budget Alternatives
If you want to keep this project 100% free, look no further than discarded shipping pallets, old fence pickets, or leftover decking boards. Reclaimed wood adds instant rustic charm and a rugged history to the piece. Just be sure to sand down any rough splinters that might catch on Dad’s hands.
| Material / Tool Required | Estimated DIY Cost | Store-Bought Equivalent |
|---|---|---|
| One 1x8x6 Pine Board (or pallet wood) | $0 – $8.00 | $45.00+ (Boutique Wooden Tote) |
| 1-inch Wooden Dowel (18 inches long) | $3.00 | N/A |
| Wood Glue & 1.5-inch Brad Nails/Screws | $2.00 (from stash) | N/A |
| Sandpaper, Stain, or Upcycled Leather | $0 – $4.00 | $20.00+ (Customization fee) |
| Total Project Investment | $5.00 – $15.00 | $65.00+ (Total Retail Value) |
Safety First, Crafters: If you are resourceful enough to use reclaimed pallet wood, rigorously inspect every inch for hidden nails or staples using a strong magnet before making any cuts. Hitting a hidden nail with a saw blade can cause dangerous kickback and ruin your tools. Always wear safety glasses and hearing protection in the shop!
Section 2: The Master Cut List & Precision Prep Work
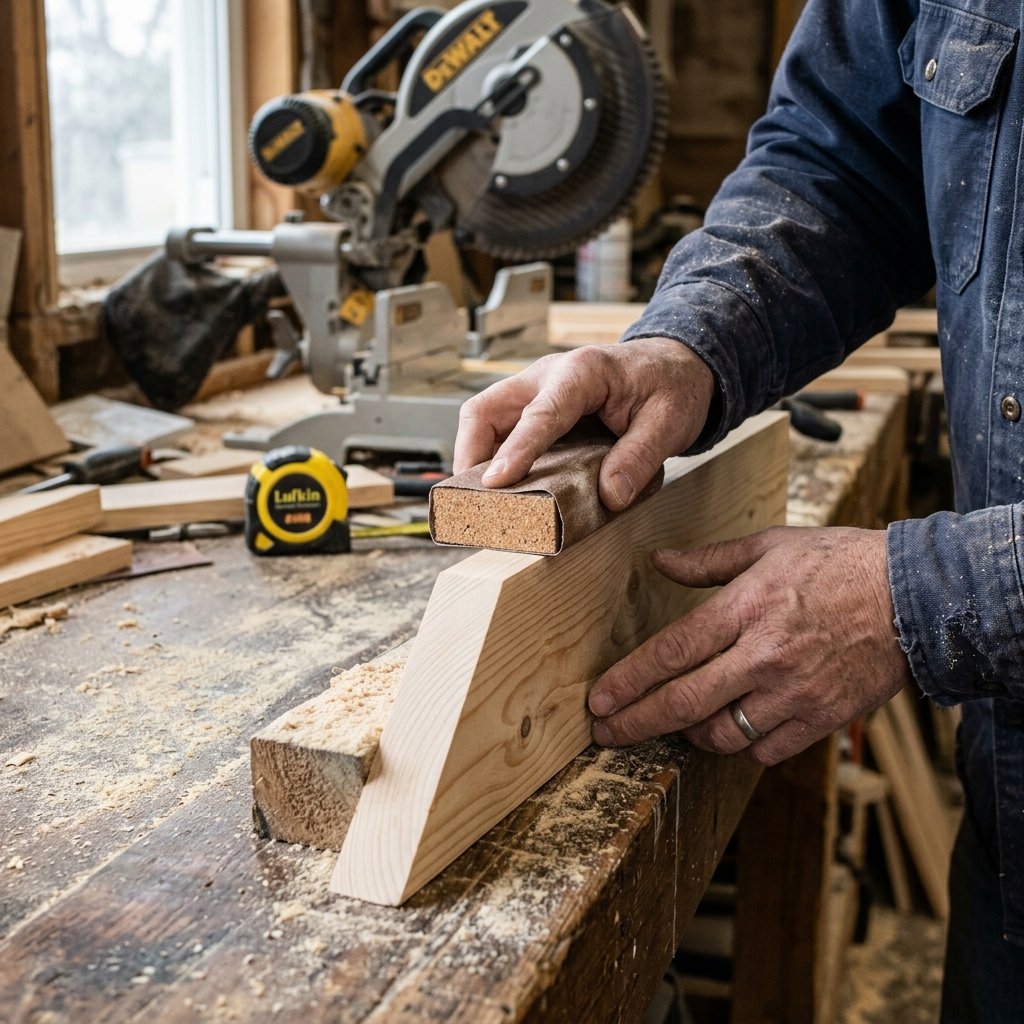
Precision is the secret to making a budget project look like a high-end, store-bought luxury item. Measuring twice and cutting once will save you time, money, and frustration. You can make these cuts using a miter saw, a circular saw, or even a simple hand saw and miter box if you are working without power tools.
The Exact Cut Dimensions
- Base (Bottom Panel): Cut one piece to exactly 16 inches long.
- Side Panels (The Long Walls): Cut two pieces to exactly 16 inches long.
- End Panels (The Tall Sides): Cut two pieces to exactly 12 inches long. (We will angle these shortly).
- Handle: Cut your 1-inch wooden dowel to exactly 17.5 inches long.
Shaping the End Panels
To give the tool box its classic, tapered carpenter’s tote look, we need to angle the top of the two end panels. Find the top center of your 12-inch end panels. Measure down 4 inches from the top on both the left and right sides. Draw a diagonal line from that 4-inch mark up to the top center, leaving a flat space about 1.5 inches wide at the very peak (this is where the dowel will sit). Cut along these diagonal lines. Next, use a 1-inch spade bit or Forstner bit to drill a hole right at the top center of both end panels for the dowel handle to slide through.
The Importance of Sanding
Do not skip the sanding phase! Spend 10 to 15 minutes sanding all the rough edges. Start with an 80-grit sandpaper to knock down the harsh saw marks, move to a 120-grit to smooth the surfaces, and finish with a 220-grit for a buttery-soft, professional feel. Slightly round over the sharp corners to give the box a comfortable, worn-in feel that screams masculine elegance.
Section 3: Step-by-Step Assembly – Nailing It Together
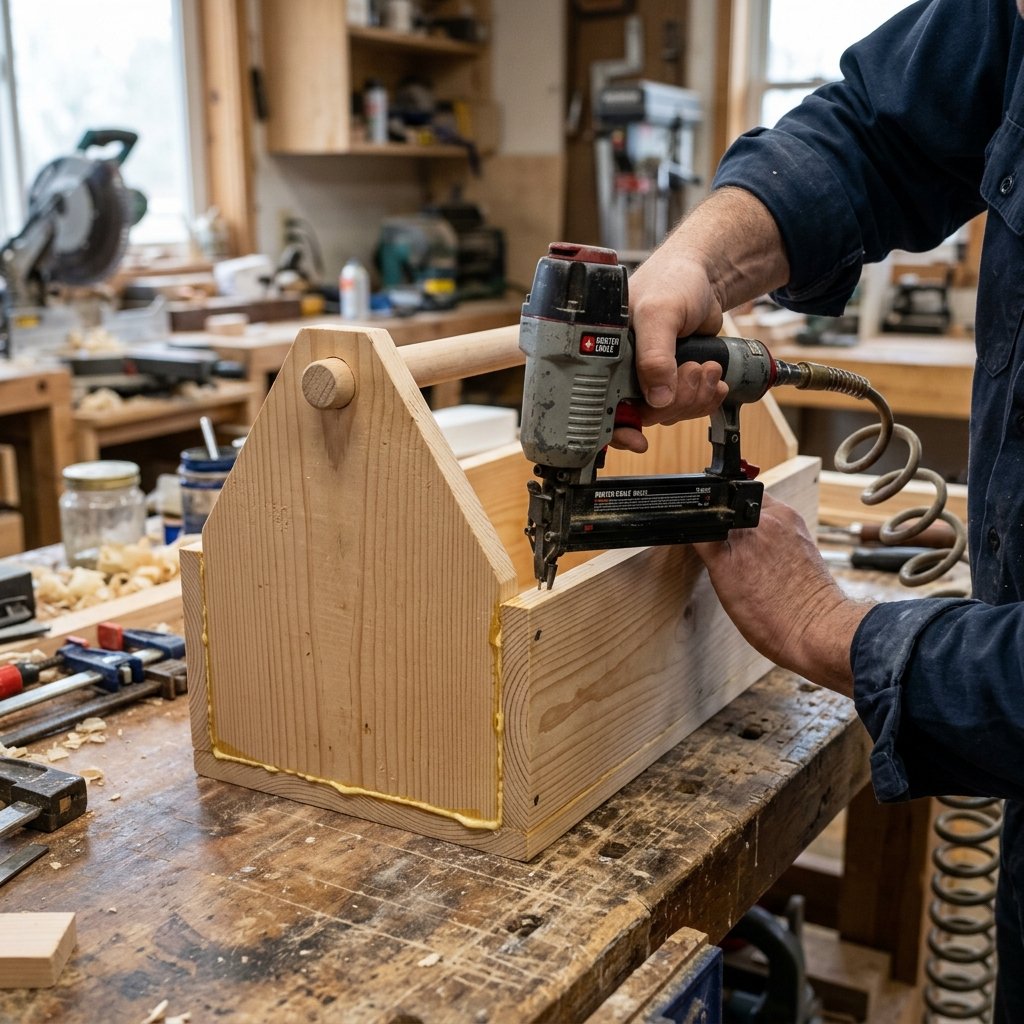
Now comes the magic—turning a pile of flat boards into a sturdy, heavy-duty vessel. Wood glue is your best friend here; the nails or screws merely hold the wood in place while the glue dries to form a bond stronger than the wood itself.
The Assembly Process
- Attach the Sides to the Base: Run a bead of high-quality wood glue along the long edges of the base piece. Press the two 16-inch side panels against the base so they are flush at the bottom. Secure them using 1.5-inch brad nails or countersunk wood screws. Space your fasteners about every 3 inches.
- Insert the Handle: Before you attach the end panels, slide the wooden dowel through the 1-inch holes you drilled in both end pieces. It should be a snug fit. Add a dab of wood glue inside the holes to lock the dowel in place.
- Attach the End Panels: Apply wood glue to the exposed ends of the base and side panels. Carefully slide the end panels (with the dowel attached between them) into place. Ensure all edges are flush. Nail or screw the end panels securely into the base and side walls.
- Reinforce for Heavy Duty Use: Because Dad might fill this with heavy wrenches or hammers, add a few extra screws along the bottom edge where the base meets the sides. Wipe away any excess wood glue immediately with a damp rag—dried glue will ruin your stain job later!
Pro-Tip for Frugal Crafters: If you don’t own clamps, use heavy books, paint cans, or even tightly wrapped bungee cords to hold the pieces tightly together while the glue sets for the first 30 minutes.
Section 4: The Masculine-Elegant Finish – Staining & Customizing
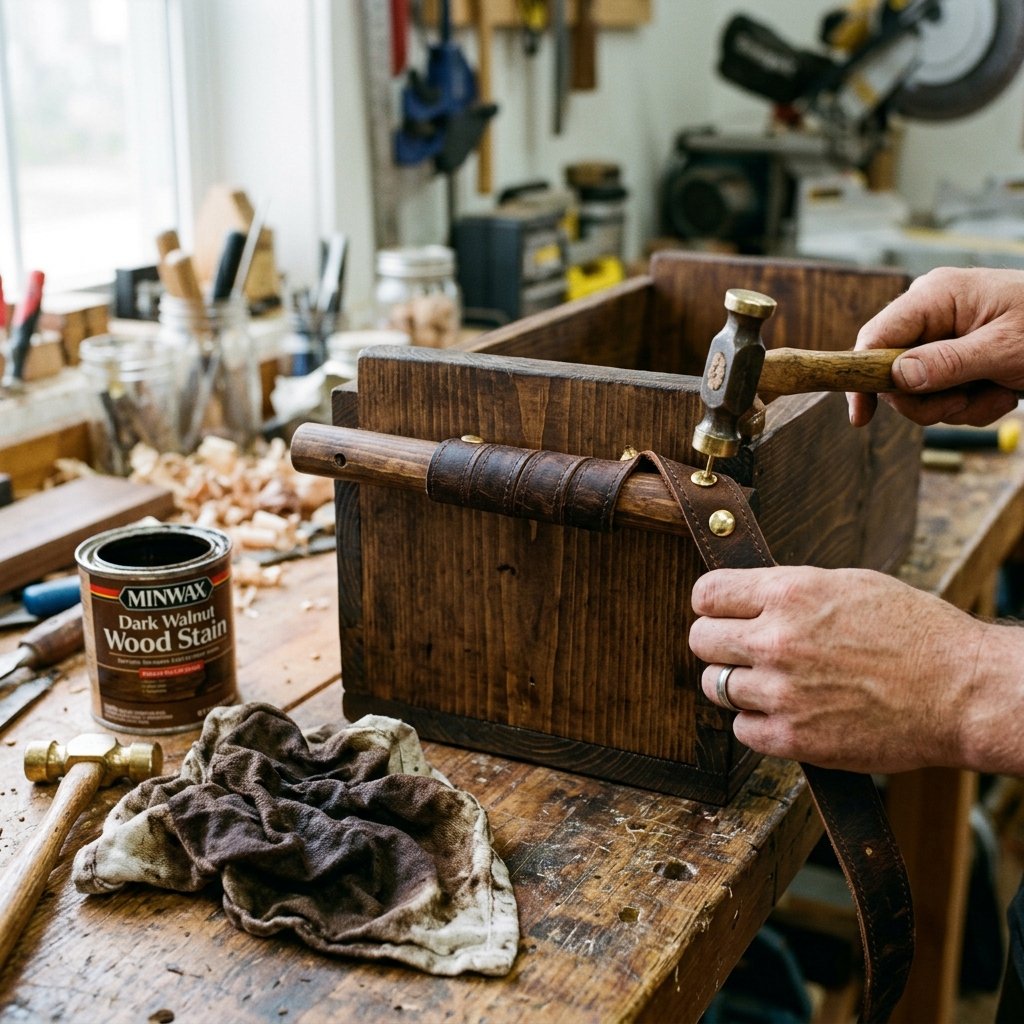
A raw pine box is functional, but we want a jaw-dropping, high-end gift. Customizing the finish is where your clever, Dollar-Tree-designer skills shine. You can achieve a weathered, antique look for pennies.
Budget-Savvy Staining Techniques
If you don’t have expensive wood stain on hand, make your own! A resourceful, zero-budget stain can be made by soaking a pad of #0000 steel wool in a jar of white vinegar for 24 hours. Brush this mixture onto the raw pine, and watch as it chemically reacts with the wood to create a stunning, naturally aged, silvery-gray or rich brown barn wood patina. Alternatively, a classic “Dark Walnut” or “Jacobean” oil-based stain will give the box a rich, sophisticated, and rugged mechanic’s vibe.
Adding Rugged Details
- The Leather Handle Wrap: Upcycle an old, thrifted leather belt. Cut a section to size, wrap it tightly around the center of the wooden dowel, and secure it with brass tacks or heavy-duty upholstery thread using a cross-stitch. This adds an incredible tactile feel and an expensive visual pop.
- Hardware Accents: Visit your local hardware store or Dollar Tree crafting aisle for cheap metal corner brackets. Screwing black or brass brackets onto the bottom corners of the toolbox not only protects it from dings but elevates the design from a simple DIY to a rugged, industrial masterpiece.
- Personalization: If you have a wood-burning tool, burn Dad’s initials, “Dad’s Fix-It Shop,” or the year into the side panel. It costs absolutely nothing but adds immeasurable sentimental value.
Section 5: Stocking the Box – Frugal & Thoughtful Fillers
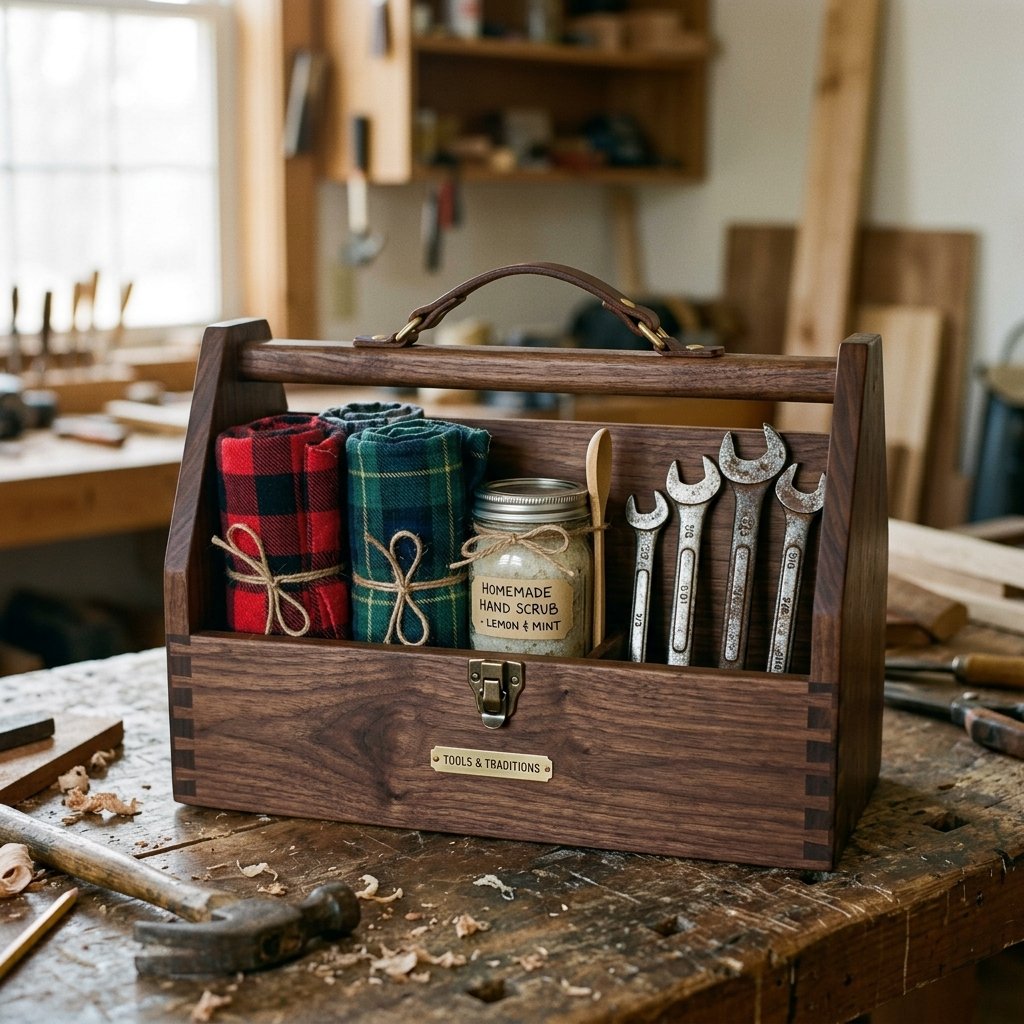
Presenting the empty toolbox is amazing on its own, but filling it with thoughtful, budget-friendly handmade items turns this into the ultimate Father’s Day or birthday care package. Combine your crafting skills to stock his new caddy!
Creative Ideas for the Handy Dad
Instead of buying expensive tools to fill the box, create a “Maker’s Survival Kit” using items you can make or thrift:
- DIY Pumice Hand Scrub: Mix 1/2 cup of coconut oil, 1/4 cup of sugar, and 1 tablespoon of pumice powder (or coffee grounds) in a mason jar. It is a rugged, grease-cutting hand cleaner that costs pennies to make and works better than store-bought mechanic soaps.
- Custom Shop Rags: Take old, worn-out flannel shirts or ripped denim jeans and cut them into neat 12×12 squares. Hand-hem the edges with a simple whip stitch so they don’t fray. Roll them up and tie them with twine.
- Thrifted Vintage Tools: Hit up a local flea market or garage sale. You can often find beautifully aged vintage screwdrivers, wooden folding rules, or heavy wrenches for under $1.00 each. Clean off the rust with a little vinegar, and they make gorgeous, functional additions to his new tote.
By pairing your handmade, heavy-duty toolbox with these clever, resourceful additions, you are giving him an entire experience—a testament to your creativity, your thriftiness, and your love.
Conclusion
A Legacy Built on a Budget
There you have it—a stunning, heavy-duty wooden tool box built from scratch in just one afternoon. By combining a frugal mindset with a bit of crafty ingenuity, you have bypassed the overpriced, mass-produced aisles of the hardware store and created a custom, masculine-elegant heirloom. Whether you used fresh pine boards or resurrected forgotten pallet wood, the true value of this gift lies in the time, effort, and love you poured into every cut, sanded edge, and driven nail.
Dad is going to be blown away by the craftsmanship, the rugged leather details, and the sheer practicality of having a dedicated, sturdy tote for his projects. So, wipe the sawdust off your hands, stand back, and admire your handiwork. You have just proven that the most memorable, durable, and treasured gifts don’t require a massive budget—they just require a little creativity and a willingness to build something beautiful. Happy crafting, and happy gifting!

Makenzie is the founder and lead writer at MoneyHackTips.com — a personal finance blog dedicated to delivering street-smart financial wisdom for real people on real budgets. With 300+ published articles covering everything from debt management to investing fundamentals, Makenzie’s mission is to make every dollar work harder. When not writing about money hacks, Makenzie is testing frugal living strategies, optimizing side hustles, and helping readers build financial freedom from scratch.