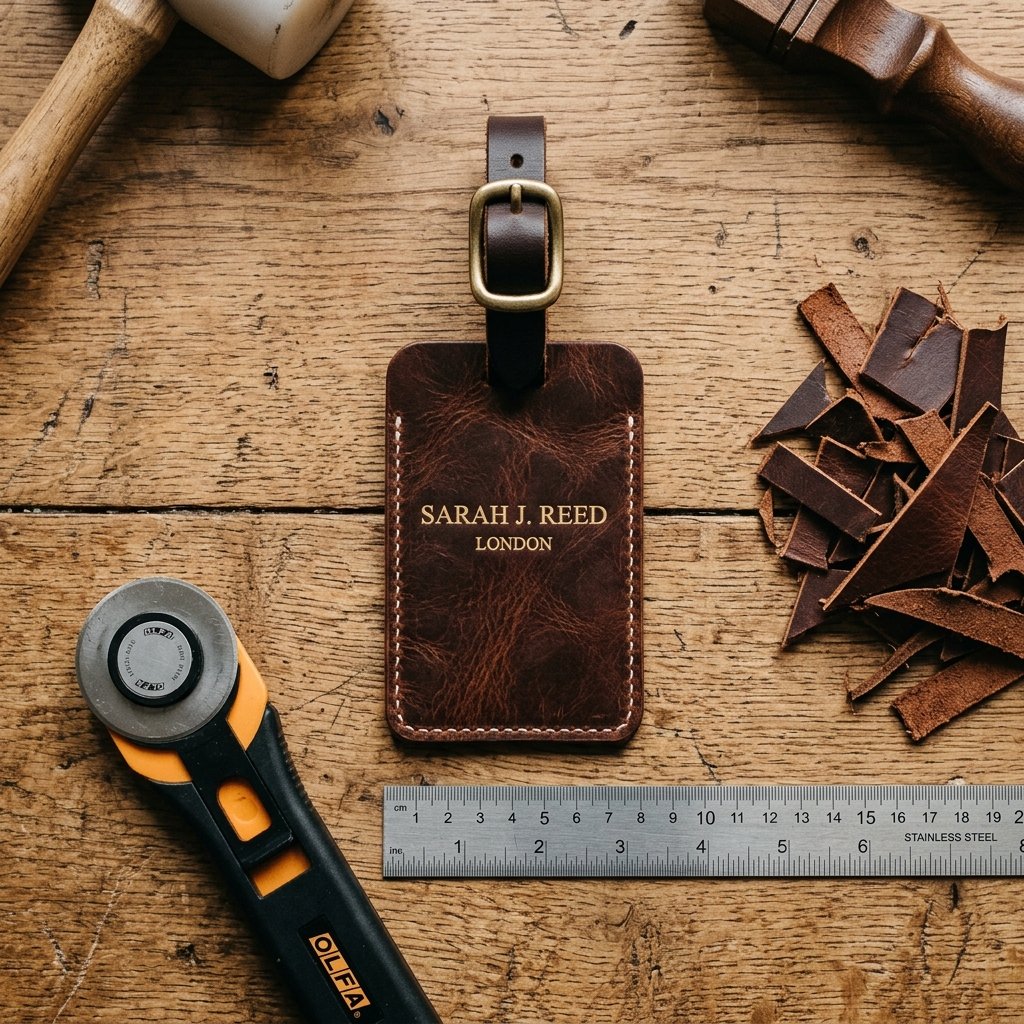

The Art of the High-End Hustle: Why Leather Wins
In a world of mass-produced plastic and disposable travel gear, there is something profoundly satisfying about the weight of real leather. We have all seen those designer luggage tags in high-end boutiques—the ones that retail for $45 to $65 simply because they have a logo embossed on the back. But here is a secret from the resourceful maker’s playbook: you can recreate that exact same rugged elegance for approximately $2.00 in materials and about 10 minutes of your time. Whether you are looking for a sophisticated Father’s Day gift, a thoughtful gesture for a frequent-flying friend, or a way to distinguish your own black suitcase from the sea of identical bags at baggage claim, this DIY leather luggage tag is the ultimate solution. It is clever, it is budget-savvy, and it looks like it belongs in the first-class cabin.
Sourcing Your Scraps: The Frugal Maker’s Secret Weapon
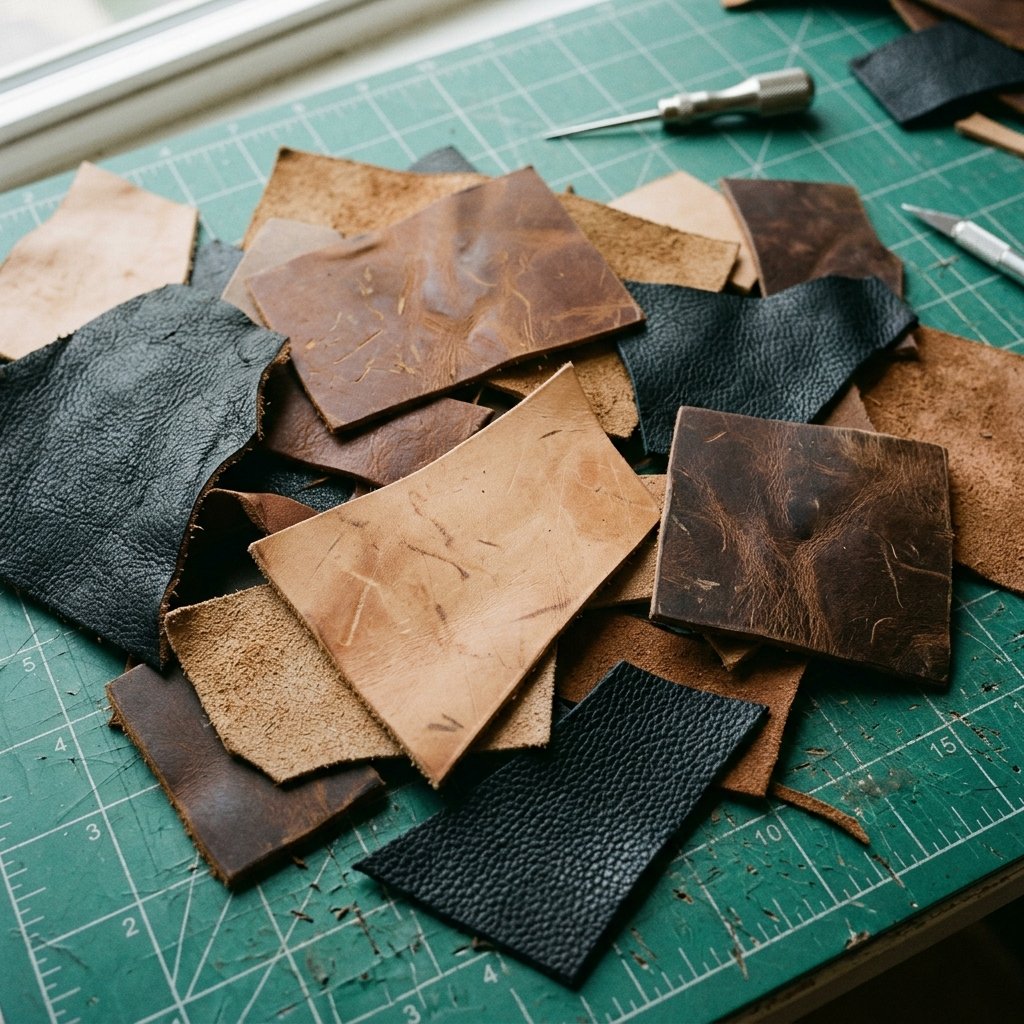
The biggest barrier to leathercraft is often the perceived cost of the hide. Professional leatherworkers buy whole sides of leather for hundreds of dollars, but for a project this size, that is entirely unnecessary. To keep this project budget-friendly, we are going to look for ‘remnants’ or ‘scraps.’ You can often find bags of leather remnants at craft stores or online for less than $10, providing enough material for twenty tags. Even better? Look at your local thrift store for old leather jackets or handbags with thick, sturdy panels. One $5 thrifted coat can yield a lifetime supply of luggage tags, key fobs, and cord organizers.
Understanding Leather Types
For this project, you want leather with some ‘body.’ Look for vegetable-tanned leather if you want to stamp initials into it, as it holds impressions beautifully. If you are upcycling an old garment, ensure the leather is at least 2mm to 3mm thick so it doesn’t flop around during transit. A sturdy tag is a durable tag.
| Material Source | Estimated Cost | Yield Potential |
|---|---|---|
| Thrifted Leather Jacket | $5.00 – $10.00 | 20+ Tags |
| Craft Store Remnant Bag | $8.00 – $12.00 | 10-15 Tags |
| New Vegetable Tanned Scrap | $3.00 | 2-3 Tags |
| Old Leather Belt (Wide) | $1.00 | 1 Tag |
The goal isn’t just to save money; it’s to create something with more character than a store-bought item ever could have.
The Minimalist Toolkit: No Fancy Machinery Required
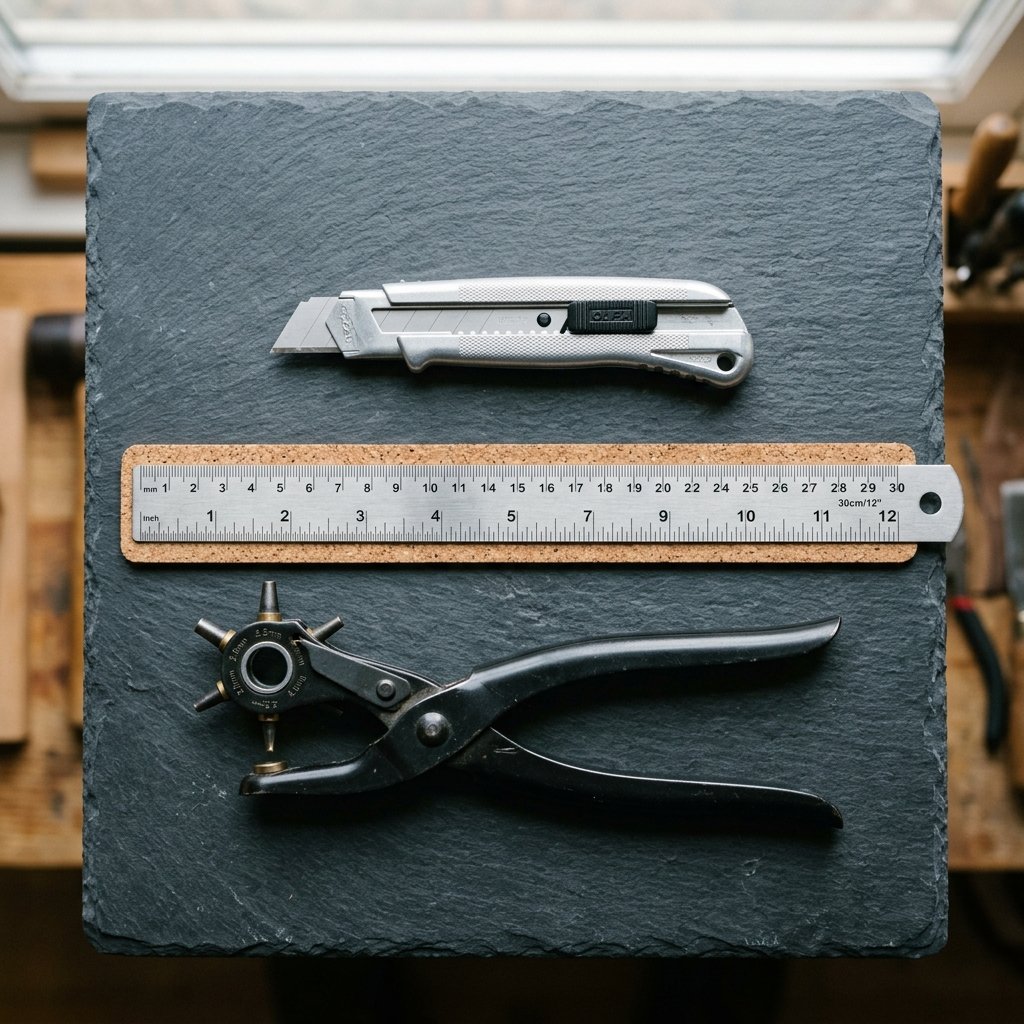
You don’t need a $500 sewing machine or a professional workshop to pull this off. We are going for a rugged, hand-cut aesthetic that celebrates the ‘maker’ look. Most of these tools are already sitting in your junk drawer or tool box. If you have to buy them, the ‘cost per use’ is pennies when spread across multiple projects.
- Rotary Cutter or Sharp Utility Knife: For clean, straight edges.
- Metal Ruler: Essential for guiding your blade and ensuring 90-degree corners.
- Leather Hole Punch: A rotary punch is great, but a simple $2 nail and hammer can work in a pinch.
- Heavy-Duty Twin or Leather Cord: To attach the tag to the luggage.
- Sandpaper (220 Grit): To smooth out the edges for that ‘pro’ finish.
| Tool | DIY Alternative | Cost if Buying New |
|---|---|---|
| Rotary Cutter | Utility Knife / Box Cutter | $12.00 |
| Leather Punch | Nail & Hammer | $8.00 |
| Edge Burnisher | Smooth Wooden Dowel | $5.00 |
| Cutting Mat | Cardboard Scrap | $10.00 |
Safety First: Always cut away from your body and use a metal ruler to protect your fingers from the blade. Leather is tough, and it requires a bit of pressure to slice through cleanly.
The 10-Minute Blueprint: Step-by-Step Construction
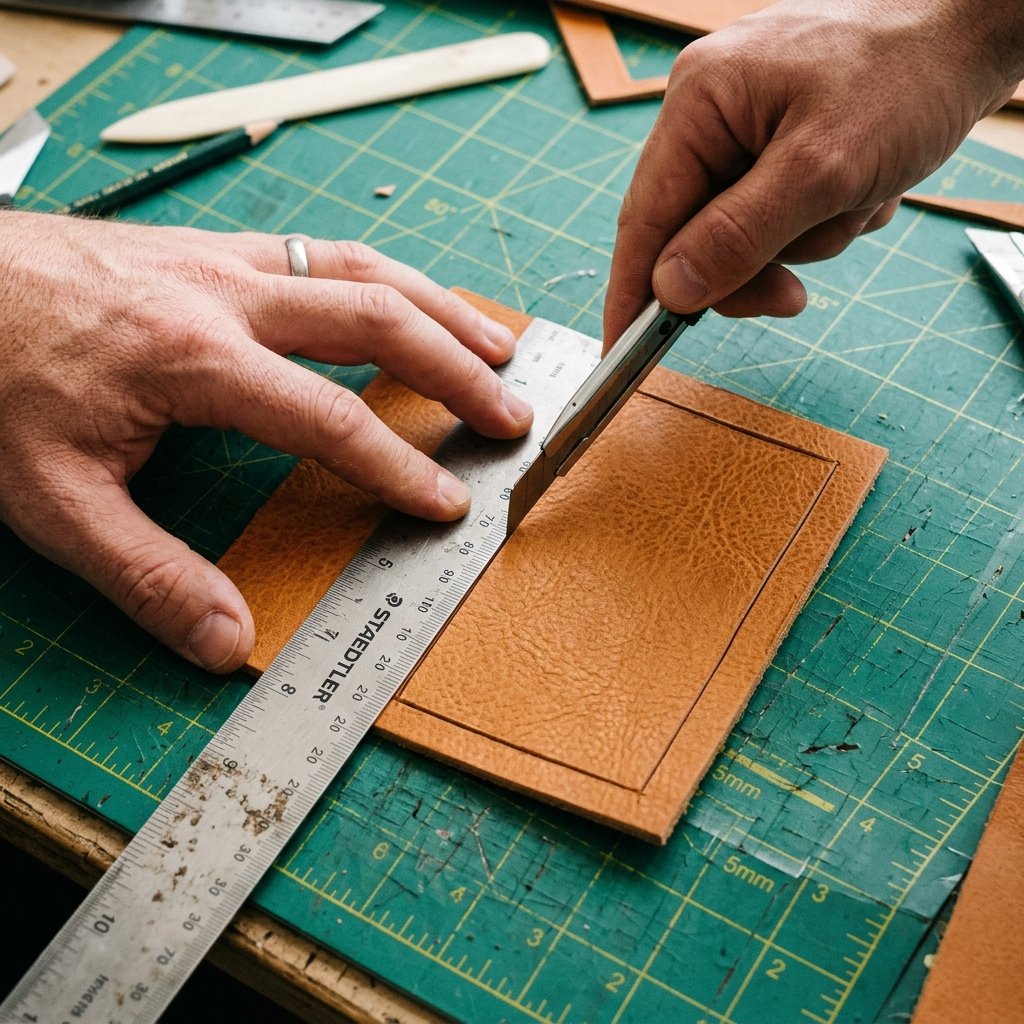
Follow these steps precisely to ensure your tag looks intentional and high-end. We are aiming for a classic rectangular silhouette with a ‘window’ for the contact information.
- Measure and Mark: On the back (suede side) of your leather, mark a rectangle 3.5 inches by 2 inches. This is the standard size for a business card or ID insert.
- The Precision Cut: Using your metal ruler as a guide, make one firm pass with your utility knife. Multiple shallow passes are better than one forced pass, as it prevents the leather from stretching.
- The Attachment Hole: Measure 0.5 inches down from the center of one of the short sides. Use your punch to create a hole large enough for your cord or leather lace.
- Corner Radiusing: For a more refined look, use a coin (like a quarter) to trace rounded corners, then carefully trim the excess with your knife.
- Edge Finishing: Lightly sand the cut edges of the leather. If you want a glossy look, rub a tiny bit of water or beeswax onto the edge and friction-rub it vigorously with a smooth piece of wood (or even the handle of your screwdriver) until it shines.
Pro Tip: If you want a ‘window’ for a business card, cut a second piece of leather slightly smaller, cut a rectangle out of the middle, and use a small amount of leather glue or a simple whip-stitch around three sides to create a pocket.
Personalization: Making It a Truly Thoughtful Gift
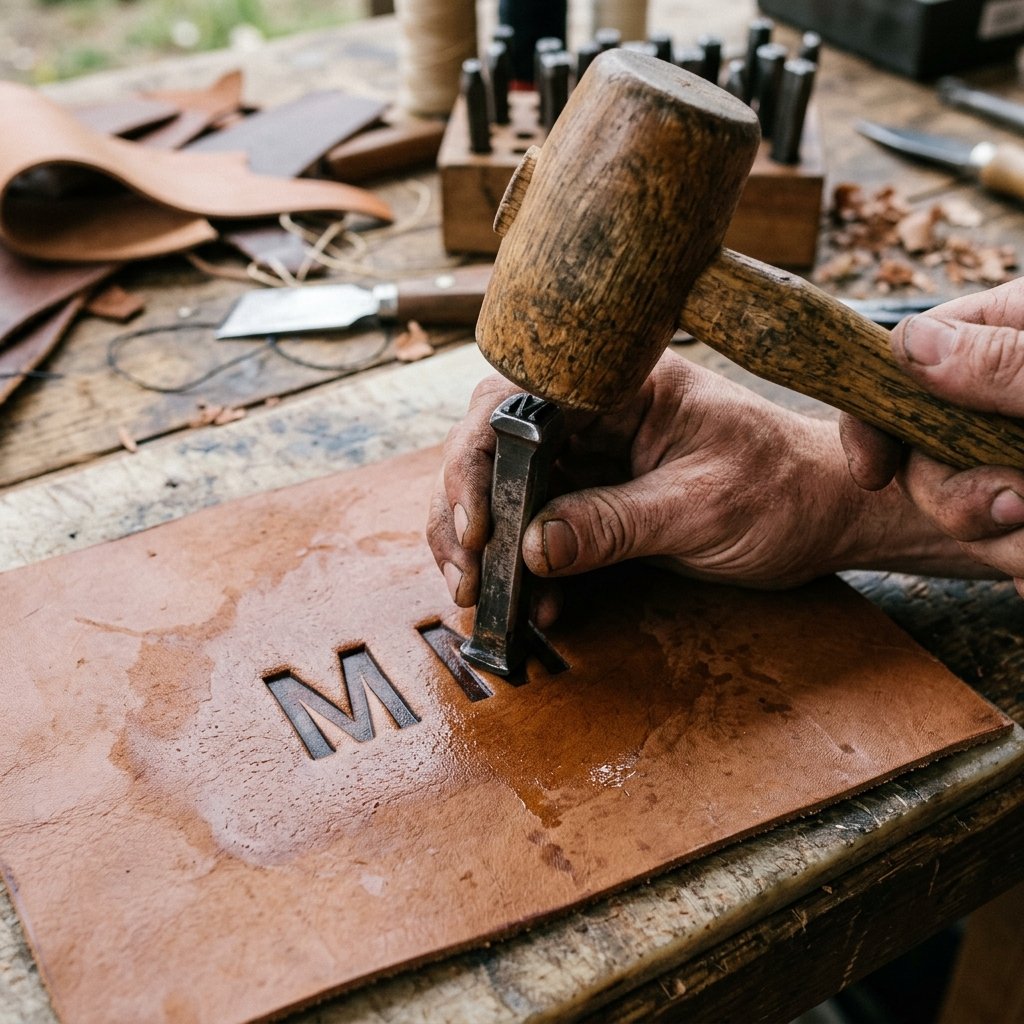
What turns a $2 piece of scrap into a $50 custom gift is the personalization. For the frequent traveler, having their initials permanently stamped into the leather is a mark of true luxury. It says you didn’t just buy this; you crafted it specifically for them.
Stamping Techniques
If using vegetable-tanned leather, ‘case’ the leather first by lightly dampening it with a sponge. Wait until the leather starts to return to its original color but still feels cool to the touch. Place your metal alphabet stamps on the leather and give them one solid strike with a mallet. Do not bounce the hammer, or you will get a double-image ‘ghost’ effect.
Alternative Branding
If you don’t have stamps, you can use a fine-tip permanent marker for a ‘hand-lettered’ look, or even a wood-burning tool to cauterize a name into the surface. For a rugged, masculine vibe, a simple ‘X’ stitch in a contrasting heavy thread in the corner adds a great tactile element.
| Method | Skill Level | Visual Style |
|---|---|---|
| Metal Stamping | Intermediate | Classic / Professional |
| Wood Burning | Advanced | Rustic / Hand-Crafted |
| Hand-Lettering | Beginner | Personal / Artistic |
| Contrast Stitching | Beginner | Tactical / Rugged |
The Economics of DIY: Designer vs. Handmade
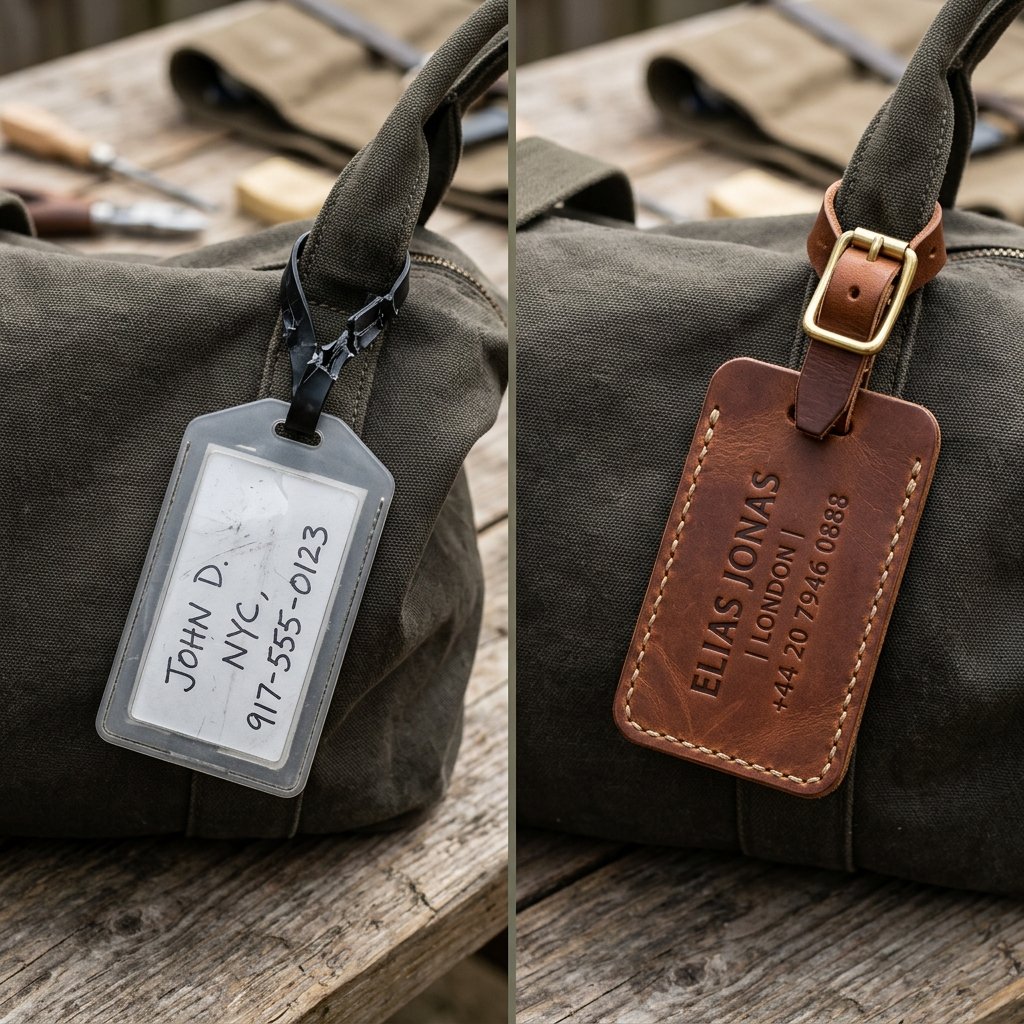
When we talk about being budget-savvy, we aren’t just talking about spending less. We are talking about the ‘Value-to-Cost Ratio.’ Let’s look at how your 10-minute project stacks up against the big-box retailers and luxury brands.
| Brand/Type | Price Tag | Material Quality | Personalization Cost |
|---|---|---|---|
| Luxury Boutique | $55.00 | Genuine Leather | +$15.00 |
| Department Store | $18.00 | Faux Leather (Plastic) | N/A |
| Airport Gift Shop | $12.00 | Cheap Vinyl | N/A |
| Your DIY Tag | $1.50 | Full-Grain Leather | FREE |
By making this yourself, you are saving over 90% compared to luxury brands while actually providing a higher quality material. Most commercial tags use ‘genuine leather,’ which is actually the lowest grade of real leather (essentially leather plywood). By using your own scraps of full-grain or top-grain leather, your gift will actually last longer and develop a beautiful patina over years of travel.
Conclusion
The Final Boarding Call
Crafting shouldn’t be expensive, and gifting shouldn’t be stressful. This 10-minute leather luggage tag proves that with a little resourcefulness and a sharp blade, you can create a gift that commands respect and stands the test of time. It’s a project that honors the tradition of hand-work while keeping your wallet full. So, the next time you see a scrap of leather or an old jacket, don’t see ‘trash’—see a dozen high-end gifts waiting to be born. Happy crafting, and even happier travels!

Makenzie is the founder and lead writer at MoneyHackTips.com — a personal finance blog dedicated to delivering street-smart financial wisdom for real people on real budgets. With 300+ published articles covering everything from debt management to investing fundamentals, Makenzie’s mission is to make every dollar work harder. When not writing about money hacks, Makenzie is testing frugal living strategies, optimizing side hustles, and helping readers build financial freedom from scratch.