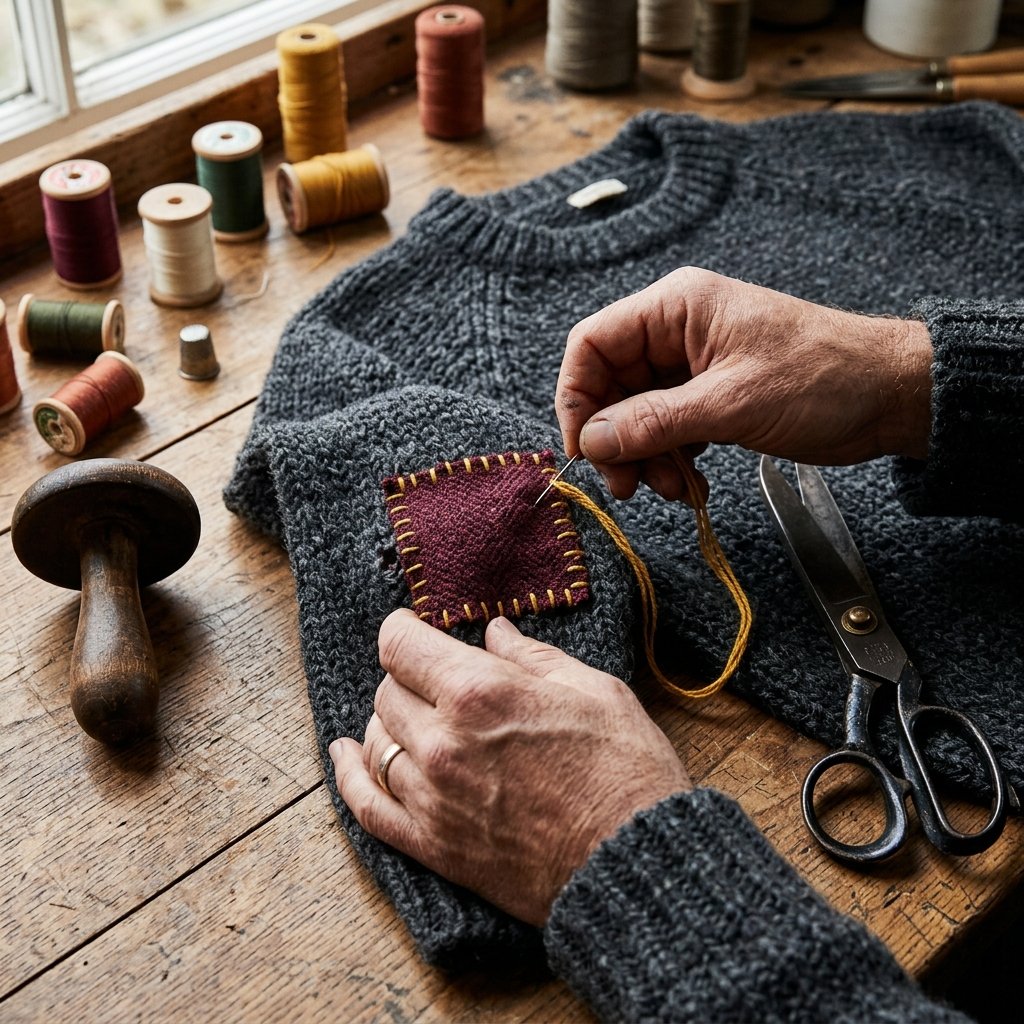

We have all experienced that unique brand of heartbreak: you pull your favorite, perfectly broken-in chunky knit sweater out of winter storage, only to discover that a rogue moth has treated it like an all-you-can-eat buffet. Or perhaps you snagged the elbow on a rogue nail while working out in the garage. For many, a hole in a knit garment is an immediate death sentence, banishing the item to the rag bin or the landfill. But for the resourceful, budget-savvy DIYer, a hole is not a tragedy—it is a blank canvas.
Welcome to the incredibly rewarding, frugal, and surprisingly rugged world of visible mending. Instead of attempting an impossible, invisible repair that leaves your sweater looking puckered and distorted, we are going to lean into the damage. By patching that hole with a gorgeous piece of contrasting fabric—think rich tweeds, supple scrap leather, rugged denim, or a bold vintage floral cotton—you are not just repairing a garment; you are elevating it. You are turning a fast-fashion casualty or a worn-out heirloom into a bespoke, one-of-a-kind piece of wearable art that screams masculine-elegant charm and crafty ingenuity.
This method is the ultimate frugal hack. Why spend $80 to $150 replacing a high-quality wool or cashmere sweater when you can save it using a 100% free scrap of fabric from your upcycling bin and $2 worth of embroidery floss? Whether you are a handy parent trying to keep up with the wear-and-tear of active kids, or a creative gift-giver looking to restore a vintage thrift-store find for a loved one, this step-by-step guide will equip you with the grandma-approved tailoring secrets you need. Grab your needle, raid your scrap bin, and let us breathe new life into your favorite knits!
Embracing the Rugged Elegance of Visible Mending
Before we thread a needle, it is crucial to understand the philosophy behind what we are about to do. For generations, mending was a hidden art. The goal was to make the repair as undetectable as possible. However, the modern upcycling movement—heavily inspired by the Japanese art of Sashiko (which translates to “little stabs”) and the classic British country-estate tradition of leather elbow patches—celebrates the mend. It is an act of rebellion against throwaway culture.
The Psychology of the Patch
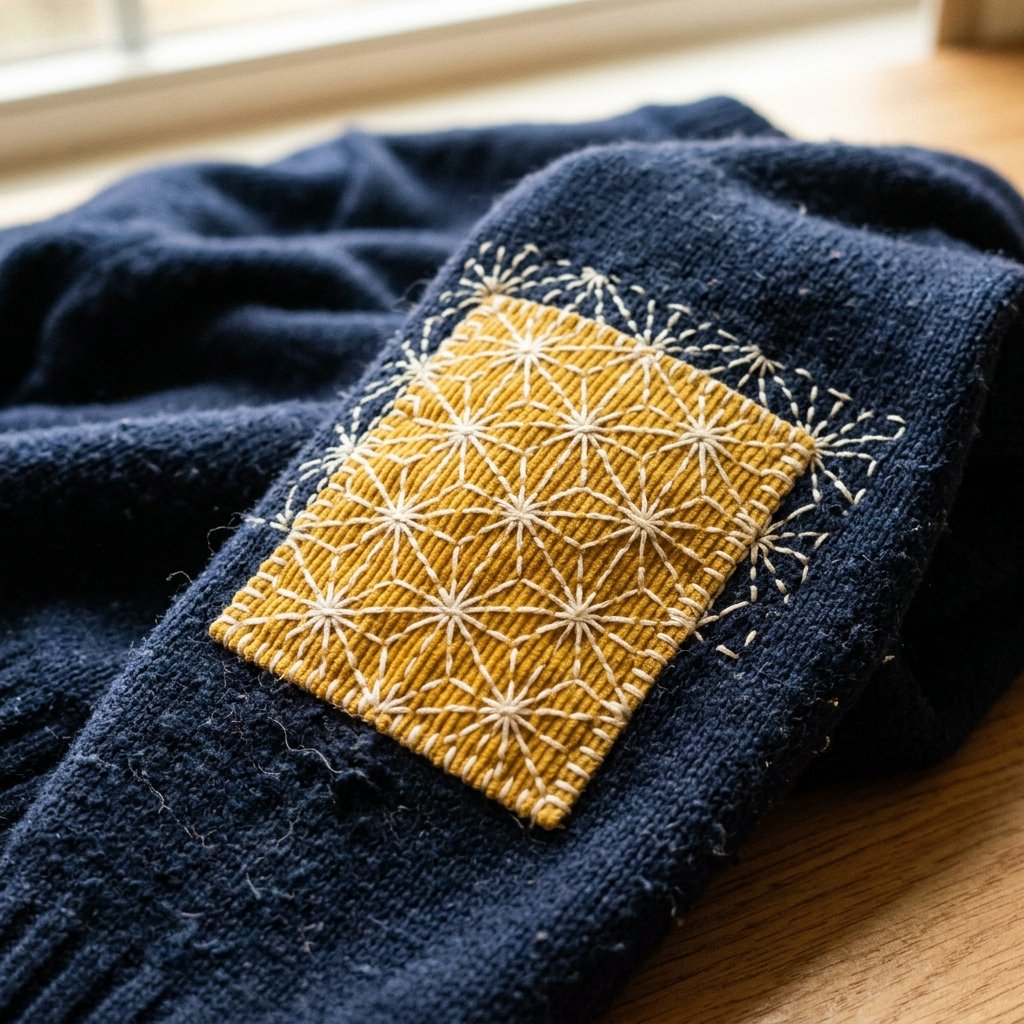
When you choose to visibly mend a garment, you are telling a story. A beautifully executed patch in a contrasting fabric shows that the item is loved, valued, and worth saving. It adds a rugged, professorial, and deeply custom aesthetic to your wardrobe. Think of a navy blue wool sweater adorned with a striking mustard-yellow corduroy patch, stitched down with bright white thread. It transforms a basic staple into a high-end designer lookalike.
“A hole is merely an opportunity to add character. Mend and make do, but make it beautiful.” — The Frugal Crafter’s Mantra
Furthermore, from a budget-savvy perspective, visible mending is a superpower. You are entirely bypassing the need for specialized, expensive invisible darning services, which can cost upwards of $50 per hole at a professional tailor. You are taking control of your wardrobe’s longevity using basic hand-sewing skills that anyone—even a complete beginner—can master in an afternoon.
Gathering Your Arsenal: Tools, Scraps, and Frugal Finds
To execute a flawless, durable patch, you do not need a fancy sewing machine or expensive tailoring equipment. In fact, most of what you need is likely already sitting in your junk drawer or craft bin. The key to a successful mend is choosing the right combination of fabric and thread to complement your knitwear’s weight and drape.
The Essential Mending Toolkit
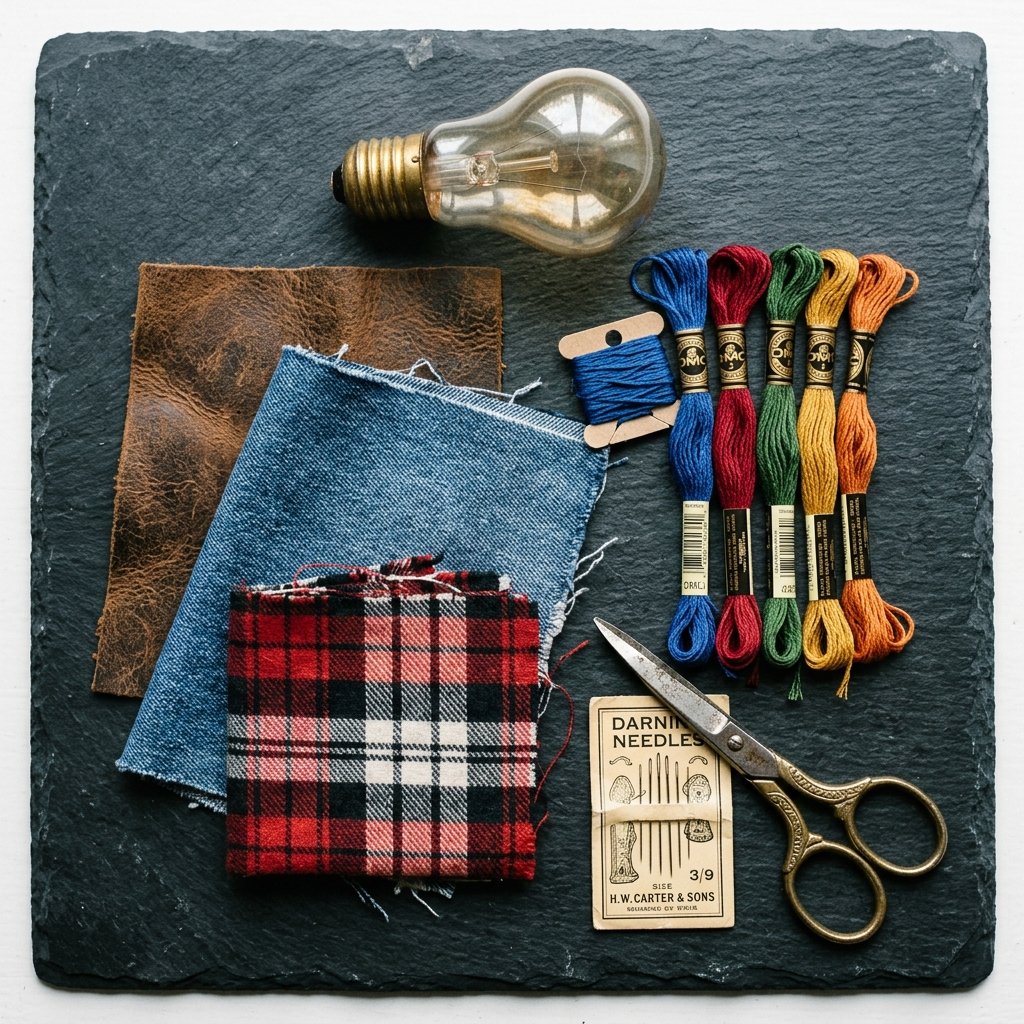
- Darning Needles: You need a needle with an eye large enough to accommodate thick embroidery floss or yarn, but a point sharp enough to pierce your patch fabric. A standard tapestry needle or chenille needle works wonders.
- Embroidery Floss or Sashiko Thread: Standard sewing thread is too thin and will slice through delicate knits under tension. Six-strand cotton embroidery floss or specialized Sashiko thread provides the strength and visual impact we want.
- A Darning Mushroom (or Frugal Substitutes): To prevent sewing the front and back of your sweater together, you need a rounded object to stretch the hole over. A traditional wooden darning mushroom is great, but a smooth tennis ball, a clean mason jar, or an old incandescent lightbulb works just as perfectly for $0.
- Fabric Scissors and Pins: Sharp scissors are a must for clean patch edges.
Selecting Your Contrasting Fabric
The fabric you choose for your patch will dictate the entire vibe of the sweater. You want a fabric that is tightly woven so it won’t fray easily, and its washing instructions should ideally match the sweater. Here is a handy guide to matching your fabrics:
| Sweater Material | Ideal Patch Fabric | Vibe / Aesthetic | Budget-Savvy Source |
|---|---|---|---|
| Chunky Wool / Aran | Scrap Leather or Suede | Rugged, Outdoorsy, Academic | Old purses, thrifted leather jackets, worn-out belts |
| Fine Merino / Cashmere | Liberty Cotton or Silk | Elegant, Bespoke, High-End | Old dress shirts, vintage scarves, quilting scraps |
| Cotton Knit / Cardigans | Flannel or Corduroy | Cozy, Cabin-Chic, Relaxed | Worn-out pajama pants, old fall button-downs |
| Everyday Blends | Denim (Chambray) | Practical, Workwear, Sturdy | Old jeans, cutoff hems, worn denim jackets |
Safety Note: When working with heavy-duty fabrics like leather or thick denim, consider using a leather thimble or a rubber finger grip to push the needle through. Never force a stuck needle toward your body or face.
Triage for Knits: How to Stabilize the Hole Before Patching

Here is the number one mistake eager menders make: they slap a patch directly over a hole and start sewing. If you do this, the broken knit loops underneath the patch will continue to unravel, eventually growing larger than the patch itself and destroying your hard work. We must perform triage first.
Step 1: Isolate the Damage
Gently lay your sweater flat on a table in a well-lit area. Inspect the hole. You will likely see little loops of yarn hanging loose at the top and bottom of the tear. These are “live stitches.” If you pull them, the sweater will run like a pair of pantyhose.
Step 2: Catching the Live Stitches
Take a piece of regular sewing thread (any color, as this will be hidden) and a fine needle. Carefully run the needle through every single loose loop around the perimeter of the hole. You are not trying to pull the hole closed—doing so would pucker the fabric and ruin the drape of the sweater. You are simply creating a safety net. Once you have threaded through all the loose loops, tie the thread off securely. The unraveling has officially been stopped!
Step 3: Insert Your Frugal Darning Tool
Now, take your tennis ball, mason jar, or lightbulb and slide it inside the sweater, positioning it directly under the stabilized hole. The knit should sit smoothly over the curved surface without being stretched out of shape. Stretching the knit too tight at this stage will result in a wavy, distorted patch later. Keep it relaxed but taut enough to work on easily.
The Art of the Appliqué: Shaping and Pinning Your Contrasting Fabric
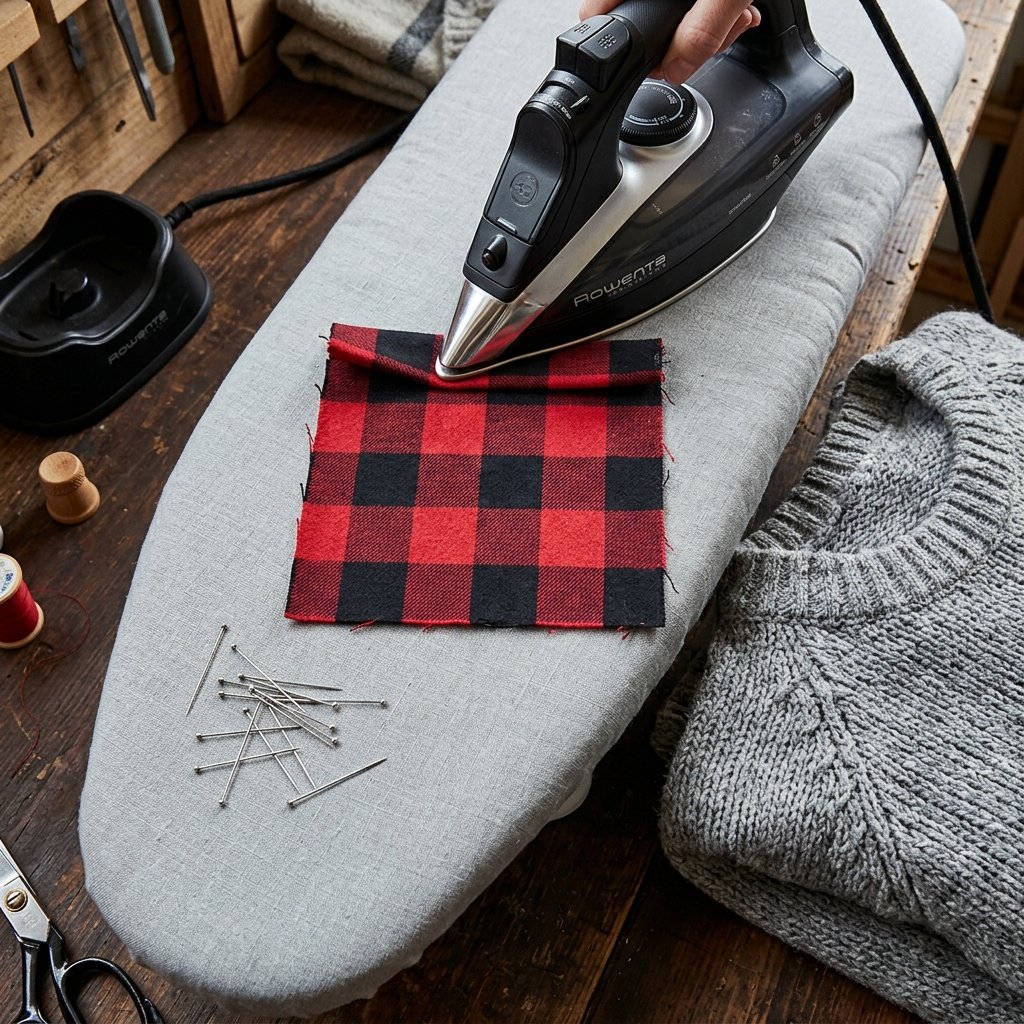
With the bleeding stopped, it is time to prepare the star of the show: your contrasting patch. This is where your inner Dollar Tree interior designer meets master tailor. You want precision, clean lines, and an eye for placement.
Step 1: Sizing the Patch
Measure the diameter of the stabilized hole. Your patch needs to be significantly larger than the hole itself. As a rule of thumb, cut your fabric so it extends at least 1 inch (2.5 cm) past the edges of the hole in every direction. This ensures that when you sew it down, you are anchoring the patch to strong, healthy knit fabric, not the weakened fibers near the tear.
Step 2: Managing the Raw Edges
Unless you are using leather, suede, or felt (which do not fray), you must address the raw edges of your woven fabric patch (like cotton, denim, or flannel). If you leave them raw, they will fray in the wash, leaving you with a messy, stringy blob.
- The Frugal Fold-Under: Cut your patch an extra 1/2 inch larger than needed. Lay the patch face down. Fold the edges inward by 1/4 inch and press them flat with a hot iron. This creates a clean, finished edge that is completely fray-proof.
- The Pinking Shears Hack: If you prefer a slightly more rugged, deconstructed look and own pinking shears (scissors with zig-zag blades), cut the patch with those. The zig-zag cut significantly reduces fraying while adding a cool, vintage workwear aesthetic.
Step 3: Pinning for Perfection
Place your prepared patch directly over the hole on the sweater (which is still resting on your tennis ball or darning mushroom). Use straight pins to secure the patch through the sweater. Pro-Tip: Pin from the center outward to ensure the patch lies perfectly flat against the knit without creating bubbles or puckers.
Executing the Stitch: Techniques for a Bulletproof, Beautiful Hold
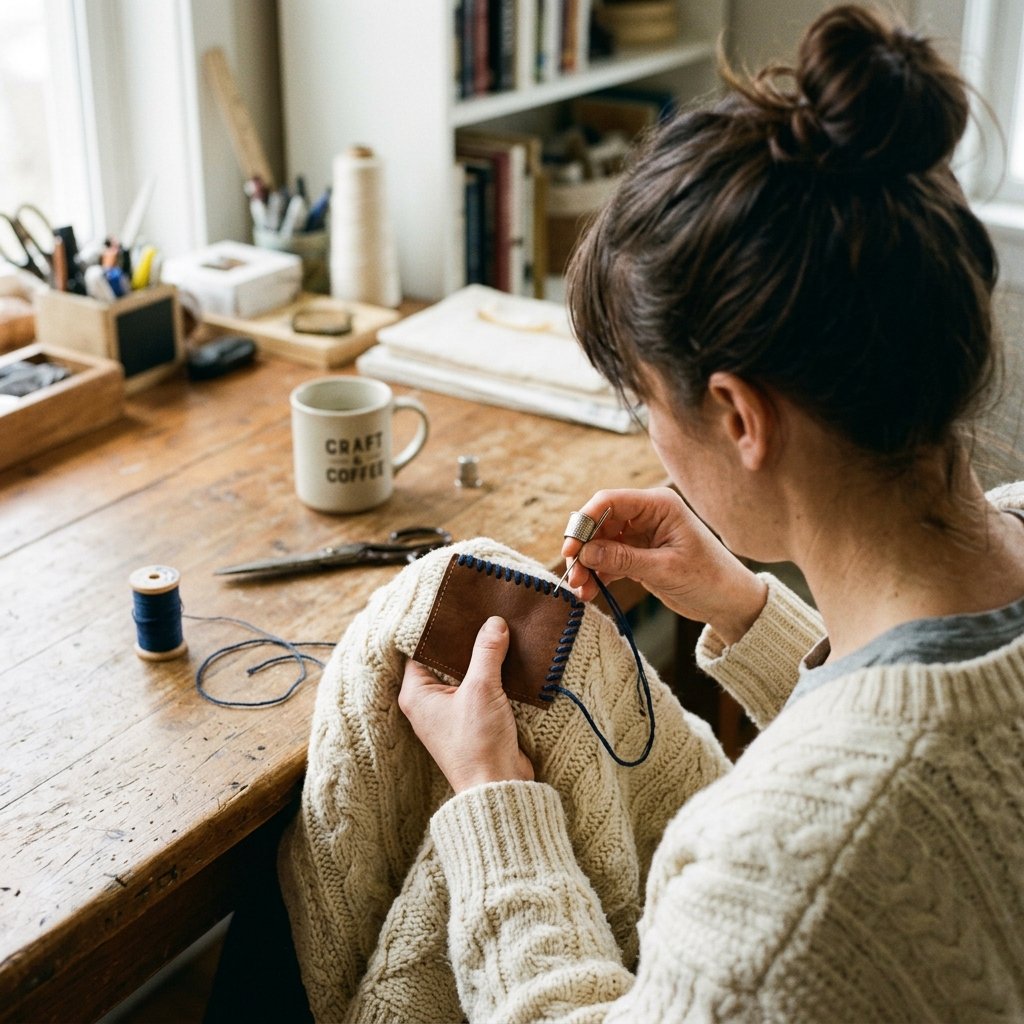
Now comes the truly meditative part of the craft. Sewing the patch down is where you inject personality into the garment. Because we are practicing visible mending, we want the thread to stand out. Thread your darning needle with a length of embroidery floss (about the length of your forearm—any longer and it will tangle) and tie a knot at the end.
Technique 1: The Classic Whip Stitch (For a Clean, Tailored Look)
The whip stitch is fast, strong, and wraps around the edge of your patch, securing it tightly to the knit.
- Bring your needle up from the inside of the sweater, coming out just through the edge of the patch. The knot will be hidden inside the sweater.
- Take the needle down into the sweater fabric just outside the edge of the patch, about 1/8 inch away from where you came up.
- Bring the needle back up through the edge of the patch, moving about 1/8 to 1/4 inch down the line.
- Repeat this process, wrapping the thread over the edge of the patch in a continuous spiral motion. Keep your tension even—do not pull so tight that the knit puckers!
Technique 2: The Blanket Stitch (For a Rustic, Crafty Vibe)
The blanket stitch creates a beautiful, rope-like border around the patch. It is highly decorative and incredibly secure, perfect for thick wools and leather patches.
- Bring the needle up through the sweater and the patch, about 1/4 inch in from the edge.
- Take the needle down just outside the edge of the patch, directly across from where you came up.
- Before pulling the thread all the way tight, pass your needle through the loop of thread that forms.
- Pull the thread tight. This creates a straight line of thread along the edge of the patch. Repeat, spacing your stitches evenly.
Technique 3: The Sashiko Running Stitch (For Maximum Visual Impact)
If you want to look like an upcycling genius, use the Sashiko method. Instead of just sewing the edges, you will cover the entire patch in rows of small, even running stitches. This bonds the patch to the sweater like quilting, creating an incredibly strong repair.
- Simply weave your needle in and out of the fabric, catching both the patch and the sweater, creating dashed lines.
- You can sew straight parallel lines, create a grid pattern, or even stitch stars and crosses. The creative possibilities are endless!
Caring for Your Upcycled Masterpiece: Washing and Maintenance
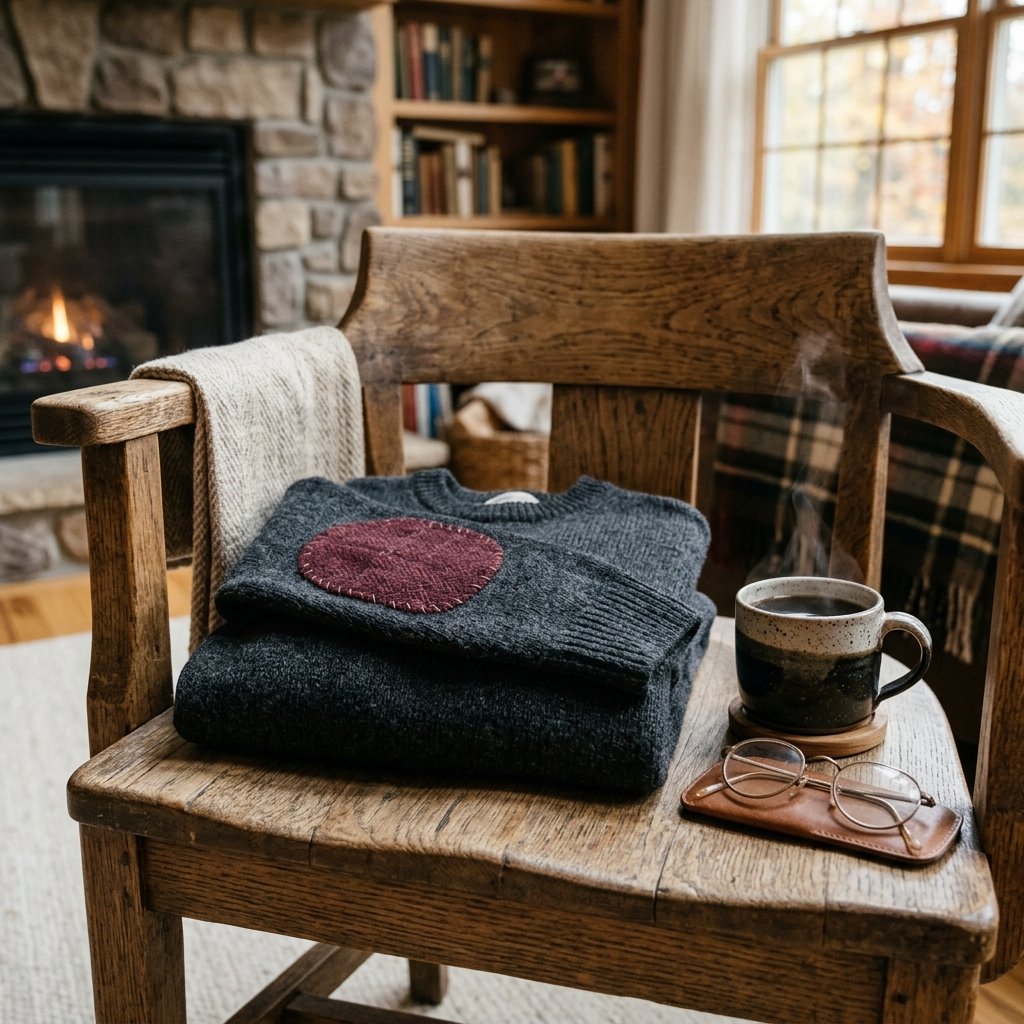
Congratulations! You have successfully rescued your knitwear from the trash bin and transformed it into a bespoke, ruggedly elegant masterpiece. But the journey doesn’t end when the needle is put away. You now have a garment composed of two different materials (e.g., wool and cotton, or cashmere and leather), which means you need to be smart about maintenance.
The Golden Rule of Mixed-Media Washing
Always wash the garment according to the most delicate material present. In almost all cases, this will be the knit sweater itself.
- Hand Washing is King: For wool, cashmere, or alpaca knits, fill a basin with lukewarm water and a gentle, no-rinse wool wash (or a frugal alternative like a few drops of mild baby shampoo). Gently submerge the sweater and press the soapy water through the fibers. Never wring or twist the sweater, as this will distort your beautiful new patch.
- Dealing with Leather Patches: If you used scrap leather or suede, avoid submerging the patch entirely if possible. Spot clean the knit around it. If the whole sweater needs a wash, use a specialized leather-safe detergent, and once the sweater is dry, apply a tiny dab of leather conditioner to the patch to keep it supple and prevent cracking.
- Drying: Always dry knits flat. Lay a clean, dry bath towel on the floor, place the wet sweater on it, and roll the towel up like a burrito, pressing down to squeeze out excess water. Unroll, transfer the sweater to a dry towel or mesh drying rack, and reshape it. Ensure the patch area is smoothed out so it dries perfectly flat.
By taking these simple, budget-savvy precautions, your newly patched sweater will easily survive another decade of cozy campfires, crisp autumn hikes, and daily wear.
Conclusion
Visible mending is so much more than a frugal clothing hack; it is a mindset shift. By taking the time to patch a hole in your knitwear with gorgeous contrasting fabric, you are rejecting the fast-fashion cycle of buy-wear-toss. You are stepping into the shoes of a crafty expert, utilizing materials that cost absolutely nothing, and producing a garment that looks like it belongs in a high-end boutique.
The next time you find a moth hole, a tear, or a worn-out elbow in your favorite sweater, do not despair. Grab your darning needle, hunt down a scrap of rugged leather or cozy flannel, and let your creativity run wild. Your wallet will thank you, your wardrobe will be infinitely cooler, and you will wear your bespoke, upcycled handiwork with a well-deserved sense of pride. Happy mending, and stay crafty!

Makenzie is the founder and lead writer at MoneyHackTips.com — a personal finance blog dedicated to delivering street-smart financial wisdom for real people on real budgets. With 300+ published articles covering everything from debt management to investing fundamentals, Makenzie’s mission is to make every dollar work harder. When not writing about money hacks, Makenzie is testing frugal living strategies, optimizing side hustles, and helping readers build financial freedom from scratch.