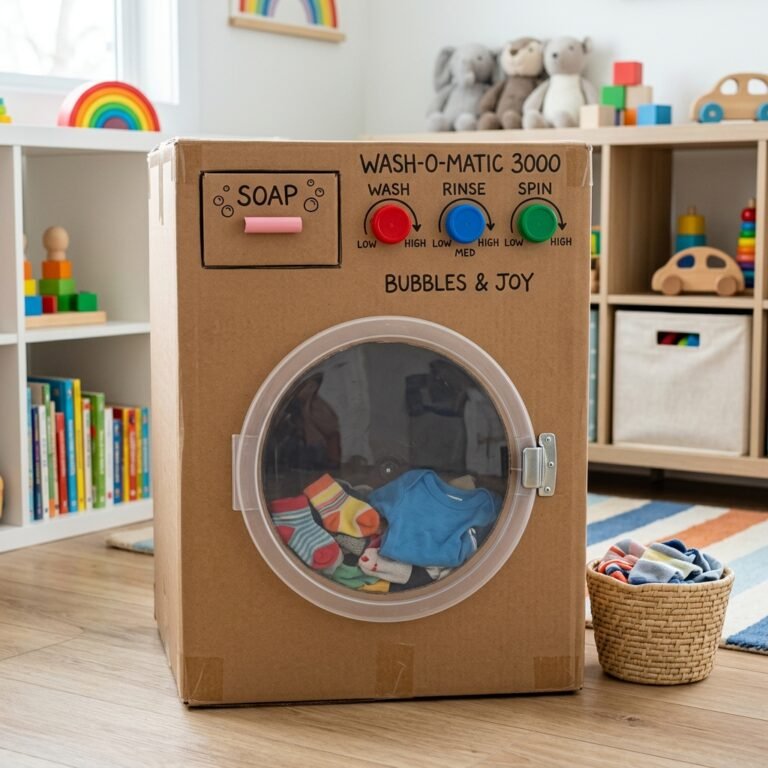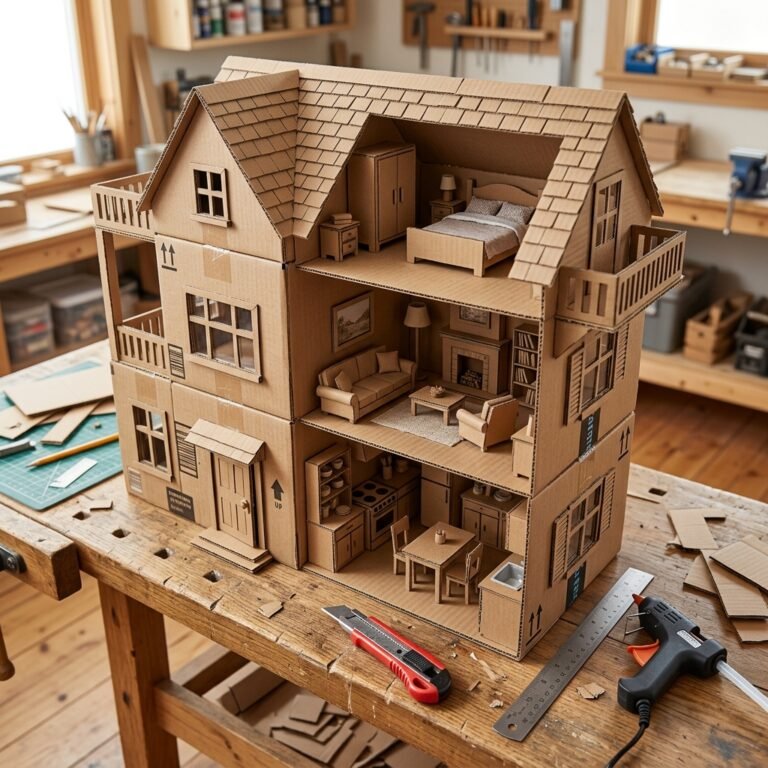

In an era of plastic, battery-operated toys that break within a week, there is something profoundly satisfying about the rugged reliability of cardboard. As a frugal DIYer, you know that the best toys aren’t bought; they are engineered from the remnants of your latest shipping delivery. This project isn’t just about making a toy; it’s about resourceful creativity and teaching the next generation that ‘trash’ is simply a raw material waiting for a vision.
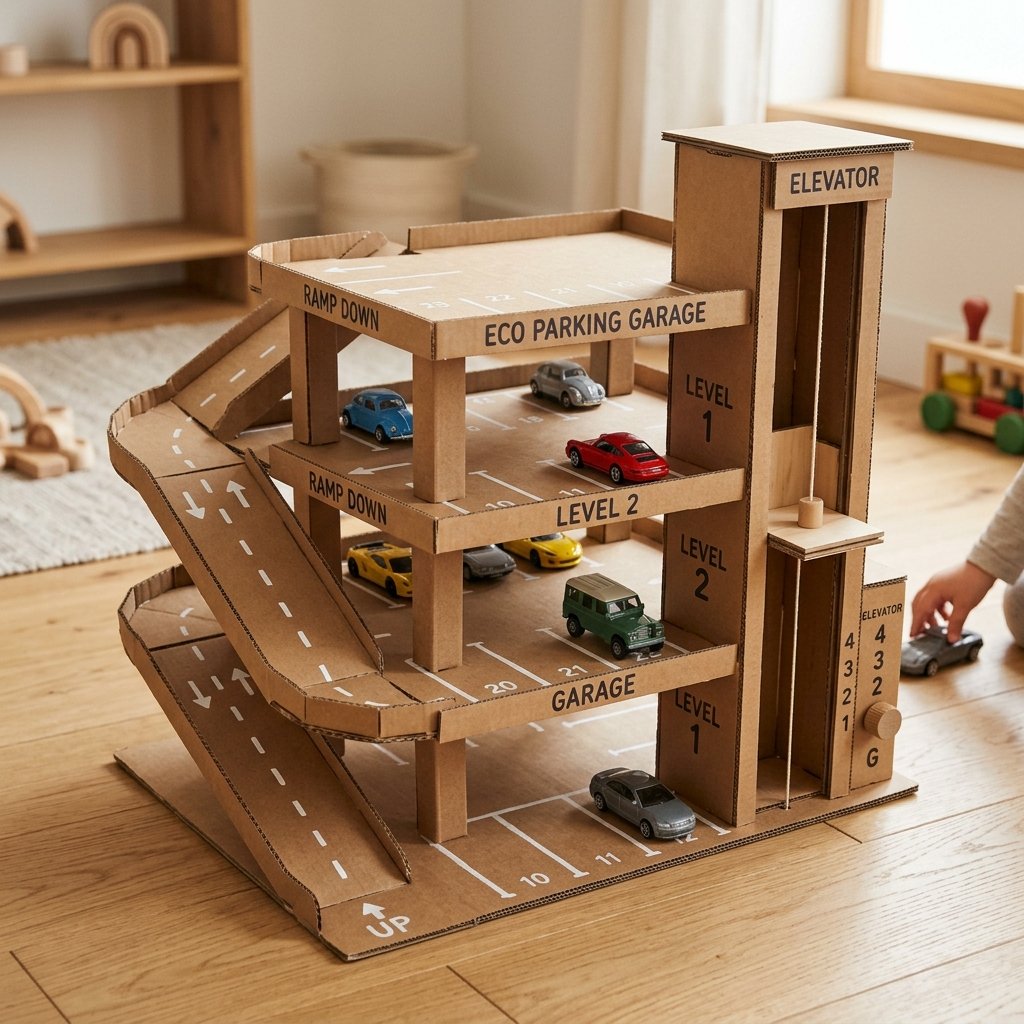
We are going to build the ultimate multi-level parking garage. This isn’t a flimsy box with a hole in it. We are talking about a masculine-elegant, structurally sound architectural feat that will house everything from Matchbox classics to Hot Wheels racers. By following these 3 easy steps, you will save roughly $40 to $60 compared to store-bought plastic alternatives, all while creating a bespoke heirloom of play.
The Blueprint: Scavenging and Preparation

The Art of the Scavenge
Before we cut our first flap, we must gather the right grade of materials. Not all cardboard is created equal. For a garage that survives the ‘toddler-test,’ you need double-walled corrugated cardboard for the base and primary supports. This is the clever crafter’s secret: structural integrity begins with material selection.
| Material | Source | Estimated Cost |
|---|---|---|
| Double-Walled Cardboard | Large Appliance Boxes | $0.00 |
| Paper Towel Tubes | Kitchen Recycling | $0.00 |
| Hot Glue Sticks (Bulk) | Hardware Store | $2.50 |
| Utility Knife/Box Cutter | Toolbox | Owned |
| Acrylic Paint (Black/Grey) | Craft Drawer | $1.00 |
The Inventory Check
- The Foundation: One large, flat piece of heavy-duty cardboard (approx. 24″ x 24″).
- The Levels: Two or three medium-sized flaps cut to identical dimensions.
- The Pillars: Four sturdy cardboard tubes or rolled-up cardboard cylinders for every floor.
- The Adhesive: A high-temp hot glue gun for instant structural bonds.
Pro-Tip: Use a metal ruler when cutting. It prevents the blade from skipping and ensures your ‘parking lot’ has the crisp, clean lines of a professional architectural model.
Step 1: Engineering the Structural Core
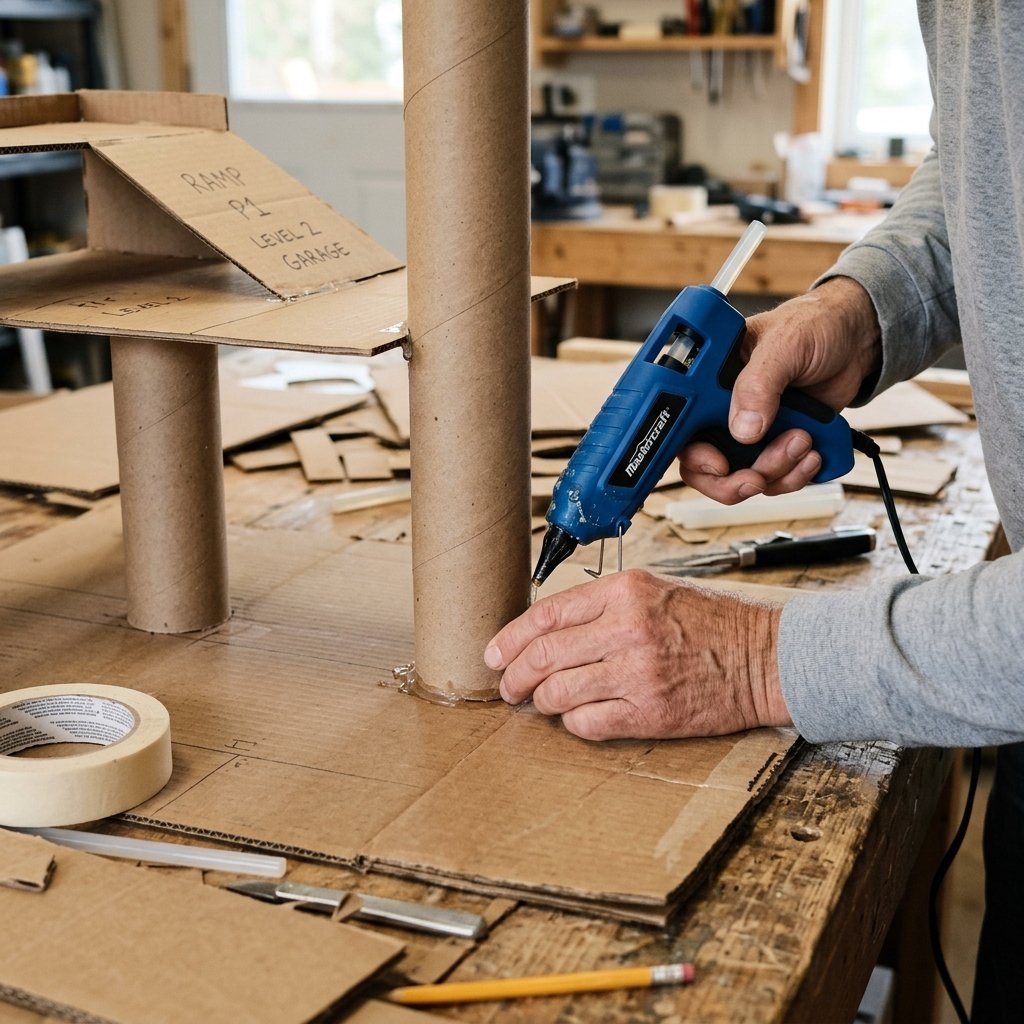
Laying the Foundation
The first step in our 3-step masterclass is establishing the verticality of the structure. A garage is only as good as its stability. We start by measuring and marking the four corners of your base plate. You want to ensure that your pillars are inset by at least 2 inches to allow for ‘curb appeal’ and exterior ramps.
Assembly Instructions
- Leveling the Pillars: Cut your cardboard tubes to exactly 6 inches in height. Consistency is key here; even a 1/8th inch difference will cause your garage levels to wobble.
- The First Floor: Apply a generous bead of hot glue to the bottom of your first four pillars and press them firmly onto the base. Hold for 30 seconds to ensure a permanent set.
- Deck Installation: Apply glue to the tops of the pillars and carefully lower your second level of cardboard onto them. Use a spirit level if you have one—this is where the handy parent shines.
“Measure twice, cut once, and glue like you mean it. A sturdy toy is a safe toy.” — The Frugal Crafter’s Mantra
By the end of this step, you should have a stable, multi-tiered ‘skeleton’ of a building. It might look like a simple shelf now, but the magic is in the details we are about to add.
Step 2: Crafting High-Speed Ramps and Access
The Physics of Fun
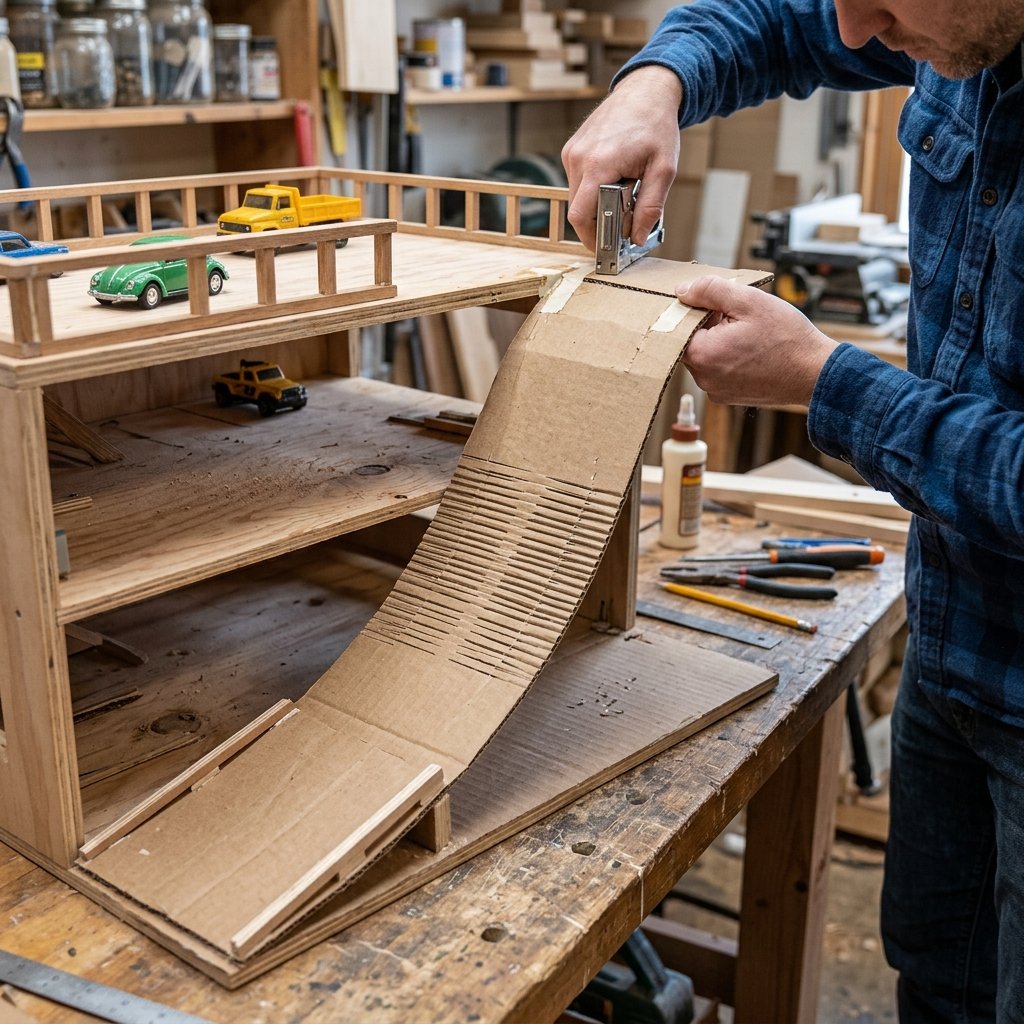
What is a parking garage without a way to get to the top? Step 2 is where we transition from ‘box’ to ‘toy.’ We need to engineer ramps that are wide enough for two-way traffic (approx. 4-5 inches) and at an angle that allows cars to descend without flying off the edge.
The Ramp Formula
To create a smooth transition, do not just glue a flat piece of cardboard at an angle. Instead, use the ‘Score and Fold’ technique. Take a long strip of cardboard and lightly score the underside every half-inch. This allows the cardboard to curve slightly, creating a professional-looking ‘on-ramp’ that mimics real asphalt.
| Ramp Type | Difficulty | Cool Factor |
|---|---|---|
| Straight Incline | Easy | 6/10 |
| Spiral Descent | Hard | 10/10 |
| Side-Access Jump | Medium | 8/10 |
- Cutting the Entryways: Use your utility knife to cut rectangular openings in the upper floors where the ramps will meet the deck.
- Securing the Grade: Glue the top of the ramp to the underside of the upper floor. Let the bottom rest naturally on the floor below before gluing to ensure the perfect slope.
- Safety Rails: Cut 1-inch strips of thin cardboard and glue them along the edges of the ramps. This keeps the cars on track and adds a rugged, industrial look.
Step 3: Aesthetics, Branding, and Detailing
The High-End Finish
This is where we turn a ‘cardboard project’ into the Best Cardboard Toy Ever. We are going for a masculine-elegant aesthetic—think urban industrial meets modern minimalism. This step is about the clever details that make the toy feel premium.
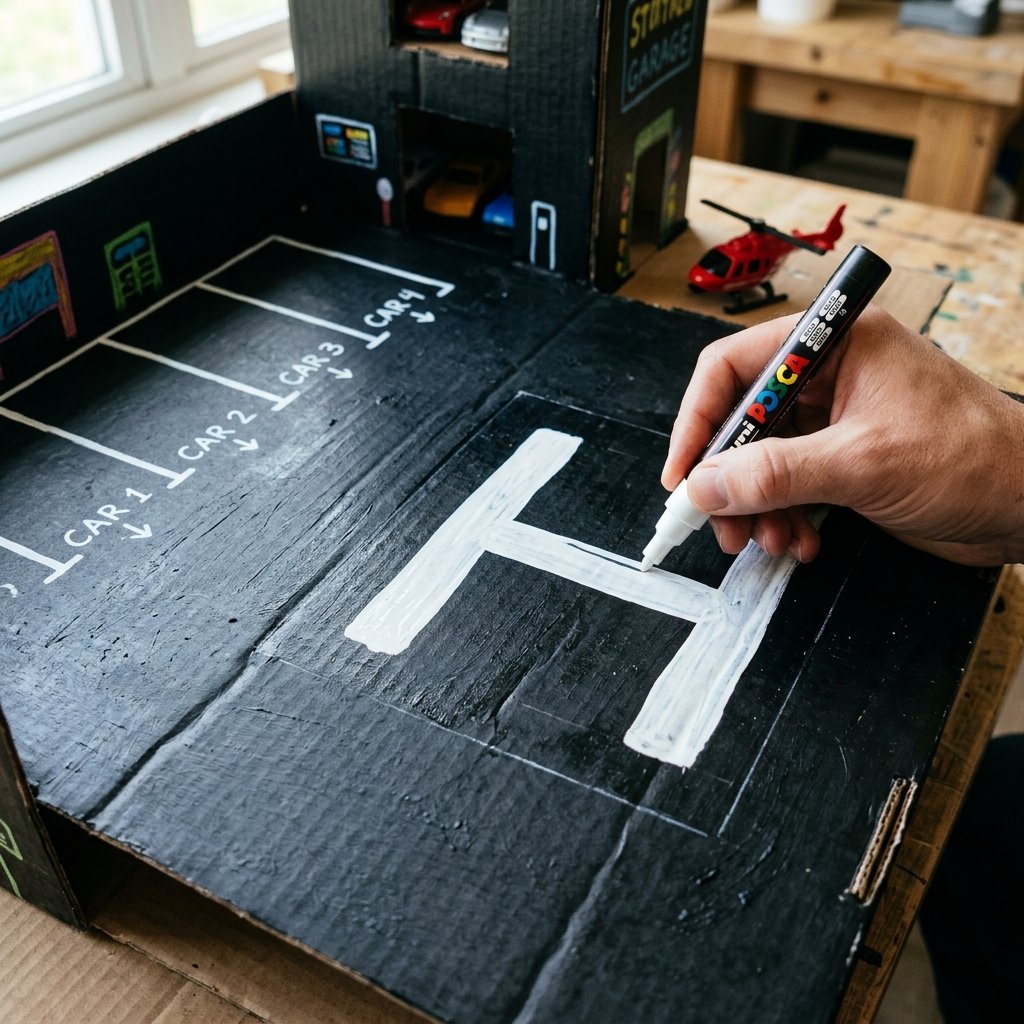
The Paint and Line Work
- The Asphalt Look: Use a sponge to dab charcoal grey or black acrylic paint onto the floor surfaces. The texture of the sponge on the cardboard creates a realistic road shimmer.
- Precision Striping: Once the base coat is dry, use a white paint pen or a thin brush to draw parking stalls. Space them 3 inches apart to accommodate most toy car scales.
- Signage: Use scraps of cardboard to create ‘Enter,’ ‘Exit,’ and ‘Level 1’ signs. For a budget-savvy hack, use a black sharpie to hand-letter these in a bold, blocky font.
Safety Note: If using spray paint, always work in a well-ventilated outdoor area. Ensure the paint is fully cured (at least 24 hours) before allowing children to play with the garage to avoid any lingering fumes.
For the final touch, add a ‘Helipad’ on the roof using a simple ‘H’ inside a circle. This adds a layer of creative play that extends beyond just cars.
Maintenance and Upcycling Longevity
Keeping the Fleet Moving
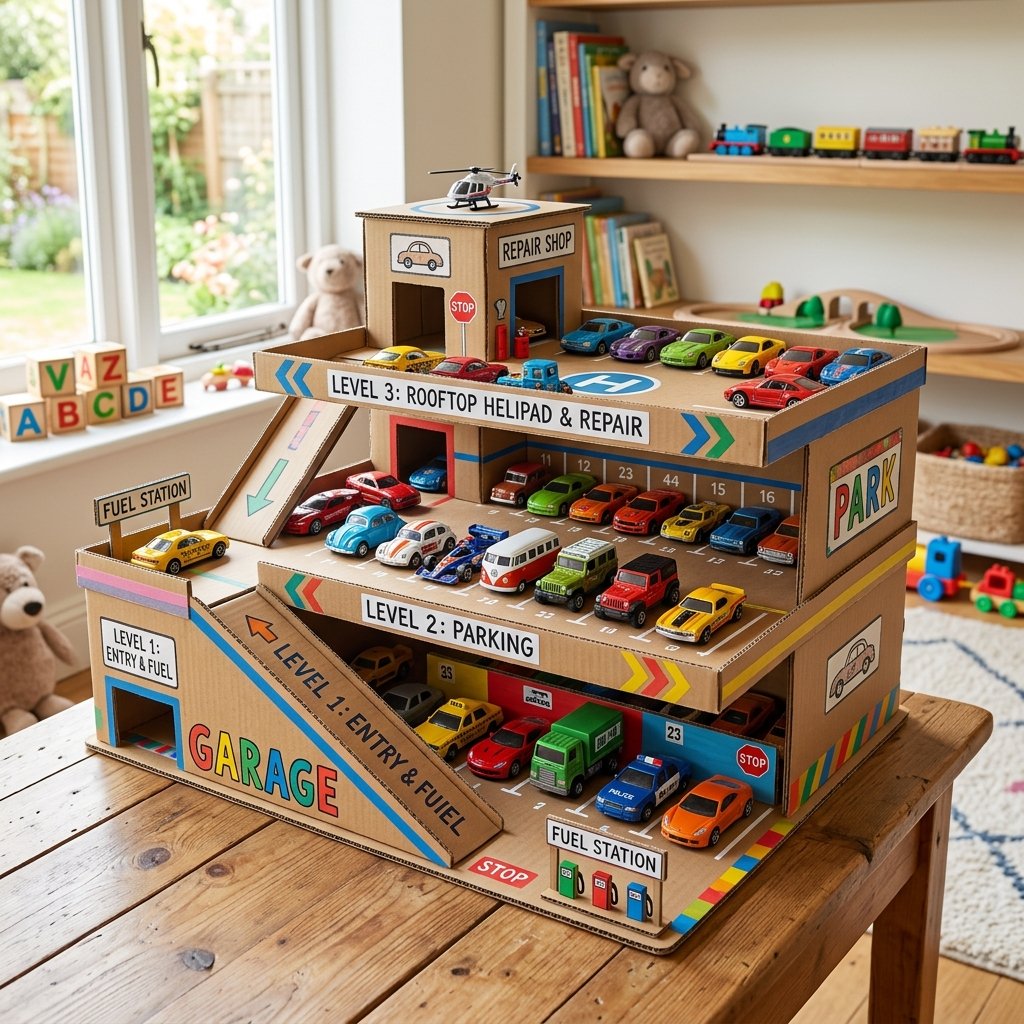
Because this is a zero-budget DIY project, the beauty lies in its repairability. Unlike plastic toys that end up in a landfill when they crack, a cardboard garage can be mended with a simple strip of packing tape or a fresh dab of glue. This is sustainable parenting at its finest.
Durability Upgrades
- Reinforced Edges: If the corners start to fray, wrap them in black duct tape. It adds to the ‘industrial’ look while providing maximum durability.
- The Expansion Pack: The beauty of this design is that you can always add a Level 4 or an adjacent ‘Gas Station’ made from a shoe box.
- Storage: Designate the bottom level as ‘long-term parking’ to encourage your kids to clean up their cars at the end of the day.
By choosing to build instead of buy, you have saved 100% of the retail cost and provided a toy with more character and soul than anything found in a big-box store. You are not just a parent; you are an upcycling architect.
Conclusion
Building the Best Cardboard Toy Ever is a testament to the power of a frugal mindset and a little bit of elbow grease. In just 3 easy steps, we’ve transformed mundane shipping materials into a multi-level hub of imagination. You’ve saved over $50, reduced your environmental footprint, and created a custom piece of play equipment that beats any store-bought plastic. Now, grab those keys, line up the fleet, and let the races begin. Happy crafting!

Makenzie is the founder and lead writer at MoneyHackTips.com — a personal finance blog dedicated to delivering street-smart financial wisdom for real people on real budgets. With 300+ published articles covering everything from debt management to investing fundamentals, Makenzie’s mission is to make every dollar work harder. When not writing about money hacks, Makenzie is testing frugal living strategies, optimizing side hustles, and helping readers build financial freedom from scratch.