
The Secret to Designer Curb Appeal on a Dollar Store Budget
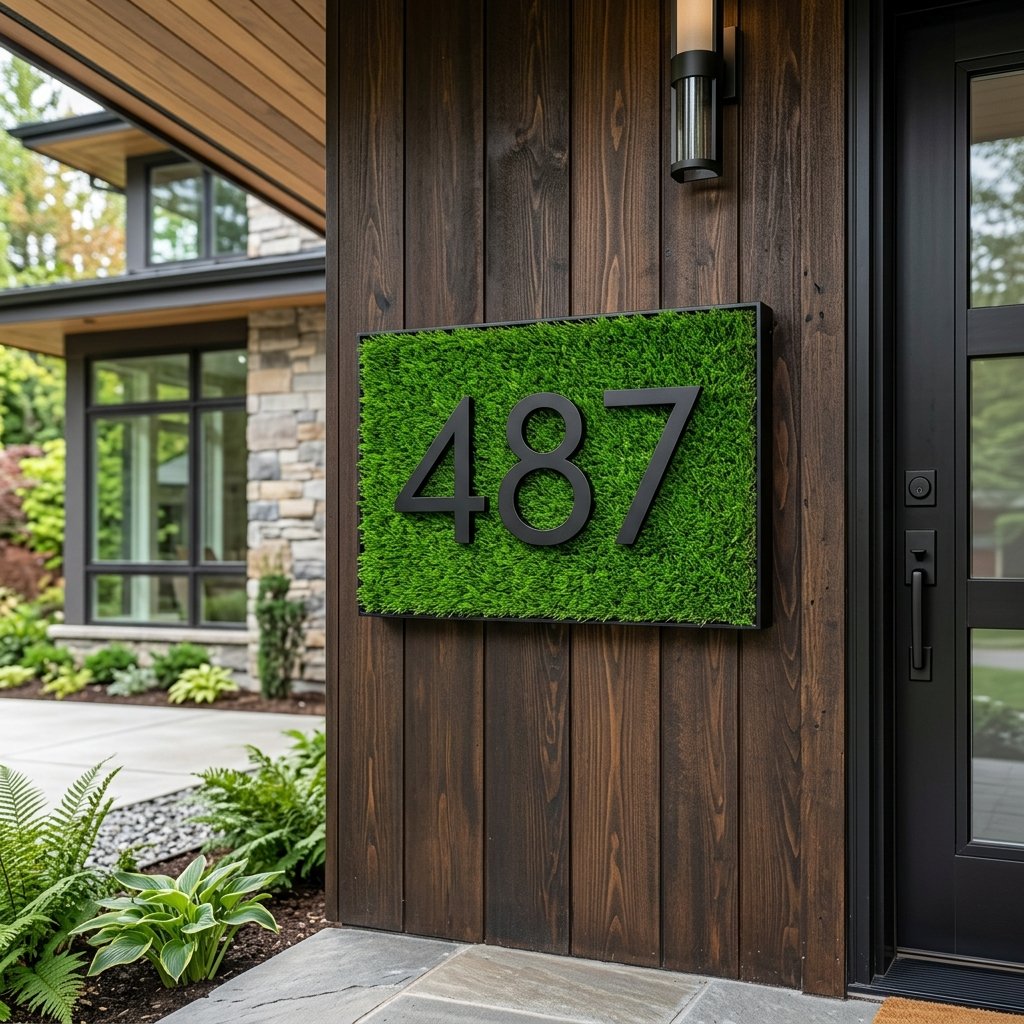
Let’s be honest: first impressions are everything, but professional landscaping and custom architectural signage can cost a small fortune. If you’ve been eyeing those lush, modern vertical garden house numbers in high-end design catalogs, you’ve likely seen price tags ranging from $150 to $300. As a savvy DIYer, you know there’s a better way. We’re going to achieve that exact ‘masculine-elegant’ aesthetic using nothing more than a few items from the Dollar Tree and a bit of crafty ingenuity. This project isn’t just about saving money; it’s about the rugged satisfaction of building something that looks bespoke with your own two hands. In less than 30 minutes, you can elevate your home’s exterior from ‘standard’ to ‘standout’ for less than the price of a fancy coffee.
The Blueprint: Materials and Cost Breakdown
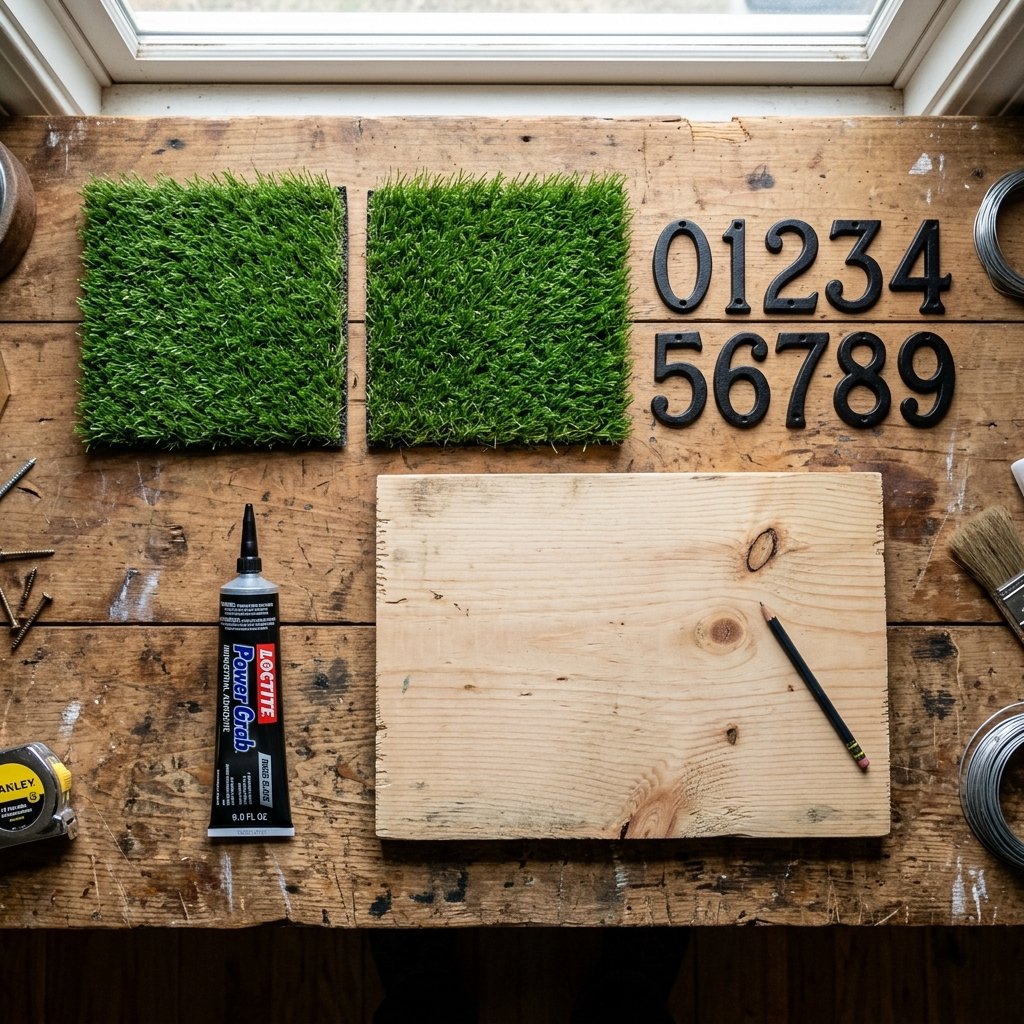
Success in any build starts with the right materials. For this hack, we are hunting for specific textures. The Dollar Store ‘faux grass’ squares (often found in the floral or seasonal garden aisle) are the star of the show. They provide a vibrant, tactile backdrop that contrasts beautifully with clean-lined numbers. Below is a breakdown of what you’ll need and how much you’ll save compared to a retail boutique version.
| Item | Source | Estimated Cost |
|---|---|---|
| Faux Grass Square (12×12) | Dollar Store | $1.25 |
| Wood Plaque or Plastic Tray | Dollar Store / Scrap Wood | $1.25 |
| Modern House Numbers | Hardware Store / Dollar Store | $3.00 – $6.00 |
| Industrial Adhesive (E6000) | Craft Stash | $0.00 (Owned) |
| Mounting Hardware | Hardware Stash | $0.00 (Owned) |
| Total Project Cost | DIY | $5.50 – $8.50 |
Compare that to the $145.00 average price for a pre-made moss or grass house number sign on Etsy. That is a 95% savings that you can put right back into your next home improvement project.
Step 1: Prepping the Foundation for Durability
Selecting Your Base
You need a rigid substrate to prevent the grass from sagging over time. While the Dollar Store sells thin wooden plaques, I recommend checking your workshop for a piece of 1/2-inch plywood scrap or even a sturdy plastic tray. If you use wood, give it a quick coat of dark outdoor-rated spray paint. This ensures that if there are any tiny gaps in the faux grass blades, the background remains a deep, professional shadow rather than raw wood grain.
Trimming the Grass
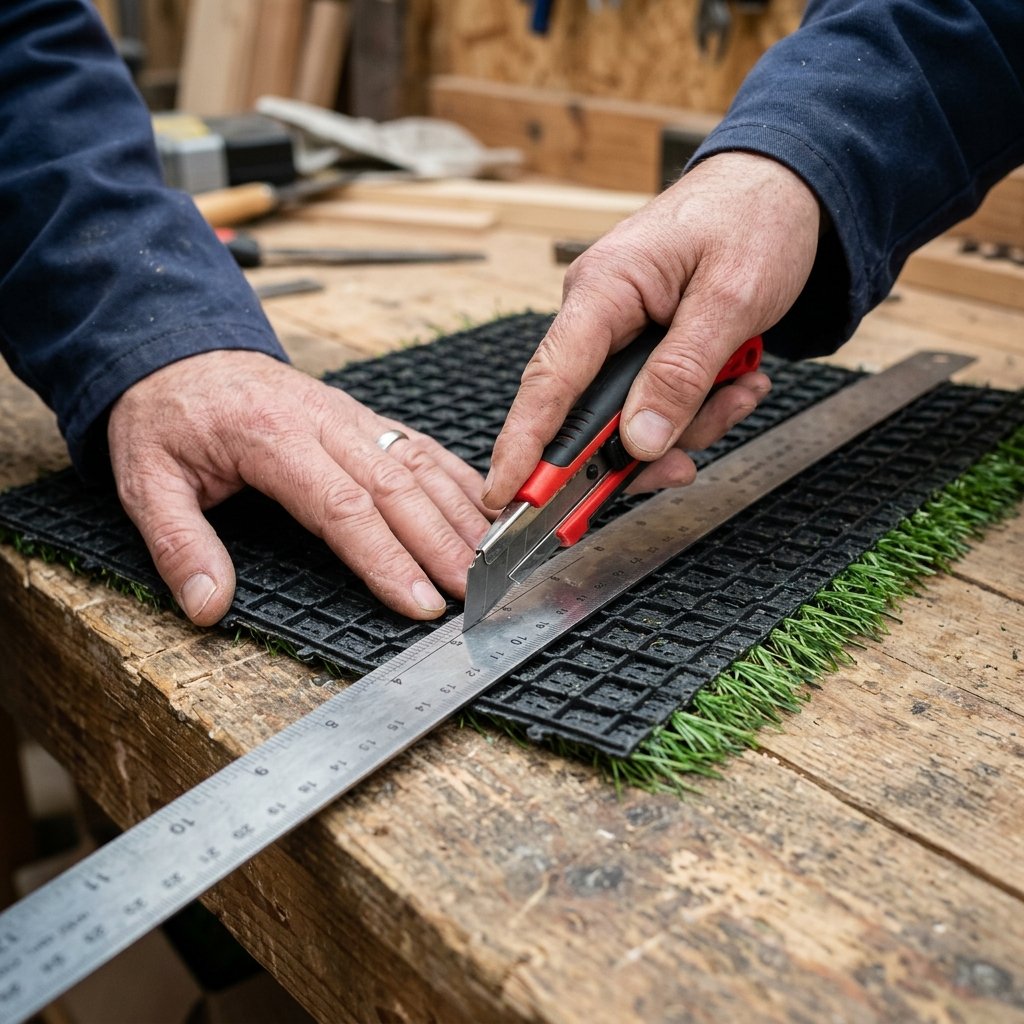
The faux grass squares often come with interlocking plastic tabs. Use a pair of heavy-duty utility snips or sturdy craft scissors to trim these tabs off. Measure your backing board and cut the grass mat to fit. Pro-Tip: Cut from the back side of the mat (the plastic grid) to ensure a straighter line and to avoid accidentally ‘mowing’ the grass blades on the front.
“Measure twice, cut once—especially when working with grid-backed materials. A straight edge and a sharp utility knife are your best friends for a flush finish.”
Step 2: The Bonding Process (Industrial Strength)

Since this sign will be braving the elements—sun, rain, and wind—a standard hot glue gun won’t cut it. Heat from the sun can actually remelt hot glue, causing your grass to slide right off the board. Instead, we use a combination method for speed and longevity.
- Primary Bond: Apply a generous bead of E6000 or a similar waterproof industrial adhesive around the perimeter and in an ‘X’ pattern across the center of your backing board.
- Instant Tack: Use a few small dots of high-heat hot glue in the corners to provide an immediate hold while the industrial adhesive cures over the next 24 hours.
Press the grass mat firmly onto the board. Flip the entire assembly over onto a flat surface and place a heavy book or a couple of bricks on top. This ensures 100% contact between the grass backing and the board while it sets.
Step 3: Mounting Numbers with Precision

Typography Matters
For a truly ‘masculine-elegant’ look, opt for sans-serif numbers (like Arial or Helvetica styles). These clean lines pop against the organic texture of the grass. If your Dollar Store numbers look a bit cheap or are the wrong color, a quick coat of matte black or oil-rubbed bronze spray paint will instantly make them look like heavy forged iron.
The Floating Effect
To prevent the numbers from getting ‘lost’ in the grass, you want them to sit slightly on top of the blades. Apply adhesive to the back of the numbers, but don’t press them so hard that they sink to the bottom. Crafty Trick: If your numbers come with screw-in spacers, use them! Drill small holes through the grass and board, and mount the numbers so they ‘float’ about 1/2 inch above the grass. This creates incredible depth and shadows.
| Number Style | Best For | Visual Impact |
|---|---|---|
| Matte Black | Modern/Industrial | High Contrast |
| Brushed Gold | Elegant/Mid-Century | Warm & Sophisticated |
| White Gloss | Coastal/Minimalist | Clean & Bright |
Step 4: Weatherproofing and Final Installation
Before you hang your masterpiece, we need to ensure it stays looking fresh. Faux grass can sometimes fade in direct UV light. A quick spray of UV-resistant clear matte sealer will protect the green pigment from the sun’s harsh rays.
Mounting Options
Depending on your home’s siding, you have two rugged options for installation:
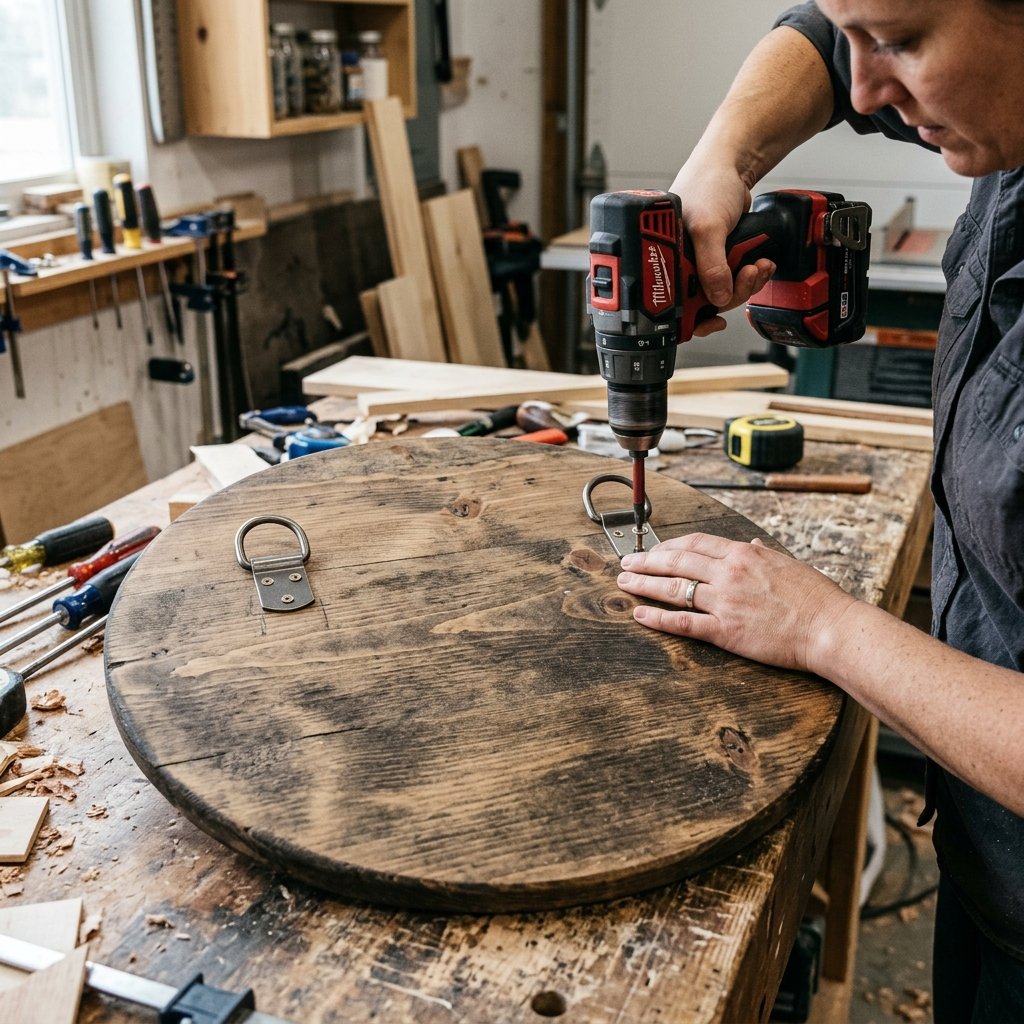
- D-Rings and Screws: Attach two D-ring hangers to the back of the wood board for a traditional, secure mount.
- Exterior Command Strips: If you are a renter or don’t want to drill into brick, use heavy-duty 3M Outdoor Command Strips. They are rated for extreme temperatures and hold up to 15 lbs.
“A home’s exterior is its handshake. Make sure yours is firm, clean, and memorable. This grass hack isn’t just decor; it’s a statement of pride in your domain.”
Conclusion
A High-End Transformation for a Pittance
There you have it—a sophisticated, modern house number plaque that looks like it belongs in a luxury architectural magazine, all for under $10 and 30 minutes of active work. By combining the affordability of Dollar Store finds with industrial-grade adhesives and a keen eye for modern design, you’ve significantly boosted your curb appeal without breaking the bank. This project is the perfect weekend ‘win’ for any frugal DIYer looking to add a touch of masculine elegance to their home. Now, step back, admire your handiwork, and enjoy being the envy of the neighborhood!

Makenzie is the founder and lead writer at MoneyHackTips.com — a personal finance blog dedicated to delivering street-smart financial wisdom for real people on real budgets. With 300+ published articles covering everything from debt management to investing fundamentals, Makenzie’s mission is to make every dollar work harder. When not writing about money hacks, Makenzie is testing frugal living strategies, optimizing side hustles, and helping readers build financial freedom from scratch.