
The Art of the High-End Porch Dupe
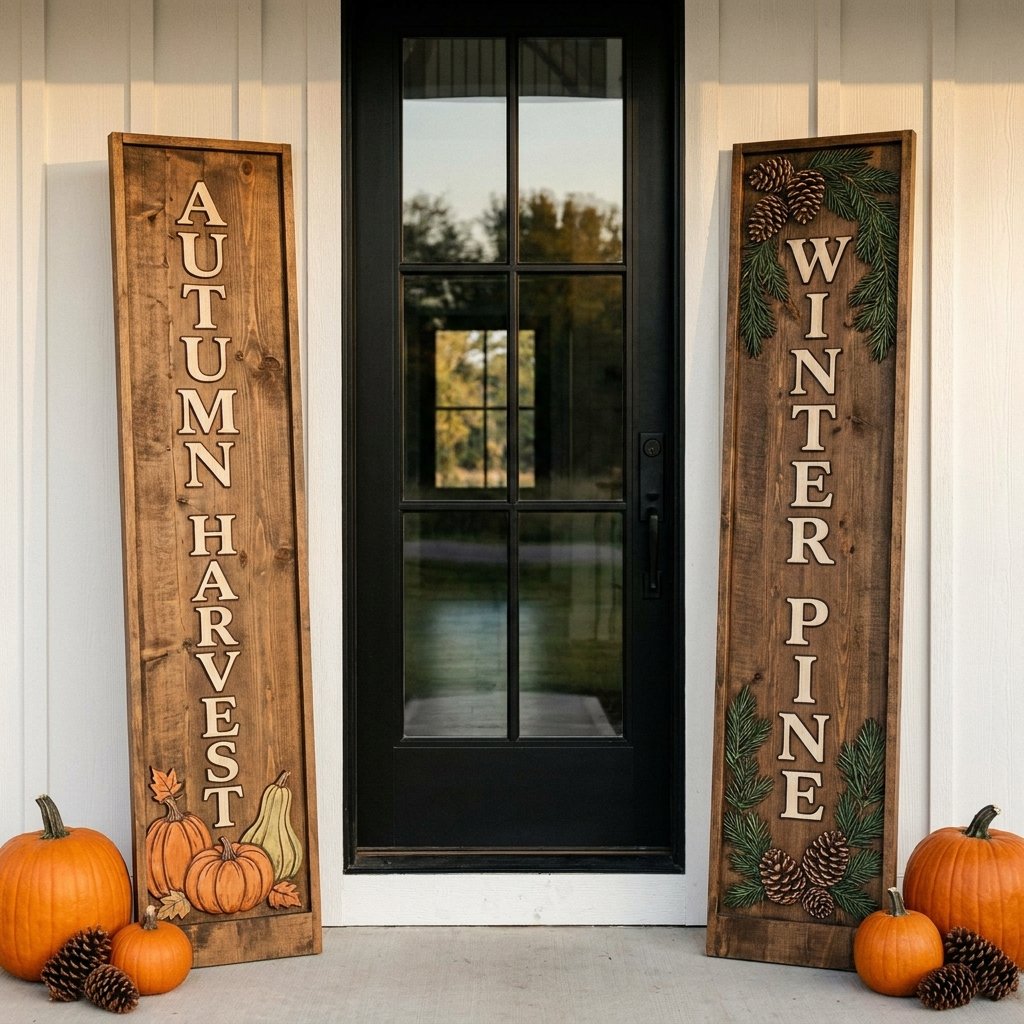
Let’s talk strategy. If you’ve stepped into a high-end home goods store lately, you’ve likely seen those towering $50 to $80 wooden porch signs. They are beautiful, rugged, and welcoming—but they are also a massive drain on a savvy crafter’s budget. Why spend a week’s grocery money on a single piece of decor when you can engineer a professional-grade, double-sided alternative for less than the cost of a fancy latte? Today, we are diving into the world of ‘Trash-to-Treasure’ engineering to create a Reversible Welcome Porch Sign using nothing but Dollar Tree blanks and a few clever workshop staples. This isn’t just about saving money; it’s about the satisfaction of building something durable, weather-resistant, and aesthetically superior to mass-produced retail junk.
The Tactical Budget Breakdown: DIY vs. Big Box Retail
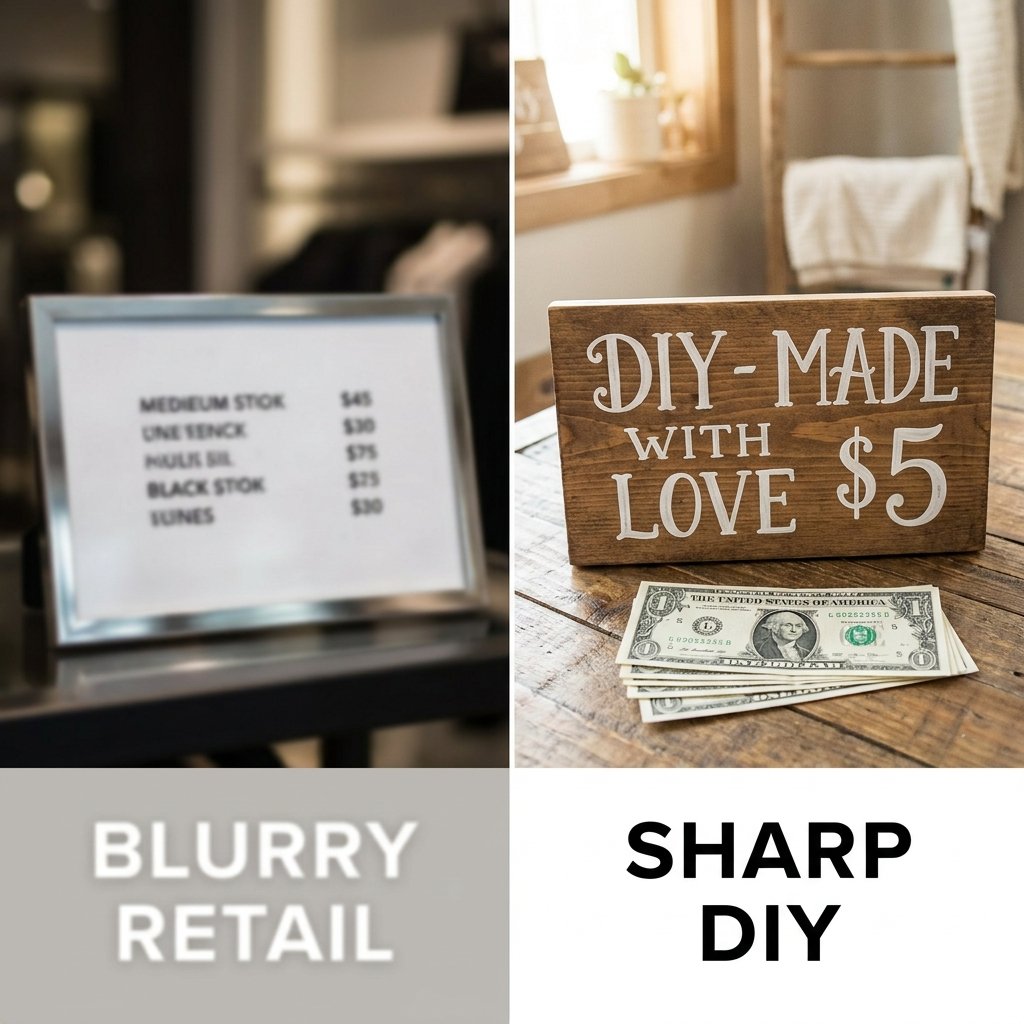
Before we pick up a paintbrush, we need to look at the numbers. A true frugal guru knows that every cent saved is a cent earned for the next project. When you build a reversible sign, you are effectively getting two pieces of decor for the price of one. This maximizes your storage space and your bank account.
| Feature | Big Box Retail Sign | DIY Dollar Tree Reversible Sign |
|---|---|---|
| Price Point | $45.00 – $85.00 | $6.25 – $12.00 |
| Versatility | Single-sided (One Season) | Double-sided (Two Seasons) |
| Customization | None (Mass Produced) | 100% Custom Colors & Fonts |
| Durability | Standard MDF | Reinforced & Weatherproofed |
By choosing the DIY route, you aren’t just saving 85% on the cost; you are gaining the ability to flip your sign from a ‘Fall Harvest’ theme to a ‘Winter Wonderland’ theme in exactly 2 seconds.
The Essential Supply List: Sourcing Your Materials
The Foundation and the Finishes
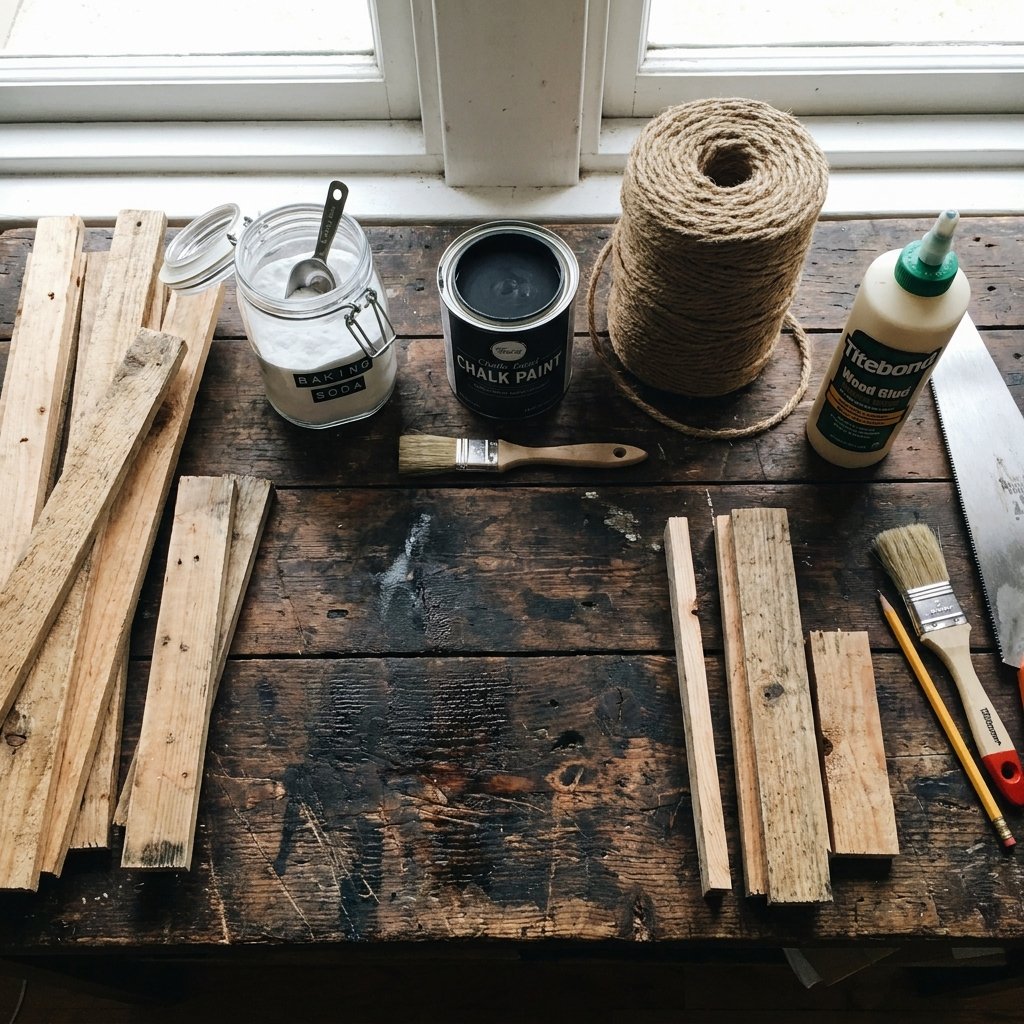
To achieve a rugged, masculine-elegant look, we need to look past the bright plastic of the Dollar Tree aisles and focus on the ‘blanks.’ We are looking for structure. Here is your tactical shopping list:
- 5-6 Long Wood Planks (Dollar Tree often carries 12-inch or 18-inch craft wood slats).
- Wood Glue (The heavy-duty variety).
- Baking Soda (For our secret texture trick).
- Matte Acrylic Paint (Black, White, and a seasonal accent).
- Jute Twine or Nautical Rope (For that rugged, textured trim).
- Stencil Set or a Steady Hand (For the lettering).
Budget Mantra: A great crafter doesn’t see what an object is; they see what it can become with a bit of grit and a coat of matte paint.
The Engineering Phase: Building a Solid Core
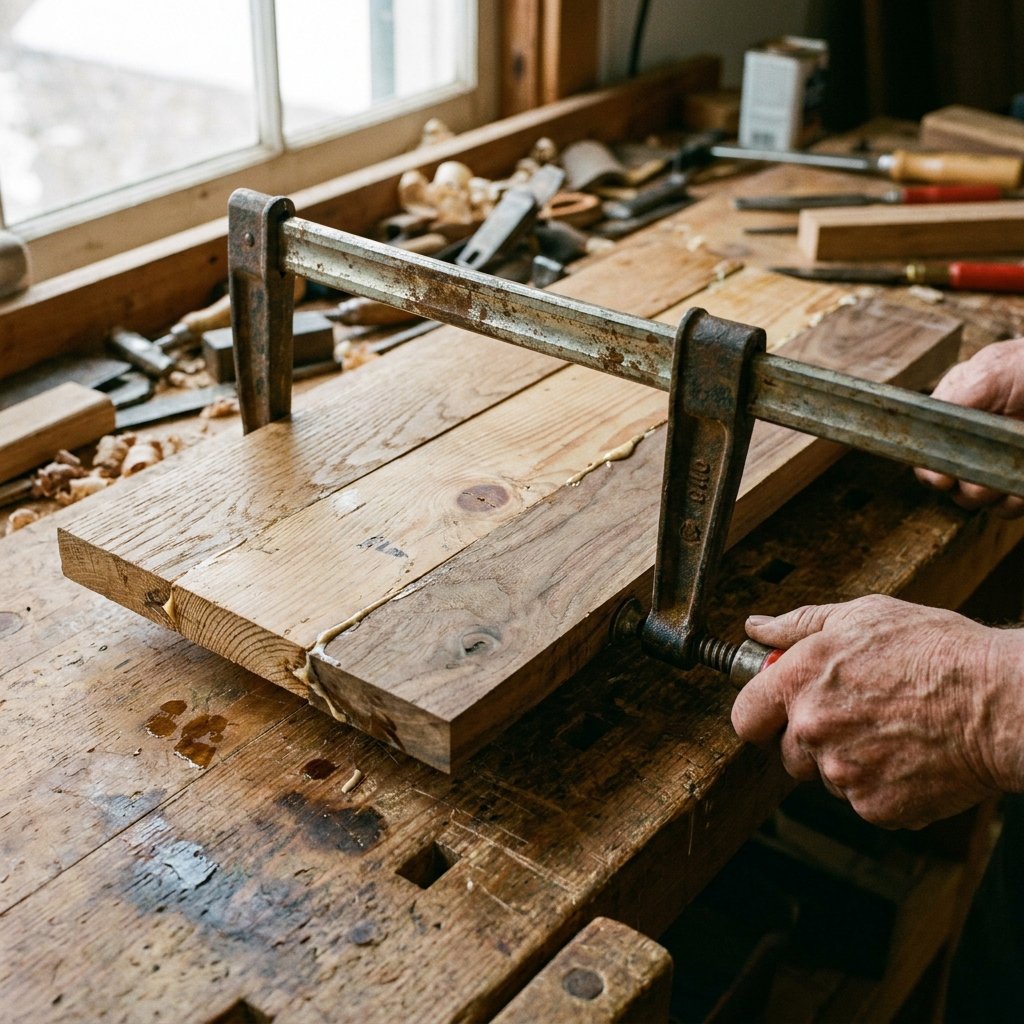
A porch sign needs to withstand the elements—wind, humidity, and the occasional stray soccer ball. We aren’t just taping things together; we are building a structural unit. If you cannot find a single long board, we will ‘sister’ smaller boards together using a backing plate method.
- Alignment: Lay your wood slats vertically on your workspace. Ensure they are flush.
- Reinforcement: Glue two horizontal ‘cleats’ (thinner wood strips) across the back of the slats at the top and bottom. This creates a solid ‘raft’ structure.
- Clamping: Use heavy books or actual C-clamps to hold the structure while the wood glue cures for at least 2 hours.
- Sanding: Take a piece of 120-grit sandpaper and knock down the rough edges. We want ‘masculine-elegant,’ not ‘splinter-factory.’
Pro Tip: For a truly rugged look, slightly chamfer the edges of the board with your sandpaper to give it a weathered, hand-hewn appearance before painting.
The ‘Baking Soda’ Paint Trick: Achieving a Faux-Stone Finish
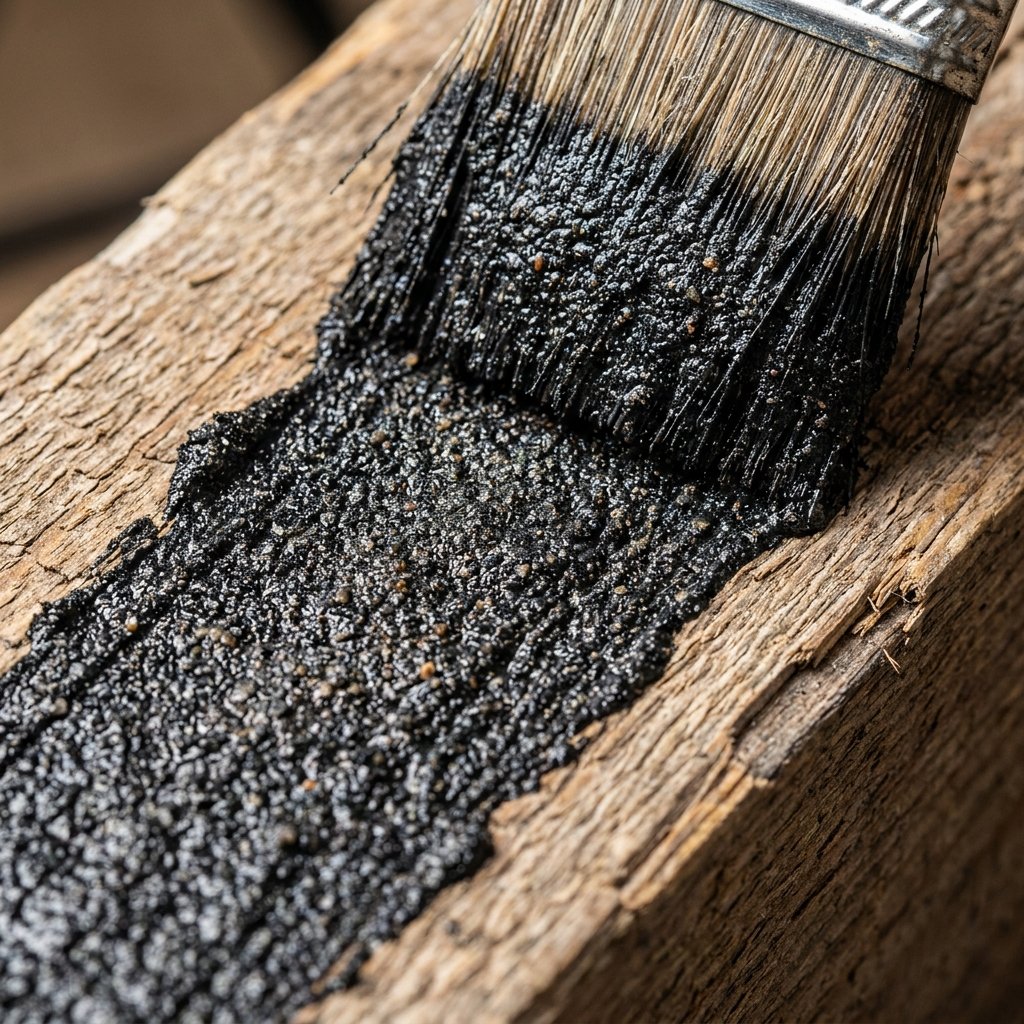
One of the biggest giveaways of a cheap DIY project is ‘thin’ looking paint. To get that high-end, Pottery Barn ceramic or stone texture, we use the Baking Soda Method. This is a favorite among budget-savvy designers for turning $1.25 paint into a premium textured coating.
The Texture Formula
| Ingredient | Ratio | Purpose |
|---|---|---|
| Matte Acrylic Paint | 1 Cup | Base Color & Binder |
| Baking Soda | 1/4 Cup | Granular Texture & Volume |
| Water | 1 Teaspoon | Workability (Optional) |
Mix the baking soda into your paint until it reaches the consistency of thick cake batter. When applied to your wood sign, it will hide the wood grain and create a heavy, expensive-looking finish that looks like powder-coated metal or cast stone. Apply this in ‘cross-hatch’ strokes for maximum visual interest.
Design & Lettering: The Reversible Strategy
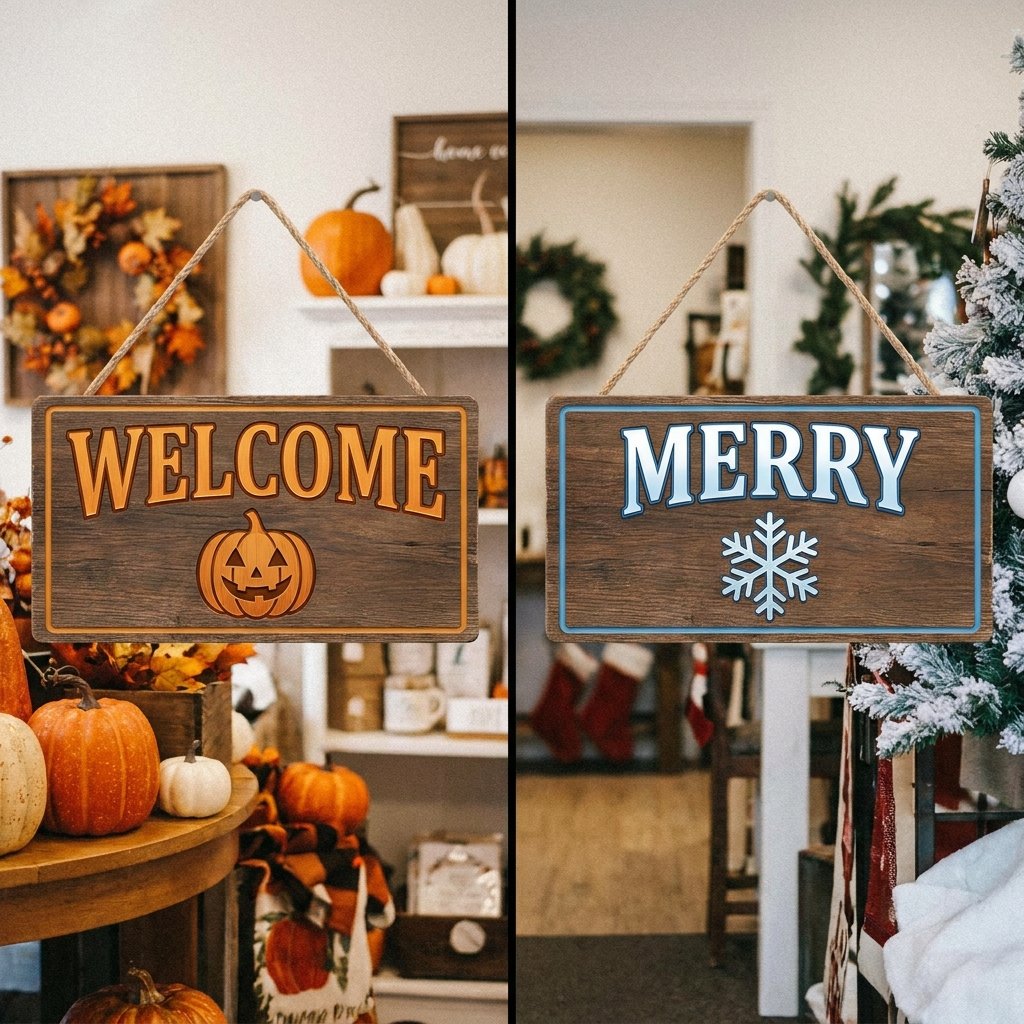
This is where the ‘Double the Decor’ magic happens. We are going to treat each side of the board as a different season. For a timeless look, I recommend the ‘Autumn/Winter’ combo or the ‘Welcome/Home’ combo.
Side A: The Harvest Welcome
- Base Color: Deep Charcoal or Slate.
- Lettering: Crisp White ‘WELCOME’ written vertically.
- Accents: A small burlap bow or a single faux maple leaf at the top.
Side B: The Winter Greeting
- Base Color: Classic Cream or Forest Green.
- Lettering: Bold Black ‘MERRY’ or ‘HOME’.
- Accents: A sprig of faux pine or a red ribbon.
Design Tip: Use a ‘stencil dabbing’ technique. Do not brush the paint onto the stencil; dab it vertically with a sponge to prevent bleeding and ensure the crispest lines possible.
Weatherproofing for the Rugged Outdoors
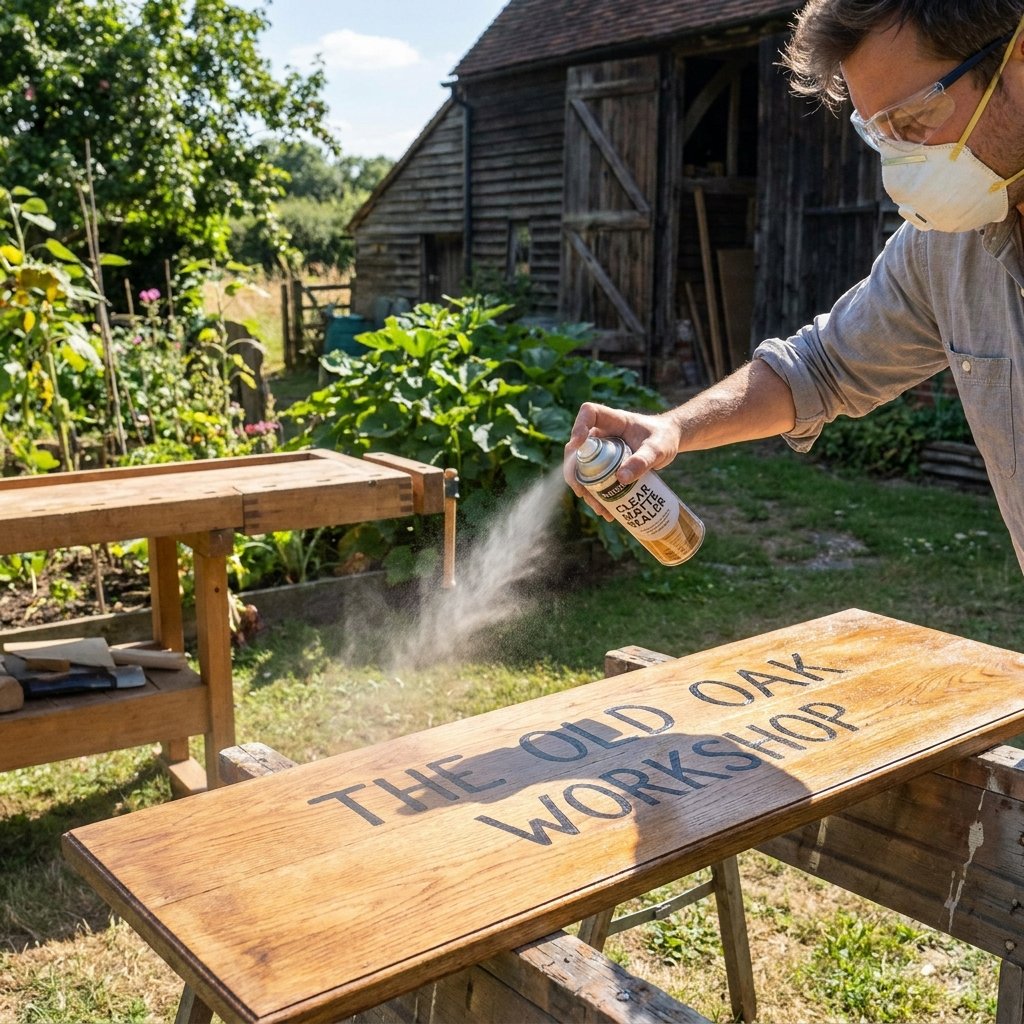
Your porch is a battlefield. Between UV rays and moisture, an unprotected sign will warp or peel in a single season. To make this a multi-year investment, we must seal the deal. For a masculine-elegant finish, avoid high-gloss sprays which can look ‘plastic-y’ and cheap.
- Matte Clear Coat: Use a spray-on matte sealer to protect the paint without adding unwanted shine.
- Waxing: For an extra layer of water-repellency, rub a bit of clear furniture wax over the dried paint and buff it with a lint-free cloth.
- Rubber Bumpers: Attach small rubber feet to the bottom edge of the sign. This prevents the wood from sitting in standing water on your porch, which is the #1 cause of rot.
By spending an extra 5 minutes on protection, you ensure your $10 masterpiece lasts as long as the $80 version.
Conclusion
The Final Verdict: A Masterpiece on a Dime
You’ve done it. You’ve successfully navigated the aisles of the Dollar Tree, applied some clever engineering, and utilized the ‘baking soda’ trick to create a stunning, reversible porch sign. You didn’t just buy decor; you crafted an experience for everyone who walks up to your front door. This project proves that with a bit of resourcefulness and a ‘rugged-elegant’ mindset, you can achieve a high-end home aesthetic without the high-end price tag. Now, flip that sign to the current season, step back, and admire the 75% savings you just put back into your pocket. Happy crafting!

Makenzie is the founder and lead writer at MoneyHackTips.com — a personal finance blog dedicated to delivering street-smart financial wisdom for real people on real budgets. With 300+ published articles covering everything from debt management to investing fundamentals, Makenzie’s mission is to make every dollar work harder. When not writing about money hacks, Makenzie is testing frugal living strategies, optimizing side hustles, and helping readers build financial freedom from scratch.