
The Art of the High-End Hustle: Why Your Garden Needs an Upcycle
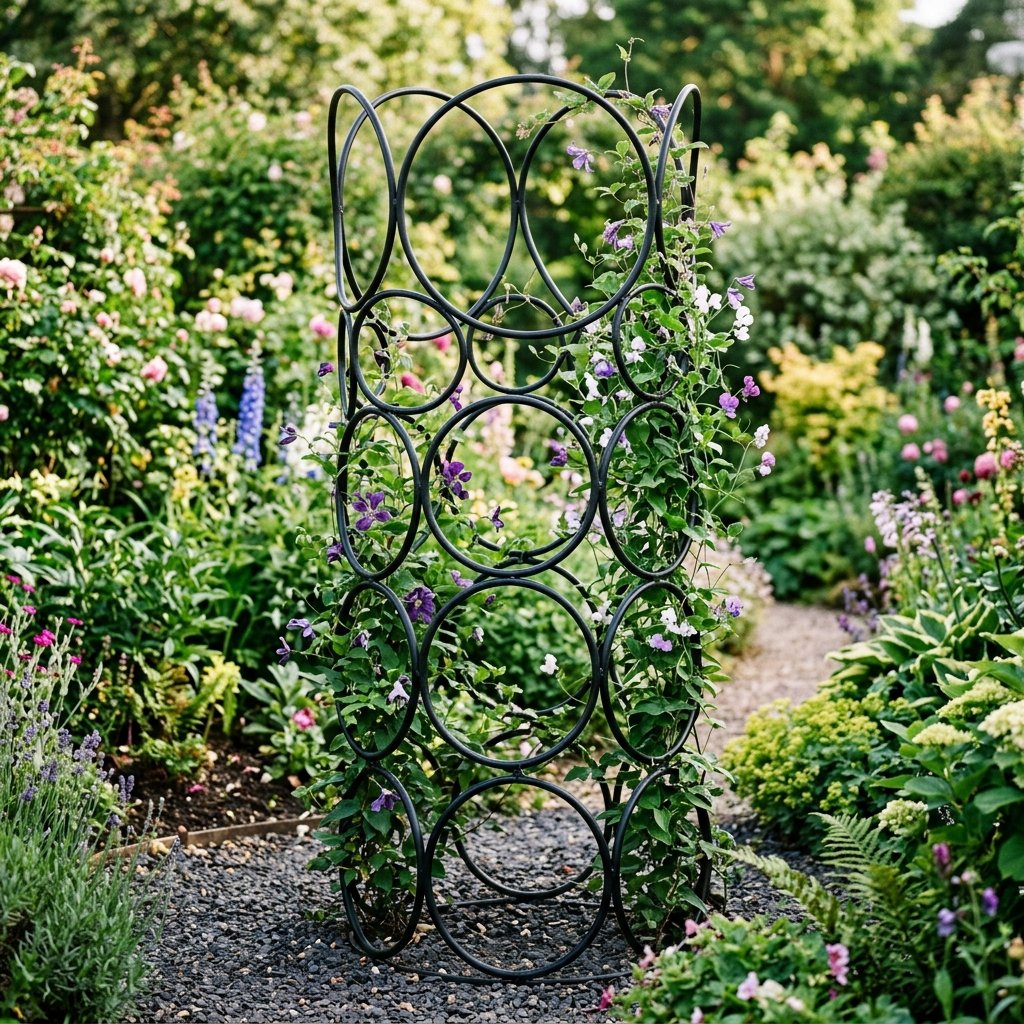
Let’s be honest: walking through a high-end garden center can be a soul-crushing experience for the budget-conscious decorator. You see a beautiful, wrought-iron obelisk or a geometric trellis, flip the price tag, and realize it costs more than your monthly grocery bill. But here is the secret that professional stylists and clever DIYers know: luxury is a look, not a price point. By tapping into your resourceful side, you can take the humblest of items—the neon-colored plastic hula hoop from the Dollar Tree—and transform it into a rugged, masculine-elegant garden feature that looks like it was forged in a boutique metal shop. This project isn’t just about saving money; it’s about the thrill of the trash-to-treasure flip. In less than 10 minutes of active assembly, you can create a structural masterpiece that provides support for your climbing roses, clematis, or snap peas while adding serious curb appeal to your porch or backyard sanctuary.
The Anatomy of an Upcycled Masterpiece: Materials and Cost Breakdown
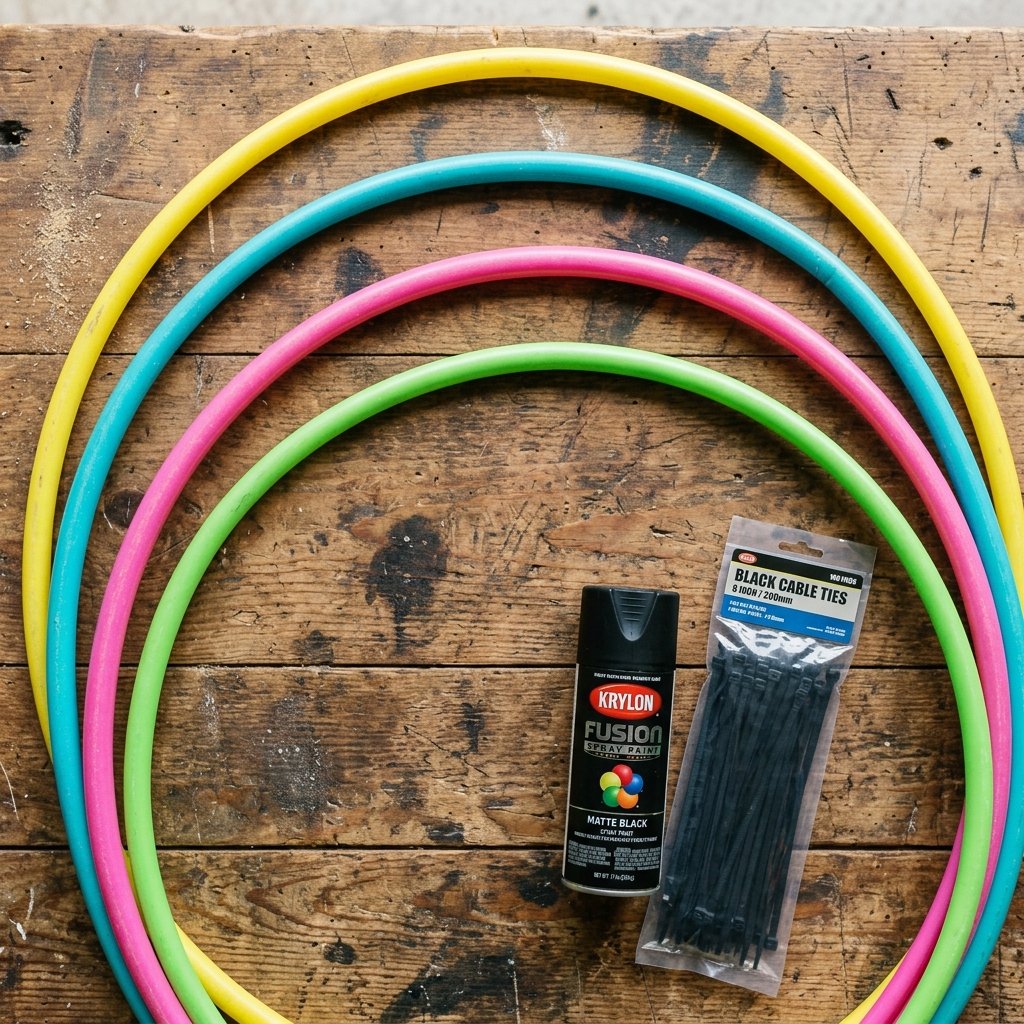
To achieve a high-end look, we must first look past the garish pink and lime green plastic of the hula hoop. We are looking for the structure. The circular geometry of a hula hoop is perfect for creating spheres, tunnels, or classic arched trellises. For this project, we are aiming for a ‘Tower Trellis’ or ‘Garden Obelisk’ style. You will need exactly four hula hoops to create a substantial 4-foot tall structure. But how does the cost actually compare to the big-box retailers?
| Material Item | Dollar Tree Price | Garden Center Equivalent |
|---|---|---|
| 4x Large Hula Hoops | $5.00 | $45.00 (Metal Obelisk) |
| Heavy Duty Zip Ties (Pack) | $1.25 | Included in retail cost |
| Matte Black Spray Paint (with Primer) | $6.00 | N/A |
| Garden Stakes/Rebar Scraps | $0.00 (Upcycled) | N/A |
| Total Investment | $12.25 | $45.00 – $85.00 |
As you can see, you are saving at least 75% by doing it yourself. The key to making this look ‘expensive’ is the finish. We aren’t just slapping paint on; we are creating a faux-iron texture that fools the eye from even a few inches away.
The Secret Sauce: Achieving the Faux-Iron Finish
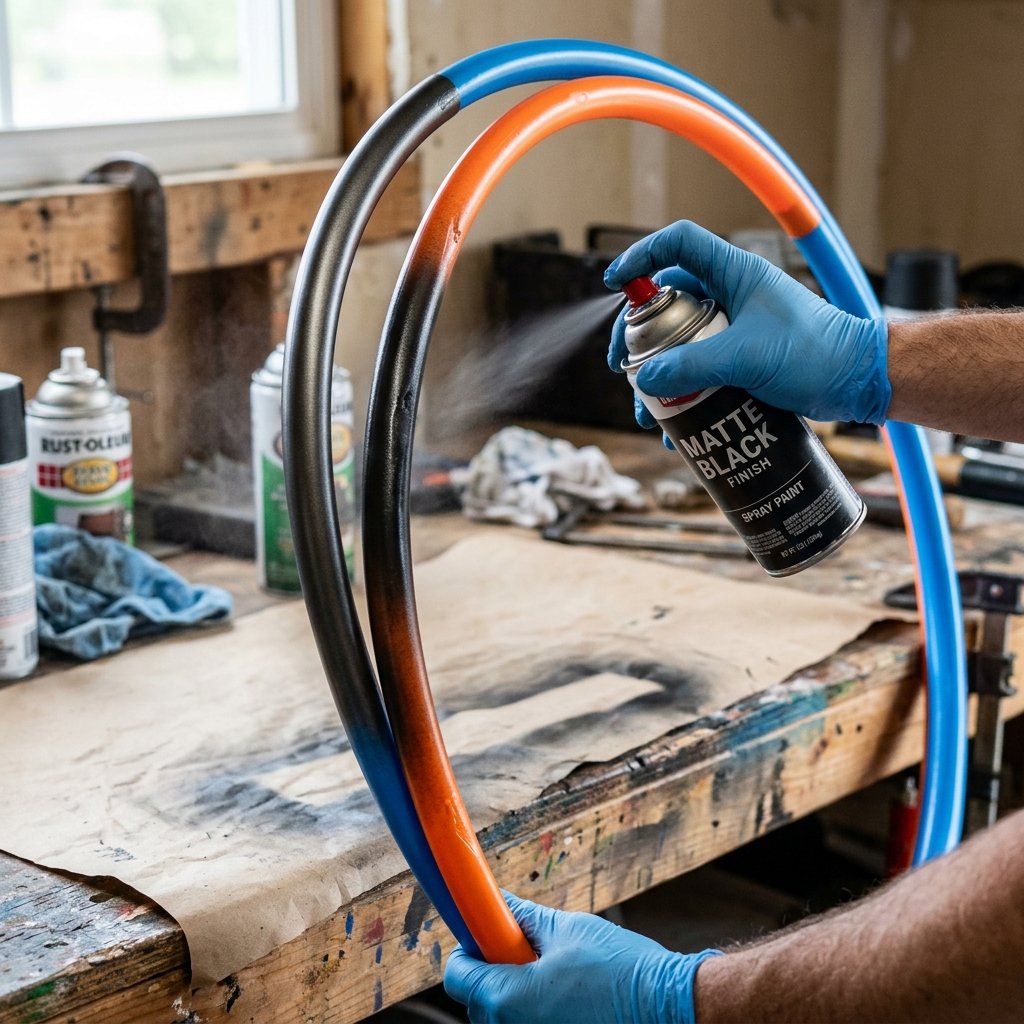
The biggest giveaway of a cheap DIY is a ‘plasticky’ finish. To avoid this, we use a clever hack: the matte-texture technique. Before you even think about assembly, you must prep the hoops. If the hoops have those little beads inside that make noise, you might want to poke a small hole and shake them out—unless you want your garden to ‘jingle’ in the wind.
Budget Guru Tip: Use a 220-grit sandpaper to lightly scuff the surface of the plastic hoops. This gives the paint ‘teeth’ to grab onto, preventing peeling during summer heat or winter frosts.
Once scuffed, apply a coat of matte black spray paint. For a truly ‘rugged’ and ‘aged’ look, you can lightly mist a dark bronze or ‘hammered metal’ spray paint over the black while it is still slightly tacky. This creates a depth of color that mimics heavy cast iron. Total drying time: 20 minutes, but the active work is less than 2 minutes.
Step-by-Step Assembly: The 10-Minute Structural Build
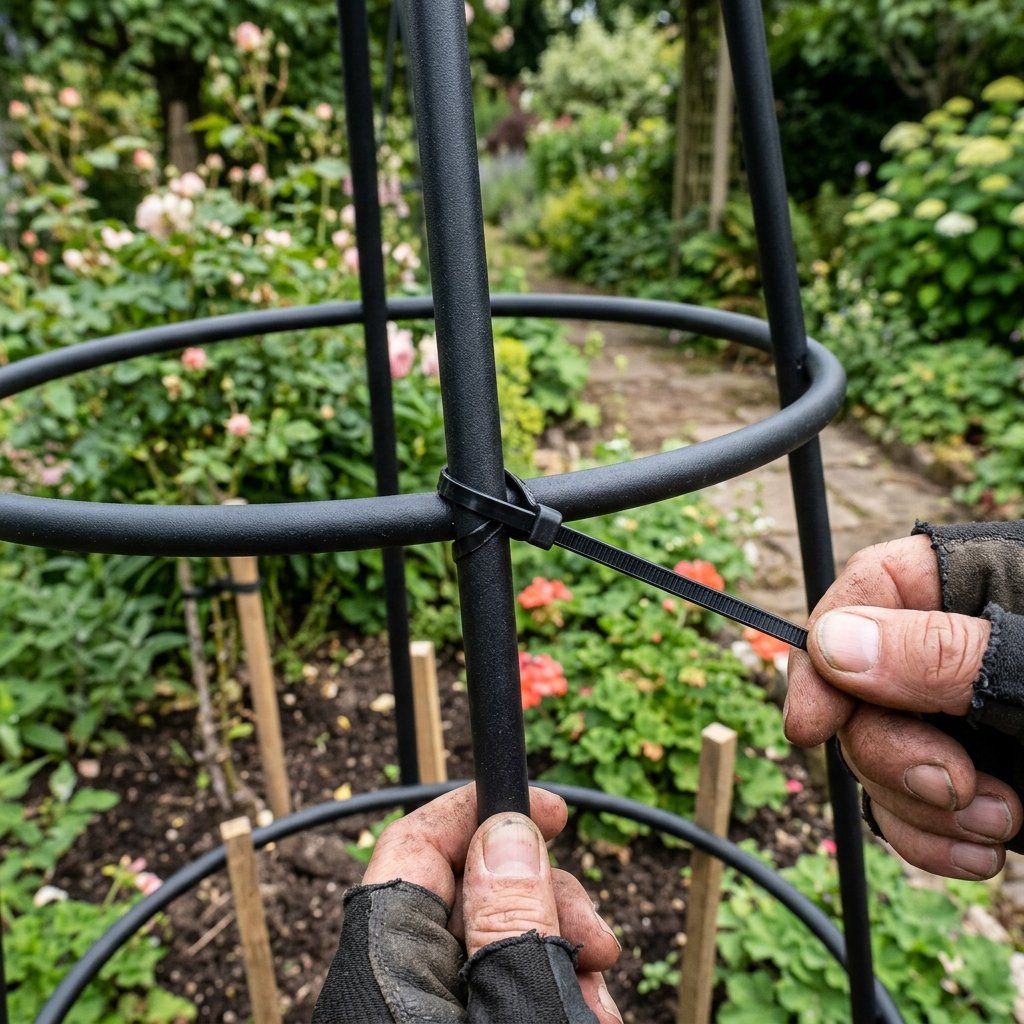
Now for the ‘magic’ part. We are going to create a 3D obelisk. Follow these steps precisely for a sturdy, symmetrical result:
- The Base: Lay two hoops on the ground. These will be your vertical supports.
- The Intersection: Stand the two hoops up and cross them at the very top center. This creates an ‘X’ shape when viewed from above.
- The First Bind: Use a heavy-duty black zip tie to secure the hoops at the top intersection. Pull it tight until the plastic slightly indents. Trim the excess tail of the zip tie with snips.
- The Horizontal Ribs: Take your third and fourth hoops. These will act as the horizontal ‘rings’ that provide lateral stability. Slide the first ring over the ‘X’ structure down to about 1/3 from the top. Zip tie it at all four contact points.
- The Final Ring: Slide the last hoop to about 1/3 from the bottom. Secure with zip ties at all four contact points.
By the end of these 5 simple steps, you have a rigid, lightweight, and incredibly stylish tower. Because we used black zip ties on black paint, the ‘fasteners’ become invisible, mimicking the look of welded joints.
Rugged Reinforcement: Supporting Heavy Climbers
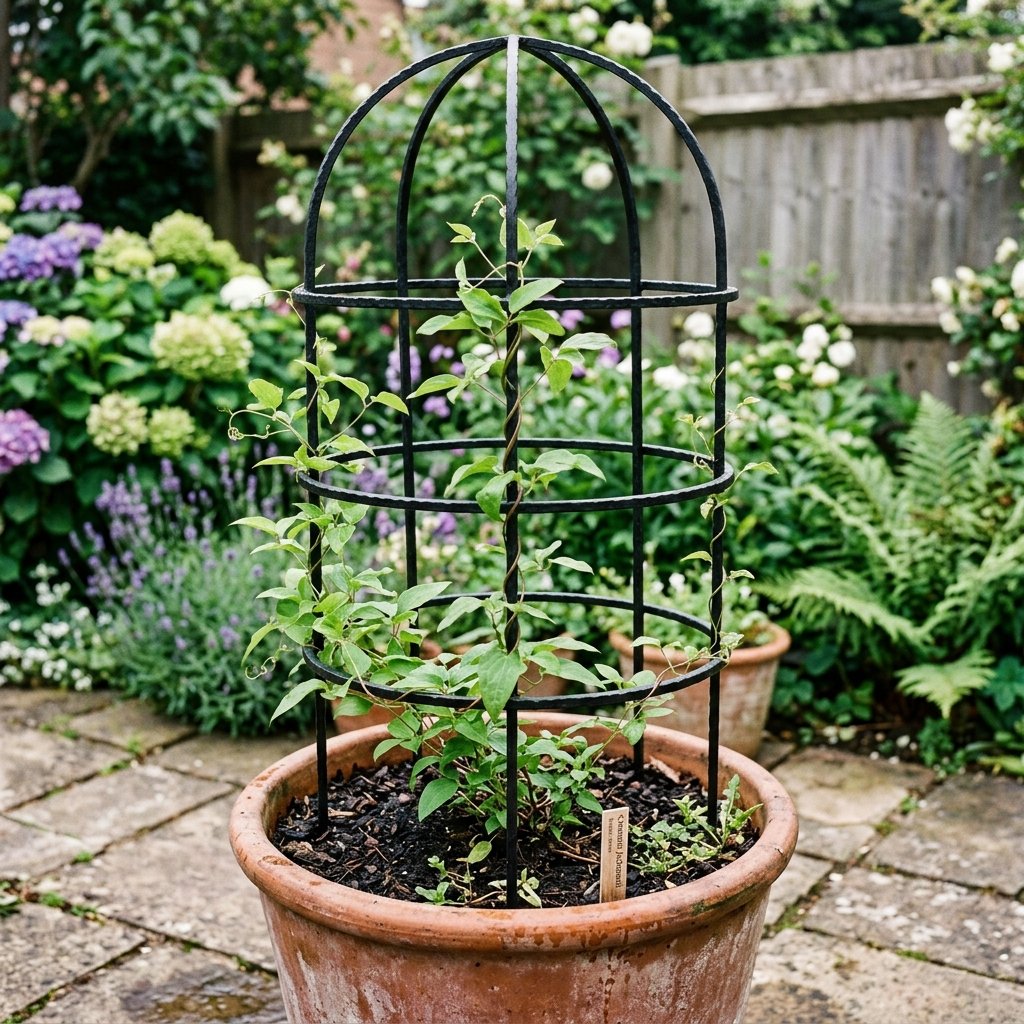
A trellis is only as good as its ability to stay upright. Plastic hoops are light, which is great for moving them around, but not great for a heavy tomato plant or a thick vine in a windstorm. To make this ‘rugged’ enough for real garden work, you need to anchor it.
The Anchoring Method
- Option A: Rebar Stakes. Drive four 2-foot pieces of rebar or thick wooden dowels into the ground where you want the trellis. Slide the bottom of the hoops over these stakes.
- Option B: The Pot Anchor. If using this in a container, bury the bottom 4 inches of the hoops directly into the soil and ‘sew’ them into the dirt using landscape staples.
| Plant Type | Compatibility | Notes |
|---|---|---|
| Sweet Peas | Excellent | Lightweight, perfect for the hoop diameter. |
| Clematis | High | Needs the horizontal rings for ‘twining.’ |
| Pole Beans | Practical | Functional and beautiful for a ‘food forest’ look. |
| Wisteria | Avoid | Too heavy; will crush the plastic over time. |
Always remember: safety first. When cutting zip ties, ensure the sharp edges are turned inward toward the center of the trellis to prevent scratches while you are harvesting your veggies or pruning your flowers.
Styling Your Sanctuary: Where to Place Your New Trellis
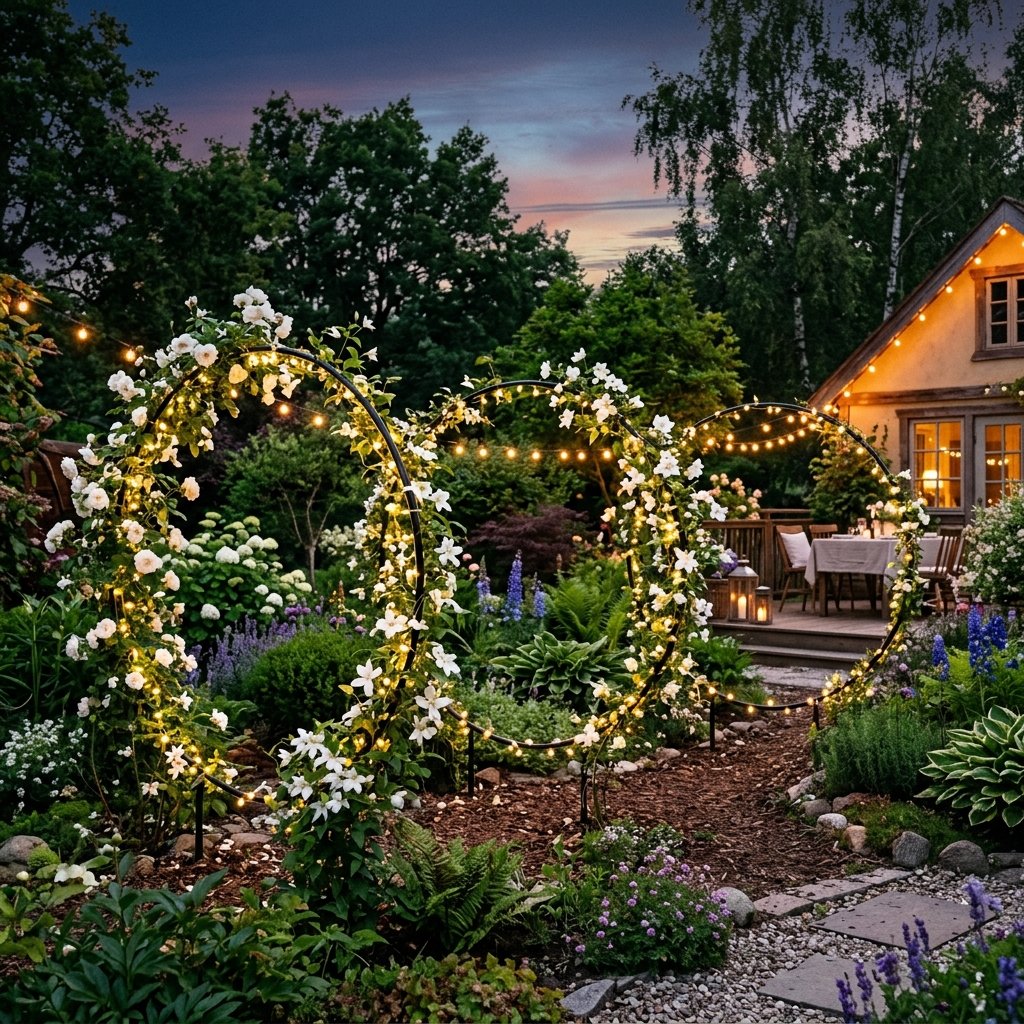
Design is all about repetition and scale. One hula hoop trellis looks like a clever hack; three of them in a row looks like a deliberate architectural choice. Place them along a walkway to create a sense of rhythm, or use them in large pots flanking your front door for a sophisticated, symmetrical entrance.
Because these are 100% waterproof, they won’t rot like cheap wood trellises or rust like low-quality metal ones. To lean into that ‘Masculine-Elegant’ vibe, pair the black trellis with white flowers (like Moonflowers) or deep purple foliage. The contrast against the matte black finish is stunning and looks incredibly expensive.
“The goal of frugal DIY isn’t to make things look cheap—it’s to make the expensive look accessible.” — The Frugal Guru Mantra
Conclusion
Your $5 Masterpiece Awaits
You’ve done it. You’ve taken a child’s toy and turned it into a sophisticated garden element that would look at home in a professional landscape design. This project proves that with a little resourcefulness and a can of spray paint, you can transform your outdoor space without breaking the bank. Whether you are a budget bride looking for ceremony decor or a handy dad looking to spruce up the vegetable patch, the hula hoop trellis is the ultimate ‘win.’ So, head to the dollar store, grab those hoops, and start your 10-minute transformation today. Your garden (and your wallet) will thank you!

Makenzie is the founder and lead writer at MoneyHackTips.com — a personal finance blog dedicated to delivering street-smart financial wisdom for real people on real budgets. With 300+ published articles covering everything from debt management to investing fundamentals, Makenzie’s mission is to make every dollar work harder. When not writing about money hacks, Makenzie is testing frugal living strategies, optimizing side hustles, and helping readers build financial freedom from scratch.