
The Zero-Dollar Solution to Toddler Boredom
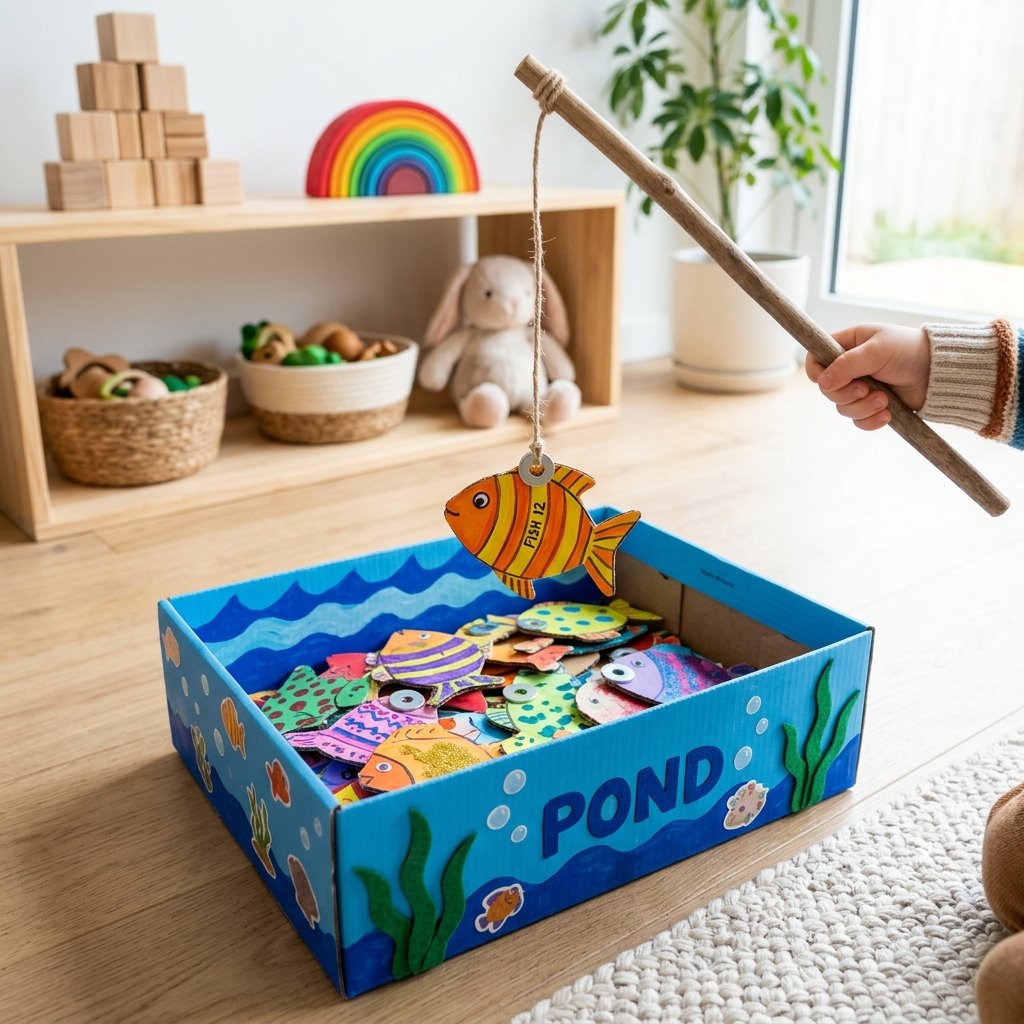
We have all been there: you buy an expensive, flashing, noisy plastic toy, only for your toddler to spend three hours playing with the shipping box it came in. It is time to lean into that natural curiosity and stop fighting the ‘cardboard obsession.’ As a frugal DIYer, you know that the best tools for development are often the ones currently sitting in your recycling bin. Today, we are going to engineer a DIY Cardboard Magnetic Fishing Game that is not only 100% free but also far more durable and customizable than anything you will find in the big-box toy aisle.
This project hits the sweet spot for the crafty parent. It is rugged enough to withstand the ‘enthusiasm’ of a three-year-old, practical enough to be built in 30 minutes, and elegant enough to look like a curated boutique find. By the end of this guide, you will have turned literal trash into a treasure that develops fine motor skills, hand-eye coordination, and color recognition. Let us grab a utility knife and get to work on this masterclass in upcycling.
Budget Mantra: The most expensive toy in the world cannot compete with a parent’s creativity and a sturdy piece of corrugated cardboard.
The Resourceful Maker’s Audit: Materials You Already Own
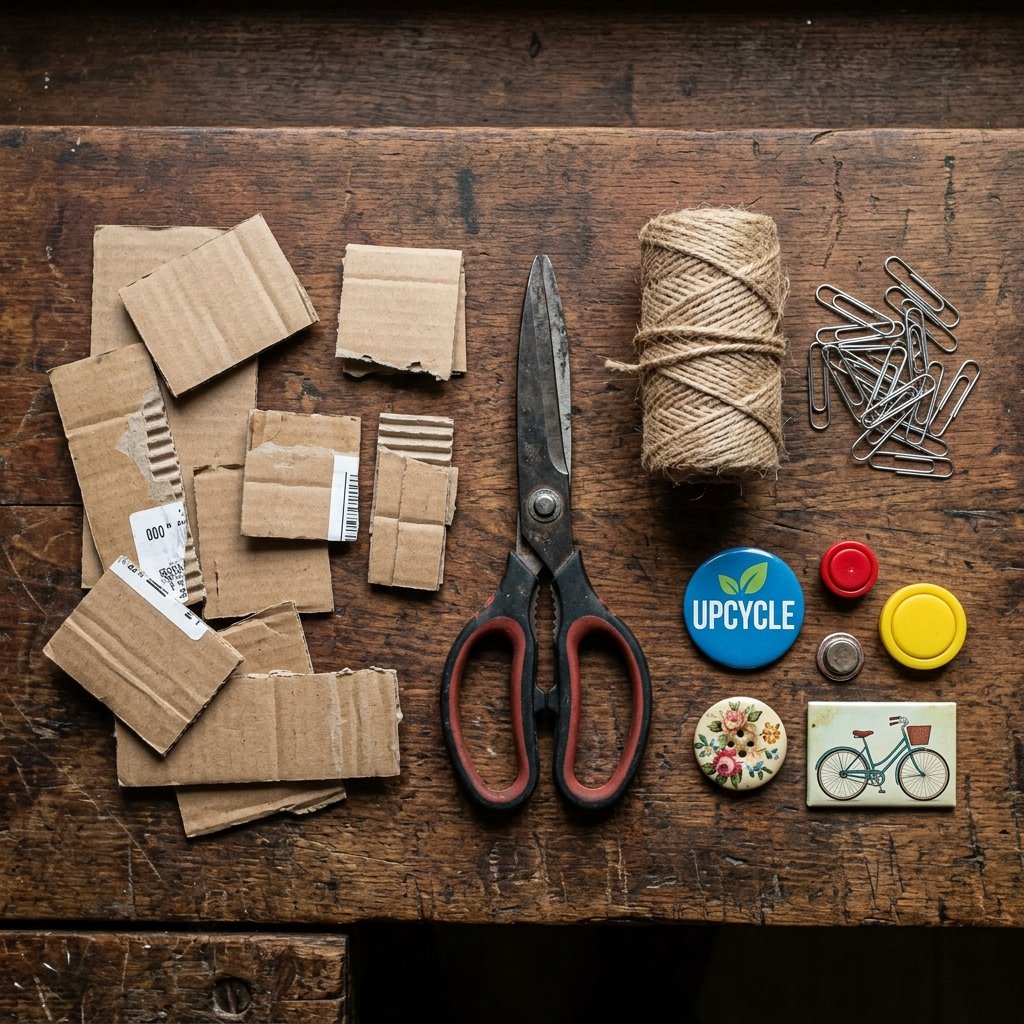
Before you even think about heading to the store, look around your kitchen and garage. This project is designed to be built with zero out-of-pocket cost. We are looking for structural integrity and conductive surfaces. The core of our project relies on the magic of magnetism and the versatility of paper fibers.
The Material Checklist
Check off these items as you scavenge them from around the house. If you do not have a dowel, a sturdy stick from the backyard or an old wooden spoon works perfectly.
| Material | Upcycled Source | Purpose |
|---|---|---|
| Cardboard | Shipping boxes, cereal boxes | Fish bodies and the pond structure |
| Magnets | Old fridge magnets, hardware scraps | The ‘hook’ for the fishing rod |
| Metal Contacts | Paper clips, staples, or washers | The ‘mouth’ of the fish |
| Line | Twine, shoelaces, or yarn | The fishing line |
| The Rod | Wooden dowel, stick, or spoon | The handle for the fisherman |
| Adhesive | Hot glue or heavy-duty tape | Structural bonding |
When selecting your cardboard, try to find a mix of corrugated cardboard (for the pond and rod) and thin cardstock (from cereal or cracker boxes) for the fish. The lighter the fish, the stronger the magnetic ‘catch’ will feel to the toddler.
Engineering the Rod: Rugged Design for Little Hands
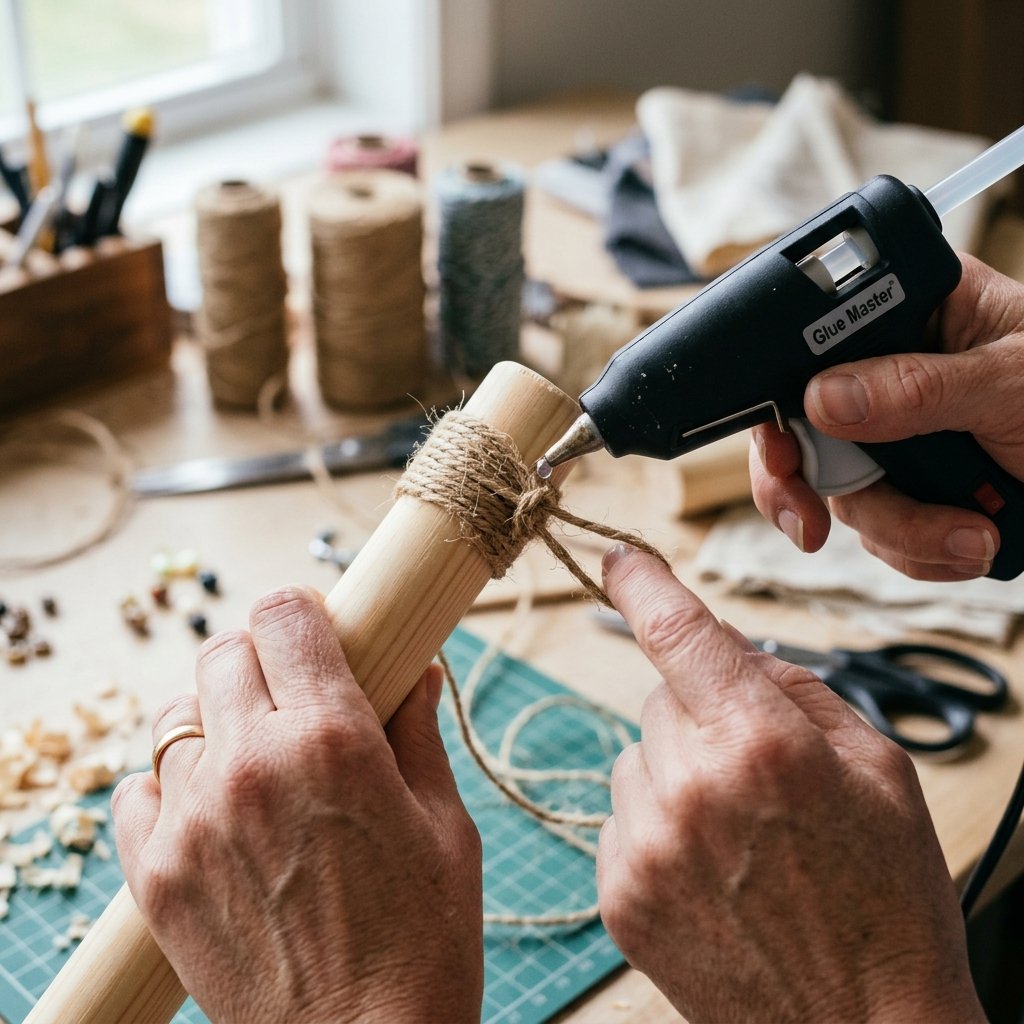
The fishing rod is the most handled part of this game, so it needs to be built with durability in mind. We are going for a ‘masculine-elegant’ aesthetic—simple, functional, and sturdy. A toddler’s grip is strong but unrefined, so a thicker handle is actually better for their motor development.
Step-by-Step Rod Construction
- Select Your Handle: Find a wooden dowel or a sturdy branch roughly 12-15 inches long. Sand down any rough edges to ensure it is smooth for small hands.
- Secure the Line: Cut a piece of twine or heavy yarn about 18 inches long. Do not make it too long, or it becomes a tangling hazard. Use a clove hitch knot or a simple double knot to secure it to the end of the rod.
- Reinforce with Glue: Apply a bead of hot glue over the knot to ensure it never slides off during a ‘big catch.’
- The Magnetic Hook: This is the critical step. Take your magnet and sandwich it between two small circles of cardboard. Glue the end of your twine into this sandwich. This prevents the magnet from being a choking hazard and gives it a nice, weighted feel.
Safety Note: Ensure the magnet is completely encased in cardboard or heavily taped. Small magnets are dangerous if swallowed. Double-check your glue bonds before every play session.
Populating the Pond: Designing the Catch
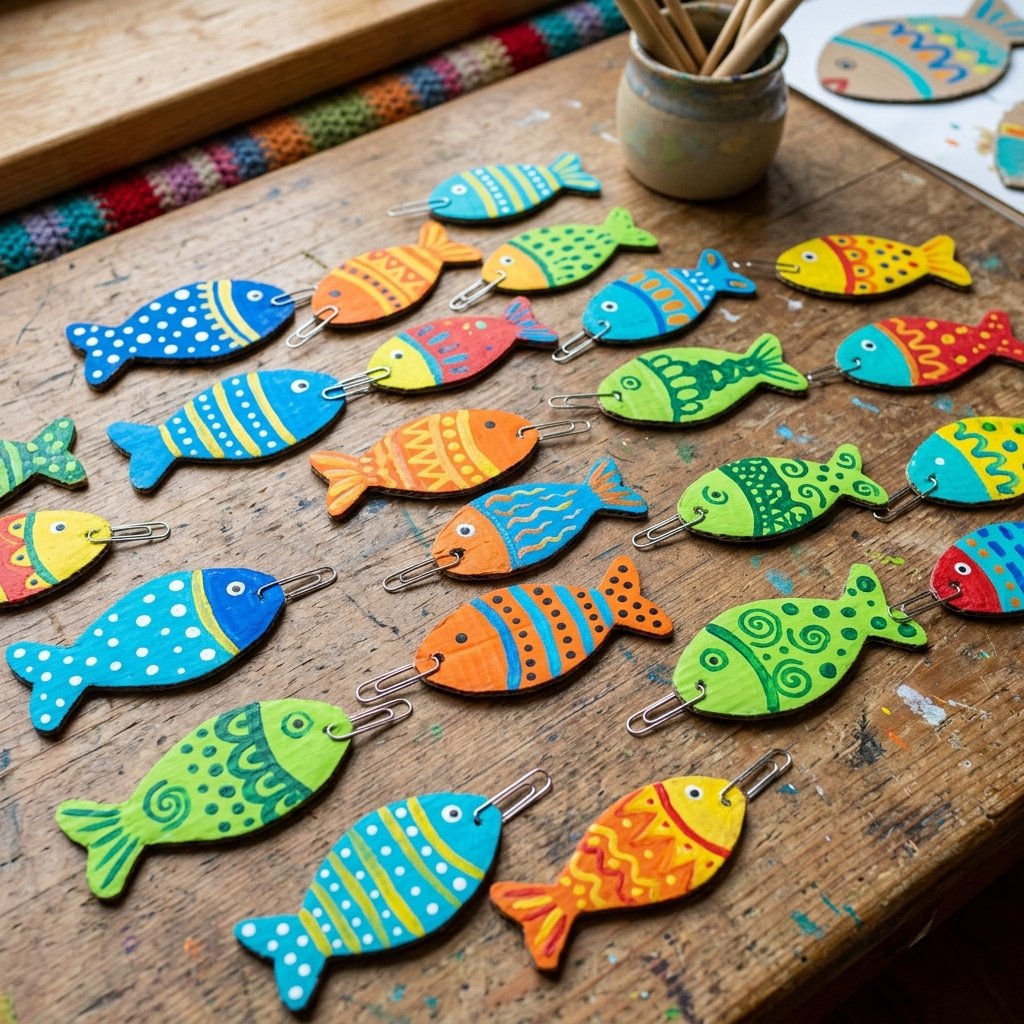
Now we move into the creative phase. This is where you can involve your toddler in the process. We are not just making fish; we are making learning tools. By varying the shapes and colors, you turn a simple game into a lesson in marine biology and color theory.
Fish Design Strategy
Use your cereal box cardboard for this. It is easy to cut and holds ink well. Trace out various shapes: fat tuna, long eels, and round pufferfish. Aim for about 10-15 pieces to keep the pond populated.
| Feature | DIY Method | Benefit |
|---|---|---|
| The ‘Mouth’ | Slide a paperclip onto the nose | Provides a strong magnetic connection |
| Visuals | Bright markers or acrylic paint | Teaches color recognition |
| Education | Write numbers 1-10 on the sides | Introduces basic counting skills |
| Texture | Glue on scrap fabric or foil | Provides sensory feedback |
Pro Tip: If you want to get really clever, use staples instead of paperclips. If you staple the ‘nose’ of the fish 3-4 times, it creates a subtle, hidden metallic area that looks cleaner and more professional than a bulky paperclip.
The Assembly Line: Putting It All Together
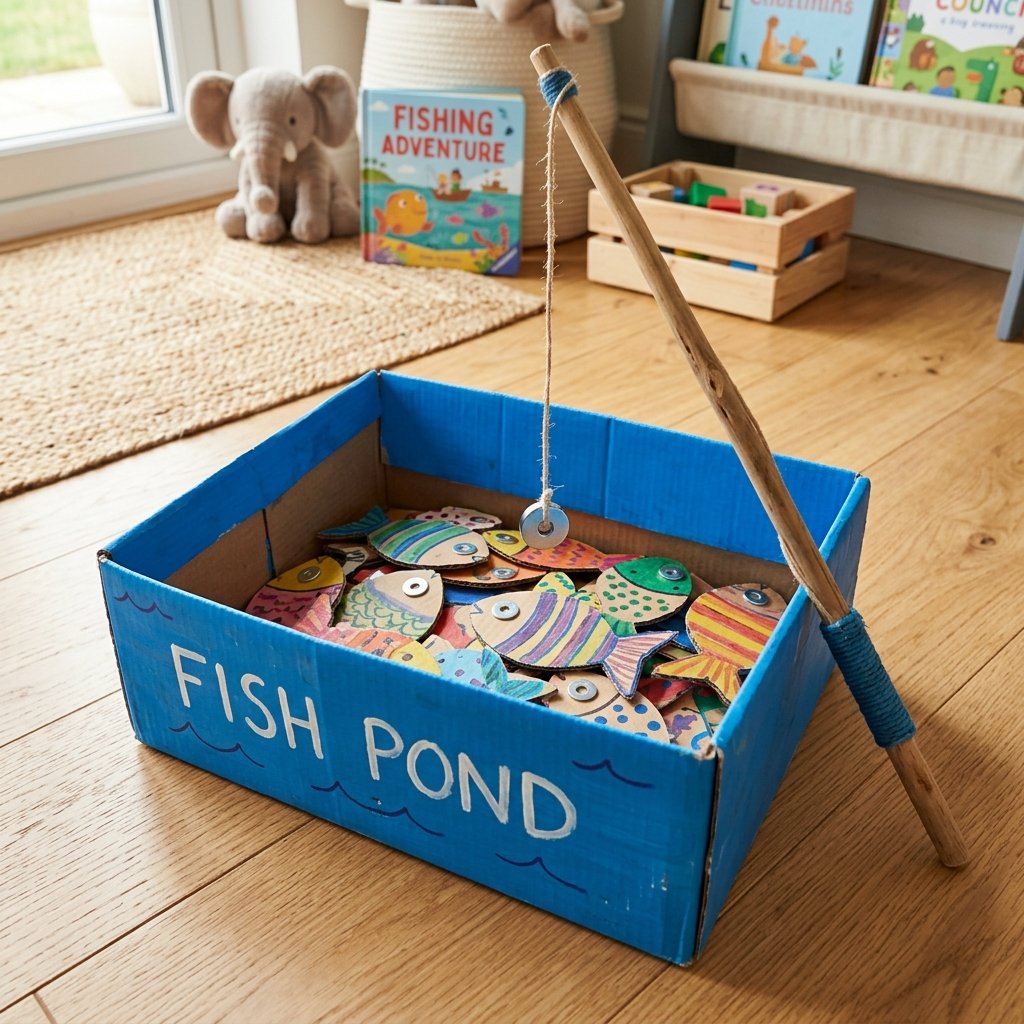
With your rod engineered and your fish decorated, it is time for the final assembly. The ‘pond’ is just as important as the fish. You want a container that is deep enough to hold the fish but shallow enough for a toddler to see inside. An old Amazon shipping box is the gold standard here.
Building the Pond
- Trim the Box: Cut the top flaps off a medium-sized box. Aim for a depth of about 6 inches.
- The ‘Water’ Lining: You can paint the inside blue, or for a faster (and cheaper) version, glue in some blue construction paper or even a blue plastic grocery bag for a ‘crinkly’ water effect.
- Reinforcing the Base: If your toddler likes to climb (and they do), glue an extra layer of cardboard to the bottom of the box for structural integrity.
Once the pond is dry, toss in your fish. The game is now live! The total cost? $0.00. The total time? Roughly 30-45 minutes depending on how elaborate you get with the fish patterns. You have just saved $20-$30 compared to a store-bought wooden set, and yours is infinitely more repairable.
Leveling Up: Gameplay Variations for Growing Minds
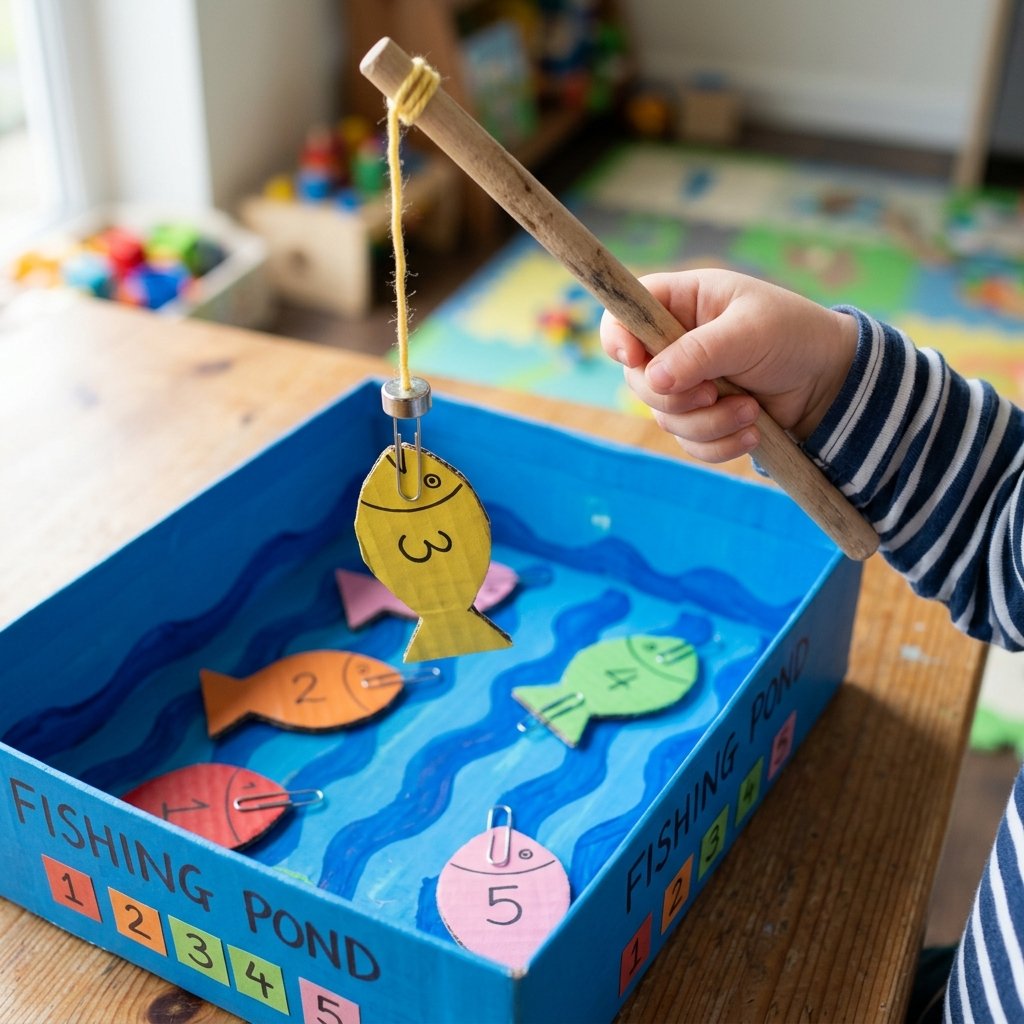
The beauty of a DIY game is that it can evolve as your child grows. This is not a static toy; it is a platform for learning. Here is how you can use this simple cardboard set to challenge your toddler as they hit new milestones.
Advanced Fishing Challenges
- Color Sorting: Ask the ‘fisherman’ to only catch the red fish. This reinforces color identification under the guise of a mission.
- The Number Hunt: If you wrote numbers on your fish, have them catch the fish in order from 1 to 10. This is a fantastic way to practice sequential counting.
- The ‘Heavy’ Catch: Use stronger magnets on some rods and weaker ones on others. This teaches them about physics and cause-and-effect.
- Alphabet Fishing: Write letters on the fish. ‘Can you catch the letter that starts your name?’ This is a foundational literacy skill.
By shifting the rules, you extend the life of the toy by months or even years. When a fish gets bent or soggy? Simply cut a new one out of the next cereal box. This is sustainable, circular play at its finest.
Maintenance and Repair: The Frugal Way
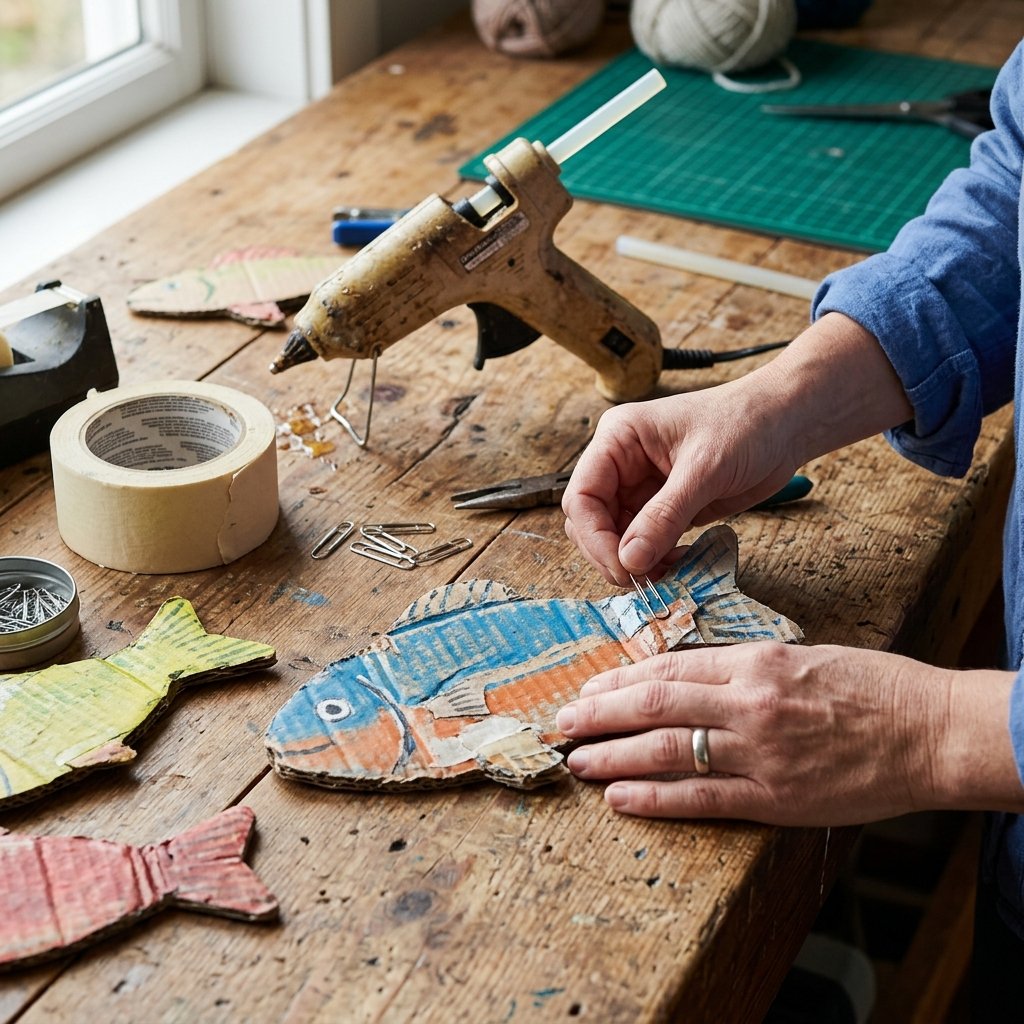
Unlike plastic toys that end up in a landfill when a part snaps, your cardboard fishing game is 100% repairable. As a handy parent, you should treat this as a ‘living toy.’ Maintenance is part of the DIY lifestyle.
| Common Issue | The 2-Minute Fix |
|---|---|
| Bent Fish | Flatten under a heavy book or cut a new one. |
| Weak Magnet | Add a second paperclip to the fish for more surface area. |
| Frayed Line | Trim the end and re-dip in a tiny bit of white glue to seal. |
| Wobbly Rod Handle | Re-wrap the grip with a bit of leftover twine or electrical tape. |
Encourage your child to help with ‘repairs.’ It teaches them that items have value and that we fix things rather than throwing them away. This resourceful mindset is the greatest gift you can give them, far beyond the game itself.
Conclusion
Crafting Memories on a Shoestring Budget
You have done it. You have turned a few pieces of ‘trash’ into a high-functioning, educational, and rugged toy that will keep your toddler engaged for hours. This DIY Cardboard Magnetic Fishing Game is more than just a craft; it is a testament to your resourcefulness and your commitment to intentional, budget-savvy parenting. You did not need a credit card or a trip to a toy store—you just needed a little bit of time and the ‘trash’ already in your home.
Remember, the goal of these projects is not perfection; it is play. Your toddler does not care if the fish are perfectly symmetrical or if the paint is slightly outside the lines. They care about the magic of the ‘catch’ and the time they spend playing with you. So, keep that utility knife handy and keep looking at your recycling bin with a creative eye. The next great adventure is probably sitting right there in a cardboard box. Happy fishing!

Makenzie is the founder and lead writer at MoneyHackTips.com — a personal finance blog dedicated to delivering street-smart financial wisdom for real people on real budgets. With 300+ published articles covering everything from debt management to investing fundamentals, Makenzie’s mission is to make every dollar work harder. When not writing about money hacks, Makenzie is testing frugal living strategies, optimizing side hustles, and helping readers build financial freedom from scratch.