
Beyond the Boring Envelope: Elevating Your Cash Gift
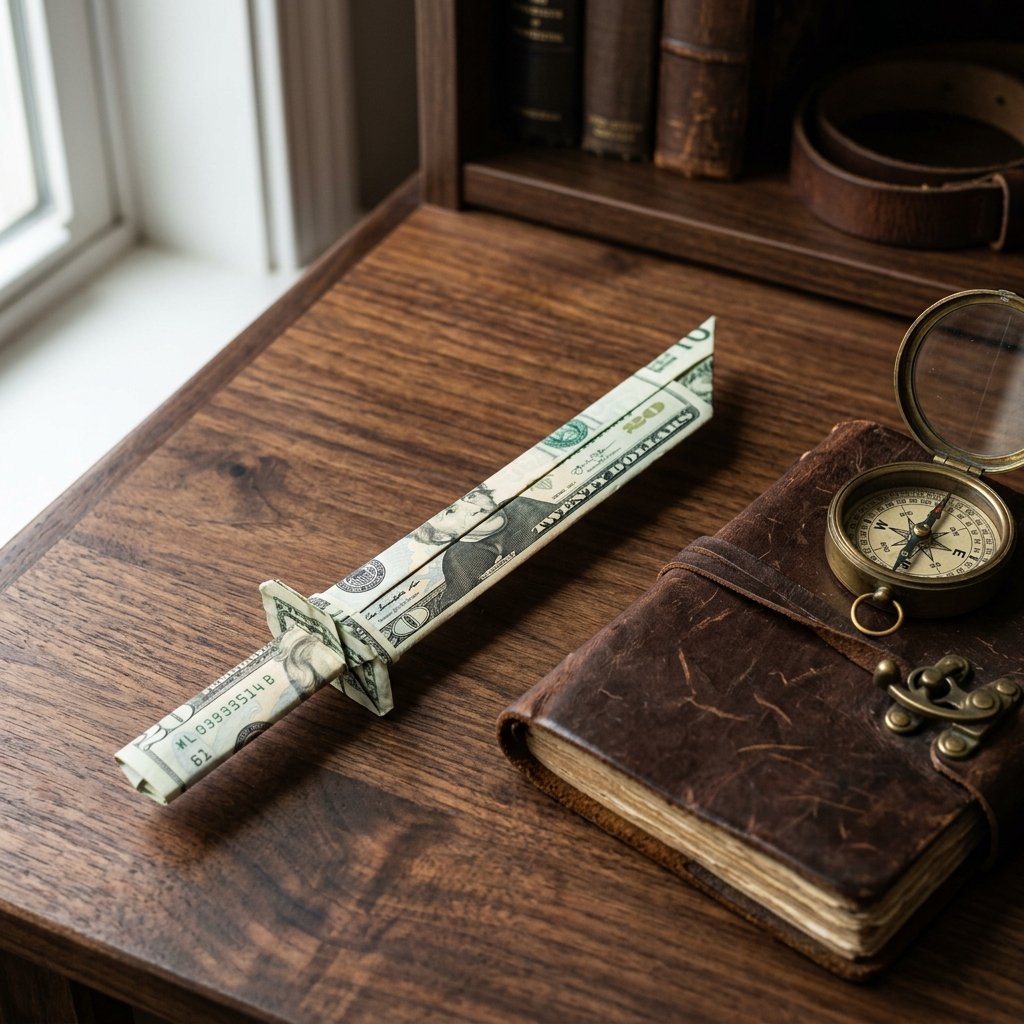
Let’s be honest: giving cash is the ultimate practical move, but it often feels a bit… uninspired. Whether it is for a graduation, a birthday, or a ‘just because’ gesture for a handy friend, sliding a flat bill into a generic card lacks that rugged, creative spark. That is where money origami comes in. By spending just 5 minutes of your time, you transform a simple legal tender into a symbol of strength and craftsmanship: the Money Origami Sword.
As a frugal DIYer, you know that the best gifts are not just about the monetary value; they are about the effort and the cleverness behind the presentation. This isn’t just about folding paper; it’s about ‘forging’ a gift that the recipient will want to show off before they ever think about spending it. In this guide, we will walk through the precise, crisp folds required to turn any denomination into a sharp currency blade, ensuring your gift is the highlight of the celebration.
The Currency Blade Matrix: Choosing Your Steel
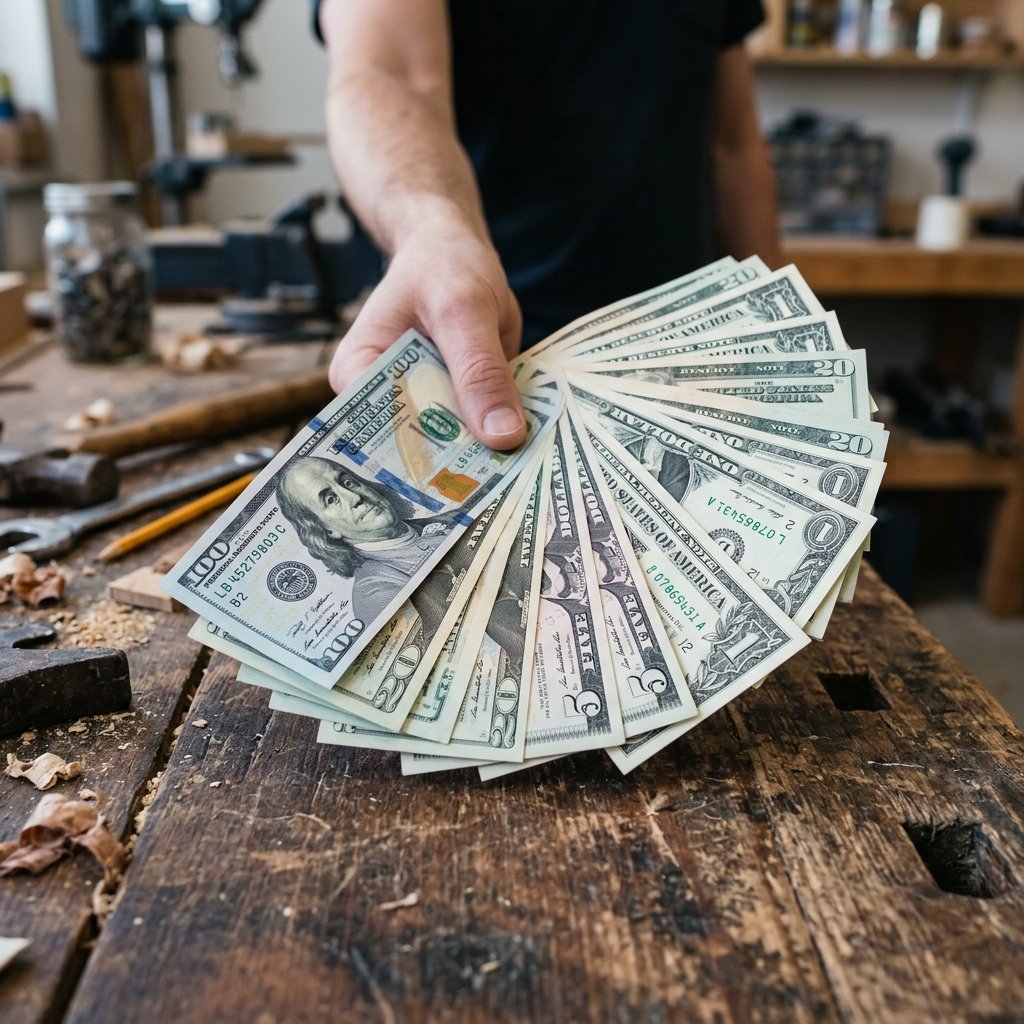
Before we begin the ‘forging’ process, we need to talk about your materials. While any bill will technically work, the visual impact of your sword depends heavily on the denomination and the crispness of the paper. A limp, wrinkled bill will result in a sword that looks like it has seen too many battles in a washing machine. For the best results, visit your bank and request brand-new, uncirculated bills.
Different denominations offer different ‘hues’ to your sword. A $1 bill gives you that classic green, ‘everyman’ blade, while a $100 bill creates a high-stakes, prestigious weapon. Use the table below to decide which ‘metal’ fits your budget and the occasion.
| Denomination | Visual Impact | Best Occasion |
|---|---|---|
| $1 Bill | Classic Green/White | Practice, Kids’ Birthdays, Small Tips |
| $5 Bill | Subtle Purple Hues | Graduations, Small Accomplishments |
| $20 Bill | Strong Contrast | Weddings, Major Milestones |
| $50/$100 Bill | High-End Prestige | Retirement, Significant Life Events |
The secret to a legendary money sword is the ‘snap’ of the paper. If the bill doesn’t stand up on its own when held horizontally, it’s too soft for a clean fold.
The Master’s Toolkit: Preparation for Precision
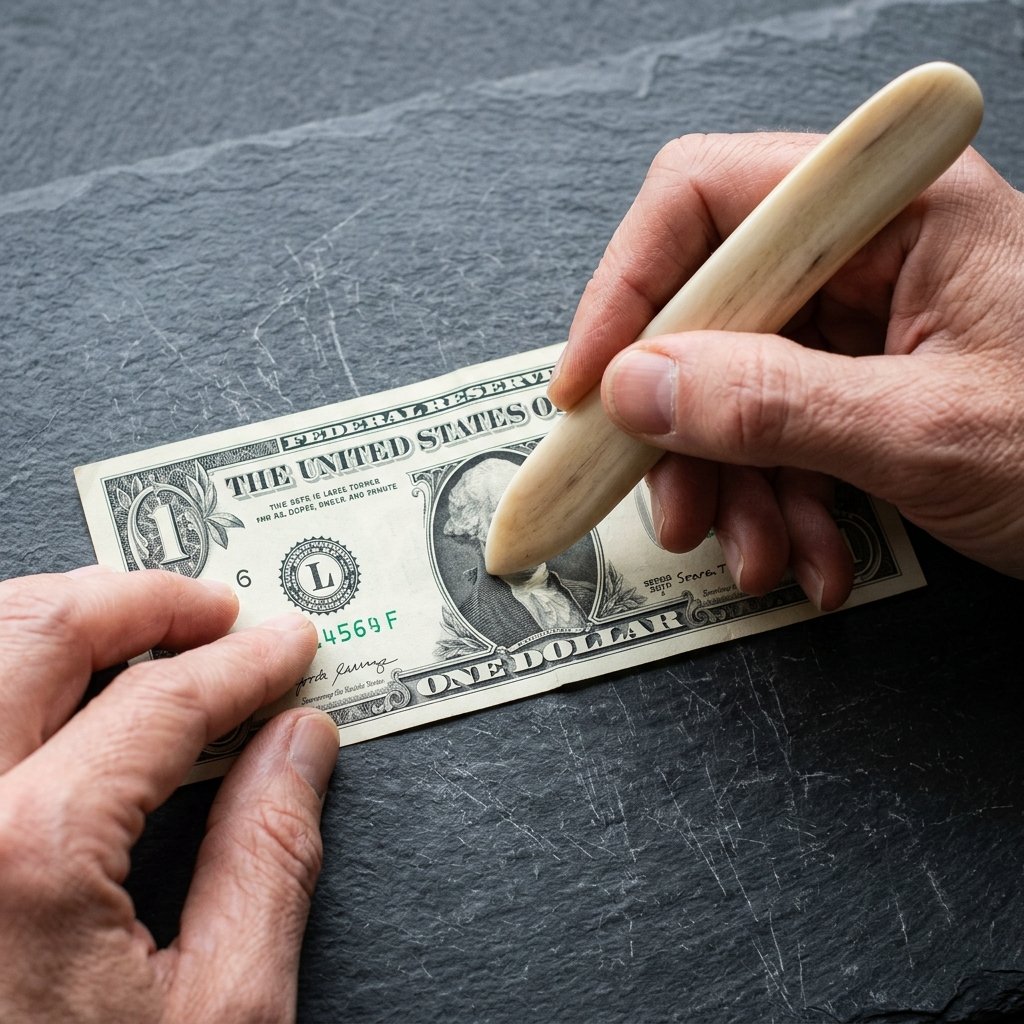
While your hands are your primary tools, a few ‘pro-level’ additions can make your folds look like they were done by a professional tailor. Because we are aiming for masculine elegance and high precision, we want our edges to be sharp enough to (metaphorically) cut.
- A Crisp Bill: As mentioned, uncirculated is best. If you only have old bills, you can lightly iron them on a low, dry heat setting (no steam!) to stiffen the fibers.
- A Bone Folder or Popsicle Stick: Using your fingernail works, but a dedicated creasing tool ensures 100% flat seams.
- A Clean Surface: Avoid textured wood; a smooth desk or a cutting mat is ideal for maintaining control over the bill’s alignment.
Pro Tip: Wash and dry your hands thoroughly before starting. Natural skin oils can soften the bill or leave smudges on the high-contrast white areas of the currency.
Step-by-Step: Forging the Money Sword
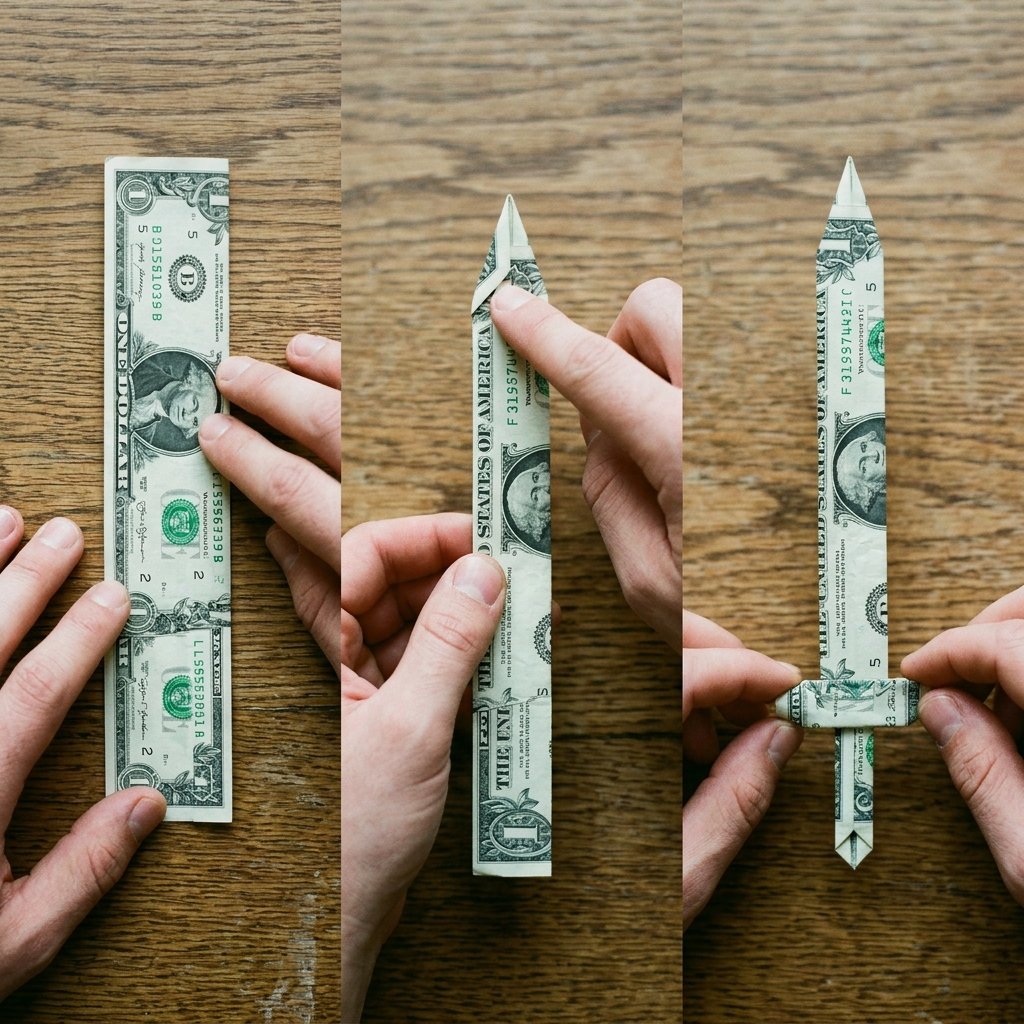
Follow these steps carefully. The beauty of the sword lies in the symmetry of the hilt and the straightness of the blade. Take your time with the first few folds; they set the foundation for the entire project.
Phase 1: The Blade Foundation
- Place the bill face up (with the portrait facing you) on a flat surface. Fold the bill in half lengthwise to create a center crease, then unfold.
- Fold the top and bottom edges inward to meet that center crease. This is called a ‘gate fold.’ Your bill should now be a long, narrow strip.
- Strong Crease: Run your bone folder along these edges. The tighter the fold, the thinner and ‘sharper’ the blade will look.
Phase 2: The Pointed Tip
- At one end of the strip, fold the corners inward toward the center line to create a triangular point, similar to how you start a paper airplane.
- Fold these new angled edges inward once more to make the point even narrower and more ‘needle-like.’
Phase 3: The Hilt and Crossguard
- Go to the opposite (square) end of the bill. Fold about 1.5 inches of the bill upward. This will become the handle.
- To create the crossguard (the part that protects the hand), you will perform a ‘squash fold’ on the base of the handle area. This involves opening the folds you made in Phase 1 slightly and pressing them flat outward to create two horizontal tabs.
- Refold the handle strip to lock the crossguard in place.
Focus on the ‘click’ of the paper. When the fibers lock into a fold, you know the sword will hold its shape without tape or glue.
Advanced Variations: The ‘Dual-Wield’ and the Scabbard

Once you have mastered the basic 5-minute sword, you can level up your gift-giving game with these crafty variations. These add a layer of sophistication that makes the gift feel like a curated experience.
- The Longsword: Use two bills. Fold one exclusively into a long, reinforced blade and the other into an elaborate hilt. Join them by sliding the blade into the hilt’s center fold. This is perfect for a $40 or $100 gift.
- The Scabbard: Use a second bill (perhaps a lower denomination) to fold a simple rectangular sheath. This protects the ‘blade’ and adds a clever reveal when the recipient pulls the sword out.
- The Dagger: Use a square-cut piece of paper or fold a bill into a shorter, wider version for a ‘rogue’ aesthetic.
| Variation | Difficulty | Bills Required |
|---|---|---|
| Basic Sword | Easy | 1 Bill |
| The Dual-Wield (Two Swords) | Medium | 2 Bills |
| Sword & Scabbard | Hard | 2 Bills |
Presentation: The ‘Stone’ and the Scroll

A sword is a powerful symbol, so don’t just toss it in a box. As a resourceful DIYer, you can create a presentation that tells a story. Here are three budget-savvy ways to present your currency blade:
1. The Sword in the Stone
Find a unique, smooth river stone. Use a small piece of removable mounting putty to ‘stand’ the sword upright on the stone. Wrap the whole thing in clear cellophane. It’s a legendary ‘King Arthur’ moment for less than $1 in materials.
2. The Shadow Box
Buy a small, deep frame from the Dollar Tree. Mount the sword against a black cardstock background using tiny loops of thread (avoid tape to keep the bill mint). This turns a cash gift into a piece of temporary art.
3. The Warrior’s Letter
Write your message on a piece of parchment paper, roll it into a scroll, and use the sword’s crossguard to ‘pin’ the scroll shut. It’s rugged, elegant, and shows incredible attention to detail.
Gifting is 10% the item and 90% the story you tell with the packaging. Make it epic.
Conclusion
The Sharpest Gift in the Room
Folding a Money Origami Sword is more than just a party trick; it is a testament to your resourcefulness and your desire to make even a simple gift feel significant. In just 5 minutes, you’ve taken a standard piece of currency and forged it into a conversation starter. Whether it’s the centerpiece of a graduation card or a clever way to pay back a friend, this ‘currency blade’ ensures your generosity is never forgotten.
Remember, the best DIY projects don’t require expensive tools—just a bit of patience, a crisp bill, and the willingness to turn the ordinary into the extraordinary. Now go forth and forge something great!

Makenzie is the founder and lead writer at MoneyHackTips.com — a personal finance blog dedicated to delivering street-smart financial wisdom for real people on real budgets. With 300+ published articles covering everything from debt management to investing fundamentals, Makenzie’s mission is to make every dollar work harder. When not writing about money hacks, Makenzie is testing frugal living strategies, optimizing side hustles, and helping readers build financial freedom from scratch.