
The Magic of Light on a Shoestring Budget
Every parent knows the struggle: you need 20 minutes of peace to fold laundry or answer an email, but your toddler has other plans. Enter the light box—a staple of Montessori classrooms and high-end therapy centers that usually carries a price tag of $150 to $300. But why shell out three figures when you have a perfectly good Amazon box sitting in the recycling bin? As a resourceful DIYer, you know that with a bit of clever engineering and some budget-savvy materials, you can create a rugged, professional-grade sensory station for less than the cost of a fancy latte. We are talking about a $5 to $10 investment that delivers hours of quiet, focused play. This isn’t just a toy; it’s a portal to a world of color, shadow, and scientific discovery that you can build with your own two hands in under 30 minutes.
The Blueprint: Materials and Cost-Benefit Analysis
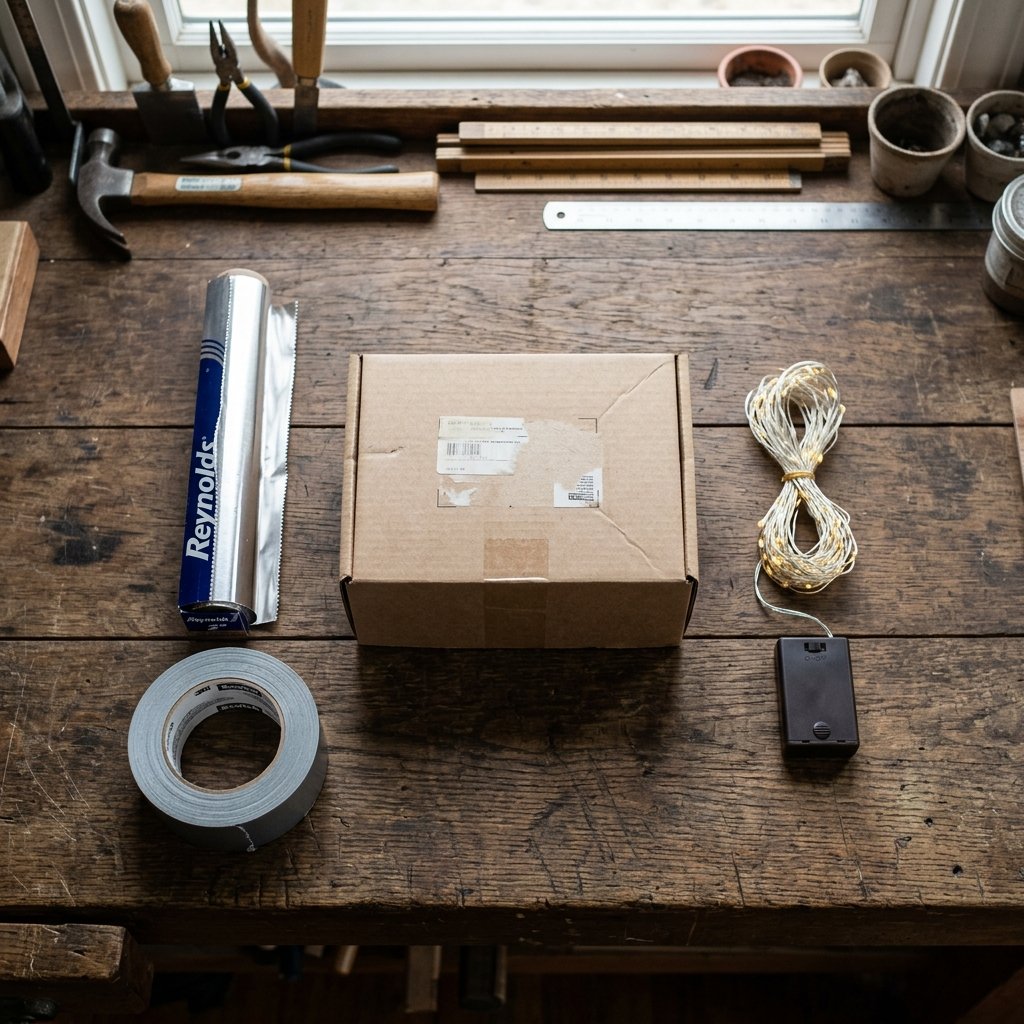
Before we dive into the construction, let’s look at why this project is a win for both your wallet and your child’s development. By upcycling a heavy-duty shipping box, you’re giving a second life to ‘trash’ while creating a tool that encourages fine motor skills and visual tracking.
The DIY vs. Retail Reality
| Item | Store-Bought Light Table | DIY Cardboard Version |
|---|---|---|
| Initial Cost | $120 – $250 | $0 – $8 |
| Portability | Heavy/Bulky | Lightweight/Rugged |
| Durability | Plastic/Glass (Breakable) | Reinforced Cardboard (Replaceable) |
| Customization | Fixed Size | Infinite Possibilities |
The Inventory of Essentials
- 1 Heavy-Duty Cardboard Box: Look for a shallow box with a wide surface area (think laptop boxes or pizza boxes).
- LED Lights: Battery-operated puck lights or a cheap $5 LED strip from the dollar store.
- Diffusion Material: Parchment paper, a frosted plastic storage bin lid, or a piece of white vellum.
- Reflective Lining: Aluminum foil or a shiny emergency blanket (to amplify the light).
- Adhesive: High-temp hot glue and rugged duct tape for structural integrity.
Budget-Savvy Mantra: ‘The best toys aren’t bought; they are engineered from the heart and the recycling bin.’
Engineering the Chassis: Structural Integrity for Toddler Play
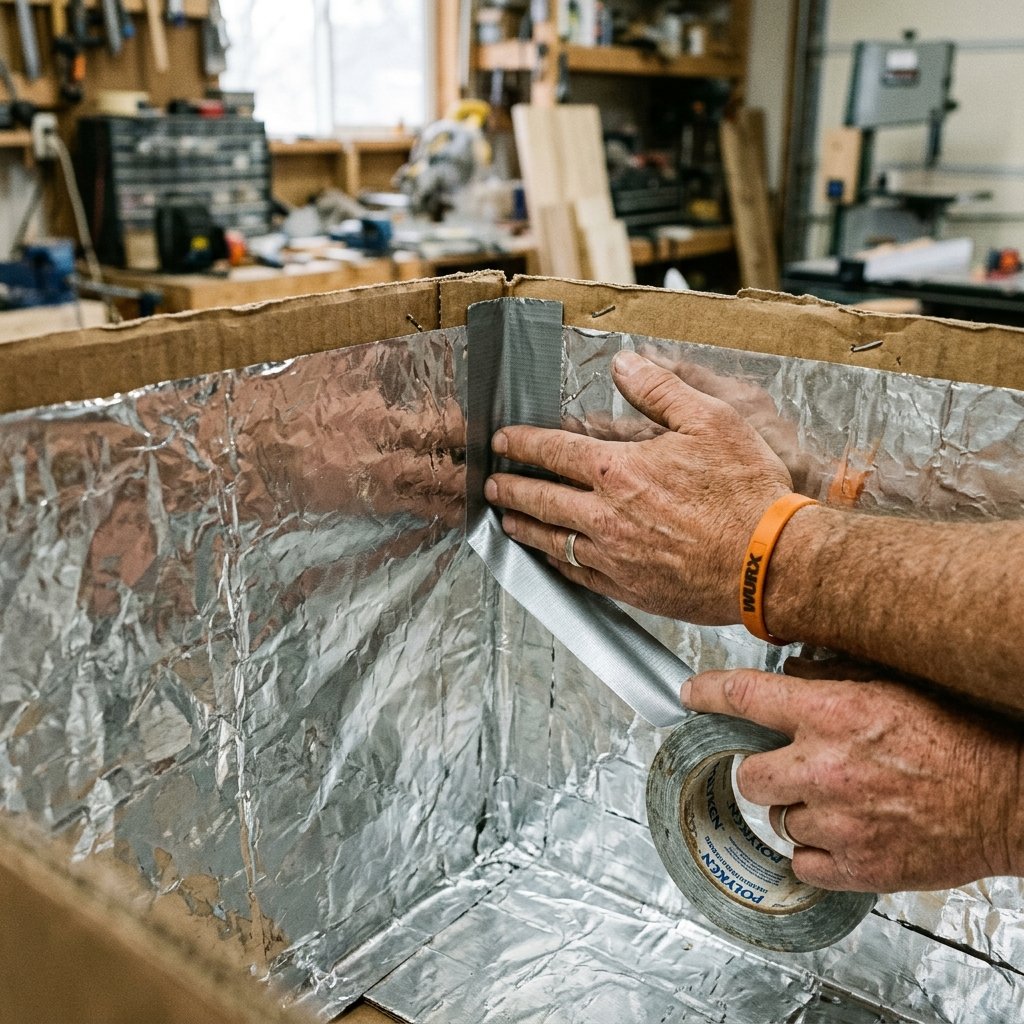
Toddlers are not known for being gentle. To ensure your light box survives the ‘toddler stress test,’ you need to focus on structural reinforcement. We aren’t just taping a box; we are building a rugged frame.
Step-by-Step Construction
- Measure and Mark: Decide which side will be your ‘screen.’ Use a straight edge to mark a rectangle, leaving at least a 2-inch border around the edges for strength.
- The Precision Cut: Use a sharp utility knife to cut out the rectangle. Safety Note: Always cut away from your body and keep children at a safe distance during this phase.
- Internal Reflection: Line the entire interior of the box with aluminum foil. Use a glue stick or spray adhesive to keep it flush. This ensures the light bounces upward, maximizing the lumens of your cheap LEDs.
- Light Placement: Secure your LED strip or puck lights to the bottom of the box. Space them evenly to avoid ‘hot spots’ of light.
Reinforcing the Corners
Apply 3 layers of duct tape to the interior corners. This prevents the box from collapsing if a toddler decides to lean their full weight on the surface. We want this to be as sturdy as a piece of shop equipment.
The Science of Diffusion: Creating the Perfect Glow
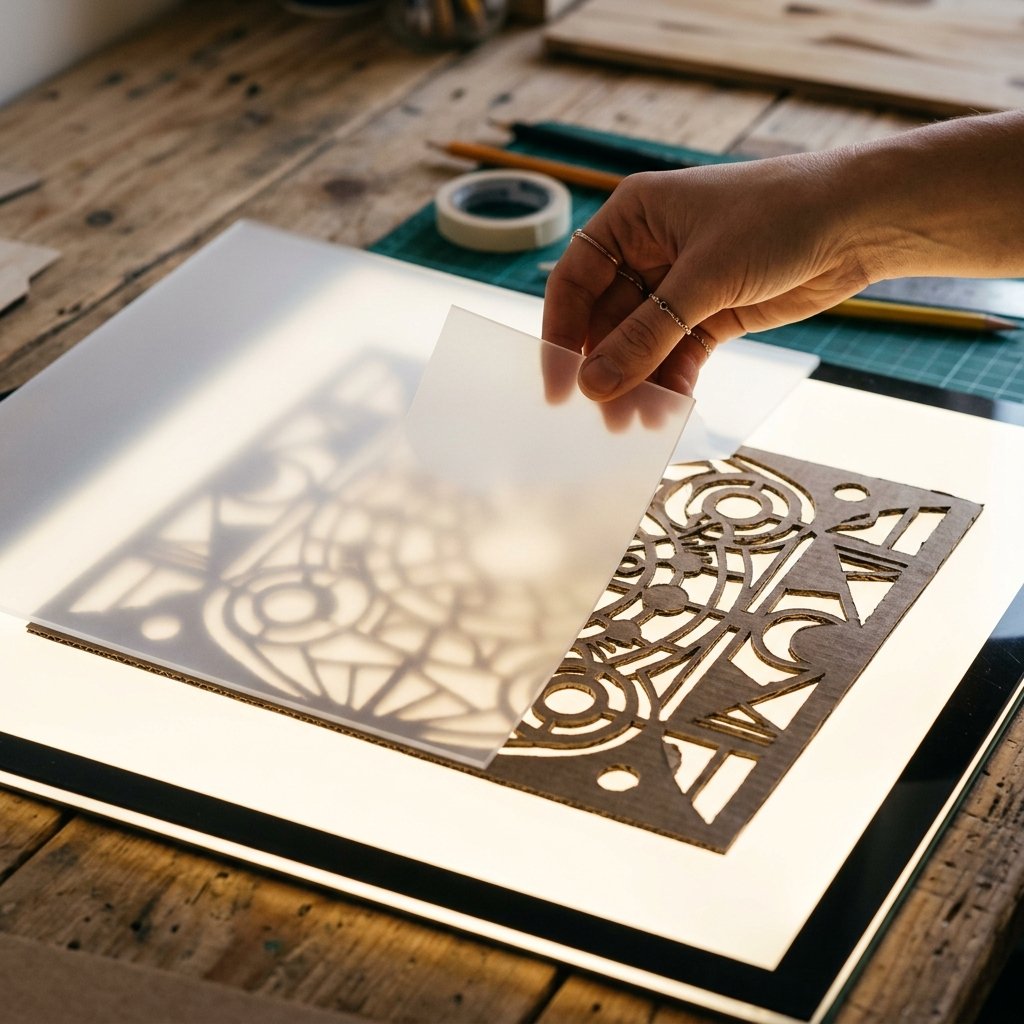
The secret to a high-end light box is the diffusion. You don’t want to see individual light bulbs; you want a soft, even glow that makes colors pop. This is where your crafty expertise shines.
Diffusion Material Comparison
| Material | Pros | Cons |
|---|---|---|
| Parchment Paper | 100% Free (in pantry) | Can tear easily |
| Frosted Plastic Lid | Indestructible | Requires specific box size |
| White Vellum | Professional finish | Costs $1-2 per sheet |
| Tissue Paper | Very cheap | Yellows over time |
For the most rugged and budget-friendly option, I recommend using a frosted plastic lid from a storage bin. If you don’t have one, layering 3 sheets of parchment paper between two layers of clear packing tape creates a surprisingly durable and ‘shatter-proof’ screen. Secure the screen to the underside of your cutout using heavy-duty hot glue, ensuring a water-tight seal to prevent any sensory play materials (like salt or sand) from leaking into the electronics.
The Master List of Sensory Activities

Once the box is built, the real magic begins. This tool is a powerhouse for keeping kids focused. Here are five ways to use it that will buy you at least 60 minutes of quiet time.
1. The ‘X-Ray’ Station
Print out skeletal images on standard printer paper. The light box will make them translucent, allowing your little ‘doctor’ to examine bones. Total cost: $0.
2. Color Mixing with Water Beads
Place a clear shallow tray on top of the light box. Fill it with translucent water beads or diluted food coloring in water. Watching the colors merge under the glow is hypnotic.
3. Salt Drawing and Pre-Writing
Pour a thin layer of salt or sand over the screen. Give your toddler a paintbrush or let them use their fingers to ‘draw’ with light. This is excellent for fine motor development.
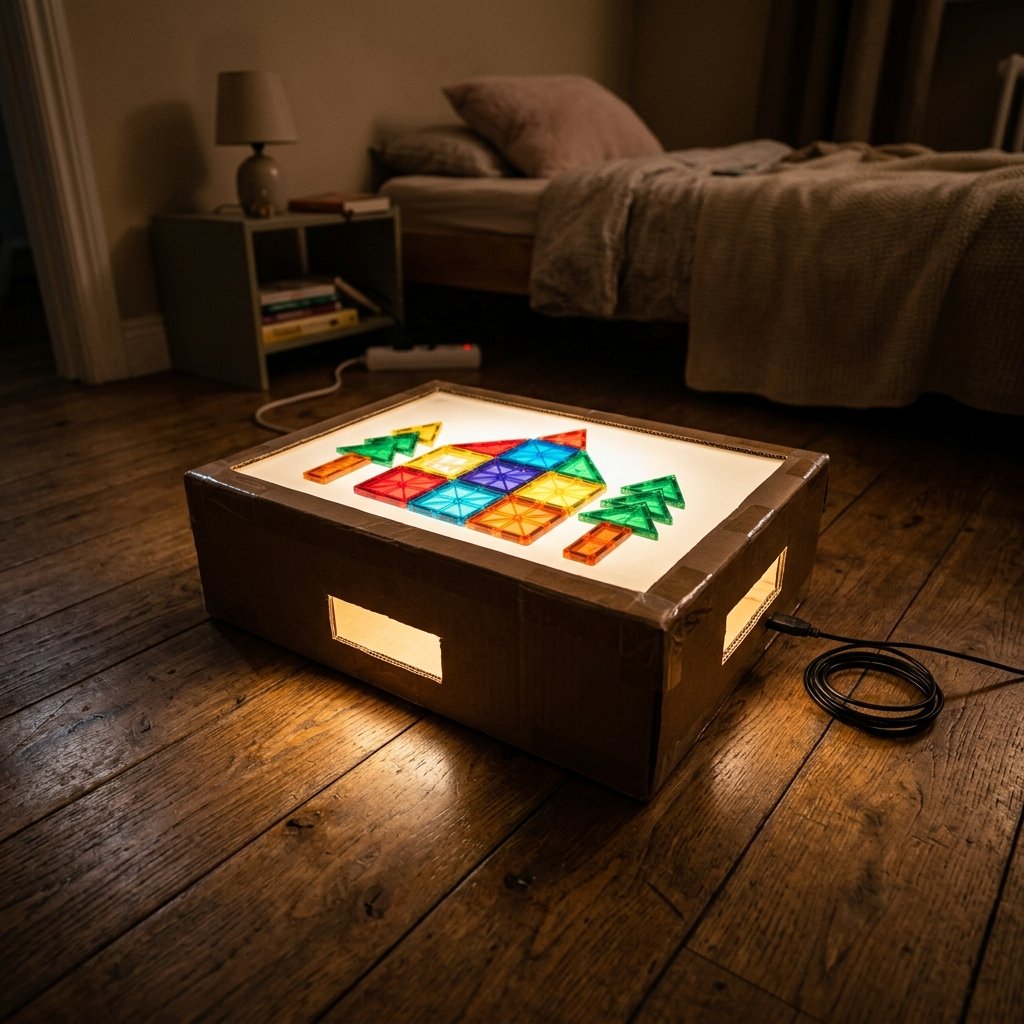
4. Transparent Building Blocks
If you have magnetic tiles or translucent blocks, the light box turns them into glowing stained-glass towers. The visual feedback encourages longer play sessions.
5. Nature Study
Place dried leaves, flower petals, or even thin slices of citrus fruit on the box. The light reveals the intricate veins and cellular structures, turning play into a biology lesson.
Maintenance, Safety, and Longevity Hacks
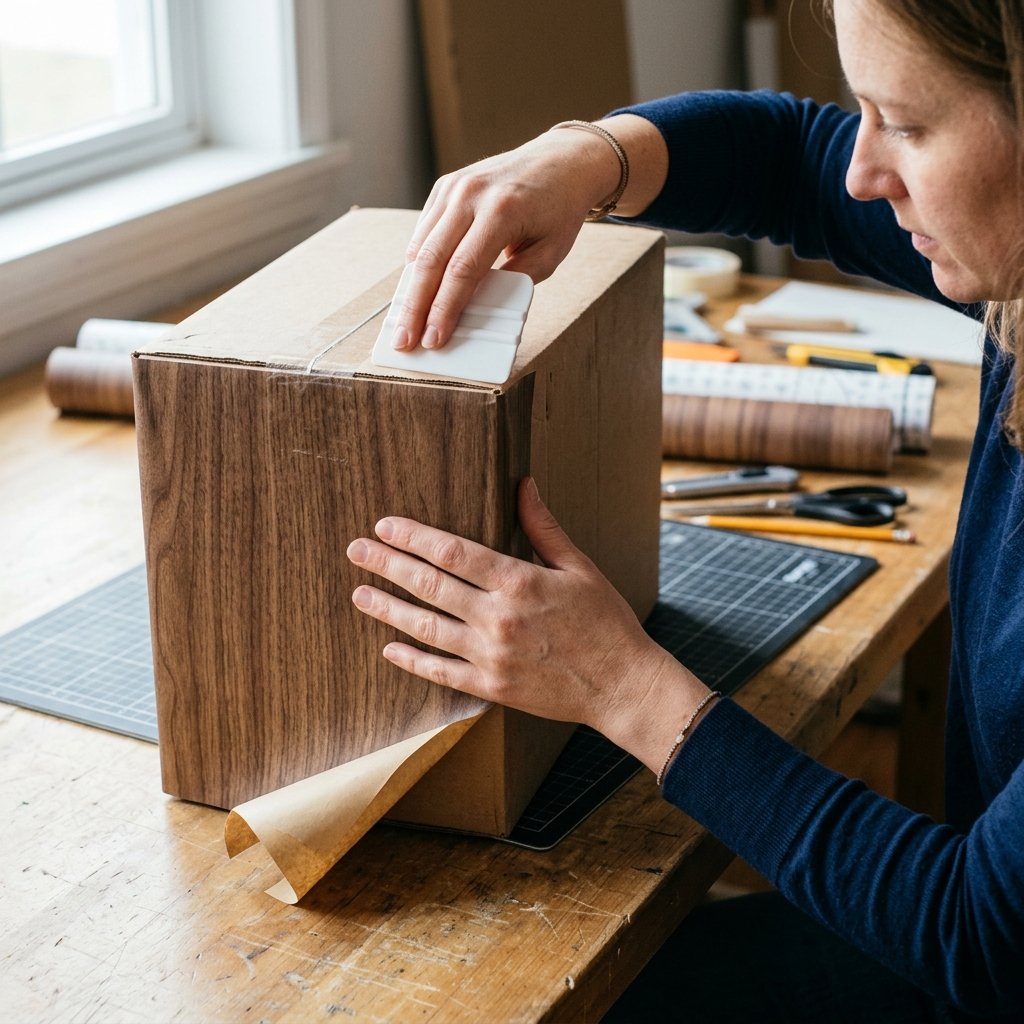
To keep your DIY masterpiece in top shape, follow these rugged maintenance tips. Even a cardboard toy can last for years if treated with a little respect and craft-store savvy.
Safety Mantra: ‘Check the batteries, check the tape, keep the play in a safe shape.’
Safety First
- Heat Management: Only use LED lights. Traditional incandescent bulbs get too hot and pose a fire risk with cardboard.
- Battery Security: Ensure battery compartments on puck lights are screwed shut or taped over to prevent toddlers from accessing small batteries.
- Water Resistance: If using liquids, always place a secondary clear plastic tray on top of the light box to catch spills.
The 5-Minute Refresh
Every few months, the cardboard may show signs of wear. Simply apply a fresh layer of contact paper (wood grain or marble patterns look particularly high-end) to the exterior. This not only reinforces the structure but gives it a ’boutique’ furniture look that fits right into a modern living room.
Conclusion
The Power of Resourceful Parenting
Building this light box proves that you don’t need a massive budget to provide your child with world-class educational tools. By using your hands, a few scraps of cardboard, and $10 worth of lights, you’ve created a sanctuary of quiet focus and creative exploration. You’ve saved over $100, kept trash out of the landfill, and—most importantly—earned yourself a well-deserved break while your toddler is mesmerized by the glow. So, grab that utility knife, fire up the hot glue gun, and show the world that a little bit of DIY grit goes a long way in the journey of parenthood. Happy crafting!

Makenzie is the founder and lead writer at MoneyHackTips.com — a personal finance blog dedicated to delivering street-smart financial wisdom for real people on real budgets. With 300+ published articles covering everything from debt management to investing fundamentals, Makenzie’s mission is to make every dollar work harder. When not writing about money hacks, Makenzie is testing frugal living strategies, optimizing side hustles, and helping readers build financial freedom from scratch.