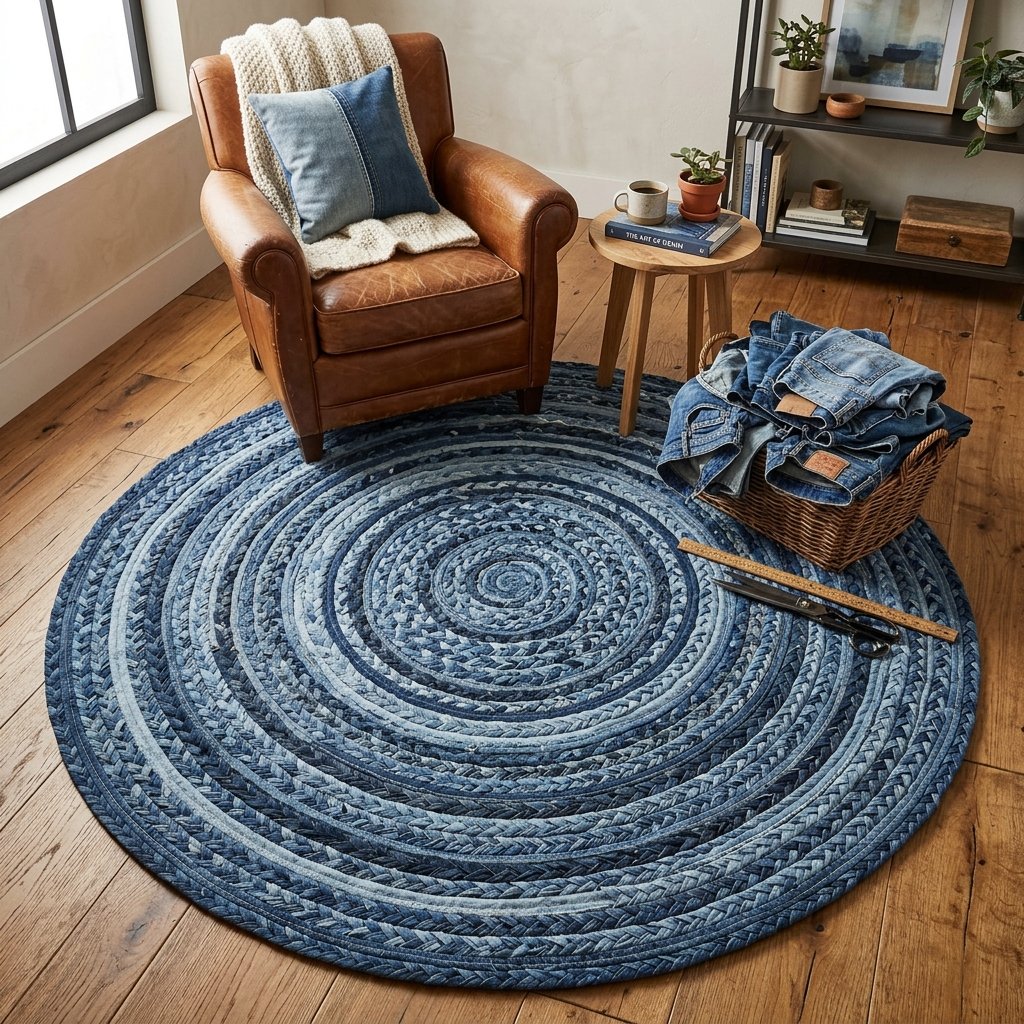

The Rugged Beauty of Reclaimed Denim
There is something inherently satisfying about taking a stack of worn-out, hole-ridden denim jeans and turning them into something that looks like it belongs in a high-end interior design catalog. As frugal DIYers, we know that the best materials aren’t found in a craft aisle; they are found in the back of the closet or the bottom of a donation bin. Denim is the ultimate upcycling substrate: it is 100% cotton, incredibly durable, and possesses a timeless, masculine-elegant aesthetic that fits perfectly in a workshop, a kid’s playroom, or a rustic entryway.
In this guide, we aren’t just making a rug; we are engineering a functional piece of art. The best part? No sewing machine is required. By using a clever interlocking braid technique and the secret ‘slit-and-loop’ joining method, you can build a massive, heavy-duty rug that will last for decades. This project is the epitome of resourcefulness—turning ‘trash’ into a treasure that would easily retail for over $200 at a boutique home store, all for the cost of a few hours of your time and $0 in new materials.
The Denim Audit: Sourcing and Prepping Your Materials
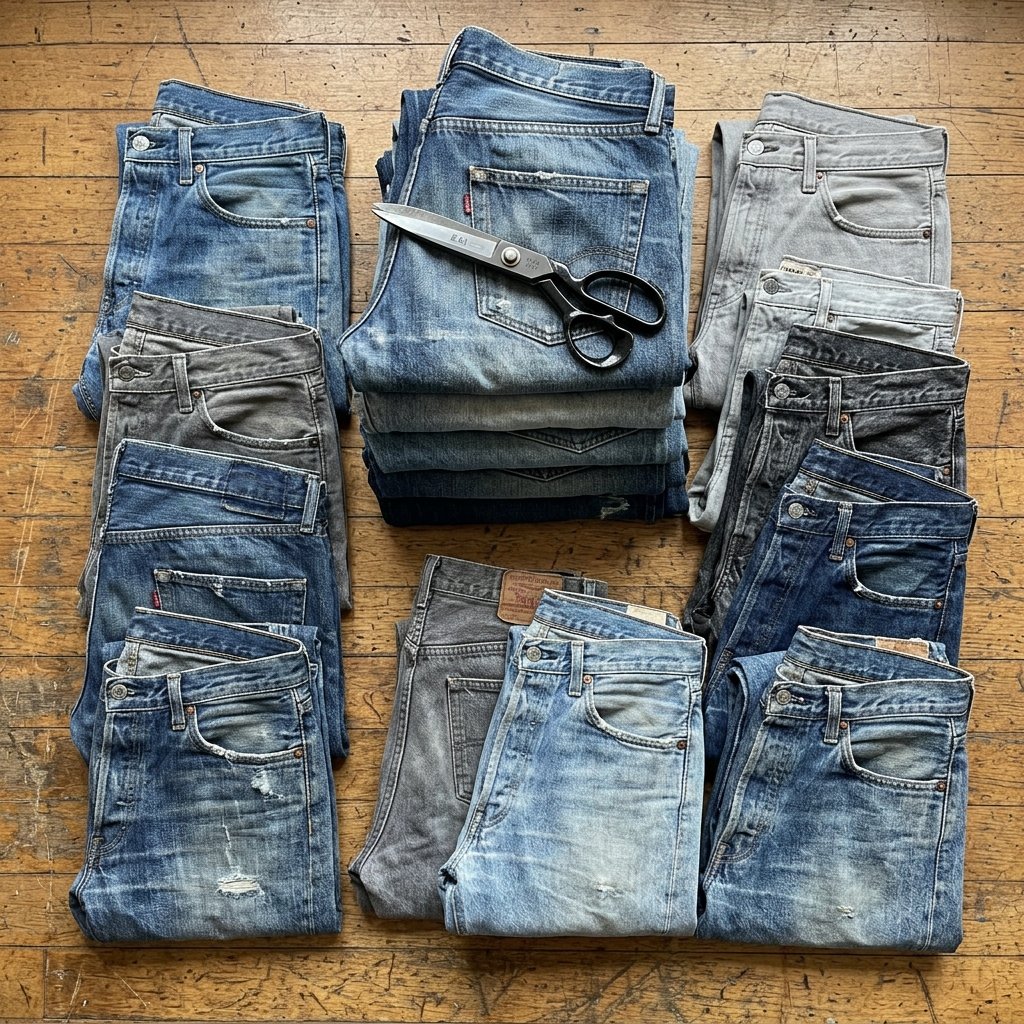
Finding the Raw Materials
Before you start cutting, you need to gather your ‘blue gold.’ For a standard 2’x3′ rug, you will need approximately 5 to 7 pairs of adult-sized jeans. If you don’t have a stash at home, check local thrift stores on ‘dollar days’ or ask neighbors for their ‘unwearable’ scraps. Look for jeans with 100% cotton labels, as spandex-heavy ‘stretch’ denim can be difficult to work with and may cause the rug to warp.
The Material Breakdown
| Item | Purpose | Estimated Cost |
|---|---|---|
| Old Denim Jeans | Primary structural material | $0.00 (Upcycled) |
| Heavy-Duty Fabric Shears | Precision cutting of thick seams | $0.00 (Owned) |
| Safety Pin or Large Paperclip | Feeding strips through loops | $0.00 (Household item) |
| Measuring Tape | Ensuring consistent strip width | $0.00 (In toolbox) |
The Golden Rule of Denim Upcycling: Never throw away the scraps. Even the pockets and waistbands can be saved for smaller projects like coasters or tool rolls.
Start by washing and drying all your jeans to ensure they are pre-shrunk. Once clean, remove the waistbands and the thickest part of the flat-felled seams using your shears. While some crafters use the seams, for this no-sew braided method, we want the flatter fabric from the legs to ensure a smooth, even surface that won’t become a tripping hazard.
The No-Sew Secret: Mastering the Slit-and-Loop Join
Engineering the Continuous Strand
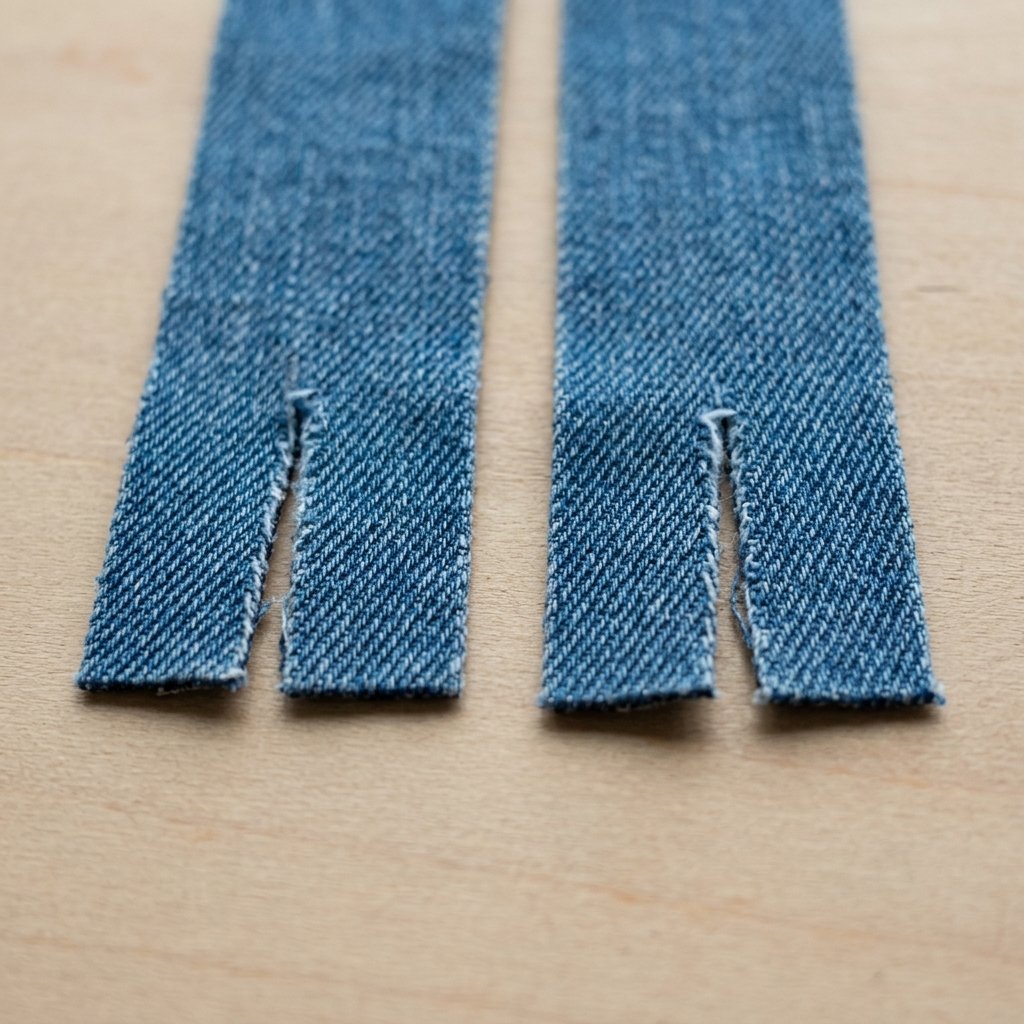
The biggest hurdle in a no-sew rag rug is joining the strips without creating bulky knots or using a needle and thread. The solution is a clever ‘surgical’ join known as the Slit-and-Loop method. This allows you to join two pieces of denim into one continuous, flat strand that is just as strong as the fabric itself.
Step-by-Step Joining Process
- Cut your denim into strips approximately 2 inches wide. Don’t worry about the length; we will join them as we go.
- At both ends of every strip, cut a small vertical slit (about 1/2 inch long) in the center of the fabric, roughly 1/2 inch from the edge.
- To join Strip A to Strip B: Lay the end of Strip B over the end of Strip A so the slits align.
- Take the tail end of Strip B, feed it up through the aligned slits from the bottom, and pull the entire length of the strip through.
- Tighten the connection. You will see the two strips lock together in a flat, secure join that adds zero bulk to your braid.
This technique is a game-changer for the frugal crafter. It allows you to work with shorter scraps—like those salvaged from children’s jeans or the areas around pockets—without ever needing to stop and thread a needle.
Constructing the Braided Foundation
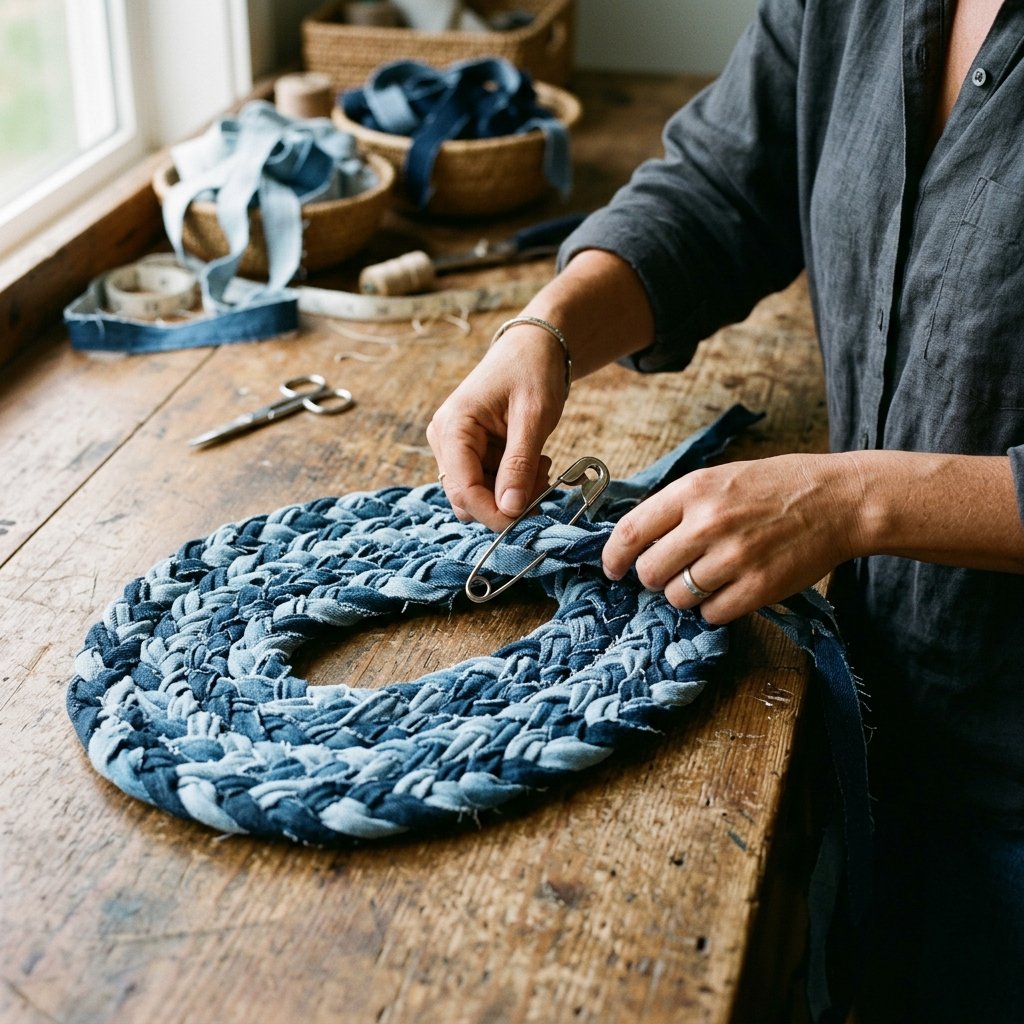
The Three-Strand Interlock
Now that you have your strips, it is time to build the rug. Most rag rugs fail because they are simply ‘coiled and sewn.’ Our method uses a rugged braiding technique where the braid itself is woven into the previous row as you go, creating a self-contained structure.
The Braiding Strategy
Secure three long denim strips at the top with a heavy clip or weight. Begin a standard 3-strand braid. As you reach the end of a strip, use the slit-and-loop method described above to add a new length. Pro-tip: Stagger your joins. Never join all three strands at the same spot, or you will create a weak point in the rug.
| Rug Shape | Starting Technique | Best For |
|---|---|---|
| Circular | Tight spiral coil | Small entryways, bathrooms |
| Oval | Long center ‘spine’ (12-18 inches) | Hallways, living rooms |
| Rectangular | Parallel braided rows | Workshops, kitchens |
Safety Note: When cutting through heavy denim seams, always cut away from your body. Denim is thick, and if the shears slip, they can cause injury. Keep your blades sharp to reduce the force needed.
To keep the rug flat, you must ‘lace’ the current braid into the loops of the previous row. Use a safety pin to pull one of your three braiding strands through a loop on the edge of the existing rug every two or three crosses of the braid. This locks the rows together permanently without a single stitch of thread.
Scaling Up: Estimating Size and Jeans Quantity
How Much Denim Do You Really Need?
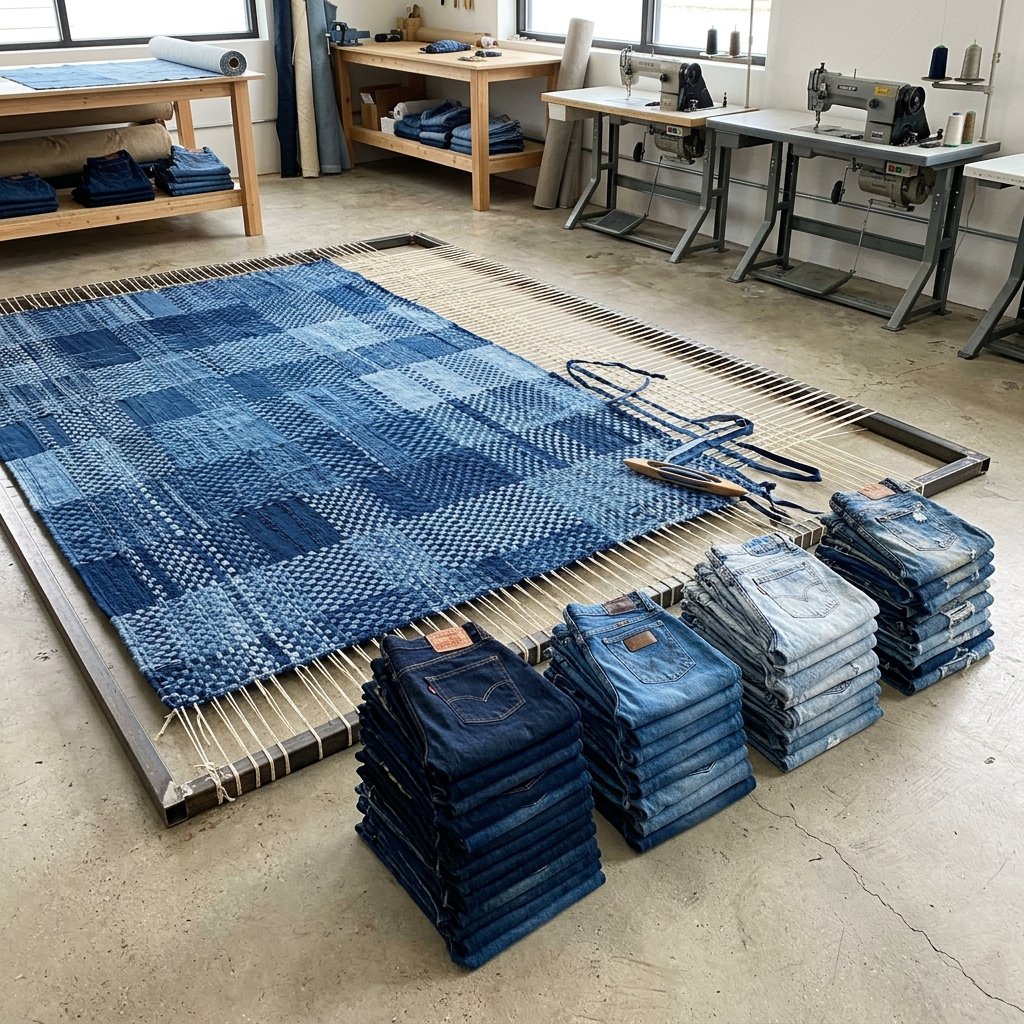
One of the most common mistakes in upcycling is running out of material halfway through. Because denim weights vary (from 8oz lightweight shirts to 14oz heavy-duty work jeans), your mileage may vary. However, use this handy guide to estimate your ‘scrap’ requirements before you begin your project.
Denim Quantity Matrix
| Desired Rug Diameter | Estimated Adult Jeans | Estimated Labor Time |
|---|---|---|
| 2 Feet (Small Round) | 4-5 Pairs | 3-5 Hours |
| 3 Feet (Medium Round) | 8-10 Pairs | 8-12 Hours |
| 4 Feet (Large Round) | 15-18 Pairs | 20+ Hours |
| 2′ x 4′ (Runner) | 7-9 Pairs | 10 Hours |
If you find yourself running low on denim, don’t panic. This is the perfect time to introduce a ‘feature color.’ Adding strips of an old flannel shirt or a pair of khaki work pants can create a beautiful, variegated pattern that looks intentional and sophisticated. The frugal master knows that a shortage of materials is simply an opportunity for a creative design pivot.
Finishing and Maintenance for the Modern Home
Securing the Tail
When your rug reaches the desired size, you need to finish the edge so it doesn’t unravel. Taper the thickness of your final three strips by cutting them into points. Continue braiding until the braid becomes very thin, then tuck the final ‘tail’ into the underside of the previous row’s loops. Pull it through tightly and use a small dab of fabric glue or a single hand-stitch (if you don’t mind a tiny bit of sewing) to secure it permanently.
Cleaning and Care
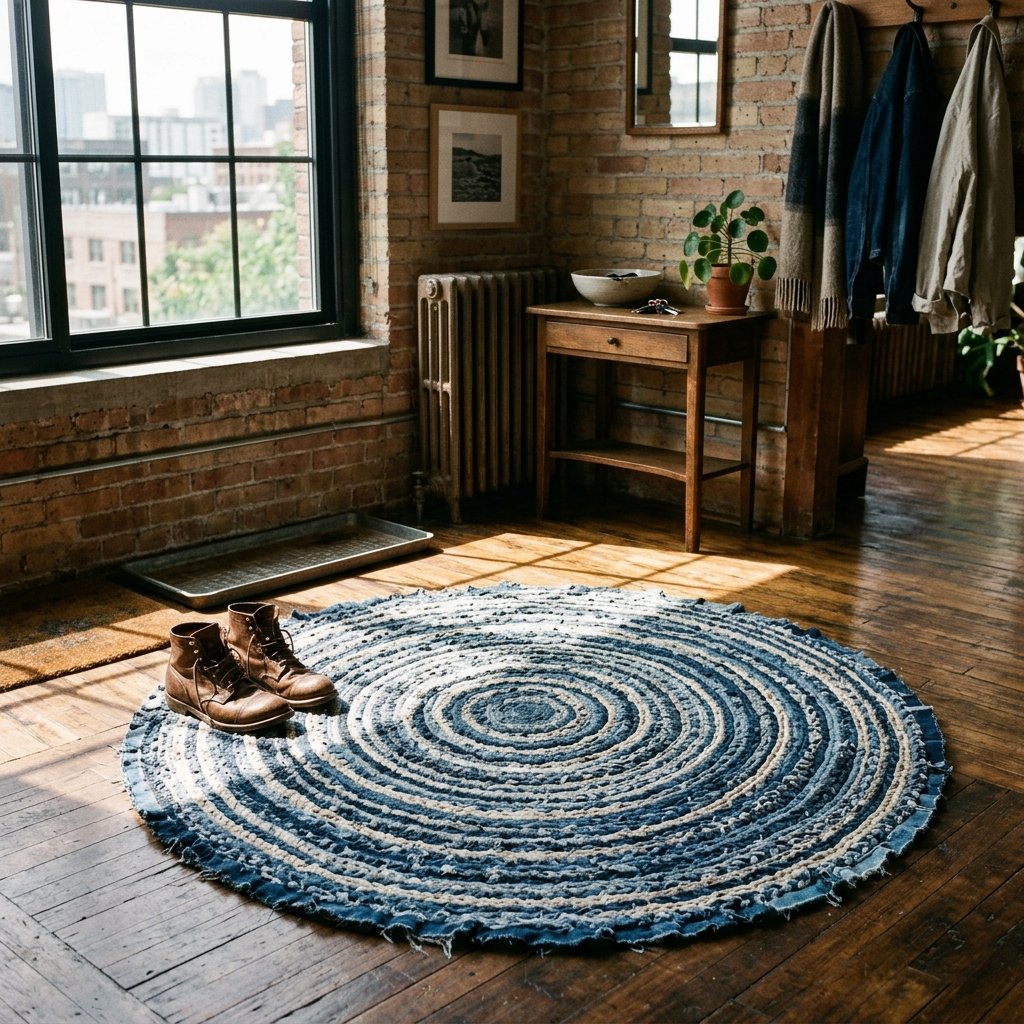
The beauty of a 100% denim rug is its rugged durability. Unlike store-bought rugs with synthetic backings, this rug is fully breathable and machine washable (if your machine is large enough). For smaller rugs, a standard cold cycle and air dry will keep the denim looking fresh. For larger rugs, a simple hose-down on the driveway and a day in the sun is the most effective ‘old-school’ cleaning method.
- Vacuuming: Use the suction-only setting. Beater brushes can snag the denim loops over time.
- Fraying: Some minor fraying is natural and adds to the ‘shabby-chic’ charm. If a thread is too long, simply snip it with scissors.
- Non-Slip: Since denim can be slippery on hardwood, I recommend placing a $1.25 Dollar Tree rug pad underneath to keep it anchored.
Conclusion
The Ultimate Upcycling Victory
By following this guide, you have successfully diverted several pounds of textile waste from the landfill and created a high-end, masculine-elegant home accessory for essentially zero cost. This denim rag rug isn’t just a floor covering; it is a testament to your resourcefulness and craft. Whether it’s protecting your workshop floor or adding a layer of rugged comfort to a bedroom, your no-sew masterpiece is built to handle the rigors of daily life while looking better with every year of wear. Now, take that ‘trash-to-treasure’ mindset and look at the rest of your closet—what else can you transform today?

Makenzie is the founder and lead writer at MoneyHackTips.com — a personal finance blog dedicated to delivering street-smart financial wisdom for real people on real budgets. With 300+ published articles covering everything from debt management to investing fundamentals, Makenzie’s mission is to make every dollar work harder. When not writing about money hacks, Makenzie is testing frugal living strategies, optimizing side hustles, and helping readers build financial freedom from scratch.