
The Rugged Revolution of the Upcycled Carryall
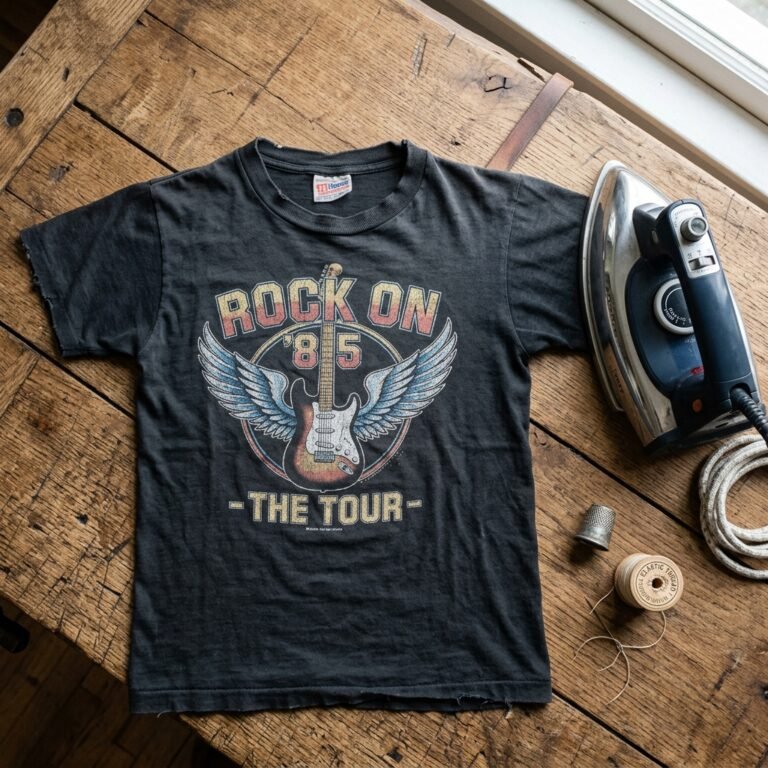
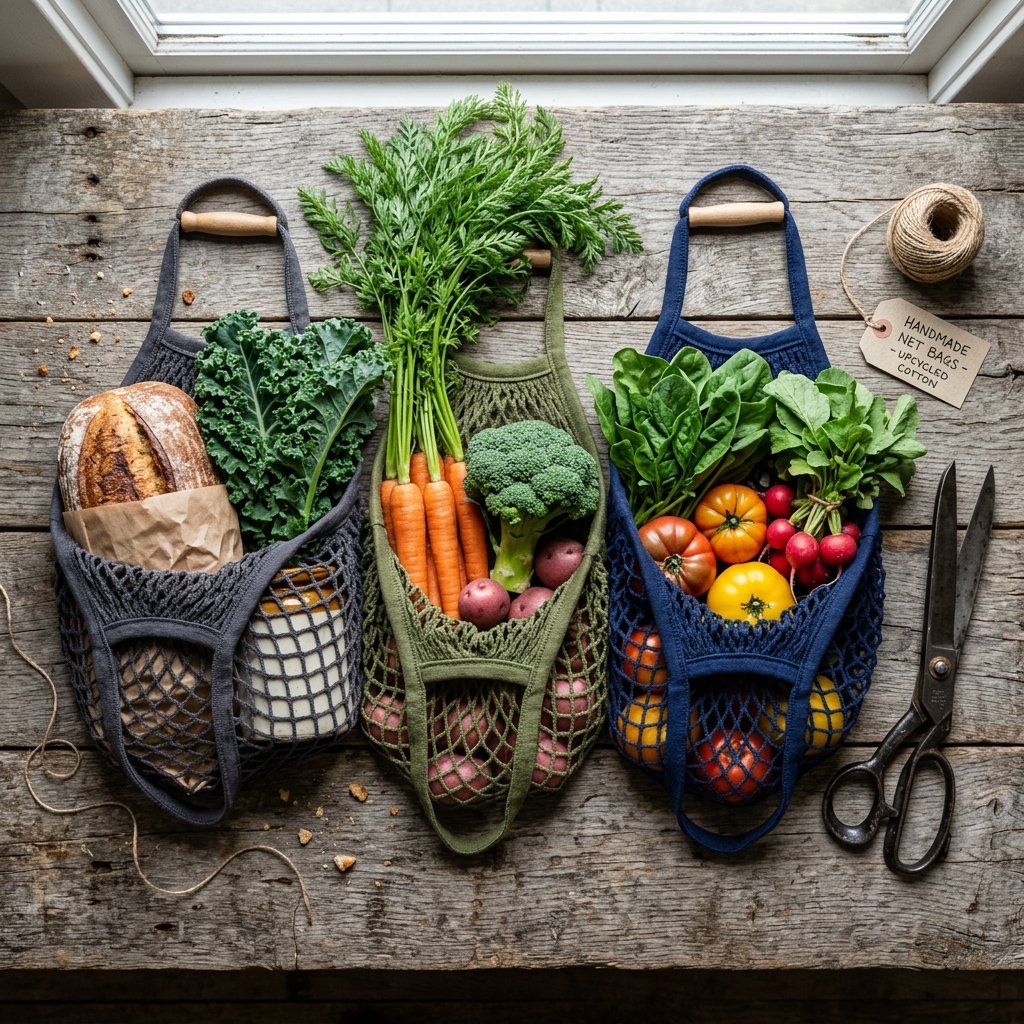
In an era of disposable everything, there is a quiet, masculine elegance in the act of salvage. We all have them: that stack of 100% cotton t-shirts relegated to the bottom drawer—the ones with the faded logos, the tiny bleach spots, or the memories of a concert ten years past. Instead of letting them take up space or end up in a landfill, we are going to transform them into the ultimate tool for the modern, frugal provider. The T-shirt yarn market bag is not just a craft; it is a statement of resourcefulness. It is a durable, expandable, and 100% free solution to the plastic bag problem. Whether you are hauling heavy cans from the grocery store or fresh produce from the local farm, these bags offer a strength and flexibility that store-bought options simply cannot match. In this guide, we will master the art of ‘tarn’ (T-shirt yarn) and construct a bag that is as practical as it is stylish.
The Zero-Budget Inventory: Selecting Your Donor Fabric
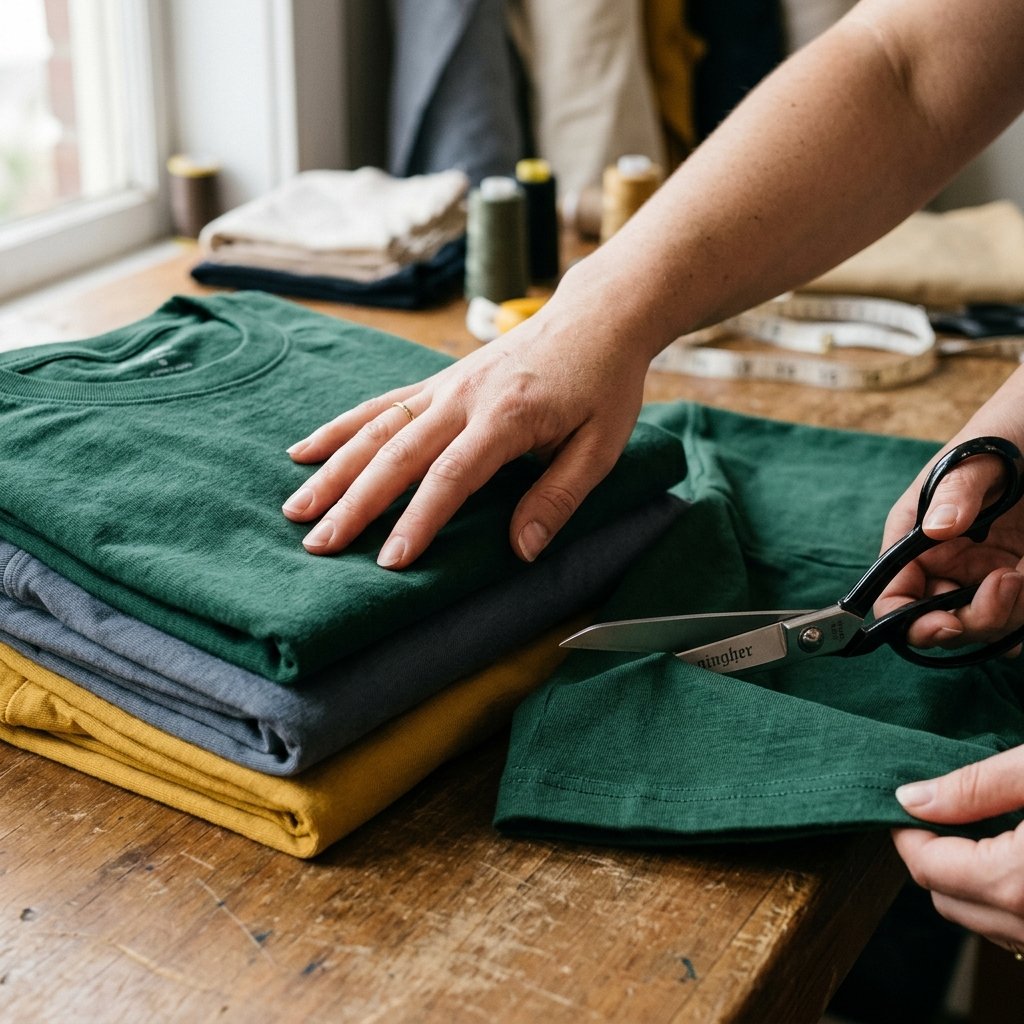
Not all shirts are created equal when it comes to structural integrity. To build a bag that can handle 10 to 15 pounds of groceries without sagging to your knees, you need to be selective about your materials. The best candidates are standard crew-neck tees without side seams, as these allow for a continuous loop of yarn.
Fabric Compatibility & Selection
Look for shirts that are 100% cotton or a high-cotton blend (at least 90%). Pure cotton has the perfect amount of ‘memory’—it stretches when loaded but snaps back into shape once emptied. Avoid 100% polyester or performance fabrics, as they tend to be too slippery for secure knotting.
| Fabric Type | Stretch Factor | Durability Rating | Best Use Case |
|---|---|---|---|
| 100% Heavyweight Cotton | Moderate | High | Heavy groceries, canned goods |
| Jersey Blend (90/10) | High | Medium | Produce, bread, lightweight items |
| Ribbed Knit | Very High | Low | Small accessories, not recommended for bags |
| Organic Linen/Cotton | Low | Very High | Heavy-duty utility hauling |
Budget Mantra: The best materials aren’t bought; they are found. Look for ‘Extra Large’ shirts at thrift stores on 50-cent color tag days to maximize your yarn yield for pennies.
Crafting the ‘Tarn’: From Tee to Continuous Yarn

The secret to a professional-looking market bag is the quality of your T-shirt yarn. We aren’t just cutting strips; we are creating a continuous strand that eliminates weak points caused by excessive knotting. This process takes approximately 10 minutes and requires nothing more than a sharp pair of shears.
The Continuous Loop Method
- Lay the shirt flat on a hard surface and smooth out all wrinkles.
- Trim the bottom hem and the top section (from the armpits up). You should be left with a rectangular tube of fabric.
- Fold the tube in half vertically, but leave about 1 inch of the bottom layer protruding past the top layer.
- Cut strips approximately 1 inch wide starting from the folded edge, stopping when you hit the 1-inch overhang. Do not cut all the way through!
- Open the shirt so the uncut 1-inch strip is centered.
- Cut diagonally from the first slit to the second, the second to the third, and so on. This creates one long, unbroken strand of yarn.
- Gently pull the yarn. As you stretch it, the edges will curl inward, creating a clean, cord-like appearance that hides the raw edges.
Pro Tip: For a rugged, chunky look, cut your strips 1.5 inches wide. For a more delicate, intricate mesh, stick to 0.75 inches.
The No-Sew Net Pattern: Engineering Strength
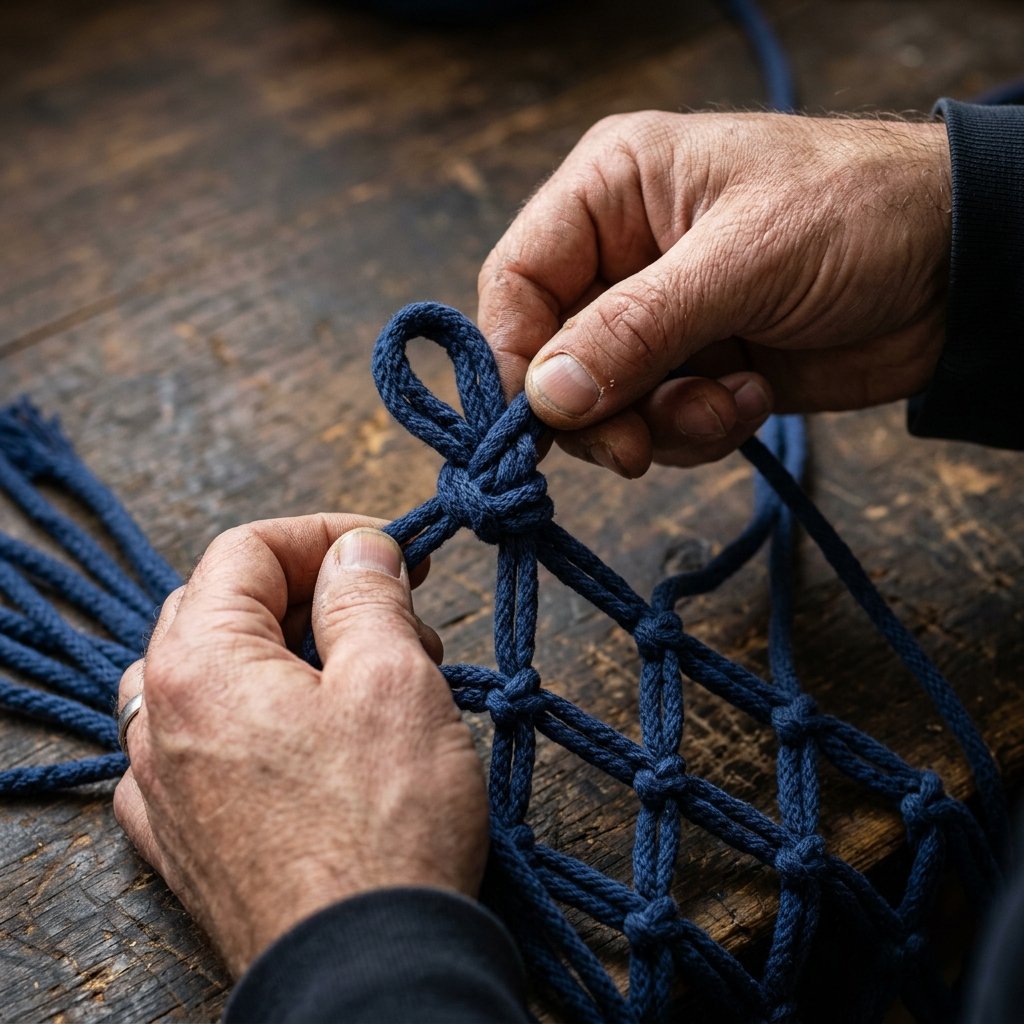
For those who prefer a rugged, tool-based approach over a sewing machine, the knotting method is king. This technique utilizes a series of alternating overhand knots to create a diamond mesh pattern that is incredibly strong and expandable. You can complete this entire bag while listening to a 30-minute podcast.
The Grid Construction Steps
- Determine the Bag Width: Cut 20 to 24 strands of yarn, each 50 inches long.
- The Anchor: Tie these strands onto a ‘carrier’ cord (a thicker piece of yarn) using a Larks Head knot. This carrier cord will eventually become the rim of your bag.
- First Row of Knots: Take two adjacent strands and tie them together in a simple overhand knot about 2 inches down from the anchor. Repeat across the row.
- Second Row (The Offset): Take one strand from the first knot and one from the second knot. Tie them together 2 inches below the first row. This creates the diamond shape.
- The Base Closure: Continue until the bag reaches your desired length (usually 12 to 15 inches). To close the bottom, gather all strands and tie one large, secure ‘fringe’ knot, or weave the ends back into the mesh for a cleaner finish.
| Project Phase | Estimated Time | Skill Level |
|---|---|---|
| Yarn Preparation | 10 Minutes | Beginner |
| Knotting the Mesh | 25 Minutes | Intermediate (Patience) |
| Handle Reinforcement | 5 Minutes | Beginner |
| Total Build Time | 40 Minutes | Resourceful Guru |
Reinforcing the Handles: The ‘Heavy-Lift’ Upgrade
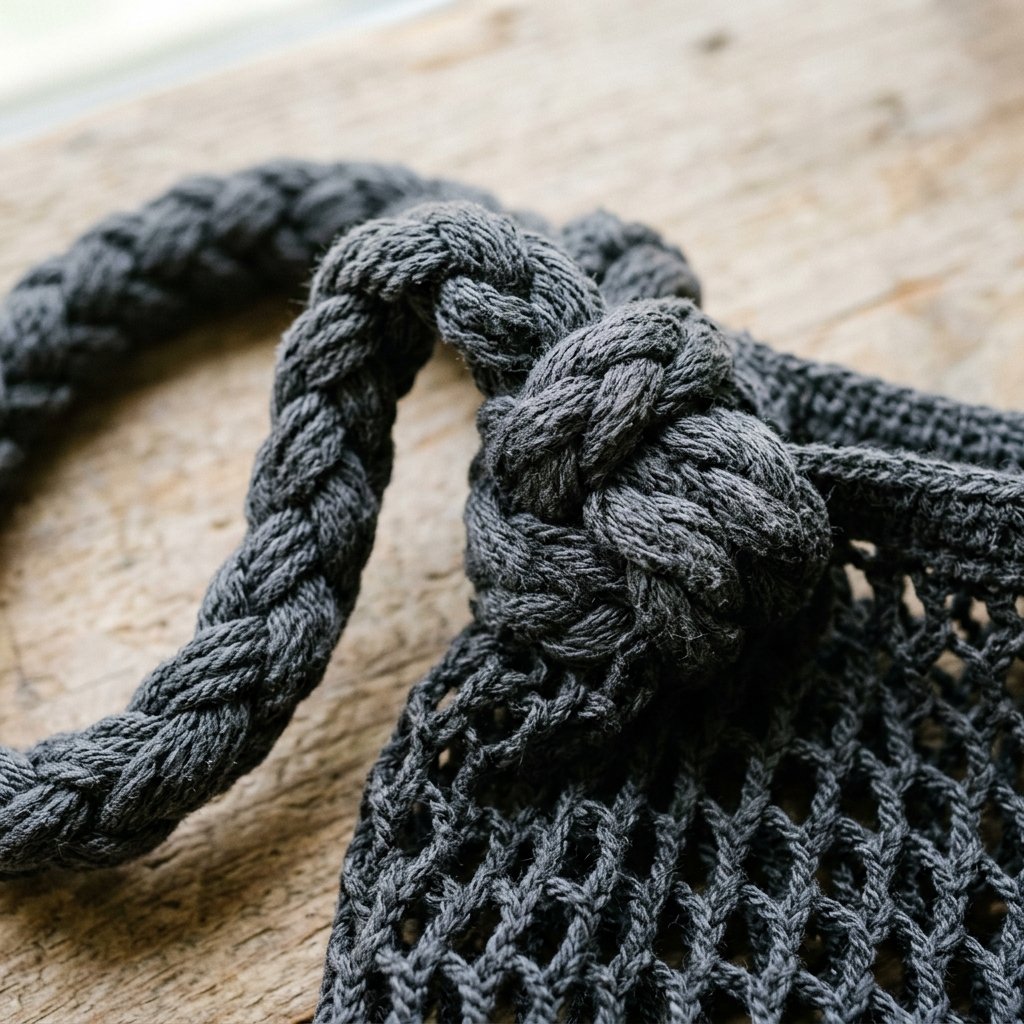
A bag is only as good as its handles. Most DIY bags fail because the handles stretch too thin under the weight of a gallon of milk. To prevent this, we use a braiding technique that distributes weight across the shoulders and prevents the ‘cheese-wire’ effect on your hands.
The Triple-Braid Handle
- Cut six strands of yarn, each 30 inches long.
- Divide them into three groups of two strands each.
- Braid them tightly together, ensuring the tension is consistent. This creates a thick, cushioned strap that won’t bite into your shoulder.
- Secure the Attachment: Use a ‘Square Knot’ or a ‘Surgeon’s Knot’ to attach the handles to the rim of the bag. For extra security, wrap a small piece of scrap fabric around the junction and tie it tightly to act as a reinforcement sleeve.
Safety Note: When using heavy-duty shears to cut through multiple layers of jersey knit, always cut away from your body and keep fingers clear of the blade path. High-quality fabric scissors are surprisingly sharp.
Cost Analysis: DIY Savvy vs. Big Box Retail
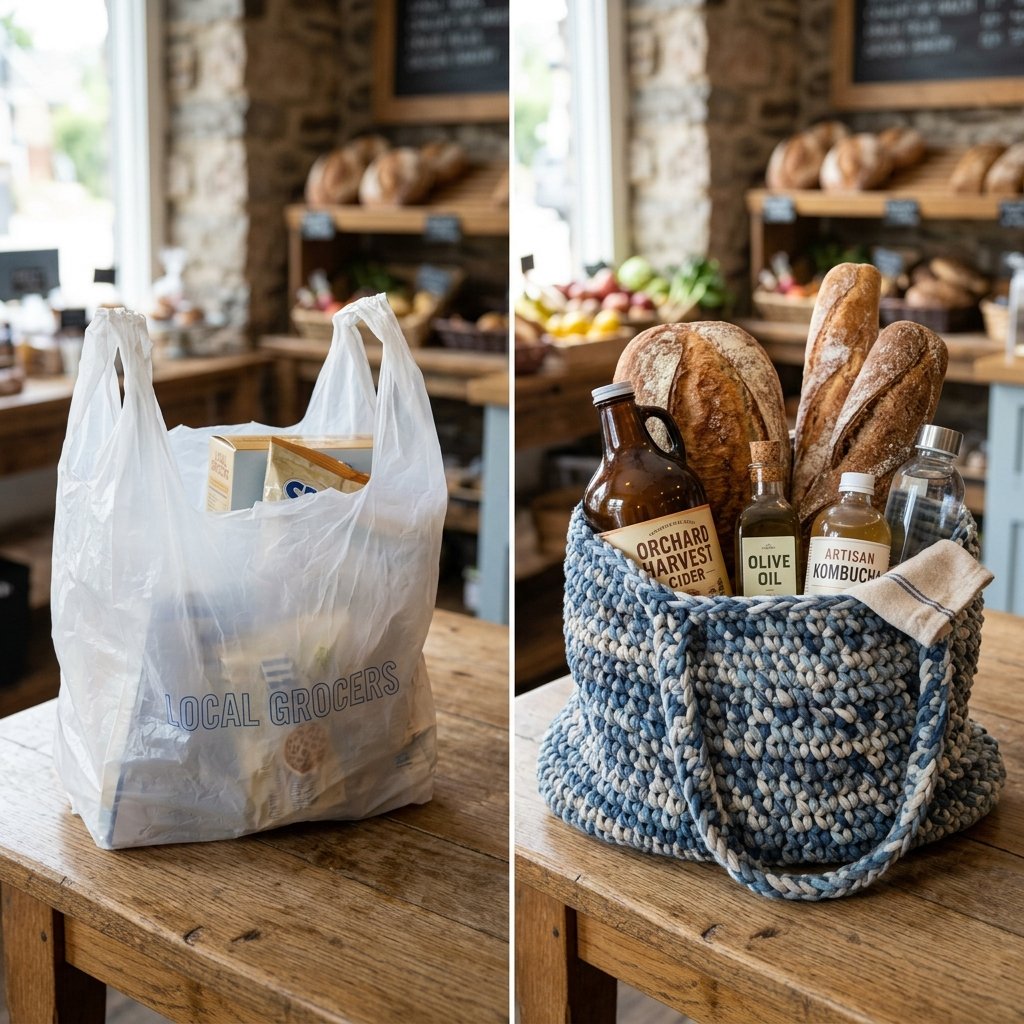
Why spend your hard-earned money on ‘eco-friendly’ bags at the checkout counter when you can manufacture a superior product for $0.00? By upcycling, you are not just saving the environment; you are performing a masterclass in domestic economy. Over a year, the savings on bag fees and the cost of replacing flimsy reusable bags add up significantly.
| Item | Store-Bought Canvas Bag | Designer Mesh Tote | DIY T-Shirt Market Bag |
|---|---|---|---|
| Initial Cost | $5.00 – $12.00 | $18.00 – $25.00 | $0.00 |
| Material | Processed Cotton/Poly | Nylon/Synthetic | Upcycled Soft Cotton |
| Washability | Shrinks in heat | Hand-wash only | 100% Machine Washable |
| Lifespan | 1-2 Years | 2-3 Years | 5+ Years (Mendable) |
The math is simple. If you make five of these bags, you have effectively ‘earned’ $60 to $100 in value using items you were planning to throw away. That is the definition of a clever, budget-savvy win.
Conclusion
Mastering the Art of the Frugal Carry
The transition from a consumer to a creator begins with small, practical projects like this. By turning a discarded t-shirt into a rugged market bag, you have proved that style and utility don’t require a credit card—just a bit of ingenuity and a sharp pair of scissors. These bags are more than just grocery haulers; they are conversation starters, thoughtful handmade gifts, and a testament to a lifestyle that values quality over convenience. So, the next time you see a ‘retired’ shirt, don’t see a rag—see the potential for your next zero-cost masterpiece. Carry it with pride, knowing you’ve saved money, reduced waste, and mastered a craft that is as old as it is essential. Happy upcycling!

Makenzie is the founder and lead writer at MoneyHackTips.com — a personal finance blog dedicated to delivering street-smart financial wisdom for real people on real budgets. With 300+ published articles covering everything from debt management to investing fundamentals, Makenzie’s mission is to make every dollar work harder. When not writing about money hacks, Makenzie is testing frugal living strategies, optimizing side hustles, and helping readers build financial freedom from scratch.