
We have all been there: you find the perfect pair of vintage denim or a rugged set of work pants at a thrift store, only to realize they suffer from the dreaded waist gap. They fit your thighs perfectly, but as soon as you move, the back of the waistband sags, leaving a cavernous space at your hips. In the world of fast fashion, clothes are built for mannequins, not for the hardworking, moving bodies of real people. But you don’t need a $500 sewing machine or a trip to an expensive tailor to achieve that bespoke, custom-fit look. You just need a bit of grit, a needle, and the right technique.
This guide is for the resourceful DIYer who values quality and precision. We are going to dive deep into a zero-cost tailoring hack that uses the ‘Invisible Dart’ method. This isn’t just about ‘making do’; it is about mastering your wardrobe and ensuring your gear performs as well as you do. Whether you are a handy parent fixing a child’s hand-me-downs or a budget-savvy professional looking to sharpen your silhouette, this manual will teach you how to reclaim your fit without spending a single dime.
The Anatomy of the Sag: Why Your Jeans Gap at the Hips
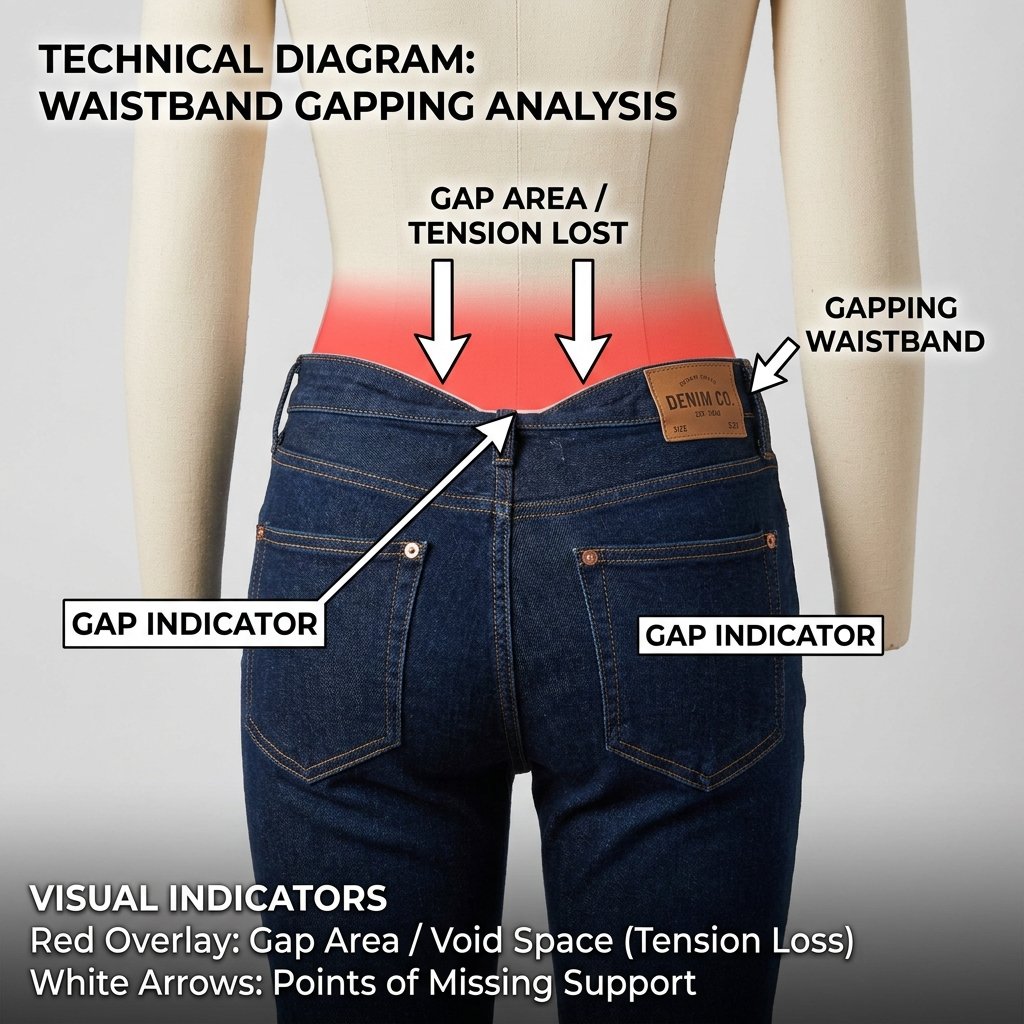
Before we pick up the needle, we must understand the enemy. The ‘waist gap’ occurs because most mass-produced denim is cut on a generic ‘straight’ block. If your hip-to-waist ratio varies even slightly from the factory standard, the excess fabric has nowhere to go but out. This results in a saggy appearance that isn’t just an aesthetic issue—it is a functional one. Saggy jeans require constant adjustment, leading to premature wear in the crotch and belt loops.
Common Fit Failures
- The Bucket Gap: When the back waistband stands away from the spine by two or more inches.
- The Hip Slide: When the jeans fit the seat but slide down because the waistband lacks tension.
- The Belt Bunch: When using a belt creates ugly, bulky folds of fabric that dig into your skin.
By using a strategic hand-sewn dart, we are effectively removing the ‘math error’ from the factory cut. We are going to redistribute that excess fabric into a hidden seam that contours to your specific anatomy. This is the same principle used in high-end Italian tailoring, applied to the rugged durability of denim.
The Master’s Toolkit: Materials for a Zero-Cost Transformation
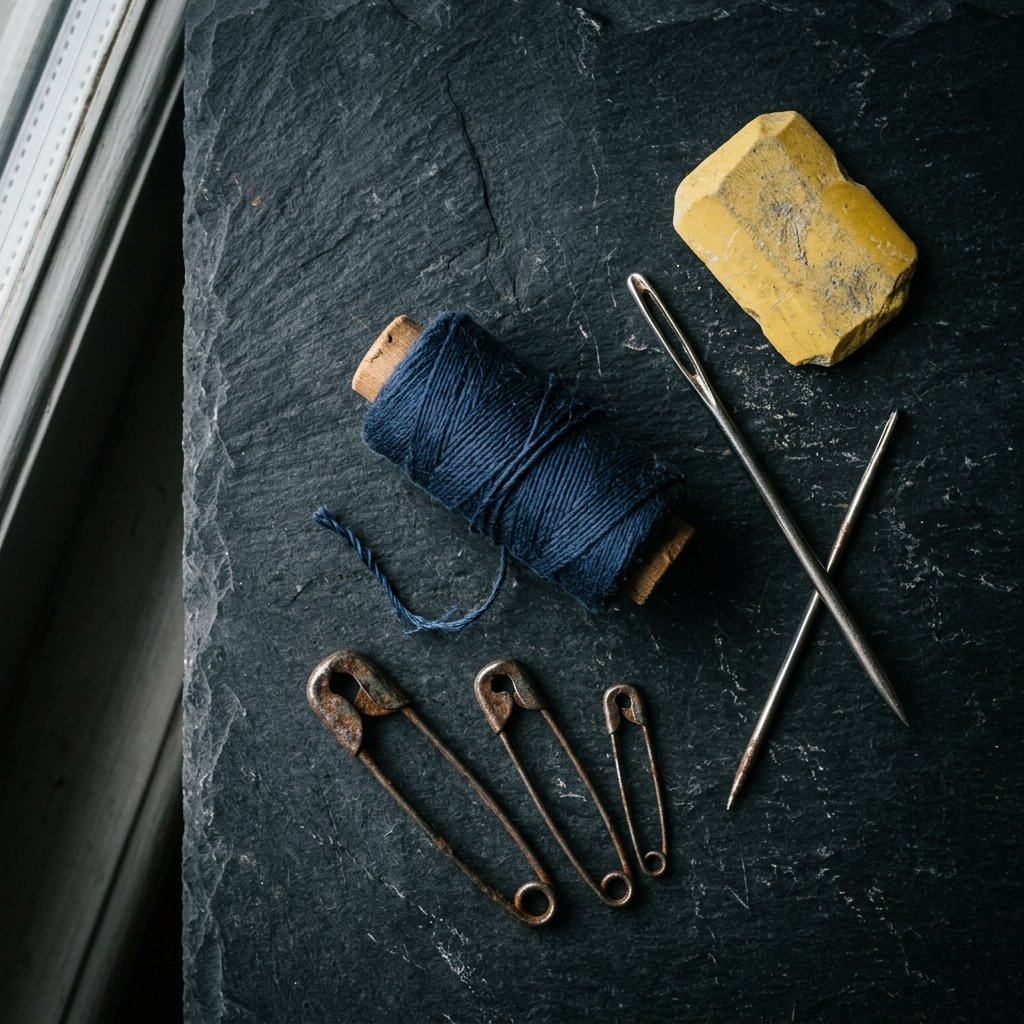
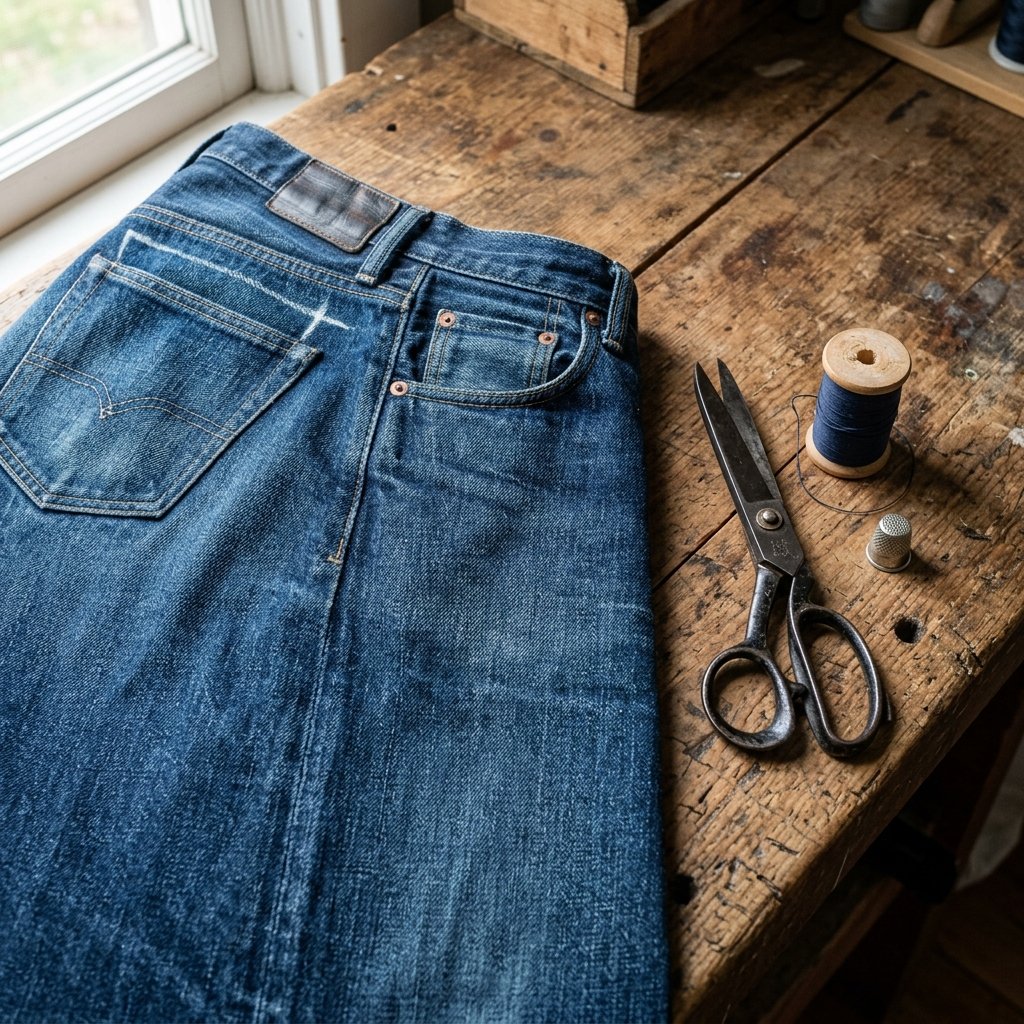
A true craftsman knows that the tool is only as good as the hand that wields it. However, for this project, you likely already have everything you need in a kitchen junk drawer or an old sewing kit. We aren’t looking for fancy embroidery silks; we need tensile strength.
| Tool/Material | Purpose | Estimated Cost |
|---|---|---|
| Heavy-Duty Needle | Must be strong enough to pierce multiple layers of denim. | $0.00 (Found) |
| Polyester Thread | Polyester has the ‘give’ and strength required for high-stress seams. | $0.00 (Found) |
| Safety Pins/Clips | To mark the ‘pinch’ and test the fit before sewing. | $0.00 (Found) |
| Chalk or Pencil | To mark your stitch lines clearly. | $0.00 (Found) |
| Thimble or Coin | To push the needle through thick denim without hurting your thumb. | $0.00 (Found) |
Pro-Tip: If you don’t have ‘denim thread,’ you can double or triple-up regular all-purpose thread. This creates a ‘braided’ effect that increases the breaking point of your stitch significantly.
The Tactical Guide to the ‘Invisible Dart’ Technique
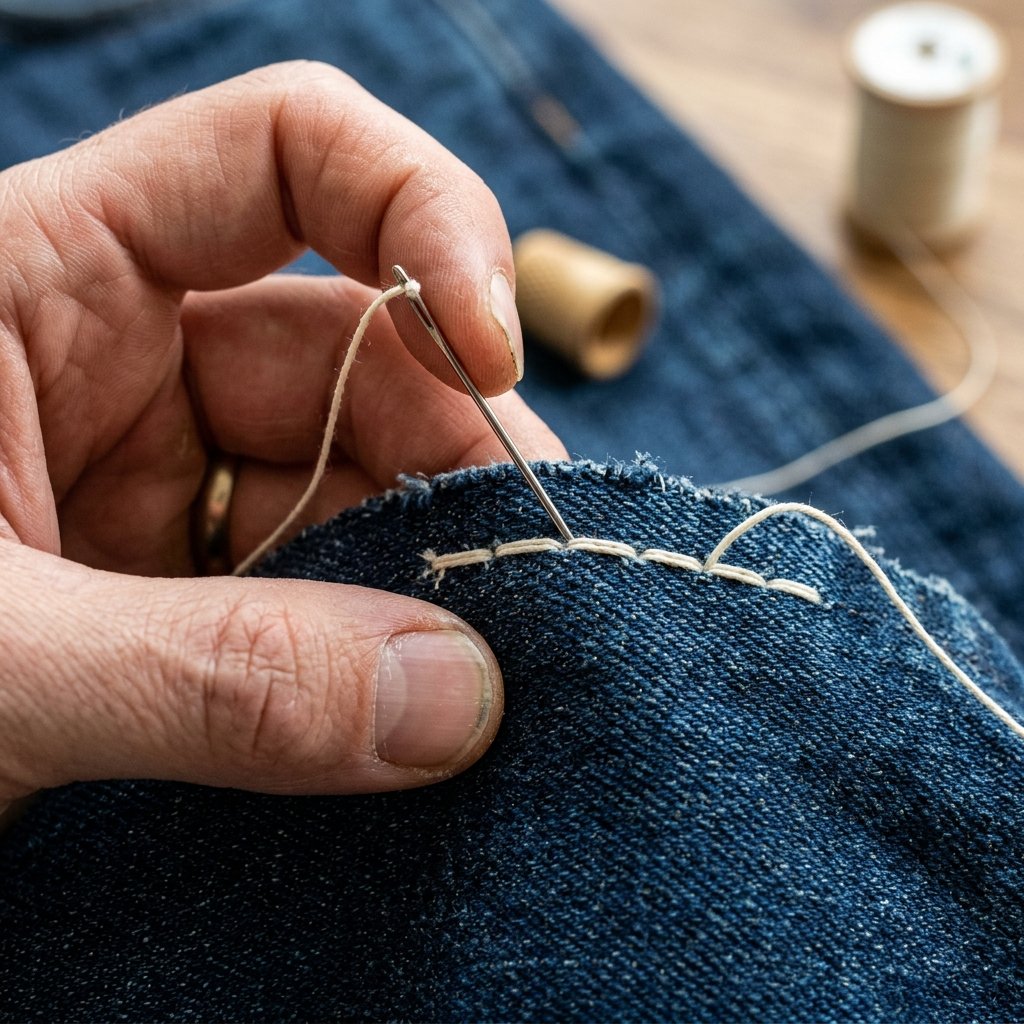
This is the core of the operation. We are going to create two small, symmetrical ‘darts’ at the back of the waistband. This distributes the adjustment so the jeans don’t look lopsided.
Step 1: The Precision Pinch
Put your jeans on inside out. This is crucial as we want the ‘excess’ fabric to be on the outside while we work. Stand in front of a mirror and pinch the excess fabric at the back waistband, halfway between the center back belt loop and the side seam. Pin this pinch. Repeat on the other side. Sit down, stand up, and move around to ensure the pins don’t dig in and the fit is perfect.
Step 2: Marking the V-Shape
Using your chalk, draw a ‘V’ shape starting from the top of the waistband down toward the yoke (the triangular piece of fabric below the waistband). The ‘V’ should be about 2 to 3 inches long. This ensures the transition from the new tight waist to the original hip width is smooth and invisible.
Step 3: The Backstitch Maneuver
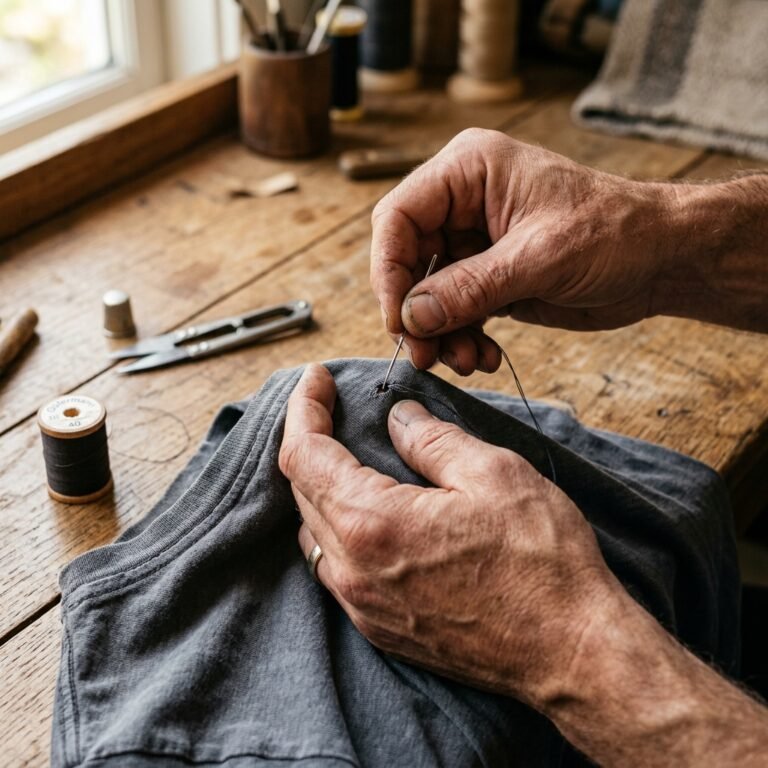
Thread your needle with at least 24 inches of doubled thread. Knot the end securely. Start at the bottom of your ‘V’ and work your way up to the waistband using a tight backstitch.
The Backstitch Formula: Push the needle up through the fabric, go back a stitch-length, and push it through again, overlapping the previous stitch. This creates a continuous line of thread that is nearly as strong as a machine lockstitch.
Once you reach the top of the waistband, reinforce the edge with three extra loops of thread. This is the highest stress point, and you don’t want it snapping when you bend over.
Professional Results: Store-Bought vs. DIY Tailoring
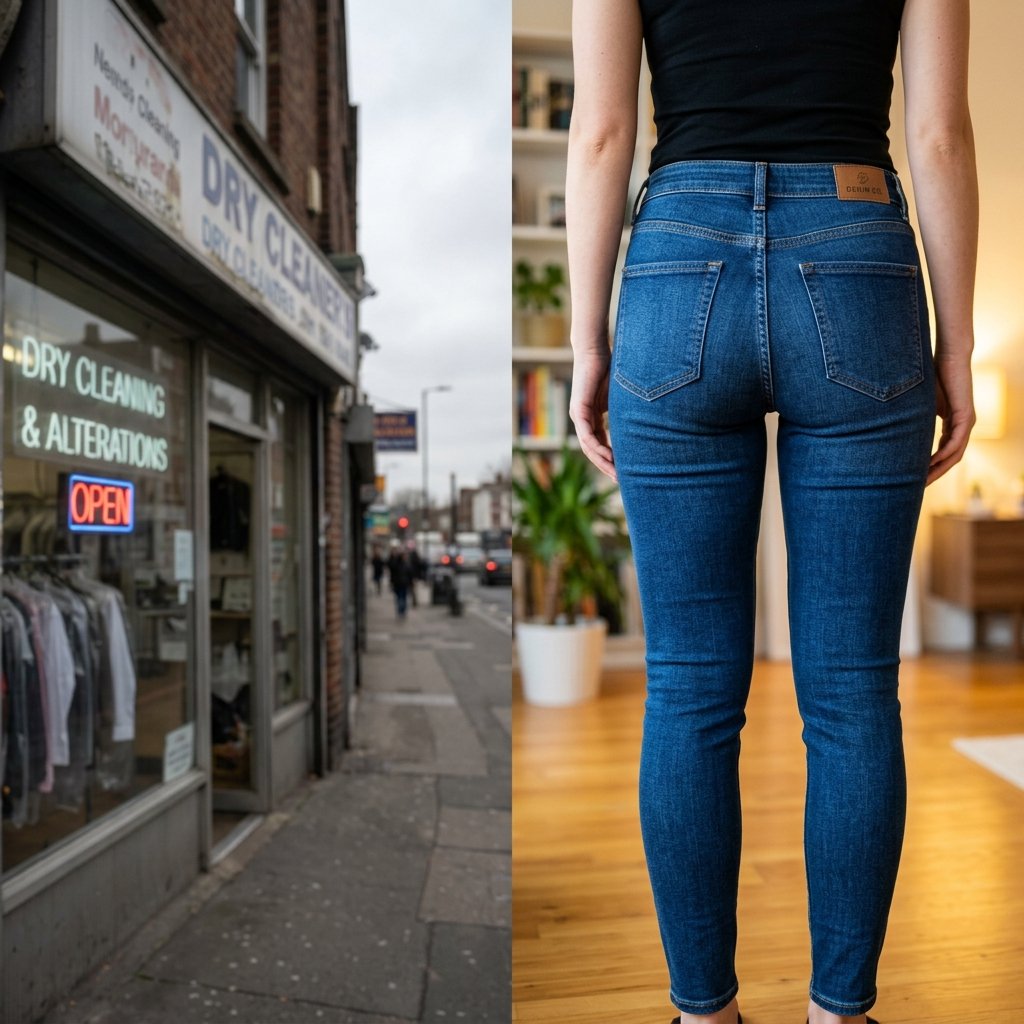
Many people hesitate to DIY because they fear the results will look ‘homemade.’ However, when done correctly, this hack is hidden entirely by your belt or even just the natural drape of the fabric. Let’s look at the value proposition of doing this yourself.
| Metric | Professional Tailor | The Zero-Cost DIY Hack |
|---|---|---|
| Turnaround Time | 3-7 Days | 20 Minutes |
| Financial Cost | $25 – $45 | $0.00 |
| Customization | Standardized | Perfectly Personalized |
| Skills Gained | None | Lifetime Repair Ability |
By choosing the DIY route, you aren’t just saving $30; you are building a ‘mending mindset.’ This rugged self-reliance ensures that your clothing lasts for decades rather than seasons.
Troubleshooting & Advanced Denim Maintenance
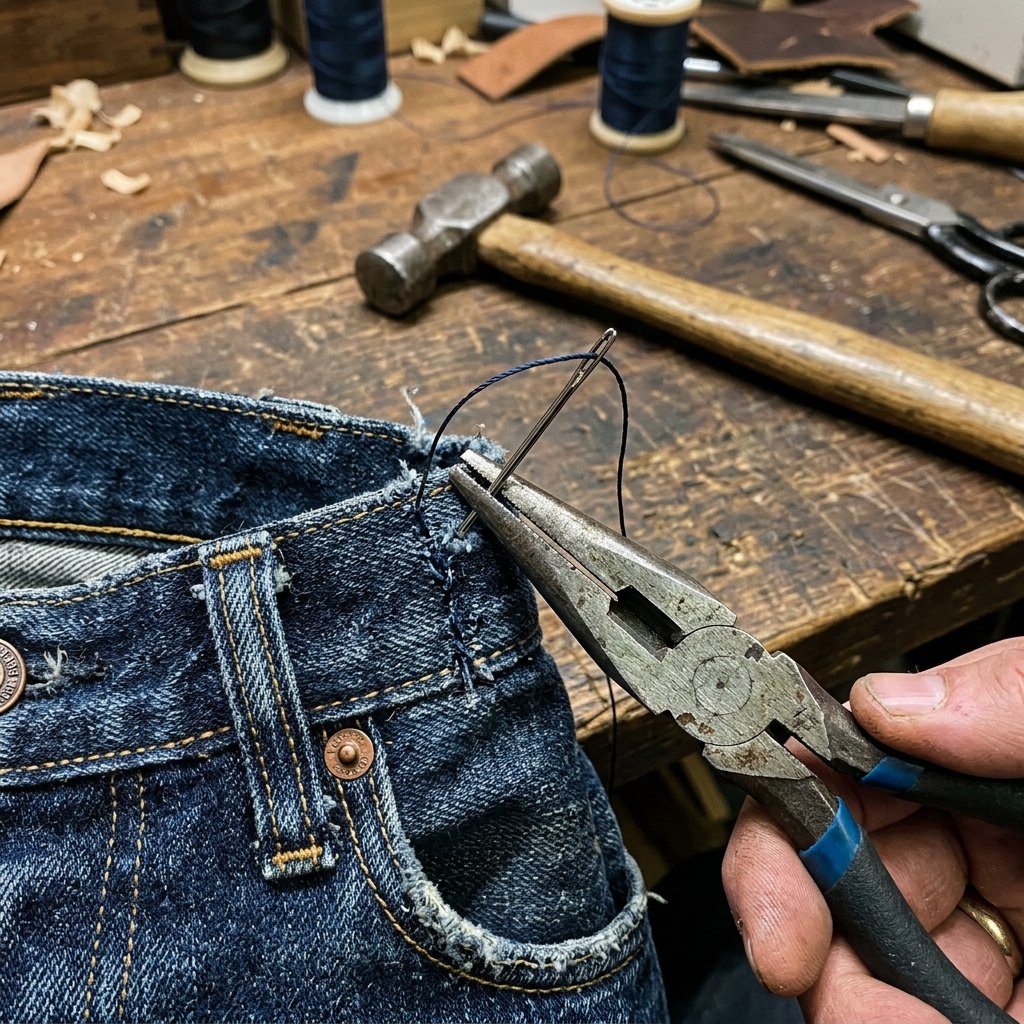
Sometimes, denim can be stubborn. If you find the fabric is too thick to sew through comfortably, here are some crafty-expert solutions:
- The Pliers Trick: If the needle gets stuck in the waistband, use a pair of needle-nose pliers to pull it through. It’s a rugged solution for heavy 14oz denim.
- The Hammer Method: If the seam you’ve created feels too bulky, lay it on a hard surface and lightly tap it with a hammer. This flattens the fibers and makes the ‘dart’ lay flush against your body.
- Thread Choice: For black or dark indigo jeans, use a matching thread. For light wash or ‘distressed’ jeans, a grey thread often blends better than white.
Safety First: A Note for the Handy Crafter
Safety Note: Always sew away from your body. Denim requires significant force to pierce, and a slipping needle can cause a deep puncture. If you are working with vintage or ‘raw’ denim, be aware that the indigo dye may rub off on your hands during the process—this is normal and can be washed off with soap and water.
Conclusion
Mastering the fit of your own clothing is a quiet act of rebellion against a ‘throw-away’ culture. By taking 20 minutes to fix those saggy jeans, you have transformed a frustrating garment into a custom-tailored staple of your wardrobe. You didn’t need a fancy studio or a massive budget—just a clever hack and the willingness to work with your hands. Now, go forth with the confidence of a person whose pants actually stay where they are supposed to. Whether you’re hiking, working in the garage, or heading to a casual dinner, your fit is now as sharp as your DIY skills. Happy mending!

Makenzie is the founder and lead writer at MoneyHackTips.com — a personal finance blog dedicated to delivering street-smart financial wisdom for real people on real budgets. With 300+ published articles covering everything from debt management to investing fundamentals, Makenzie’s mission is to make every dollar work harder. When not writing about money hacks, Makenzie is testing frugal living strategies, optimizing side hustles, and helping readers build financial freedom from scratch.