
The Tragedy of the ‘Bacon Neck’
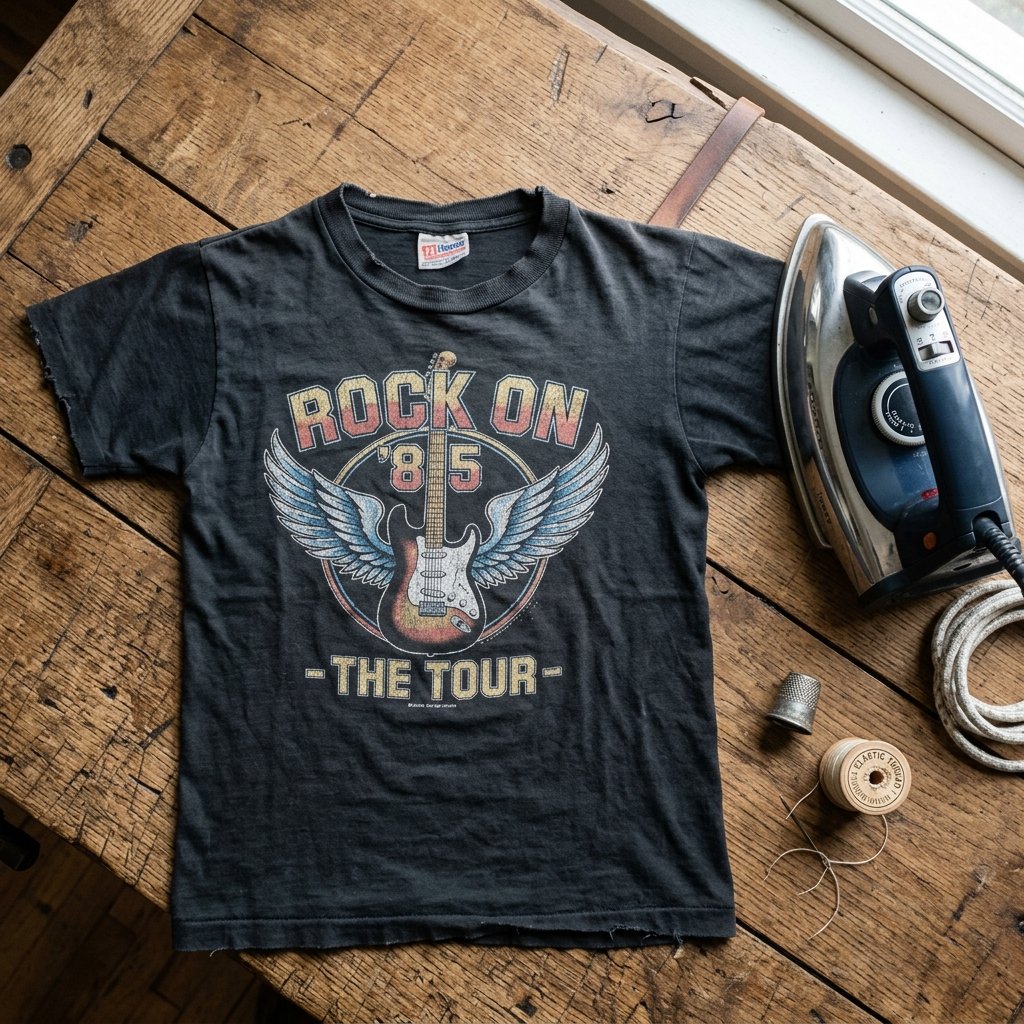
We have all been there. You find the perfect vintage tee—a 1991 tour shirt with the perfect fade and a graphic that looks like it was plucked from a museum of cool. You try it on, and the fit is impeccable, except for one glaring, heartbreaking flaw: the neckline. It is wavy, saggy, and looks more like a piece of breakfast meat than a collar. In the world of thrifting and vintage collecting, this is known as ‘bacon neck.’
For the frugal DIYer and the rugged upcycler, tossing such a treasure is not an option. You could take it to a tailor, but why spend $20 on a professional fix when you can achieve the same result in 5 minutes for less than $0.50? This guide isn’t just about mending; it’s about structural restoration. We are going to use a clever, budget-savvy combination of thermal physics and a master tailor’s secret to bring that collar back to its original glory. Whether you’re a handy parent saving the kids’ school shirts or a vintage enthusiast preserving a piece of history, this hack is your new secret weapon.
The Anatomy of the Sag: Why Necklines Fail
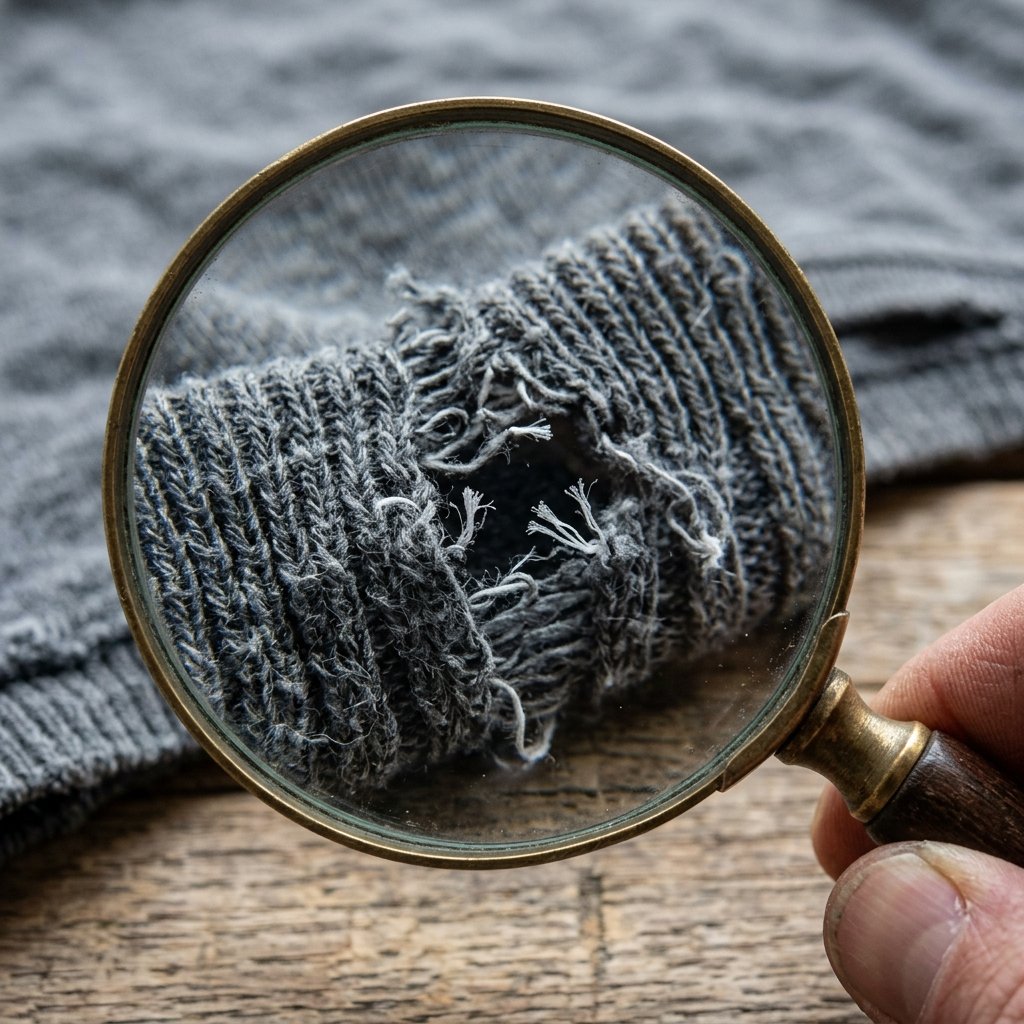
Understanding the enemy is the first step in any successful repair. Most t-shirt collars are made of a rib-knit fabric. This specific knit is designed to be elastic, allowing the head to pass through before snapping back into place against the neck. Over time, the tiny elastane fibers within the cotton blend begin to snap or lose their ‘memory.’ This is exacerbated by hanging shirts on cheap plastic hangers, which puts constant gravity-driven stress on the collar.
The Culprits of Collar Decay
- Heat Damage: High-heat drying cycles ‘cook’ the elastic fibers, making them brittle.
- Gravity: Hanging heavy, wet cotton shirts on thin hangers.
- The ‘Pull’ Factor: Aggressively pulling the shirt over your head without care.
By identifying these issues, we can not only fix the current problem but prevent it from happening again. In the next steps, we will use a thermal reset and structural reinforcement to reverse years of neglect.
The 5-Minute Thermal Shock: The ‘Boil and Iron’ Method
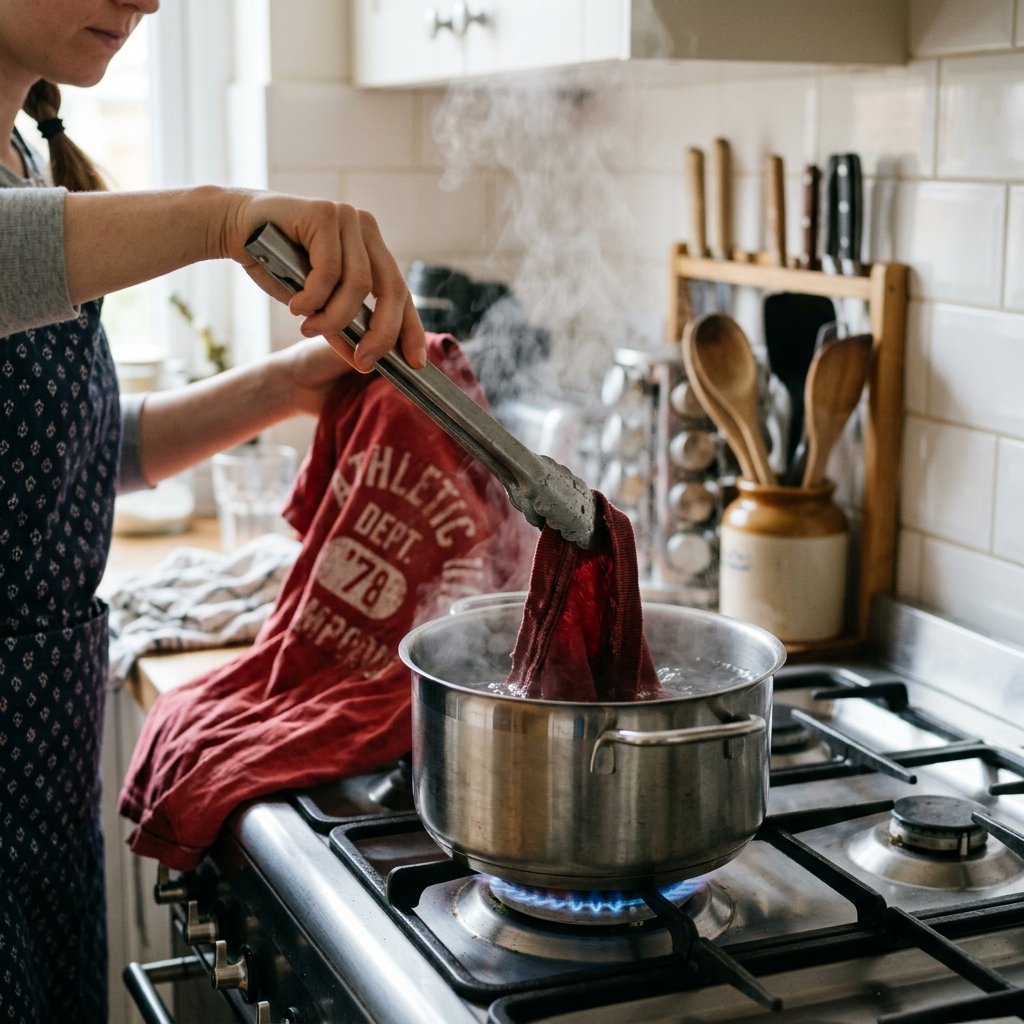
This is the fastest hack in the book, and it works surprisingly well for minor stretching. It relies on the principle of fiber contraction. Cotton is an organic fiber that expands when wet and contracts when subjected to sudden, intense heat. This method is 100% free and takes exactly 5 minutes.
Step-by-Step Thermal Reset
- Boil Water: Bring a small pot of water to a rolling boil.
- Submerge the Collar: Carefully dip only the neckline of the shirt into the boiling water for 30 seconds.
Safety Note: Use tongs to avoid steam burns. Never submerge the entire shirt if it has a delicate screen print, as boiling water can crack vintage ink.
- Ice Water Bath: Immediately move the collar from the boiling water into a bowl of ice-cold water. This ‘shocks’ the fibers into a tighter configuration.
- The Steam Press: Lay the damp collar flat on an ironing board. Using a high-heat steam setting, press the ribbing inward toward the center of the shirt. Use a ‘press and lift’ motion rather than a sliding motion to avoid further stretching.
The Secret Hack: Invisible Elastic Reinforcement
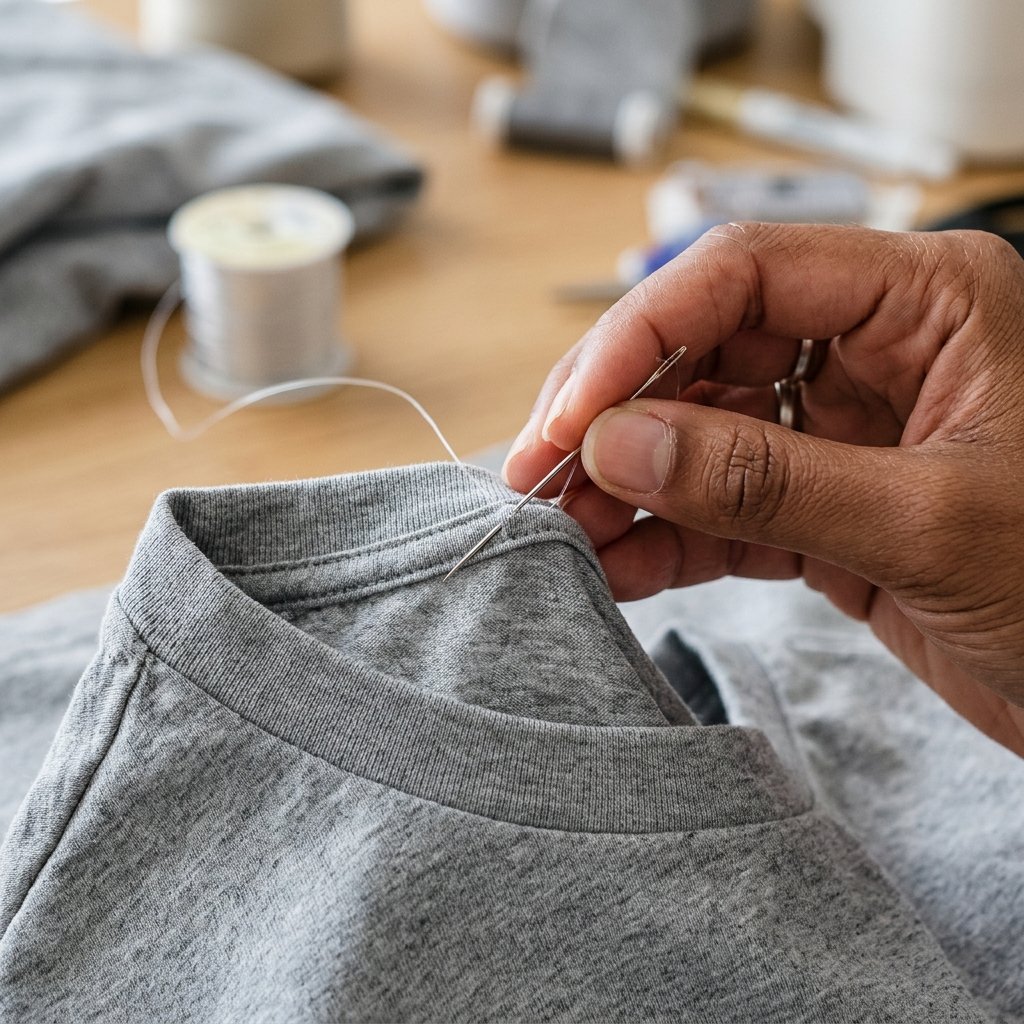
If the thermal shock doesn’t do the trick, it means the internal elastic is truly dead. This is where the ‘Secret Hack’ comes in. We are going to perform a surgical-style reinforcement using clear elastic thread. This is the same technique used in high-end knitwear to keep cuffs from sagging.
Materials Needed & Estimated Cost
| Material | Source | Estimated Cost |
|---|---|---|
| Clear Elastic Thread | Craft Store / Amazon | $2.50 (100 yards) |
| Tapestry Needle | Home Sewing Kit | $0.10 |
| Small Scissors | Everyday Carry | $0.00 |
The Execution
- Thread the Needle: Cut a length of elastic thread approximately 24 inches long. Do not double it; a single strand is more invisible.
- Find the Seam: Start at the shoulder seam where the collar ribbing meets the shirt body. Insert the needle into the hollow channel of the ribbing.
- The Running Stitch: Weave the needle in and out of the ribbing loops all the way around the neck. You aren’t sewing the fabric together; you are ‘re-stringing’ the internal structure.
- The Tension Pull: Once you’ve gone full circle, gently pull the elastic. You will see the ‘bacon’ waves disappear as the fabric gathers. Do not pull too tight, or it will look like a drawstring bag.
- Secure the Knot: Tie a triple knot at the shoulder seam and tuck the ends back into the fabric.
The Rugged Guide to Tee Longevity
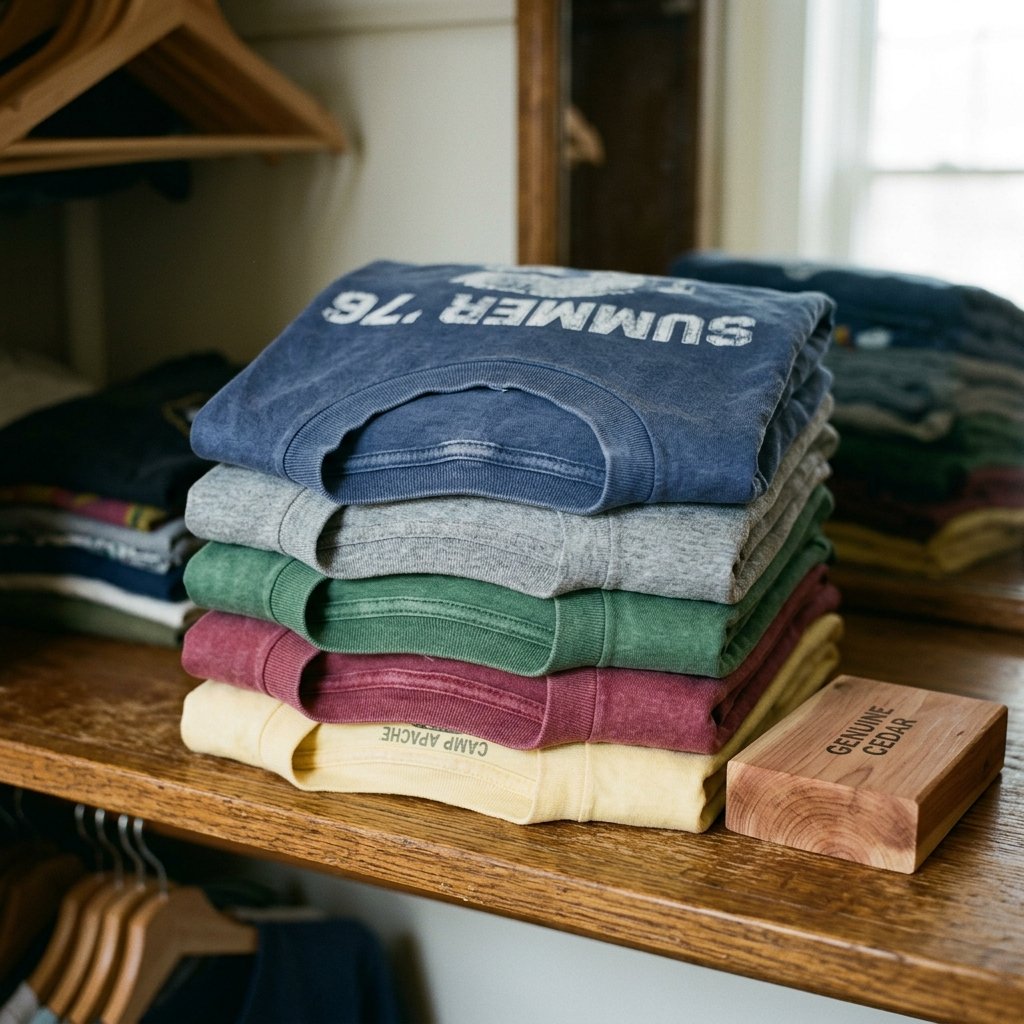
Now that you’ve saved your shirt, you need to treat it like the investment it is. Professional vintage dealers and savvy crafters know that the way you wash and store a garment determines its lifespan. If you continue to hang your vintage tees on wire hangers, you’ll be repeating this mending process every month.
Maintenance Protocol
- The Flat Dry: Never put a vintage tee in the dryer. Lay it flat on a clean towel, reshaping the collar while it’s damp.
- The ‘Inside-Out’ Rule: Always wash vintage shirts inside out to protect the graphic and the outer ribbing from friction.
- The Fold over Hang: Store your tees folded in a drawer. If you must hang them, use wide-shoulder cedar hangers or ‘fold’ them over the horizontal bar of the hanger to remove stress from the neck.
Budget Mantra: A minute spent folding today saves an hour of mending tomorrow.
DIY vs. Store-Bought: The Value Proposition
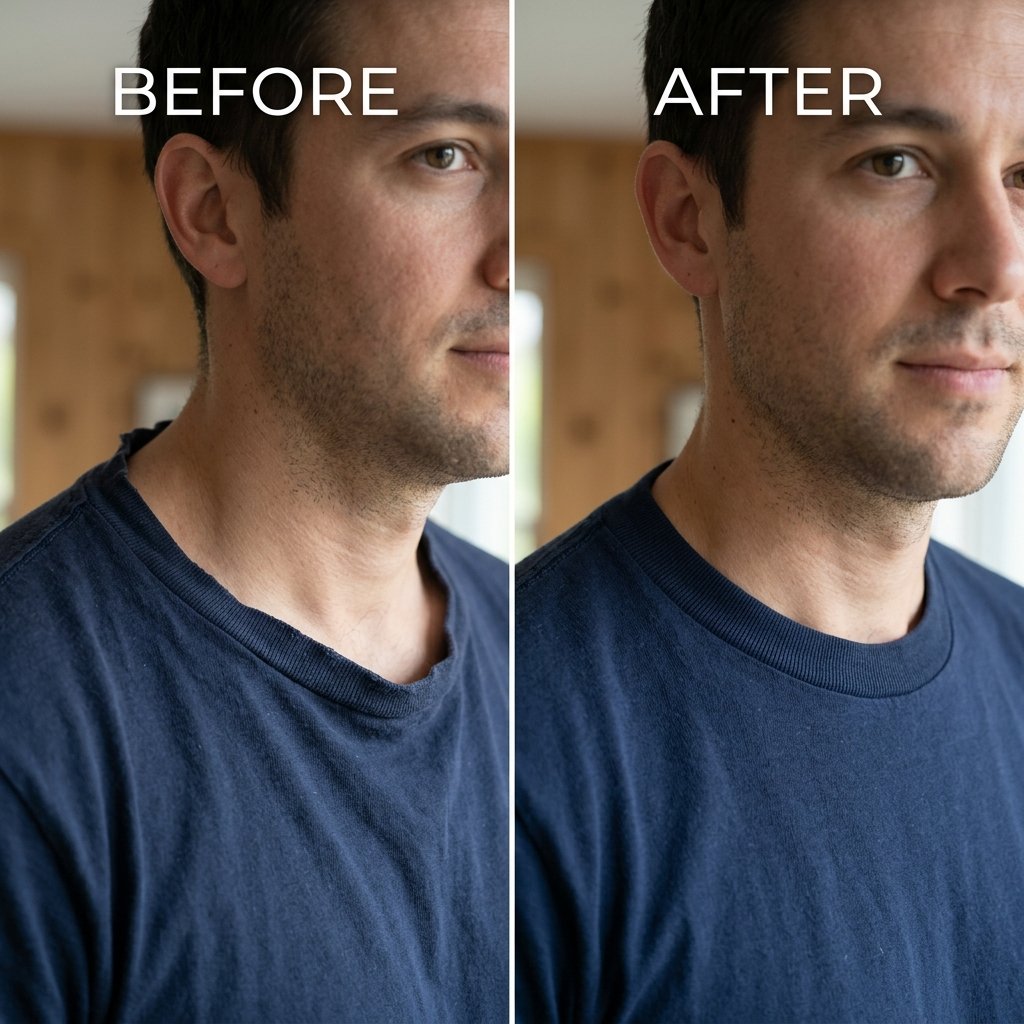
Is it really worth the effort to fix an old shirt? Let’s look at the numbers. In the world of ‘sustainable fashion,’ the most eco-friendly and budget-friendly garment is the one you already own.
| Metric | Buying New (High Quality) | Professional Tailor | DIY Secret Hack |
|---|---|---|---|
| Cost | $35.00 – $85.00 | $15.00 – $25.00 | $0.05 |
| Time Investment | 2 Hours (Shopping) | 3 Days (Wait time) | 5 Minutes |
| Skill Level | N/A | Professional | Beginner |
| Durability | Variable | High | High |
As the table shows, the DIY route isn’t just about being cheap; it’s about being resourceful. You are gaining a skill that can be applied to sweaters, hoodies, and even socks.
Conclusion
Wear Your History with Pride
Your vintage t-shirts are more than just fabric; they are artifacts of culture, personal milestones, and great thrift finds. By mastering the 5-minute neckline hack, you’ve moved from being a mere consumer to a craftsman. You’ve saved a garment from the landfill, kept $20 in your pocket, and ensured that your favorite tee looks as sharp today as it did decades ago.
Next time you see a ‘bacon neck’ at the thrift store, don’t pass it by. See it as an opportunity to use your skills. Grab that spool of elastic thread, fire up the iron, and bring that vintage gem back to life. Stay crafty, stay frugal, and keep those collars crisp!

Makenzie is the founder and lead writer at MoneyHackTips.com — a personal finance blog dedicated to delivering street-smart financial wisdom for real people on real budgets. With 300+ published articles covering everything from debt management to investing fundamentals, Makenzie’s mission is to make every dollar work harder. When not writing about money hacks, Makenzie is testing frugal living strategies, optimizing side hustles, and helping readers build financial freedom from scratch.