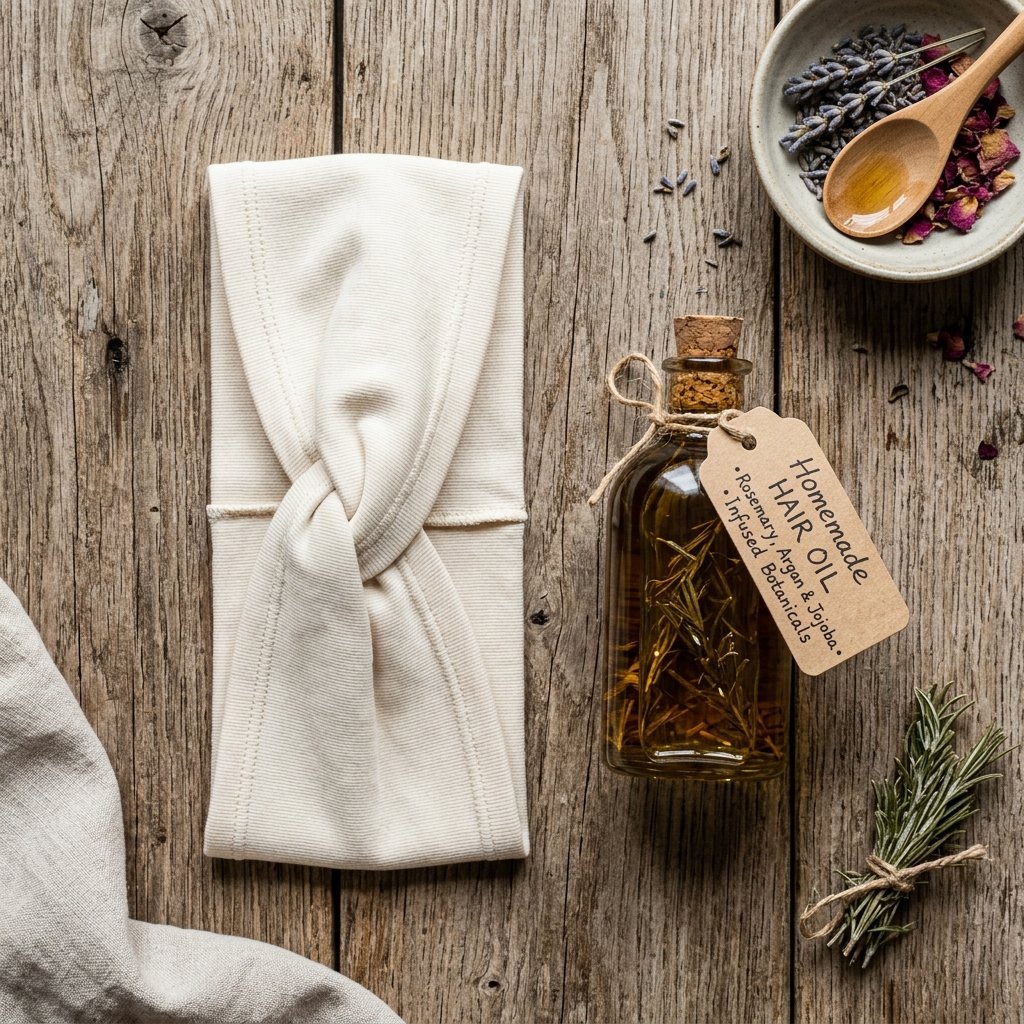

The Frizz-Free Revolution Starts in Your Closet
If you have curly, wavy, or coily hair, you know the heartbreak of the ‘Terry Cloth Tangle.’ You spend an hour perfecting your product application, only to ruin the cuticle by wrapping your head in a heavy, abrasive bath towel. Standard towels are designed to absorb moisture aggressively, but their looped fibers act like tiny hooks, snagging your hair strands and inviting frizz to move in permanently. As a frugal DIYer, you shouldn’t have to drop $30 or more on a ‘luxury’ microfiber wrap. The secret to salon-quality curls is likely sitting in your ‘donate’ pile right now: the humble, 100% cotton T-shirt.
In this guide, we aren’t just making a towel; we are engineering a bespoke hair-care tool. By repurposing jersey knit cotton, we provide our curls with a smooth surface that absorbs excess water without stripping away essential oils or disrupting the natural curl pattern. Whether you are a handy parent looking to save time on your child’s morning routine or a budget-savvy crafter wanting to create thoughtful gifts, this project is the ultimate ‘trash-to-treasure’ win. Let’s dive into the rugged, practical world of upcycled beauty.
The Science of the Snag: Why T-Shirts Reign Supreme
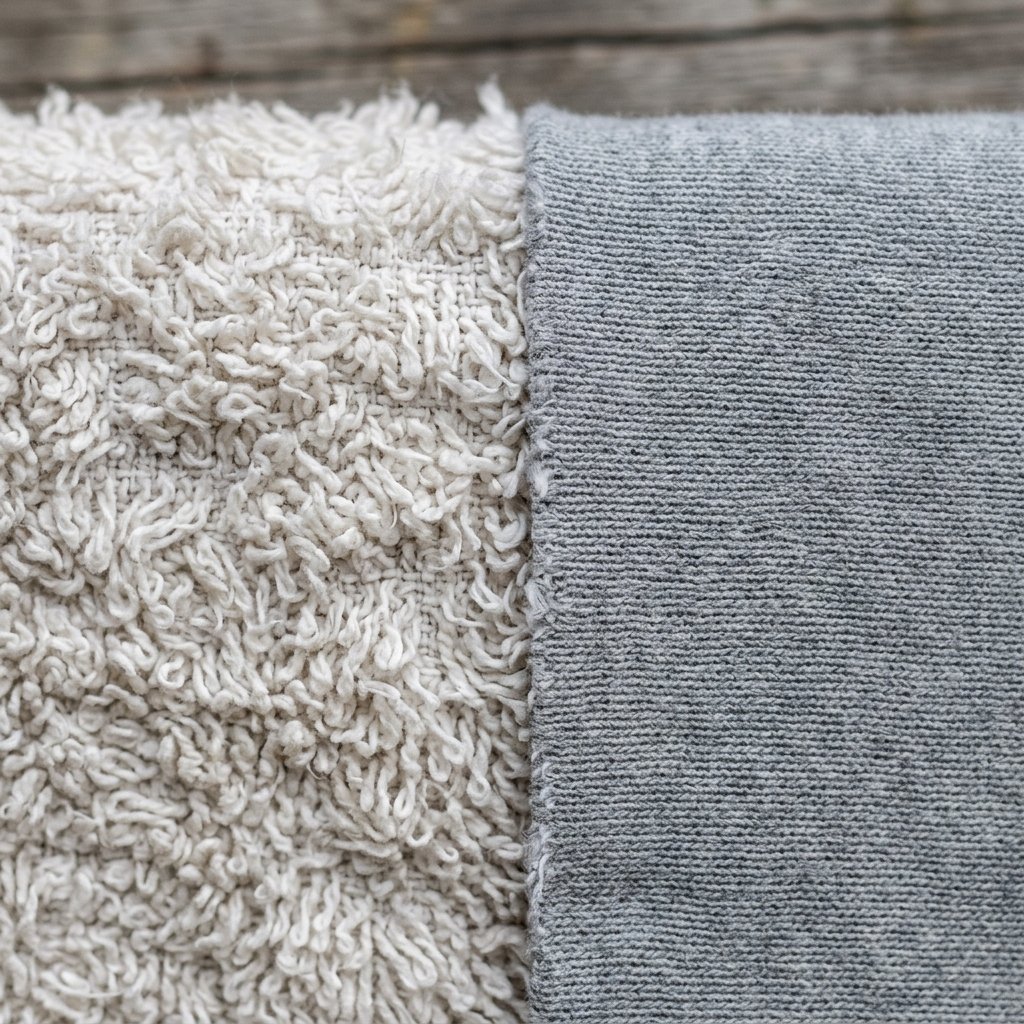
Understanding the ‘why’ is just as important as the ‘how.’ To the naked eye, a bath towel looks soft. Under a microscope, it’s a battlefield of loops. When your hair is wet, the cuticle (the outer layer of the hair shaft) is raised and extremely vulnerable. A T-shirt, specifically one made of 100% jersey cotton, has a flat weave. This allows it to wick away water through capillary action without the friction that causes breakage.
The Cost of Convenience vs. The Value of DIY
Let’s look at the numbers. A high-end hair wrap from a beauty boutique can cost a small fortune. Meanwhile, an old T-shirt costs you $0. Even if you buy a brand-new, oversized 100% cotton shirt at a thrift store, you are looking at a 90% savings.
| Feature | Standard Terry Towel | Store-Bought Microfiber | DIY T-Shirt Wrap |
|---|---|---|---|
| Cost | $5 – $15 | $20 – $45 | $0 – $2 |
| Frizz Factor | High | Medium | Zero |
| Sustainability | New Resource | Synthetic Microplastics | 100% Upcycled |
| Weight on Neck | Heavy | Light | Ultra-Light |
“The best tool for the job isn’t always the most expensive one; it’s the one that respects the material you’re working with. In this case, your hair deserves the gentleness of cotton.”
Sourcing Your Materials: The Treasure Hunt

Not all shirts are created equal. For a successful hair wrap, you need to be picky about your ‘trash.’ Look for shirts that are 100% cotton. Avoid blends with high polyester content, as they don’t absorb water as effectively. The size of the shirt matters too—the longer your hair, the bigger the shirt you’ll need.
- The Fabric: Look for ‘Jersey Knit.’ It has a slight stretch but stays flat.
- The Size: Aim for an XL or XXL to ensure you have enough surface area to wrap securely.
- The Condition: Small holes are fine, but avoid shirts with heavy ‘plastic-y’ screen prints, as these areas won’t absorb water.
Material Checklist & Budget
| Item | Source | Estimated Cost |
|---|---|---|
| Old T-Shirt (100% Cotton) | Your Closet / Thrift Store | $0.00 |
| Fabric Scissors | Household Tool | $0.00 |
| Large Button (Optional) | Spare Parts Tin | $0.10 |
| Elastic Hair Tie (Optional) | Vanity Drawer | $0.05 |
| Total Project Cost | $0.15 |
The Zero-Sew ‘Lazy Guru’ Method
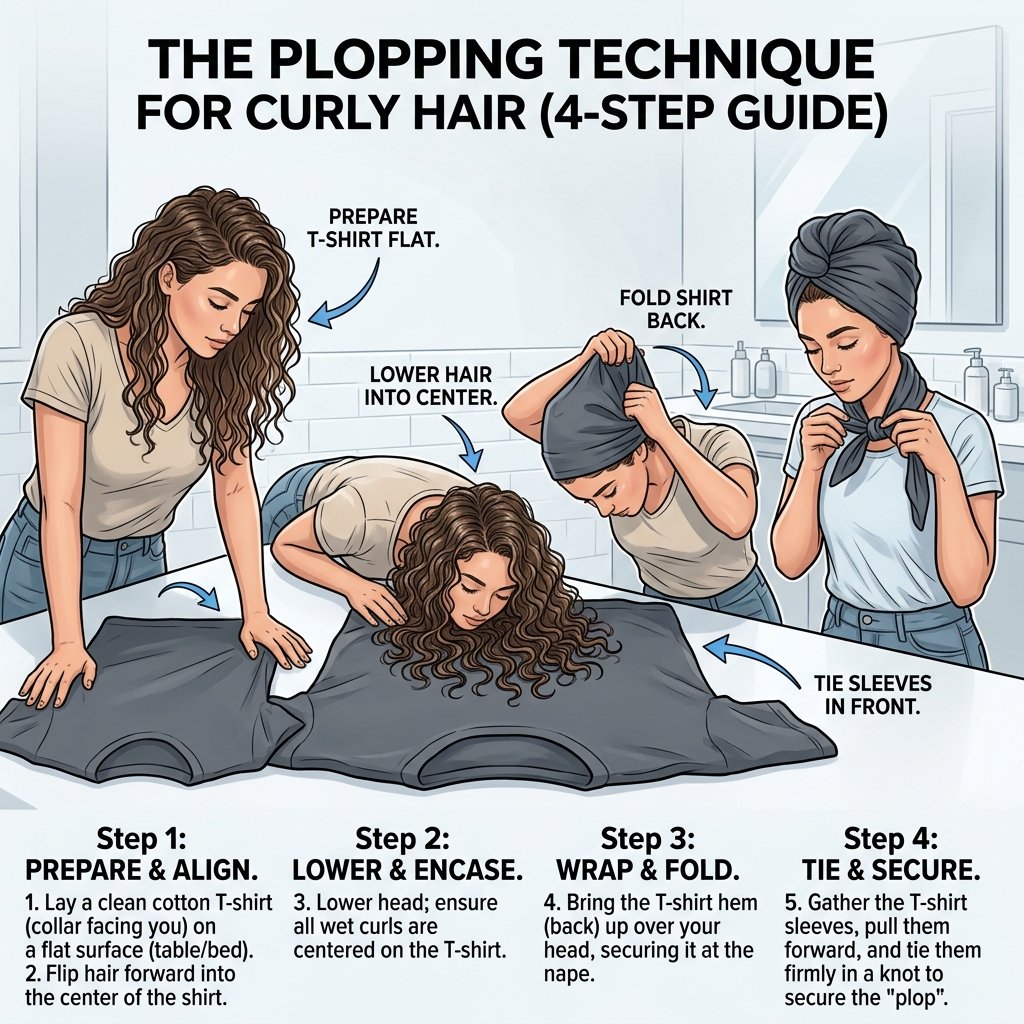
If you aren’t ready to break out the needle and thread, don’t worry. The most effective way to use a T-shirt for hair is actually the simplest. This is known in the curly community as ‘Plopping.’ It requires zero modifications to the shirt, making it the ultimate budget hack.
- Lay it Flat: Place your T-shirt on a flat surface (like a bed or closed toilet lid) with the sleeves furthest from you.
- The Flip: Flip your wet hair forward, centering your curls in the middle of the shirt.
- The Fold: Take the bottom hem of the shirt and bring it up to the nape of your neck.
- The Sleeve Tie: Grab the sleeves and pull them around to the back of your head, tying them in a secure knot.
- The Tuck: Tuck any loose fabric under the knot.
“Plopping isn’t just a funny word; it’s a structural technique. It compresses the curls against the scalp, allowing them to dry in their natural shape rather than being pulled down by gravity.”
The ‘Luxe’ Upcycled Wrap: A Step-by-Step Tutorial
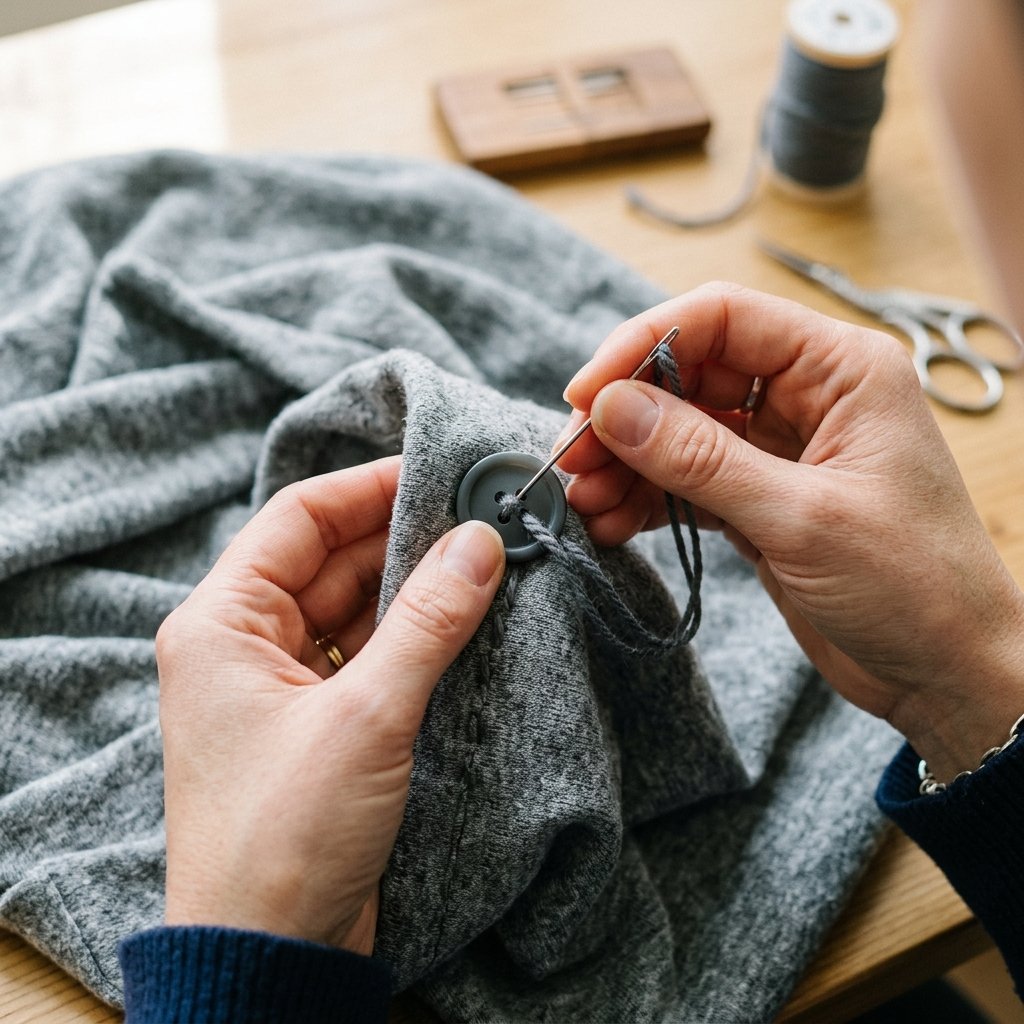
For those who want a more permanent, ‘store-bought’ look, we can tailor the shirt into a tapered wrap with a button closure. This is a rugged and practical project that takes about 15 minutes.
Step 1: The Template
Lay your T-shirt flat. You are going to cut a large triangle-like shape, but with a rounded top. Use the side seam of the shirt as one side of your wrap to save on sewing time. The base should be roughly 24 inches wide, tapering up to a point about 30 inches away.
Step 2: Cutting with Precision
Using your sharp shears, cut through both layers of the shirt. You now have two identical pieces. If you want a double-thick towel for extra-thick hair, keep both. For a standard wrap, one layer is enough.
Step 3: The Hem and Attachment
If you are hand-sewing, use a backstitch for durability. Sew the long curved side, leaving the straight 24-inch base open. At the very tip of the tapered end, sew a small loop of elastic. On the center of the wide base, sew your large button.
Step 4: Finishing Touches
Turn the wrap right-side out so the seams are hidden. You now have a professional-grade hair turban made from a $0 resource.
Safety Note: When using fabric shears, always cut away from your body and keep fingers clear of the blade path. If you are teaching a child to help, supervise the cutting process closely.
Natural Enhancements: The Pantry Hair Spa

Since you’ve saved so much money on your towel, why not use those savings to treat your hair to some clean, kitchen-pantry luxury? A T-shirt wrap works best when paired with natural leave-in conditioners.
The ‘Frugal Flax’ Gel Recipe
Flaxseed gel is a curly-hair miracle that costs pennies to make and provides incredible hold without the crunch of synthetic gels.
| Ingredient | Measurement | Benefit |
|---|---|---|
| Whole Flaxseeds | 1/4 Cup | Omega-3 fatty acids for shine |
| Distilled Water | 2 Cups | Hydration base |
| Essential Oil (Lavender/Rosemary) | 3 Drops | Scalp health and scent |
Simply boil the seeds in water until a snot-like consistency forms, strain through a clean (upcycled!) stocking or cheesecloth, and apply to soaking wet hair before using your new T-shirt wrap. The combination of the natural gel and the cotton wrap will result in the most defined, frizz-free curls of your life.
Conclusion
Wear Your Curls with Pride and Prudence
True luxury isn’t about the price tag; it’s about the resourcefulness and care you put into your routine. By spending 15 minutes and zero dollars, you’ve created a tool that outperforms high-end retail products while keeping textile waste out of landfills. Your hair will be stronger, your curls more defined, and your wallet significantly heavier. Whether you’re making these for yourself, your kids, or as a ruggedly practical gift for a friend, the DIY T-shirt hair wrap is a testament to the power of clever upcycling. Now, go forth and let those curls shine—frizz-free and budget-friendly!

Makenzie is the founder and lead writer at MoneyHackTips.com — a personal finance blog dedicated to delivering street-smart financial wisdom for real people on real budgets. With 300+ published articles covering everything from debt management to investing fundamentals, Makenzie’s mission is to make every dollar work harder. When not writing about money hacks, Makenzie is testing frugal living strategies, optimizing side hustles, and helping readers build financial freedom from scratch.