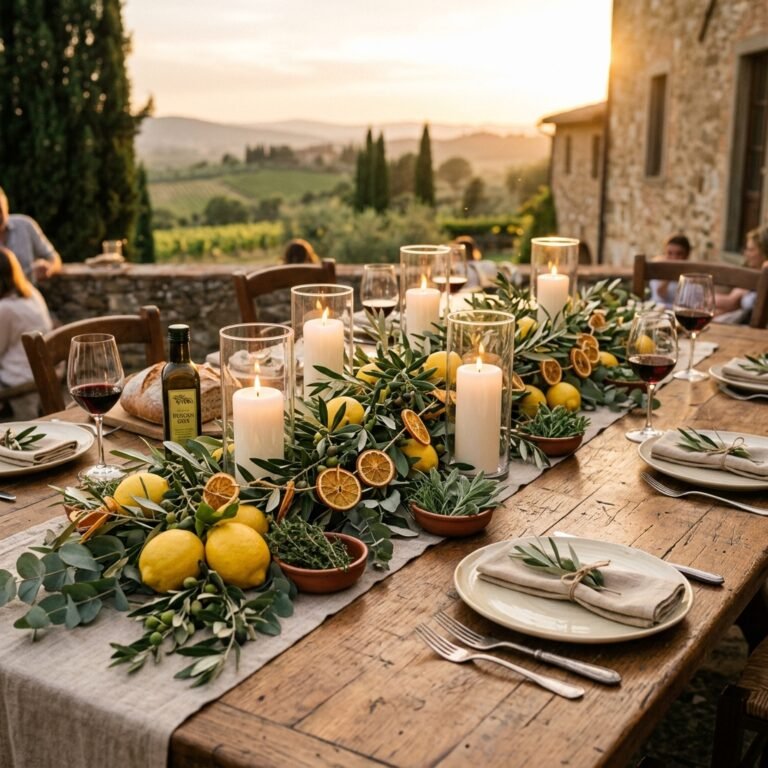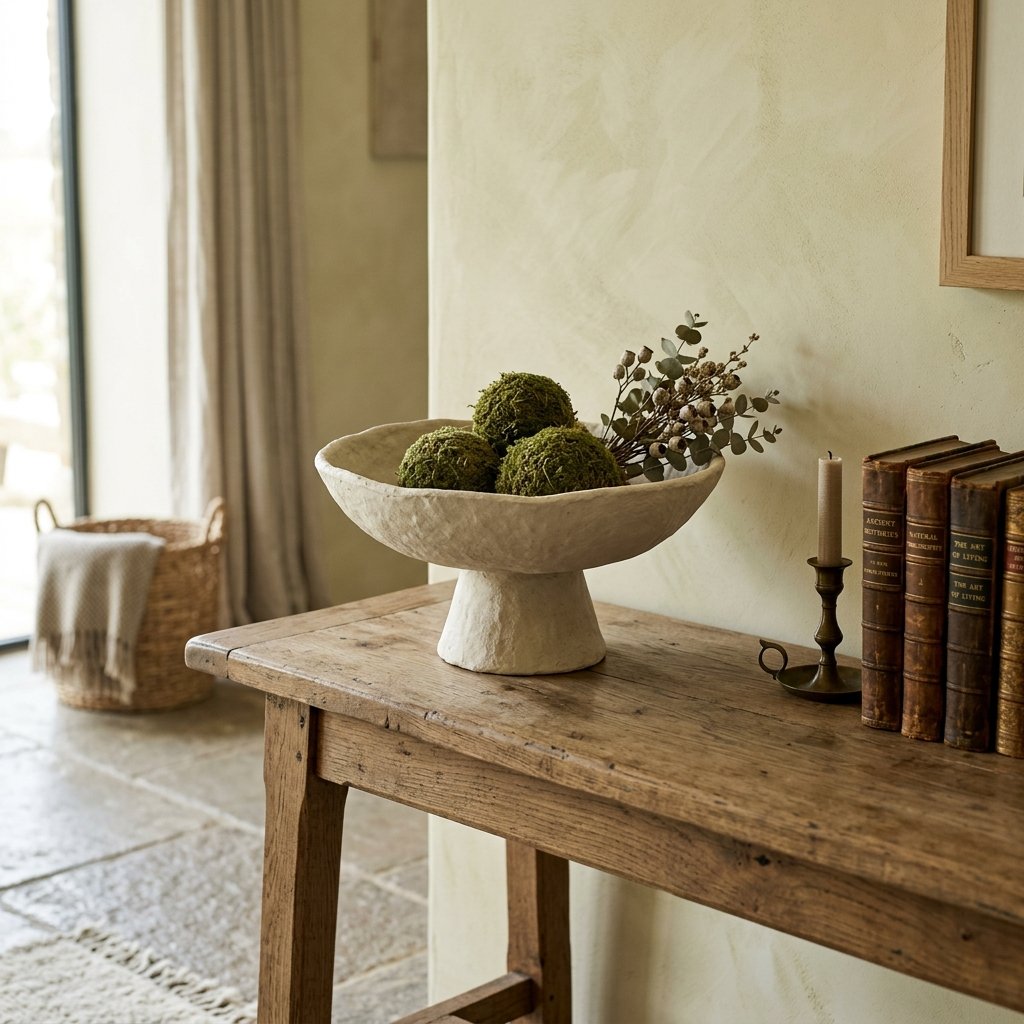

Let’s be honest: we’ve all walked through the home decor aisles of Target or scrolled through the curated collections of high-end boutiques and felt that pang of desire for those stunning, textured pedestal bowls. They have that perfect blend of organic shape and sophisticated grit, usually retailing anywhere from $35 to $120. But as a frugal DIYer, you know better than to pay premium prices for what is essentially sculpted material. Today, we are going to channel our inner artisan and turn literal trash—old newspapers, flour, and cardboard—into a piece of masculine-elegant decor that would make any interior designer do a double-take.
This isn’t your elementary school art project. We are elevating the humble medium of paper mache into a professional-grade home accent. By focusing on structural integrity and a specialized ‘faux-stone’ finish, we will create a centerpiece that is lightweight, incredibly durable, and visually indistinguishable from heavy ceramic or carved limestone. Whether you’re a budget-savvy bride looking for unique centerpieces or a handy parent wanting to spruce up the entryway, this project is your ticket to high-end style on a zero-to-five-dollar budget.
“True luxury isn’t about the price tag; it’s about the resourcefulness of the maker and the soul of the finished piece.”
The Anatomy of a Designer Dupe: Sourcing Your Foundation

Building the Skeleton
Every great sculpture starts with a solid armature. To achieve that signature ‘Target’ look, we need to find the right proportions. The beauty of this project is that the foundation is likely sitting in your recycling bin right now. You need two main components: a wide, shallow bowl for the top and a sturdy, tapered or cylindrical base for the pedestal.
Common Household Armatures
- Top Bowl: Plastic mixing bowls, old Tupperware, or even a large balloon (though a bowl provides more stability).
- Pedestal Base: Cardboard oatmeal canisters, PVC pipe scraps, heavy-duty mailing tubes, or even a smaller plastic bowl turned upside down.
- Adhesive: High-quality masking tape or painters tape to fuse the two pieces together.
When selecting your base, aim for a height that is roughly one-third the total height of the piece to maintain visual balance. Use strong masking tape to secure the base to the bottom of the bowl. Don’t worry about aesthetics yet; this is the ‘bones’ of the operation. Ensure the connection is rock-solid, as this will support the weight of the wet paper mache.
| Component | Recycled Material Option | Estimated Cost |
|---|---|---|
| Bowl Form | Plastic Salad Bowl | $0.00 |
| Pedestal | Empty Oatmeal Container | $0.00 |
| Connector | Masking Tape | $0.50 |
| Total Base Cost | Recycled Goods | $0.50 |
The Secret Sauce: Crafting the Professional-Grade Pulp
Beyond Paper Strips
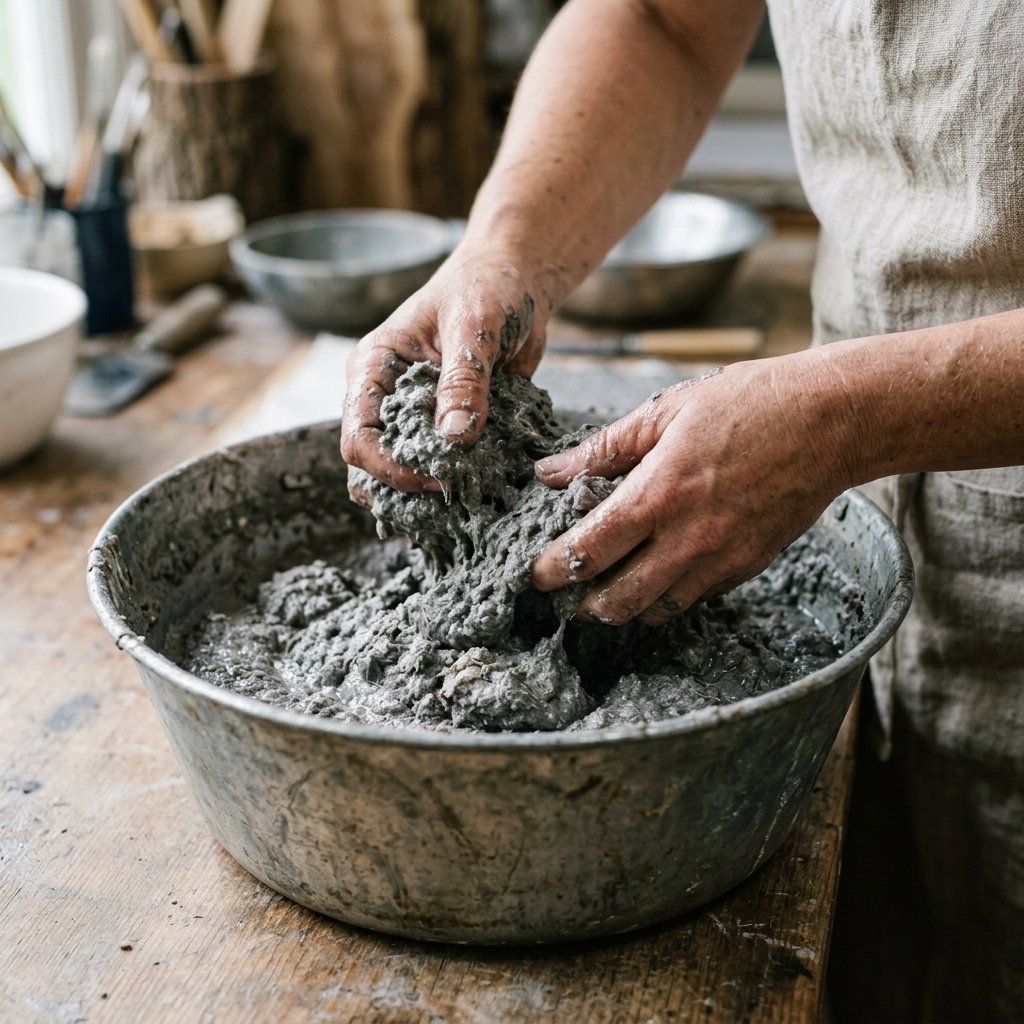
While the traditional method of dipping strips of newspaper into a flour-water slurry works, we want a smoother, more ‘clay-like’ finish. This is where paper pulp comes in. It allows you to sculpt the surface, filling in gaps and creating a seamless transition between the bowl and the pedestal.
The Ultimate Paper Mache Recipe
- Shred: Tear 2-3 newspapers into tiny squares (about 1 inch). Soak them in hot water for at least 4 hours, or overnight for the best results.
- Pulverize: Use an old blender (one you don’t use for food) or a paint mixer attachment on a drill to blend the soaked paper into a fine grey mush.
- Strain: Squeeze out the excess water until you have a damp, fibrous mass.
- Bind: Mix in the following ratios to create a workable ‘dough’.
| Ingredient | Measurement | Purpose |
|---|---|---|
| Damp Paper Pulp | 2 Cups | Structural Bulk |
| All-Purpose Flour | 1 Cup | Traditional Binder |
| White PVA Glue | 1/2 Cup | Added Strength & Flexibility |
| Salt | 2 Tablespoons | Mold Prevention |
| Joint Compound (Optional) | 1/4 Cup | For an ultra-smooth finish |
“Consistency is key: Your pulp should feel like thick oatmeal—malleable enough to shape, but dry enough to hold its form without dripping.”
Sculpting and Layering for Maximum Durability

The Application Process
Now comes the crafty-expert part. We aren’t just slapping paper on; we are building layers. Start by covering your taped armature with a single layer of traditional paper strips dipped in a simple flour-water mix. This creates a uniform surface for the pulp to grab onto. Let this initial layer dry for 24 hours.
Applying the Pulp Layer
- Apply the pulp in small handfuls, starting from the base and working your way up.
- Use your fingers to smooth the transition where the pedestal meets the bowl. This ‘fillet’ is what gives it that high-end, cast-stone appearance.
- Aim for a thickness of about 1/4 inch across the entire surface.
- Pro Tip: Keep a small bowl of water nearby to dip your fingers in; this helps smooth out the lumps as you go.
Once the bowl is covered, it needs to dry completely. This is the test of patience. Depending on your climate, this could take 2 to 4 days. Place it near a vent or a fan to speed up the process. Do not attempt to sand or paint until it is 100% bone dry and sounds hollow when tapped.
“A rugged maker knows that the best things take time. Let the moisture evaporate fully to ensure your bowl doesn’t warp or mold later.”
Refining the Form: Sanding and Structural Integrity
The Transformation Phase
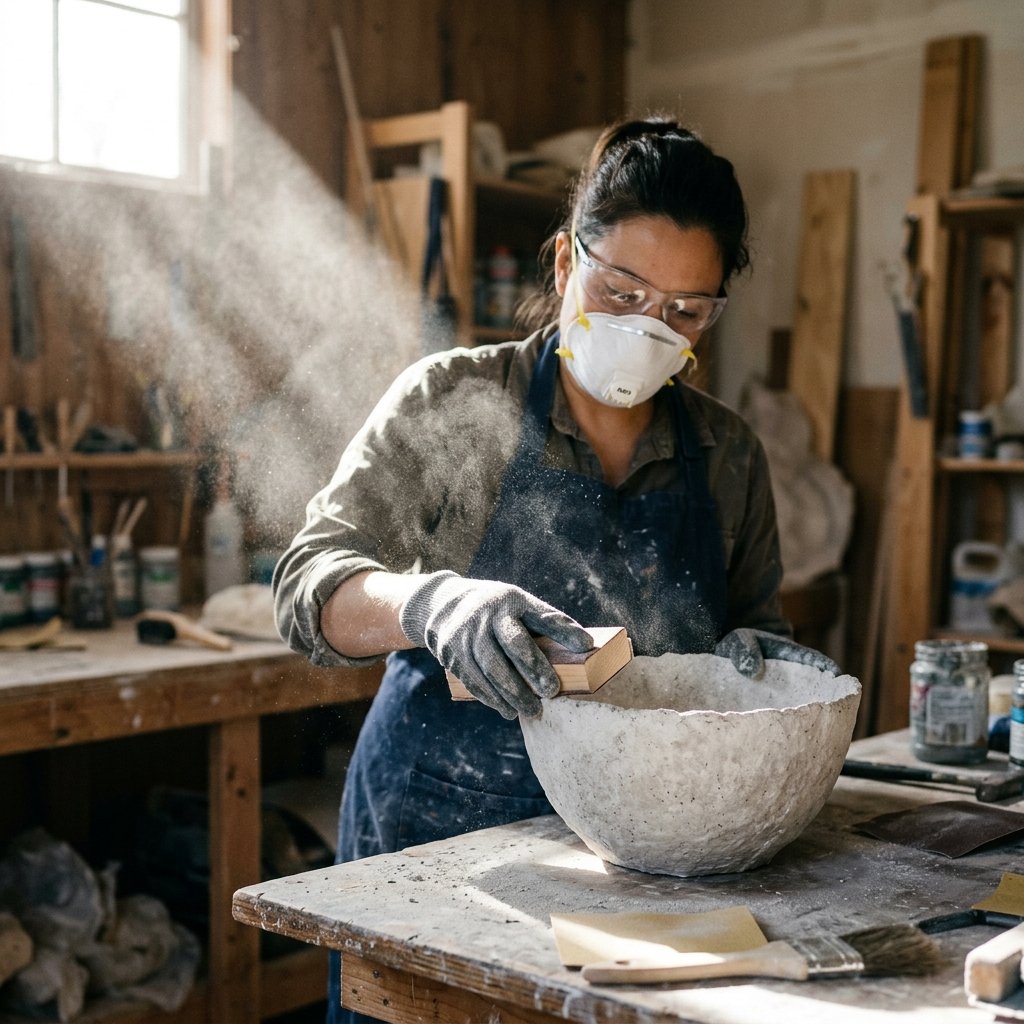
Right now, your bowl probably looks like a lumpy grey mess. Don’t panic. This is where the rugged, practical work pays off. We are going to sand this piece into a work of art. Wear a dust mask for this part, as paper mache dust is fine and messy.
Sanding Steps
- Grit Selection: Start with a coarse 80-grit sandpaper. This will knock down the major lumps and even out the silhouette.
- Refining: Move to a 120-grit sandpaper to smooth the surface. You aren’t looking for glass-smooth; a little organic texture adds to the ‘stone’ illusion.
- Repairing: If you find deep pits or air bubbles, fill them with a tiny bit of wood filler or a thick paste of flour and glue. Let dry and re-sand.
“Sanding is where the magic happens. You are carving the soul out of the scrap, revealing the elegant form hidden beneath the pulp.”
| Sanding Stage | Grit Level | Desired Outcome |
|---|---|---|
| Initial Leveling | 80 Grit | Remove large bumps and ridges |
| Surface Smoothing | 120-150 Grit | Create a soft, organic texture |
| Final Buffing | 220 Grit | Optional for a ‘polished stone’ feel |
The Faux-Stone Finish: The Baking Soda Paint Trick

Achieving the Target Aesthetic
This is the secret weapon of budget-savvy decorators. To make paper look like heavy, expensive stoneware, we use the Baking Soda Paint Trick. This adds a physical grit to the paint that mimics the look of ceramic or limestone perfectly.
The Recipe for Texture
- Base Paint: Use a matte acrylic paint in an earthy tone (think ‘Toasted Almond’, ‘Greige’, or ‘Off-White’).
- The Grit: Mix 1 part baking soda to 2 parts paint. The mixture will puff up slightly and become thick.
- Application: Use a stippling motion with a coarse brush rather than long strokes. This creates a variegated surface that catches the light.
For added depth, wait for the first coat to dry, then go back in with a slightly darker shade and a ‘dry brush’ technique. Lightly hit the high points of the texture to create a weathered, aged look. This masculine-elegant finish is what separates a DIY project from a piece of professional decor.
| Material | Store-Bought Price | DIY Dupe Cost |
|---|---|---|
| Textured Pedestal Bowl | $45.00 | $2.15 (Paint + Soda) |
| Savings | – | 95% Savings |
Styling Your Masterpiece Like a Pro
The Final Reveal
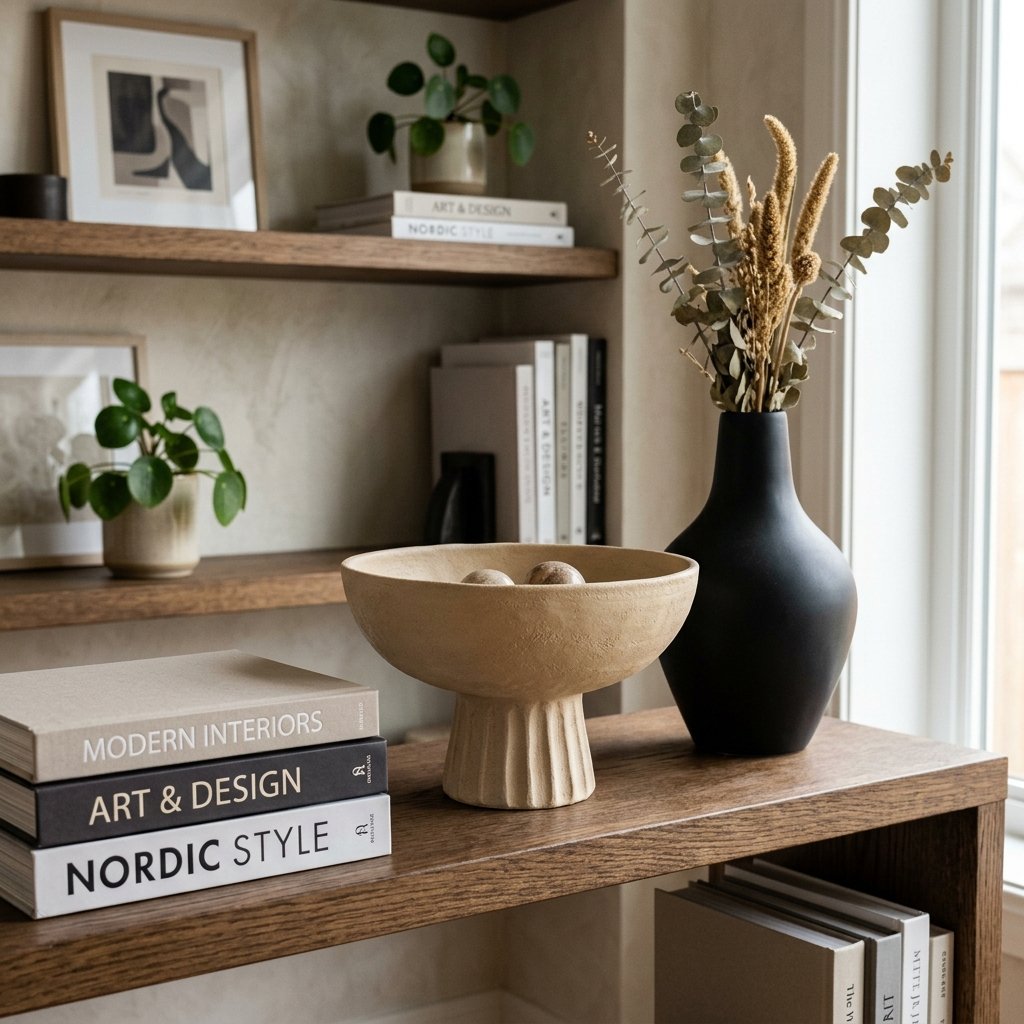
Now that your bowl is dry and painted, it’s time to style it. These pedestal bowls are incredibly versatile and work in almost any room of the house. Because they are made of paper, remember they are not food-safe or water-safe. Use them for dry decor only.
Styling Ideas
- The Entryway: Use it as a ‘catch-all’ for wooden beads, antique brass keys, or mail.
- The Coffee Table: Fill it with large moss balls or dried artichokes for an organic, earthy vibe.
- The Bookshelf: Let it stand alone as a sculptural piece on top of a stack of vintage linen-bound books.
- The Dining Room: Use it as a centerpiece filled with faux pears or eucalyptus sprigs.
“A well-placed bowl is the punctuation mark of a room. It adds height, texture, and a story of craftsmanship to your space.”
If you want to protect your surface from scratches, glue a small circle of felt or cork to the bottom of the pedestal. This adds a professional touch and ensures your furniture stays pristine.
Conclusion
Congratulations, you’ve just turned a pile of old newspapers and a plastic bowl into a stunning designer dupe that would retail for ten times what you spent. By embracing the ‘Trash-to-Treasure’ philosophy, you’ve proven that style isn’t about how much you spend, but how creatively you use what you already have. This paper mache pedestal bowl isn’t just a piece of decor; it’s a testament to your resourceful, clever, and crafty spirit. Now, go ahead and place it prominently in your home—when guests ask where you bought it, you can proudly tell them you made it for the price of a cup of coffee. Happy crafting!

Makenzie is the founder and lead writer at MoneyHackTips.com — a personal finance blog dedicated to delivering street-smart financial wisdom for real people on real budgets. With 300+ published articles covering everything from debt management to investing fundamentals, Makenzie’s mission is to make every dollar work harder. When not writing about money hacks, Makenzie is testing frugal living strategies, optimizing side hustles, and helping readers build financial freedom from scratch.