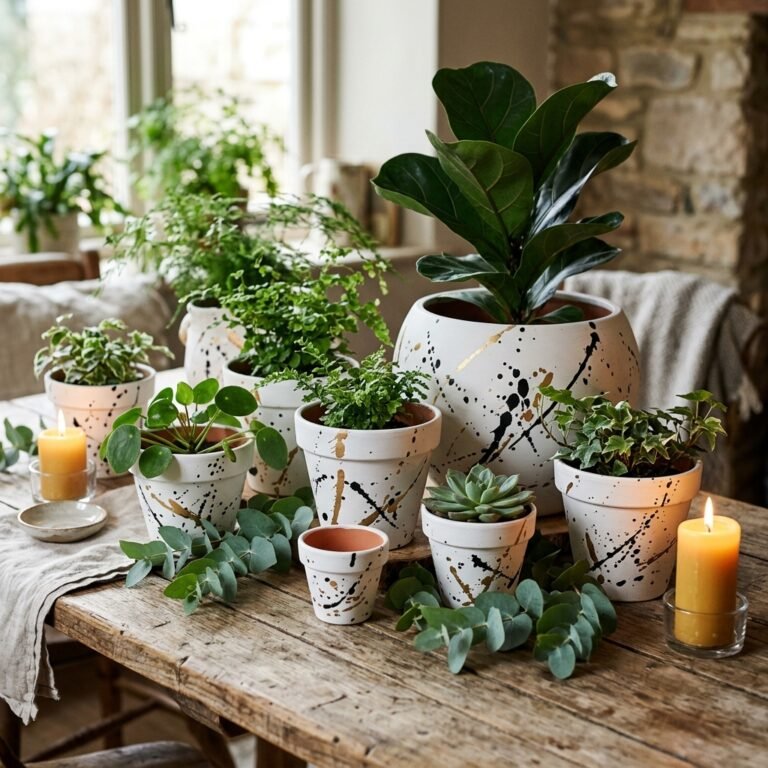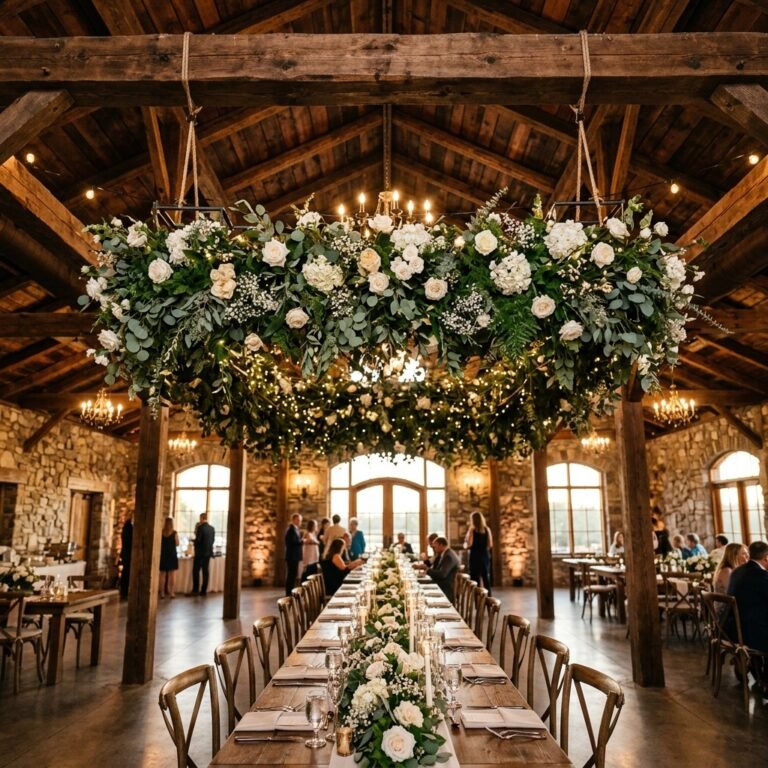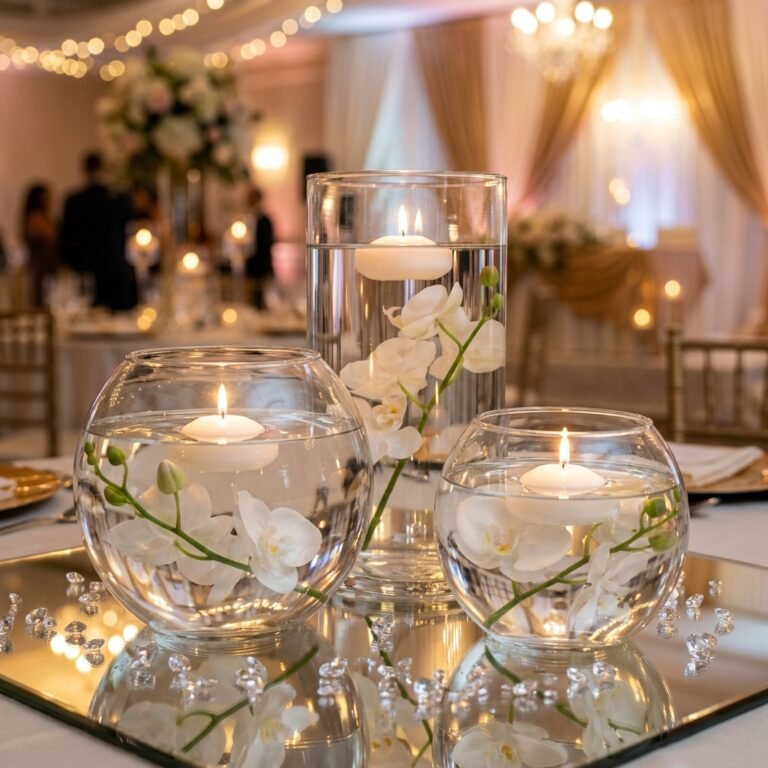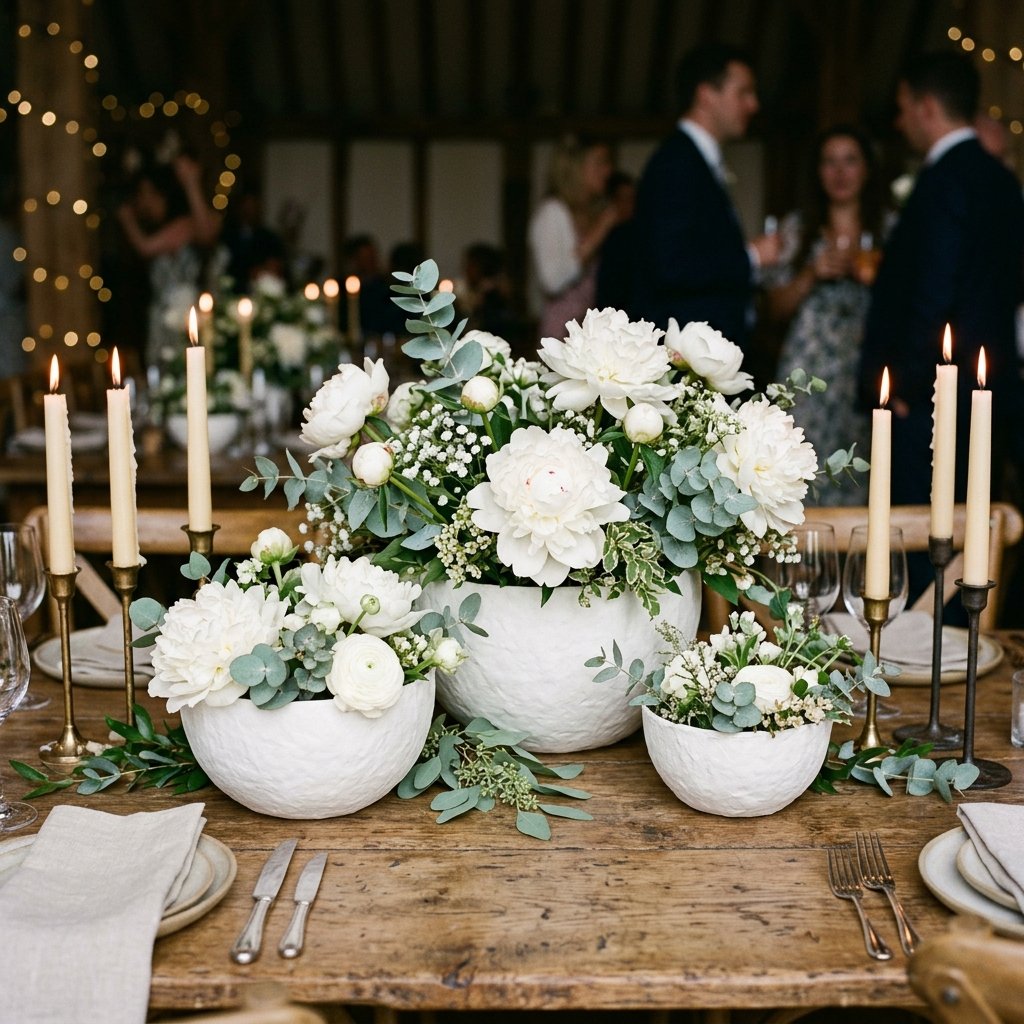

Planning a wedding often feels like a constant battle between a champagne vision and a sparkling water budget. As a frugal DIYer, you know that the secret to a stunning event isn’t how much you spend, but how resourcefully you create. Enter the humble world of paper mache. While it might evoke memories of elementary school art projects, when executed with a sophisticated touch, paper mache can be transformed into rugged, elegant, and bespoke wedding decor that rivals high-end boutique finds. These DIY paper mache wedding flower bowls are the ultimate ‘trash-to-treasure’ project, turning old newspapers, egg cartons, and junk mail into organic, stone-like vessels that will leave your guests speechless. In this masterclass, we will dive deep into the craft of creating durable, waterproof, and visually arresting centerpieces for under $1 per bowl. Whether you are a budget bride, a crafty gift-giver, or a handy parent looking to add flair to a family celebration, this guide is your blueprint for upcycling excellence.
The Resourceful Arsenal: Materials and Cost Breakdown
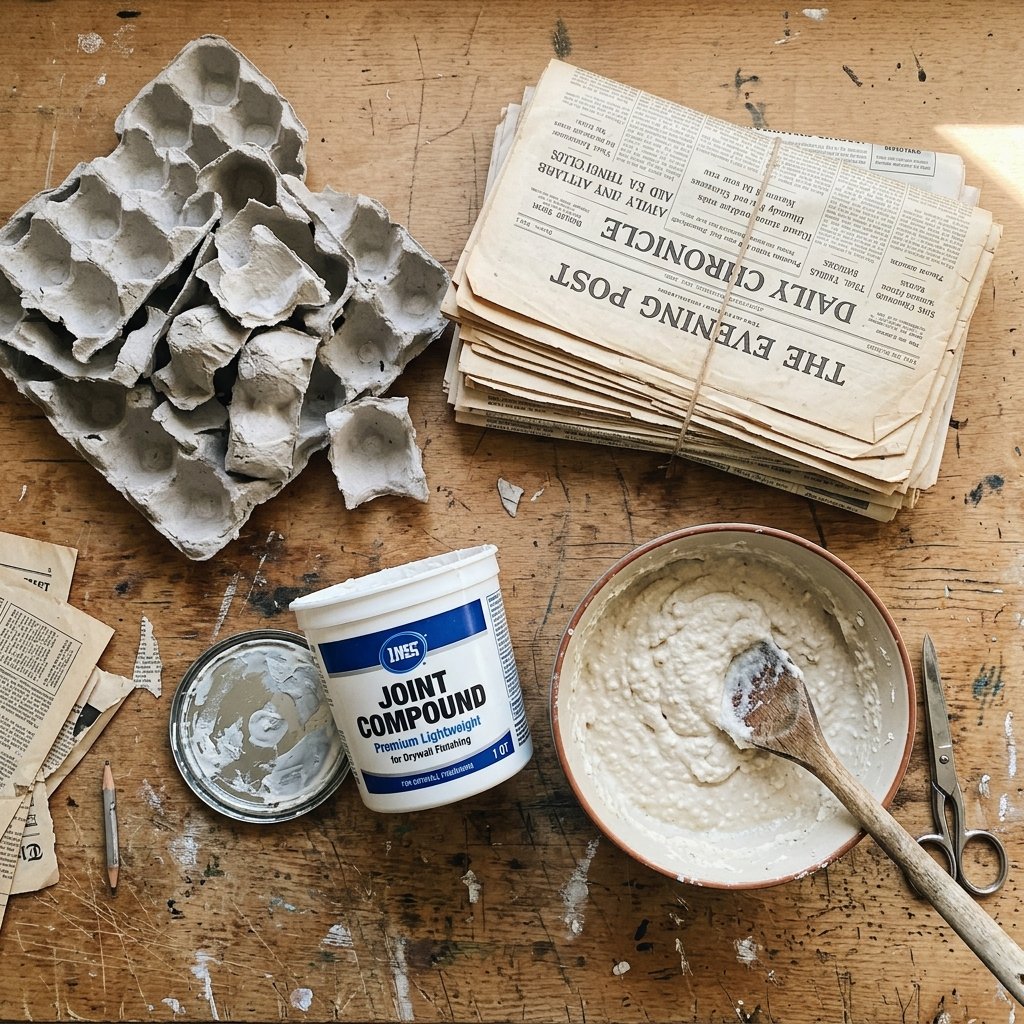
Gathering Your Upcycled Supplies
The beauty of this project lies in its reliance on items you likely already have in your recycling bin. We aren’t just making bowls; we are engineering a durable composite material from waste. To achieve a high-end, ‘masculine-elegant’ finish that looks like heavy ceramic or carved stone, you need the right mix of fiber and binder.
| Material | Source | Estimated Cost |
|---|---|---|
| Recycled Paper | Newspapers, Egg Cartons, Junk Mail | $0.00 |
| All-Purpose Flour | Pantry Staple | $0.50 |
| Joint Compound | Hardware Store (Optional for ‘Stone’ look) | $2.00 |
| Balloons or Bowls | Dollar Tree / Kitchen | $1.25 |
| Acrylic Paint | Craft Stash | $0.75 |
| Total Per Bowl | Resourceful DIY | ~$0.90 |
Choosing Your Paper Stock
- Egg Cartons: These provide the best texture for a ‘stone’ finish. The gray pulp breaks down into a thick, moldable clay.
- Newspaper: Ideal for structural layers. It is thin, absorbent, and bonds tightly.
- Brown Paper Bags: Excellent for a rugged, organic look and added strength in the final layers.
Pro Tip: Avoid glossy magazine pages; the ink and coating prevent the flour paste from penetrating the fibers, leading to delamination.
The Secret Pulp Formula: From Scrap to Sculpting Clay
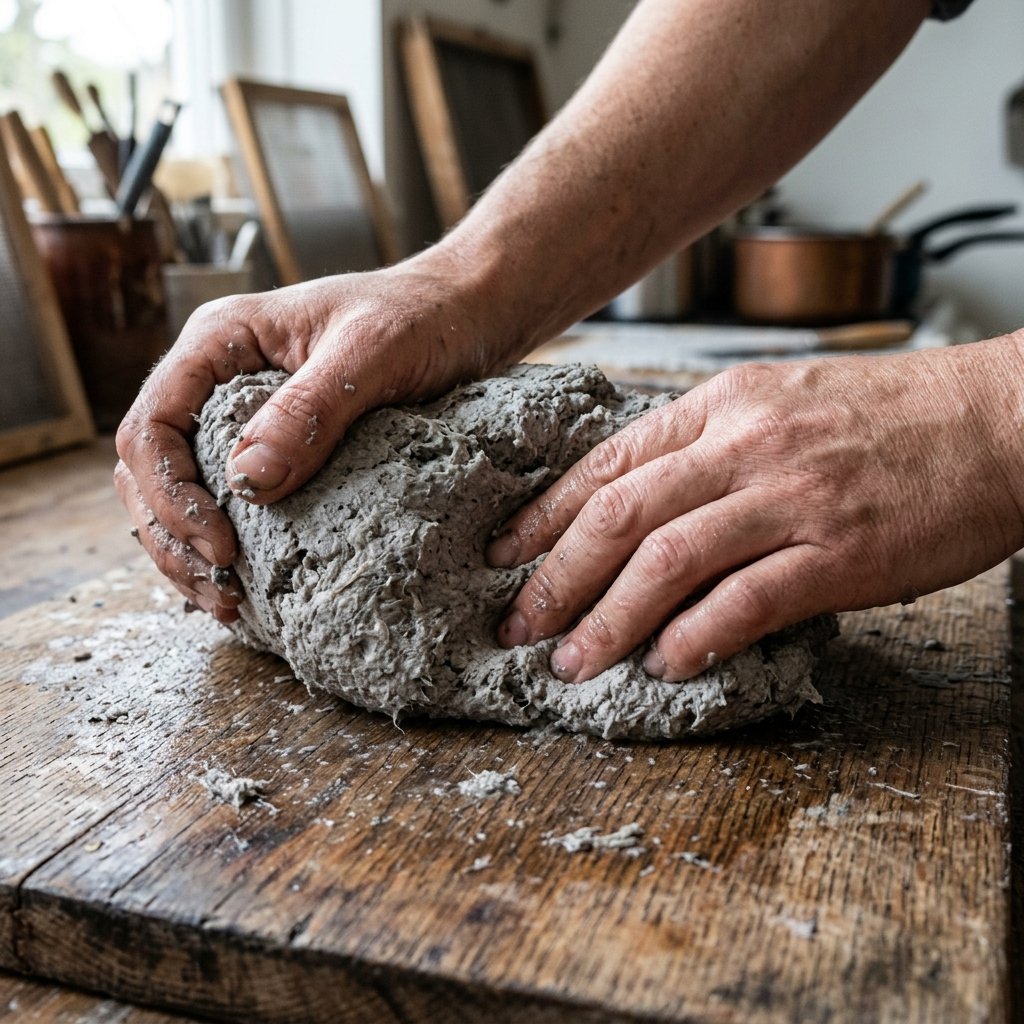
Mastering the Paper Mache Clay
To move beyond the ‘lumpy’ look of traditional paper mache, we utilize a refined pulp method. This creates a smooth, sandable surface that mimics expensive stoneware. This process takes 24 hours of soaking, so plan ahead.
- Shred and Soak: Tear your egg cartons and paper into 1-inch pieces. Submerge them in hot water in a large bucket. Let them soak until the fibers are completely saturated.
- The Blending Phase: Use a handheld immersion blender or a dedicated ‘craft’ blender to whiz the soaked paper into a fine slurry. It should look like thick oatmeal.
- The Great Squeeze: Pour the slurry into an old pillowcase or fine mesh strainer. Squeeze out as much water as possible until you are left with a firm, damp ball of paper fiber.
- The Binder Mix: In a separate bowl, mix 2 parts white glue or flour paste with 1 part joint compound. Fold this into your paper fiber ball until it reaches a dough-like consistency.
Safety Note: If using joint compound, wear a dust mask when mixing dry powder and work in a well-ventilated area to avoid inhaling fine particulates.
Recipe Ratios for Success
| Ingredient | Measurement | Purpose |
|---|---|---|
| Paper Fiber | 2 Cups (Squeezed) | The structural body |
| White Glue | 1/2 Cup | The primary adhesive |
| Joint Compound | 1/2 Cup | Smoothness and weight |
| Linseed Oil | 1 Teaspoon | Prevents cracking (Optional) |
Sculpting the Vessel: Molding for High-End Shapes
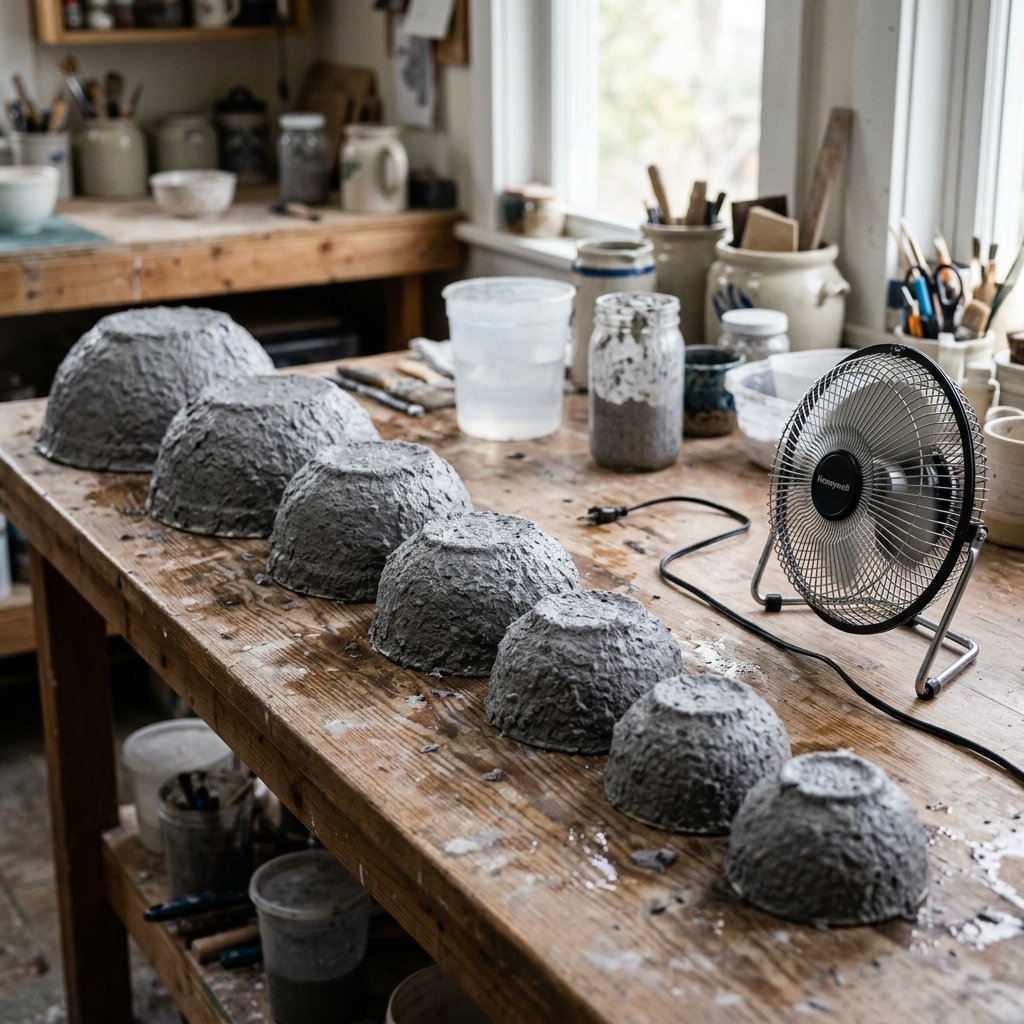
Forming Your Wedding Centerpieces
To achieve that ’boutique’ look, we want organic shapes with slight imperfections that suggest handmade artistry. Using existing bowls as molds is the cleverest way to ensure a functional shape while maintaining a unique aesthetic.
Step-by-Step Molding Process
- Prep the Mold: Take a kitchen bowl and wrap it tightly in plastic wrap. This ensures your paper mache bowl pops off easily once dry. Secure the wrap with a bit of tape on the inside.
- Layering the Pulp: Begin pressing your paper clay onto the outside of the inverted bowl. Aim for a thickness of 1/4 inch. Keep the edges slightly uneven for a raw, organic feel.
- The Structural Rim: Pay extra attention to the rim. Smooth it with a damp finger for a refined look, or leave it jagged for a ‘broken stone’ effect that looks stunning with delicate flowers.
- Drying Time: This is the test of patience. Depending on humidity, these bowls will need 48 to 72 hours to dry completely. Place them near a fan or a sunny window to speed up the process.
Mantra: ‘Patience is the cheapest tool in the shed.’ Never rush the drying process, or you risk mold and structural failure.
| Drying Stage | Time Estimate | Visual Cue |
|---|---|---|
| Surface Dry | 12 Hours | Edges feel firm to touch |
| Structural Set | 24-36 Hours | Bowl can be removed from mold |
| Bone Dry | 72 Hours | Color lightens, sounds hollow when tapped |
The High-End Finish: Faux Stone and Ceramic Techniques
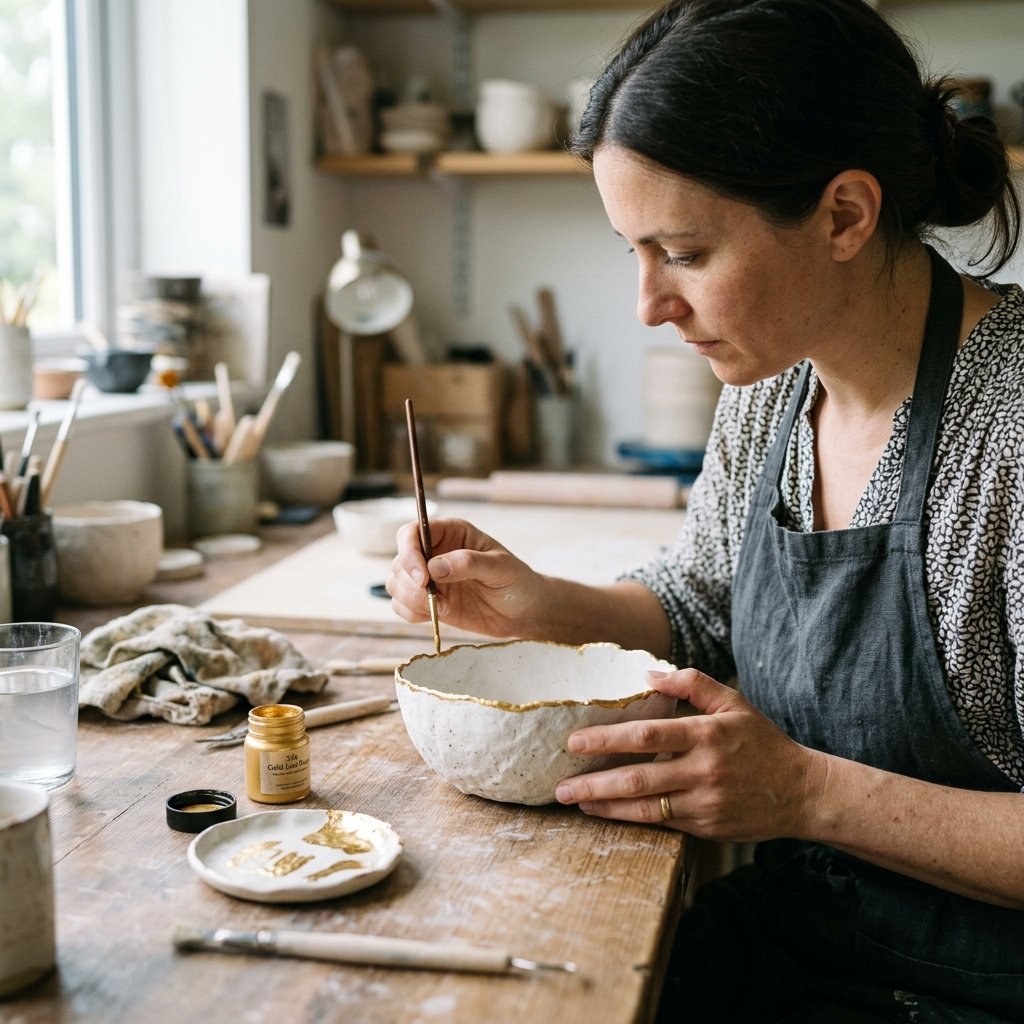
Transforming Gray Pulp into Elegant Decor
Once your bowls are bone dry, they will look like gray cardboard. This is where the magic of ‘Dollar Tree Interior Design’ happens. We are going to use paint and texture to create a faux-ceramic or travertine finish.
The Sanding Secret
Use 120-grit sandpaper to lightly sand the exterior of the bowl. This removes any stray fibers and creates a surface that looks like cast concrete. Don’t worry about making it perfect; the slight variations add to the ‘rugged elegance’ we are aiming for.
Painting for Depth
- The Base Coat: Apply a thick coat of matte white or cream acrylic paint. For a ‘stone’ look, mix in a tablespoon of baking soda to the paint to create a gritty, plaster-like texture.
- The Wash: Once the base is dry, mix a tiny drop of raw umber or gray paint with water. Wipe this ‘wash’ over the bowl and immediately dab it off with a rag. This settles into the crevices, highlighting the organic texture.
- The Sealant: To protect the bowl, apply a matte spray sealer. This keeps the finish looking sophisticated rather than shiny and ‘plastic.’
Stylist’s Tip: For a ‘gilded’ look, apply a thin line of gold leaf or metallic gold paint only to the very top edge of the rim. It adds an instant touch of luxury for pennies.
Styling and Waterproofing for Floral Arrangements
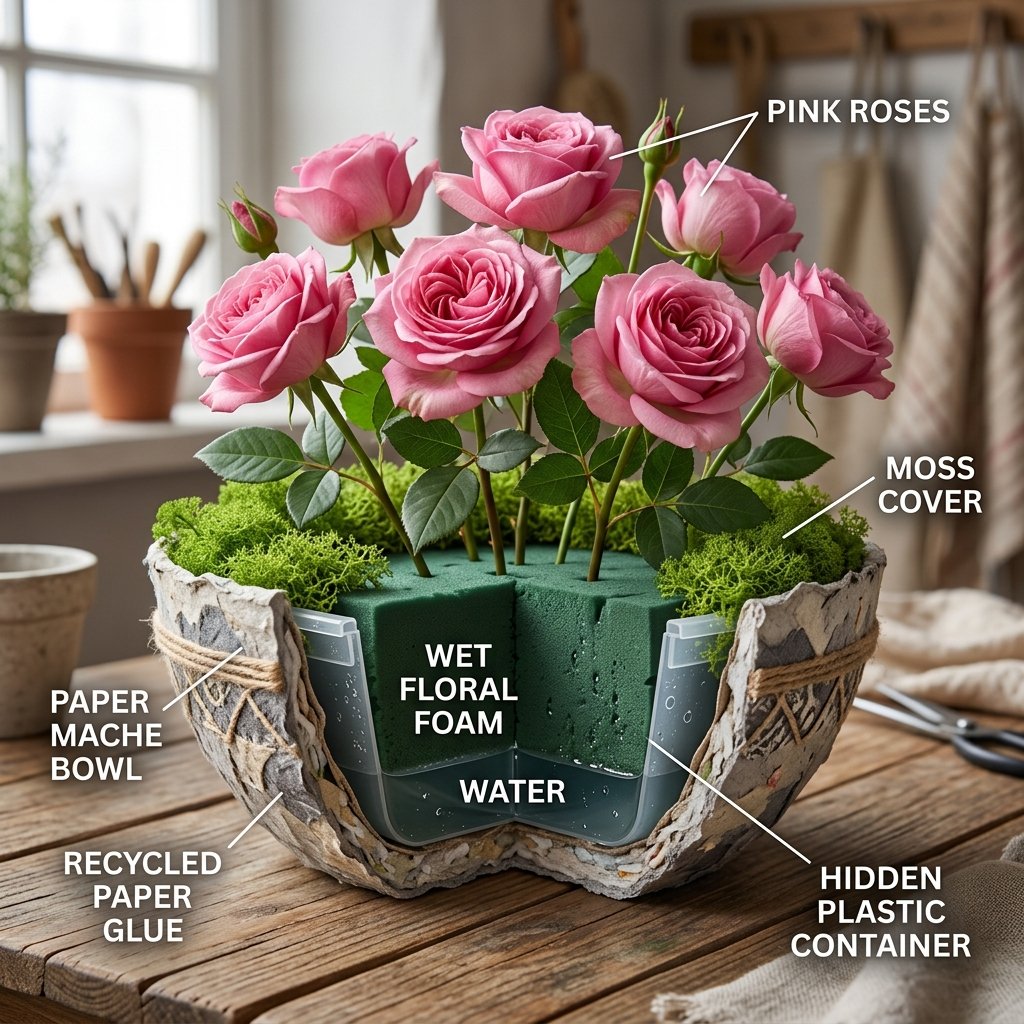
Making Paper Water-Ready
You might be wondering: ‘How do I put water in a paper bowl?’ The answer is clever concealment. We never put water directly against the paper mache. Instead, we use a hidden reservoir system.
The Hidden Liner Method
- Plastic Containers: Find small plastic deli containers or yogurt cups that fit inside your paper mache bowl. These will hold the water and floral foam.
- Floral Foam: Soak a piece of floral foam and place it inside the plastic liner. This keeps your flowers hydrated and stable.
- Moss Coverage: Use dried Spanish moss or reindeer moss (available at the Dollar Store) to cover the gap between the plastic liner and the paper mache rim. This creates a seamless, professional look.
| Table Size | Bowl Diameter | Recommended Flower Count |
|---|---|---|
| 4ft Round | 6 Inches | 5-7 Blooms + Greenery |
| 6ft Rectangle | 8-10 Inches | 10-12 Blooms + Greenery |
| 8ft Rectangle | 3x 6-inch Bowls | 15-20 Blooms total |
Choosing Your Florals
To complement the rugged, handmade nature of the bowls, choose flowers with soft textures. Peonies, ranunculus, and garden roses create a beautiful contrast against the ‘stone’ finish. Add trailing eucalyptus or ferns to enhance the organic, ‘found-in-nature’ vibe.
The Grand Comparison: DIY vs. Professional Rentals

Why Your Wallet Will Thank You
When planning a wedding, every $100 saved is $100 that can go toward the honeymoon or a down payment on a home. Let’s look at the hard numbers for a 15-table wedding.
| Item | Professional Rental / Purchase | DIY Paper Mache Solution |
|---|---|---|
| 15 Centerpiece Vessels | $450.00 ($30/ea) | $15.00 ($1/ea) |
| Floral Setup Fee | $200.00 | $0.00 (Self-Arranged) |
| Shipping/Delivery | $75.00 | $0.00 |
| Total Investment | $725.00 | $15.00 |
| Total Savings | — | $710.00 (98% Savings!) |
Not only do you save over $700, but you also create a set of keepsake items that you can gift to guests at the end of the night. These bowls are lightweight, eco-friendly, and carry the story of your craftsmanship into your new life together.
Conclusion
Creating your own DIY paper mache wedding flower bowls is more than just a way to save money; it is a statement of creativity and intentionality. By choosing to upcycle common household waste into something of such rugged elegance, you are proving that beauty doesn’t have to be bought—it can be built. These vessels, born from old egg cartons and flour, will stand as a testament to your resourcefulness on your wedding day. Whether you keep them as a memento of your ‘big day’ or pass them on to friends, you have mastered the art of the high-end dupe. So, gather your scrap paper, clear off the workbench, and start sculpting your way to a more beautiful, budget-savvy celebration. You’ve got the skills, the materials are free, and the results are, quite literally, unbelievable.

Makenzie is the founder and lead writer at MoneyHackTips.com — a personal finance blog dedicated to delivering street-smart financial wisdom for real people on real budgets. With 300+ published articles covering everything from debt management to investing fundamentals, Makenzie’s mission is to make every dollar work harder. When not writing about money hacks, Makenzie is testing frugal living strategies, optimizing side hustles, and helping readers build financial freedom from scratch.