Elevating the Humble Clay Pot
Let’s be honest: the standard orange terracotta pot is the workhorse of the gardening world, but it rarely wins any beauty contests on its own. However, for the resourceful DIYer, these porous vessels are a blank canvas waiting for a high-end transformation. In this guide, we are moving beyond the basic garden look and stepping into the world of masculine-elegant home decor. By utilizing a few clever tricks—like the famous baking soda paint method and a controlled splatter technique—you can create centerpieces that look like they were plucked from a high-end boutique for less than $5 a piece. Whether you are a budget bride looking for the perfect wedding table accent or a crafty homeowner wanting to spruce up your mantle, this project is designed for maximum visual impact with minimal financial investment. We aren’t just painting; we are engineering a piece of art that breathes life into any room.
The Shrewd Shopper’s Guide: Sourcing Pots for Pennies

The first step in any budget-savvy project is the hunt. You don’t need to spend a fortune at a designer nursery to get the shapes you want. In fact, the cheaper and more ‘raw’ the pot, the better it often takes the paint. To keep your costs to pennies on the dollar, look for multi-packs or second-hand treasures.
| Source | Estimated Cost | Best For |
|---|---|---|
| Dollar Tree / Discount Stores | $1.25 | Uniformity and small succulents |
| Thrift Stores / Goodwill | $0.50 – $2.00 | Unique shapes and aged character |
| Garage Sales | $0.10 – $0.50 | Bulk sets for large events |
| Big Box Garden Centers | $2.00 – $5.00 | Large statement floor pieces |
When selecting your pots, don’t worry about minor chips or salt stains. Those imperfections add to the rugged, artisanal feel once the paint is applied. If you find a pot with a hairline crack, it can often be reinforced from the inside with a bit of heavy-duty adhesive or hot glue before painting. Remember, we are upcycling, and the goal is to save these items from the landfill while creating something extraordinary.
The Foundation: Preparing and Texturizing Your Canvas
Before we get to the fun part, we have to ensure the paint actually stays on. Terracotta is incredibly porous, which means it will soak up moisture like a sponge. If you skip the prep, your beautiful design might bubble or peel within a few months. Start by giving your pots a 5-minute scrub in warm, soapy water to remove any loose dirt or salt deposits.
“The secret to a professional finish isn’t just the paint; it’s the surface you prepare. A clean pot is a canvas that lasts a lifetime.”
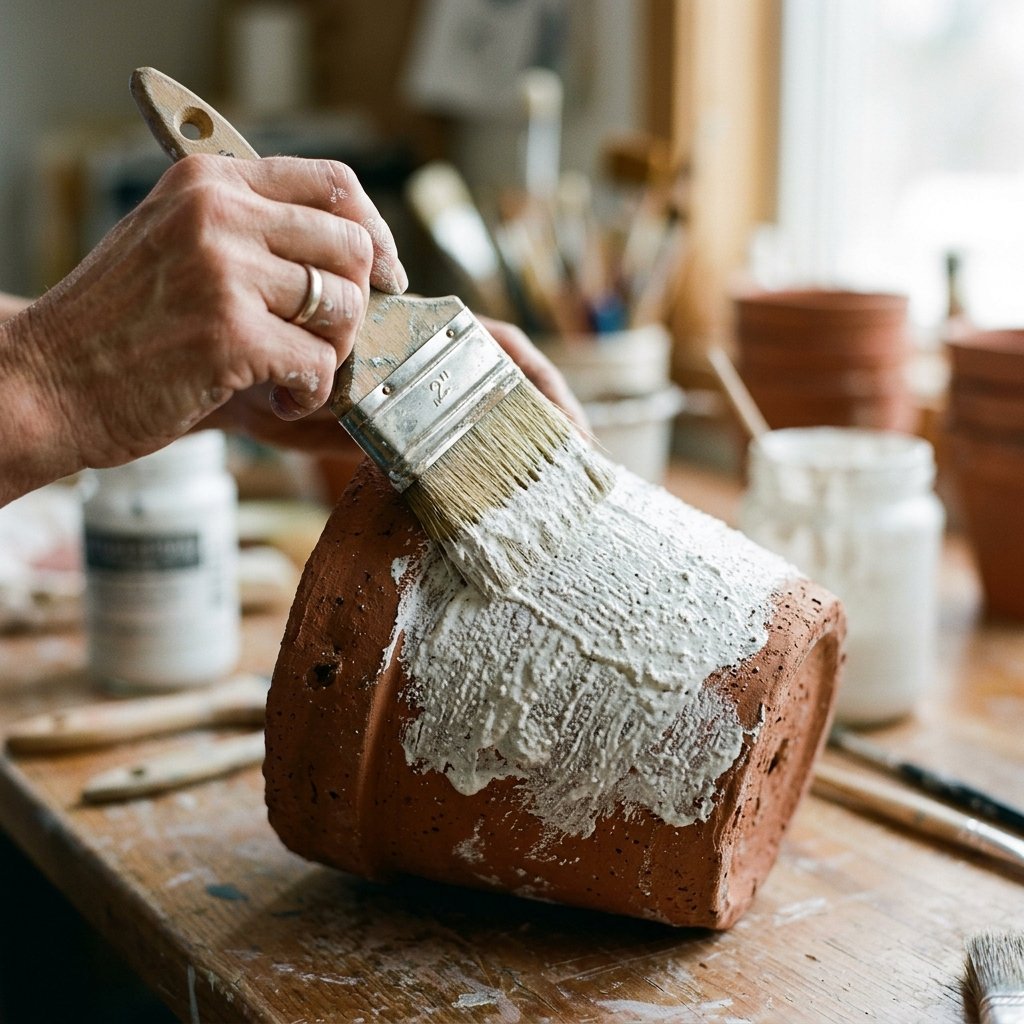
Once dry, we use the baking soda paint trick to give the pot a stone-like, high-end texture. This mimics the look of expensive ceramic or cast stone. Mix your acrylic paint with baking soda until it reaches the consistency of thick cake batter. This covers the ‘cheap’ orange hue and provides a rugged, sophisticated matte finish that serves as the perfect backdrop for our splatters.
Texture Ratio Guide
| Desired Look | Paint to Baking Soda Ratio |
|---|---|
| Smooth Matte | 4 parts paint : 1 part baking soda |
| Aged Stone | 2 parts paint : 1 part baking soda |
| Heavy Stucco | 1 part paint : 1 part baking soda |
Apply this mixture with a coarse brush using vertical strokes. This ensures that even if some brush marks show through, they look like intentional, architectural details rather than mistakes. Allow the base coat to dry for at least 1 hour before moving to the splatter phase.
Controlled Chaos: Master the Paint Splatter Technique

Now, we channel our inner artist. The paint splatter technique is all about controlled chaos. You want the pots to look organic, not messy. To achieve this, you’ll need a secondary color—usually something high-contrast like charcoal black, metallic gold, or deep navy. Thin your accent paint with a few drops of water until it is the consistency of heavy cream.
- Protect Your Space: Lay down a large drop cloth or old newspapers. This process is messy by nature!
- The Tool Selection: Use a stiff-bristled toothbrush for a ‘fine mist’ effect, or a round artist brush for ‘heavy droplets.’
- The Flick: Hold the brush about 6 inches away from the pot. Use your thumb to pull back the bristles and release them, or sharply tap the handle of the brush against your other hand.
- Layering: Start with your darkest color, let it sit for 10 minutes, and then add a few splatters of a metallic or lighter shade for depth.
“Don’t overthink the drop. The beauty of the splatter is in its imperfection. Let the physics of the paint do the work for you.”
If you find a particular spot is too ‘busy,’ simply dab it with a damp cloth while the paint is wet, or wait for it to dry and go over it with a bit of your base color. This crafty-expert approach allows you to build layers of visual interest that keep the eye moving across the centerpiece.
The Designer’s Finish: Sealing and Professional Styling
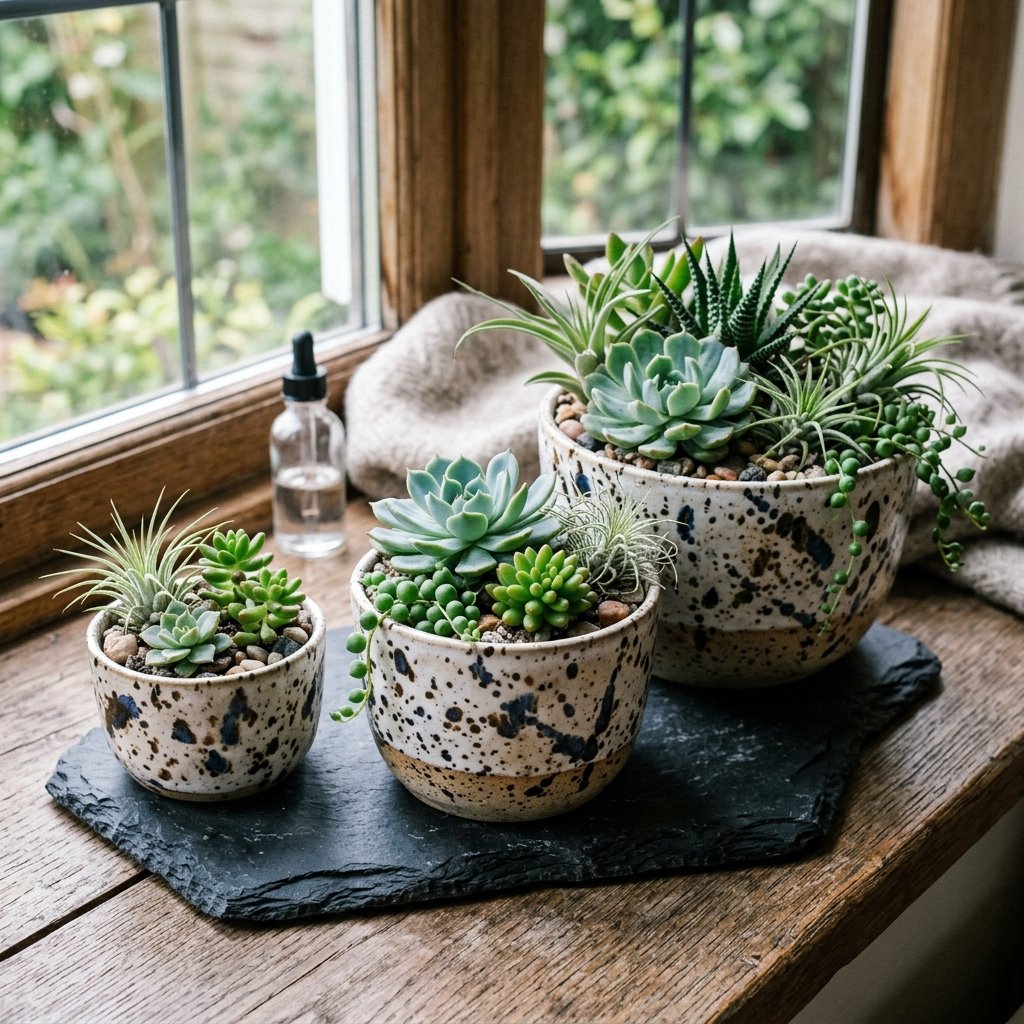
To ensure your DIY masterpiece stands the test of time, especially if it will be used as a wedding centerpiece or outdoor decor, you must seal it. A matte clear coat is the preferred choice here; it protects the paint without adding a cheap-looking plastic shine. For a masculine-elegant vibe, avoid high-gloss finishes which can make the terracotta look like plastic.
Styling is where your resourceful creativity really shines. These pots are incredibly versatile. For a wedding, cluster three pots of varying heights in the center of the table. Fill them with silver dollar eucalyptus, white ranunculus, or simple floating candles. The contrast between the rugged, splattered pot and the delicate flowers creates a high-end designer look for pennies compared to professional floral arrangements.
| Styling Element | Visual Impact | Occasion |
|---|---|---|
| Succulents & Moss | Earthy, Rugged, Modern | Home Office / Father’s Day |
| White Peonies | Soft, Romantic, Elegant | Weddings / Bridal Showers |
| Pillar Candles | Dramatic, Warm, Industrial | Dinner Parties / Mantles |
If you are gifting these, consider a monochrome palette. A black pot with white splatters paired with a vibrant green snake plant is a sophisticated gift that any man or woman would be proud to display in their home or office. It’s practical, beautiful, and shows a level of effort that a store-bought vase simply can’t match.
The Bottom Line: Cost Analysis and Value Proposition
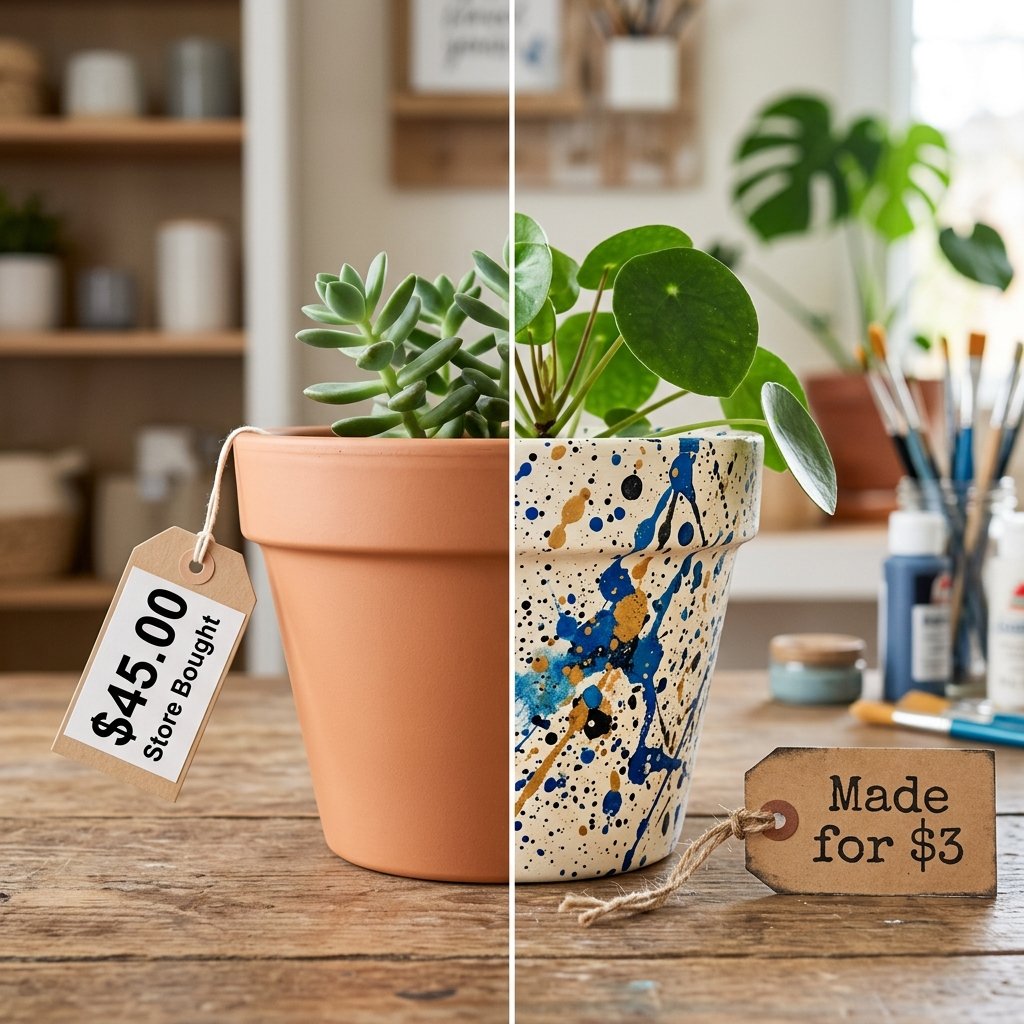
Let’s talk numbers. If you were to walk into a high-end home goods store today, a hand-painted or ‘artisan’ terracotta vessel would easily set you back $35 to $65. By using our frugal DIY methods, we are cutting that cost by over 90%. This is the ultimate ‘trash-to-treasure’ win for anyone who values both style and their bank account.
| Item | Retail Price (Approx.) | DIY Cost (Approx.) |
|---|---|---|
| Small Splattered Vase | $28.00 | $1.50 |
| Medium Textured Planter | $45.00 | $3.00 |
| Large Centerpiece Bowl | $85.00 | $7.00 |
| Total for 3-Piece Set | $158.00 | $11.50 |
The savings are even more dramatic when you scale this for a wedding. For 15 tables, a florist might charge $500+ for custom containers. You can produce the same quantity for under $50 in a single weekend. That extra money can be diverted to the honeymoon, a down payment, or simply kept in your pocket. Being budget-savvy isn’t about sacrifice; it’s about being smarter than the retail price tag.
Conclusion
Your Journey from Basic to Bespoke
Transforming the mundane into the magnificent is the hallmark of a true crafty expert. We’ve taken a simple $1.25 pot and, through the power of texture and technique, turned it into a piece of masculine-elegant decor that commands attention. This project proves that you don’t need a massive budget to have a beautiful home or a stunning event; you just need a bit of resourceful creativity and the willingness to get your hands a little paint-splattered. So, head to your local discount store, grab a stack of terracotta, and start creating. Your tables—and your wallet—will thank you. Remember, the best decor isn’t bought; it’s engineered with heart and hustle.

Makenzie is the founder and lead writer at MoneyHackTips.com — a personal finance blog dedicated to delivering street-smart financial wisdom for real people on real budgets. With 300+ published articles covering everything from debt management to investing fundamentals, Makenzie’s mission is to make every dollar work harder. When not writing about money hacks, Makenzie is testing frugal living strategies, optimizing side hustles, and helping readers build financial freedom from scratch.