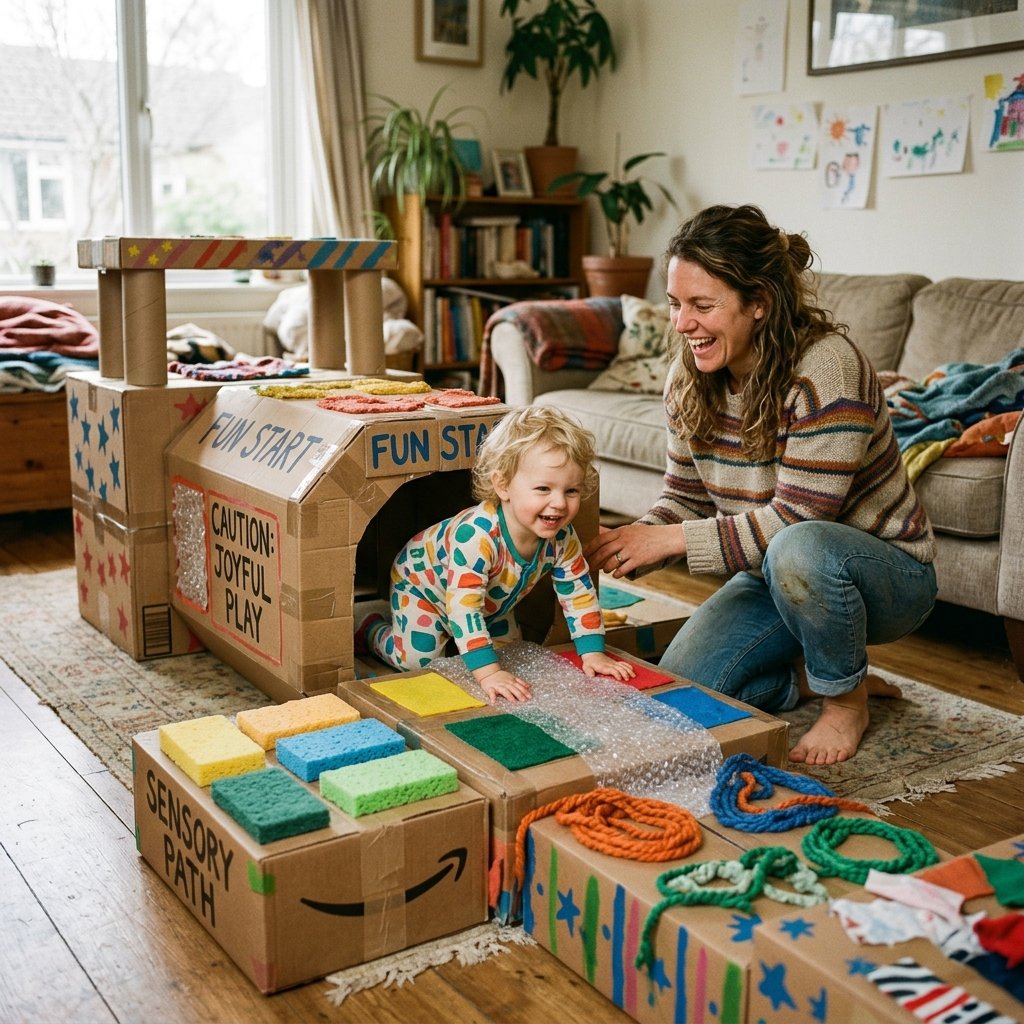

We have all been there: it is pouring rain outside, the clock is crawling toward dinnertime, and your toddler is bouncing off the furniture with the kinetic energy of a small tornado. As a resourceful, budget-savvy parent, you know that keeping a toddler active indoors does not require a trip to the toy store or dropping $150 on a bulky plastic climbing structure that will inevitably gather dust. Instead, the ultimate solution is likely sitting right in your garage or recycling bin: the humble, mighty cardboard box.
Welcome to the ultimate frugal DIYer’s guide to building a Cardboard Sensory Path. This isn’t just about keeping the kids busy; it is about crafting a rugged, brain-building obstacle course that challenges their gross motor skills, engages their senses, and burns off that endless energy, all for 100% free. By upcycling delivery boxes, scrap fabrics, and dollar-store leftovers, you can engineer an indoor adventure that rivals any high-end indoor playground.
Whether you are a handy dad looking to build a heavy-duty living room obstacle course or a crafty mom ready to turn household trash into developmental treasure, this step-by-step guide will walk you through designing, reinforcing, and building a sensory path that can withstand the stomps, jumps, and tumbles of the most active toddlers. Roll up your sleeves, grab your utility knife, and let’s turn that recycling pile into an epic indoor adventure!
The Brain-Building Magic (And Wallet-Saving Glory) of a Sensory Path
Before we start slicing corrugated cardboard, let us talk about why sensory paths are a secret weapon for handy parents. Toddlers are wired to explore the world through touch, balance, and movement. A sensory path provides targeted input that helps develop proprioception (body awareness) and vestibular processing (balance). When they step from a squishy sponge tile to a crinkly bubble wrap tile, their brains are working overtime to adjust their posture and map their environment.
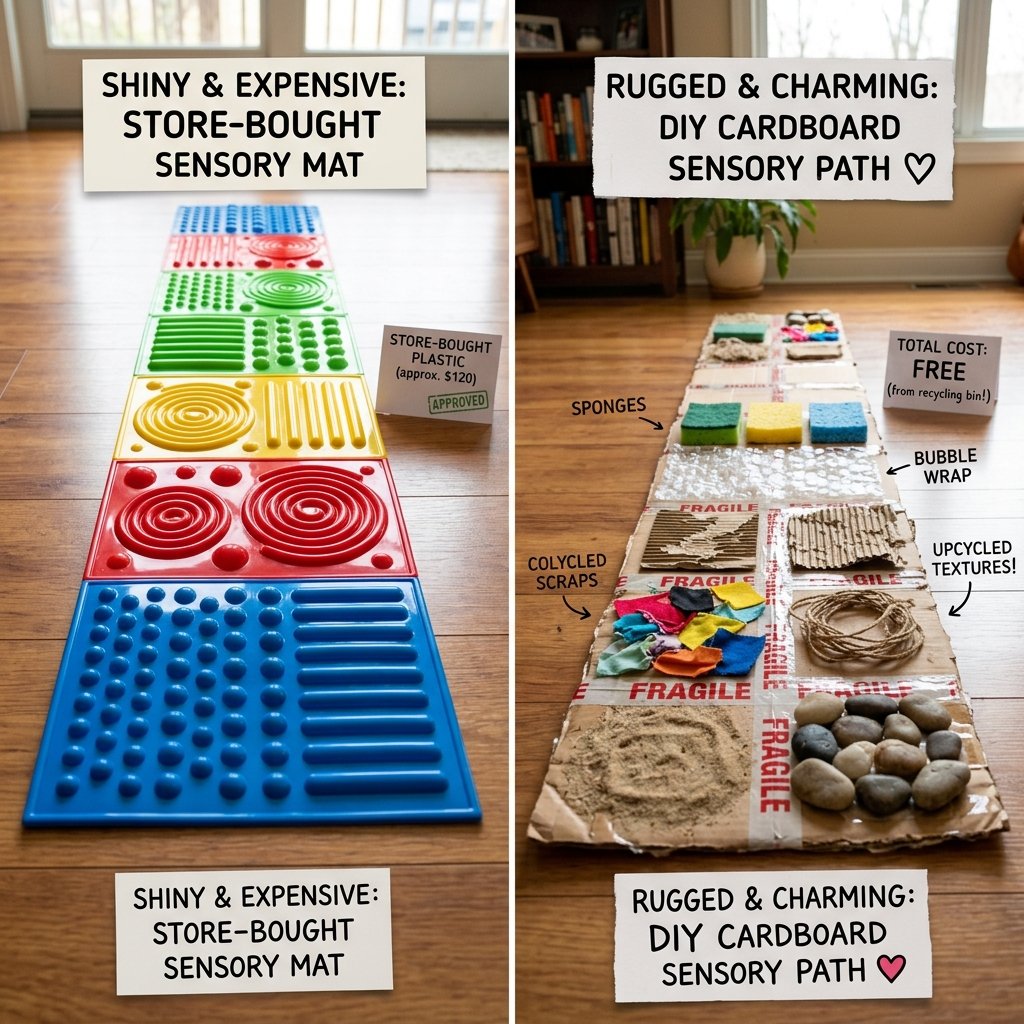
But the real magic for us frugal upcyclers is the cost. Commercial sensory mats and indoor gross motor kits can cost a small fortune. By utilizing the principles of resourceful crafting, we can replicate these high-end developmental toys for pennies.
| Feature | Store-Bought Sensory Mats | Zero-Budget DIY Cardboard Path |
|---|---|---|
| Average Cost | $50 – $120 | $0 – $5 (Using household scraps) |
| Durability | High (Silicone/Plastic) | Moderate to High (When properly reinforced) |
| Customization | Fixed designs and textures | Infinite possibilities based on your recycling bin |
| Storage | Often bulky and hard to store | Easily stackable or recyclable when destroyed |
| Environmental Impact | New plastic production | Eco-friendly upcycling of existing waste |
As you can see, the DIY route not only saves you serious cash but also empowers you to create a custom-tailored experience for your child. Plus, there is an undeniable rugged satisfaction in building something functional and fun with your own two hands.
Raiding the Recycling Bin: Gathering Your Upcycled Arsenal

The beauty of this project lies in its flexibility. You do not need a specialized shopping list; you just need to look at your household waste through the eyes of a resourceful crafter. Here is the ultimate scavenger hunt list to build your sensory path arsenal.
The Structural Foundation
- Heavy-Duty Corrugated Cardboard: Look for double-walled boxes (like appliance or heavy shipping boxes) for maximum durability.
- Duct Tape or Packing Tape: Essential for reinforcing the edges and preventing the cardboard from slipping on hard floors.
- Hot Glue Gun and Industrial Glue Sticks: The MVP of any crafty parent’s toolkit. It provides an instant, tough bond for sensory materials.
The Sensory Elements (Raid Your Drawers!)
- The Squish Factor: Old kitchen sponges, leftover foam packaging, batting from an old pillow, or a cheap bath pouf cut into strips.
- The Crunch & Crinkle: Bubble wrap (the big bubbles are best), crinkly snack wrappers (washed and dried), or crumpled aluminum foil sealed under clear packing tape.
- The Rough & Rugged: Scrap sandpaper (fine grit so it doesn’t scratch little feet), corrugated cardboard peeled back to reveal the ridges, or a piece of an old coir welcome mat.
- The Soft & Cozy: Old fuzzy socks, scraps of fleece, faux fur trim from an old jacket, or thick yarn.
- The Bumpy Terrain: Dried beans, dry pasta, or smooth pebbles (Note: These must be heavily secured with hot glue and tape).
Safety First, Crafters: Always ensure that small items like dried beans or pebbles are completely encased in hot glue or covered with a layer of clear packing tape to eliminate any choking hazards. Inspect the path before every play session to ensure no pieces have worked loose under toddler stomps!
Designing the Blueprint: Mapping the Indoor Obstacle Course
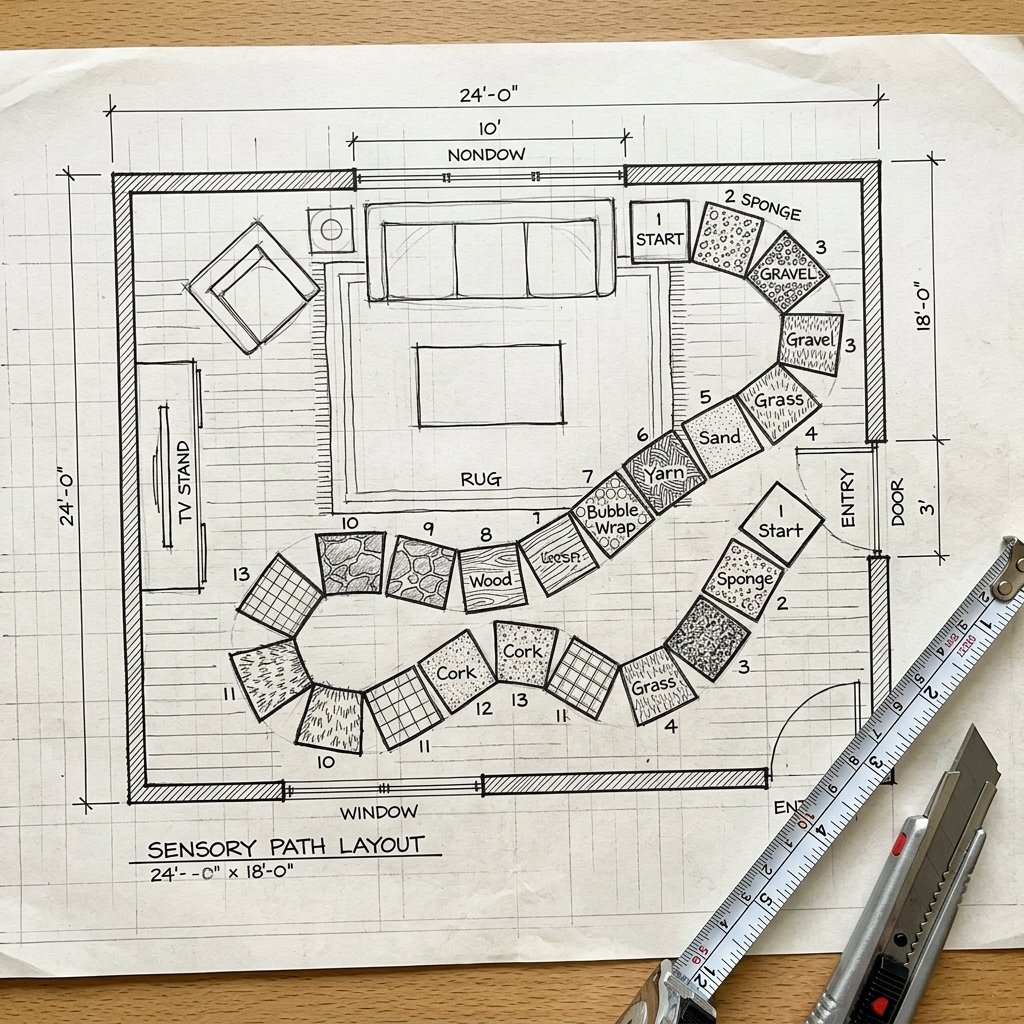
A sensory path is more than just a pile of cardboard squares; it is an engineered experience. Before you start gluing, you need a blueprint. Consider the layout of your indoor space. Are you working with a long, narrow hallway, or a wide-open living room rug? Here are a few strategic layouts to consider:
The Hallway Sprint
Perfect for narrow spaces. Line the tiles up in a straight path, alternating textures. This layout encourages forward momentum and is great for high-energy “time trials.” Place a designated “start” and “finish” line using painter’s tape on the floor.
The Living Room Archipelago
Scatter the tiles across the living room rug like islands in an ocean. This layout forces toddlers to jump or stretch between tiles, enhancing their balance and spatial awareness. You can slowly increase the distance between the “islands” as their confidence grows.
The Zig-Zag Challenge
Arrange the tiles in a sharp zig-zag pattern. This requires the toddler to stop, pivot, and change direction, which is fantastic for developing core stability and cross-body coordination.
When cutting your cardboard base tiles, aim for squares that are approximately 12×12 inches. This is large enough to accommodate a toddler’s foot (or two) but small enough to easily store in a closet when playtime is over. Take your utility knife and a metal straight edge, and cut your tiles cleanly. Remember to cut against the grain of the corrugation for the cleanest edge.
Step-by-Step Construction: Building the Tactile Tiles
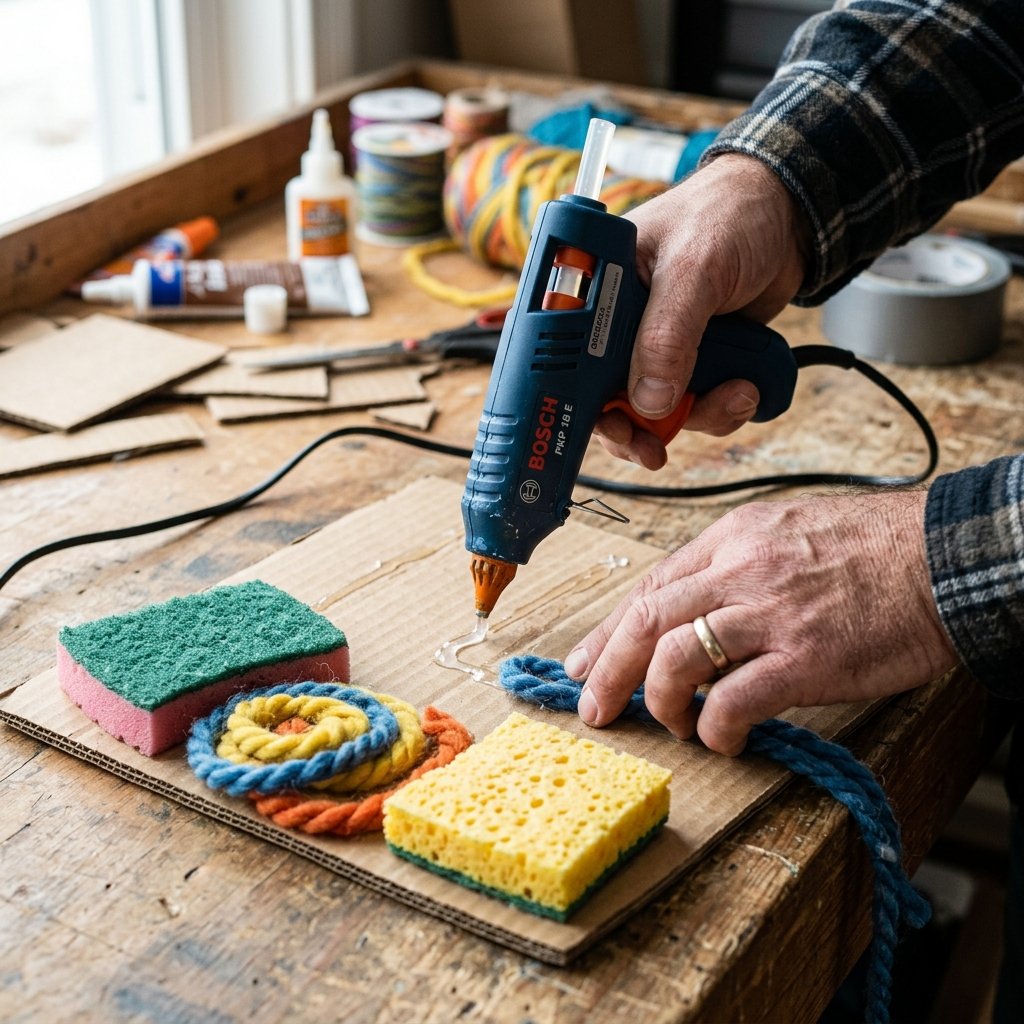
Now comes the fun part: assembly. Fire up that hot glue gun and let’s start building our tactile tiles. Here are step-by-step instructions for four essential sensory tiles that will keep your toddler engaged for hours.
Tile 1: The Bubble Wrap Stomp (Proprioception Powerhouse)
- Take a 12×12 inch cardboard square and run a thick bead of hot glue along one edge.
- Press the edge of your bubble wrap into the glue, holding it taut.
- Wrap the bubble wrap tightly around the cardboard, securing it on the back side with more hot glue or heavy-duty duct tape.
- For extra durability, run strips of clear packing tape over the edges where toddler toes might catch and tear the plastic.
Tile 2: The Sponge Bog (Balance and Squish)
- Gather 4 to 6 clean, cheap kitchen sponges. You can leave them whole or cut them into fun shapes (like triangles or long strips) using heavy shears.
- Apply a generous, thick zigzag of hot glue directly onto the cardboard base.
- Press the sponges firmly into the glue, spacing them out evenly so the toddler’s foot will hit multiple sponges at once.
- Allow the glue to cure completely for at least 10 minutes before allowing anyone to step on it.
Tile 3: The Rugged Ridge (Tactile Feedback)
- Take a piece of corrugated cardboard and carefully peel off the top smooth layer of paper to expose the wavy ridges underneath. (Tip: lightly dampening the top layer with a wet sponge makes it peel off easily).
- Once dry, cut this ridged piece to fit your 12×12 base tile.
- Glue the ridged piece onto your sturdy base tile. The exposed corrugation provides fantastic tactile feedback for bare feet!
Tile 4: The Bean Bag Bumps (Arch Support and Grip)
- Draw a winding path or a fun shape (like a spiral) on your cardboard base using a marker.
- Working in small, two-inch sections, apply a thick puddle of hot glue along your drawn line.
- Quickly press dried kidney beans or large dry pasta shells into the hot glue.
- Once the entire design is finished and the glue is cool, take a roll of wide, clear packing tape and cover the entire tile. Press the tape firmly around the beans. This seals them in, preventing any choking hazards while still providing a bumpy texture.
Rugged Reinforcements: Toddler-Proofing Your Cardboard
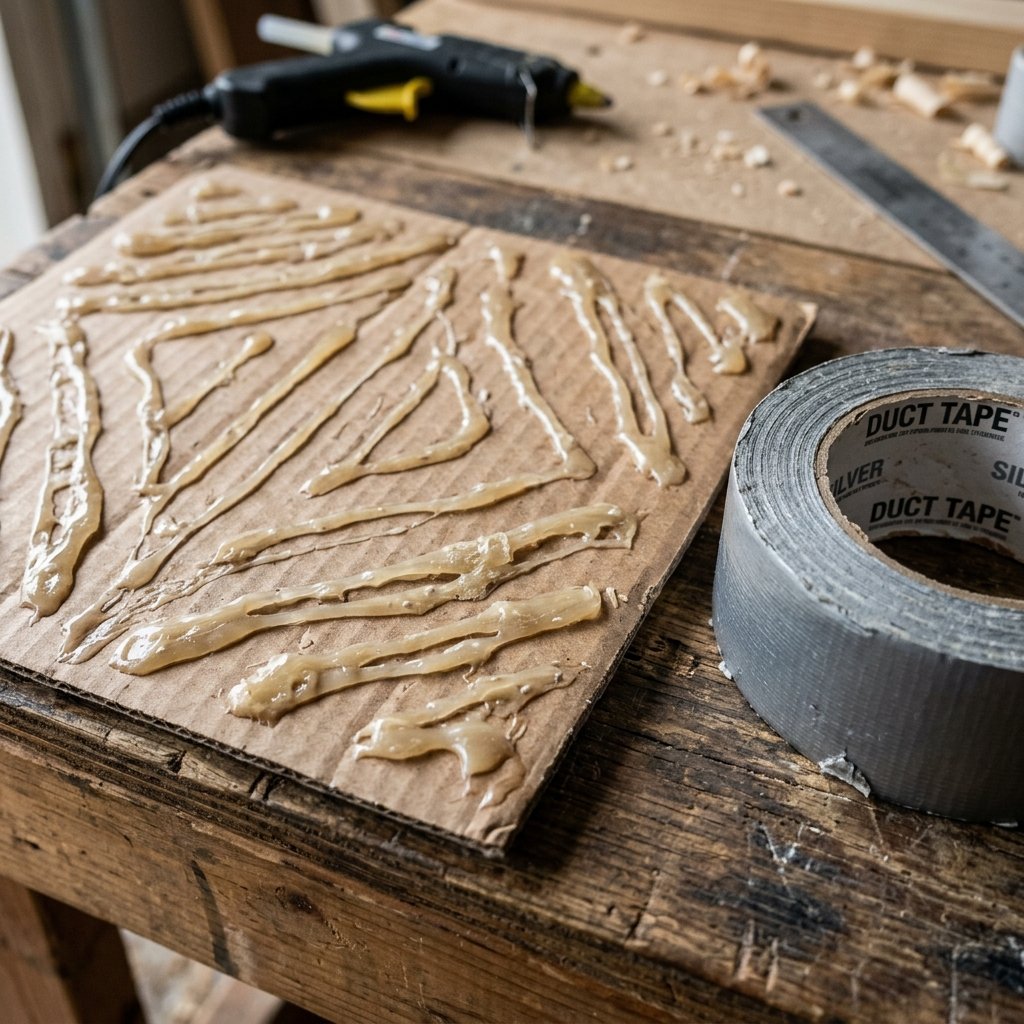
Any handy parent knows that toddlers are the ultimate stress-testers. A piece of raw cardboard sliding on a hardwood floor is a slip-hazard, and unreinforced edges will be crushed within five minutes of enthusiastic jumping. We need to over-engineer these tiles for safety and longevity.
Anti-Slip Technology on a Budget
If your sensory path is going to be used on hardwood, laminate, or tile floors, you must add grip to the bottom of your cardboard squares. You have a few frugal options:
- The Hot Glue Tread: Flip your finished tile over. Draw thick, wavy lines of hot glue across the bottom. Let it dry completely. The rubbery texture of the cooled glue acts as a fantastic, free non-slip grip.
- Shelf Liner Scraps: If you have leftover rubberized shelf liner from a kitchen organization project, cut small squares and glue them to the four corners of the cardboard base.
- Rubber Bands: Stretch thick, heavy-duty rubber bands around the tile (if the sensory material on top allows for it) to create friction against the floor.
Edge Fortification
The edges of cardboard tiles are the first to get crushed. To prevent this, wrap the entire perimeter of each tile in heavy-duty duct tape. This not only reinforces the structural integrity of the corrugated cardboard but also seals the edges so toddlers cannot pick at the paper layers. Choose a brightly colored tape to give your tiles a polished, finished look that mimics expensive store-bought sets.
The Frugal Builder’s Mantra: “Measure twice, cut once, and when in doubt, add more hot glue and duct tape.” A well-reinforced cardboard toy can easily outlast its expensive plastic counterpart!
Gameplay & Variations: Keeping the Magic Alive
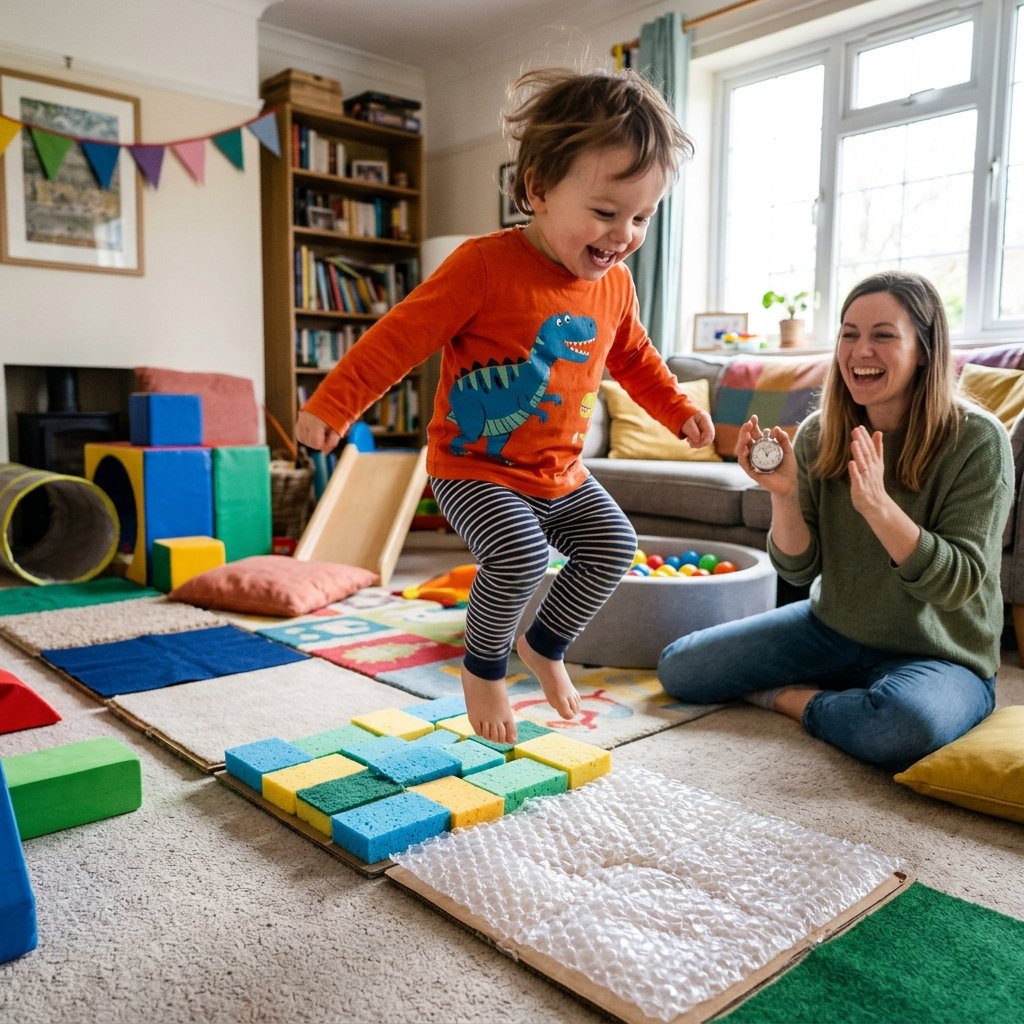
You have sourced the materials, engineered the tiles, and reinforced the edges. Now, it is time to deploy the sensory path and burn that toddler energy! To keep the activity fresh and exciting, you need to introduce variations in gameplay. Here are some clever ways to use your new DIY obstacle course.
The Floor is Lava
A timeless classic. Arrange the tiles across the room. The toddler must navigate from the couch to the doorway using only the sensory tiles. If they step on the carpet, they fall into the “lava!” This encourages leaping and balance, engaging their core muscles.
The Blindfolded Bear Hunt
For older toddlers (ages 3+), have them take off their socks and gently blindfold them (or just ask them to close their eyes). Hold their hands and guide them across the path. Ask them to guess what texture they are standing on. Is it the squishy sponge? The crinkly bubble wrap? This isolates their tactile senses and builds vocabulary.
Time Trials and Speed Runs
Grab your phone’s stopwatch. Arrange the tiles in a complex circuit. Have your toddler run the circuit as fast as they can, touching every single tile. Record their time and challenge them to beat their own record. This is the ultimate energy-burner for those days when they are bouncing off the walls.
Integration with Other Toys
Don’t let the path exist in isolation. Have them transport their favorite stuffed animals or toy cars from one end of the path to the other. Set up a “toll booth” where they have to do three jumps on the bubble wrap tile before they are allowed to proceed.
Advanced Upgrades: Taking Your DIY Path to the Next Level
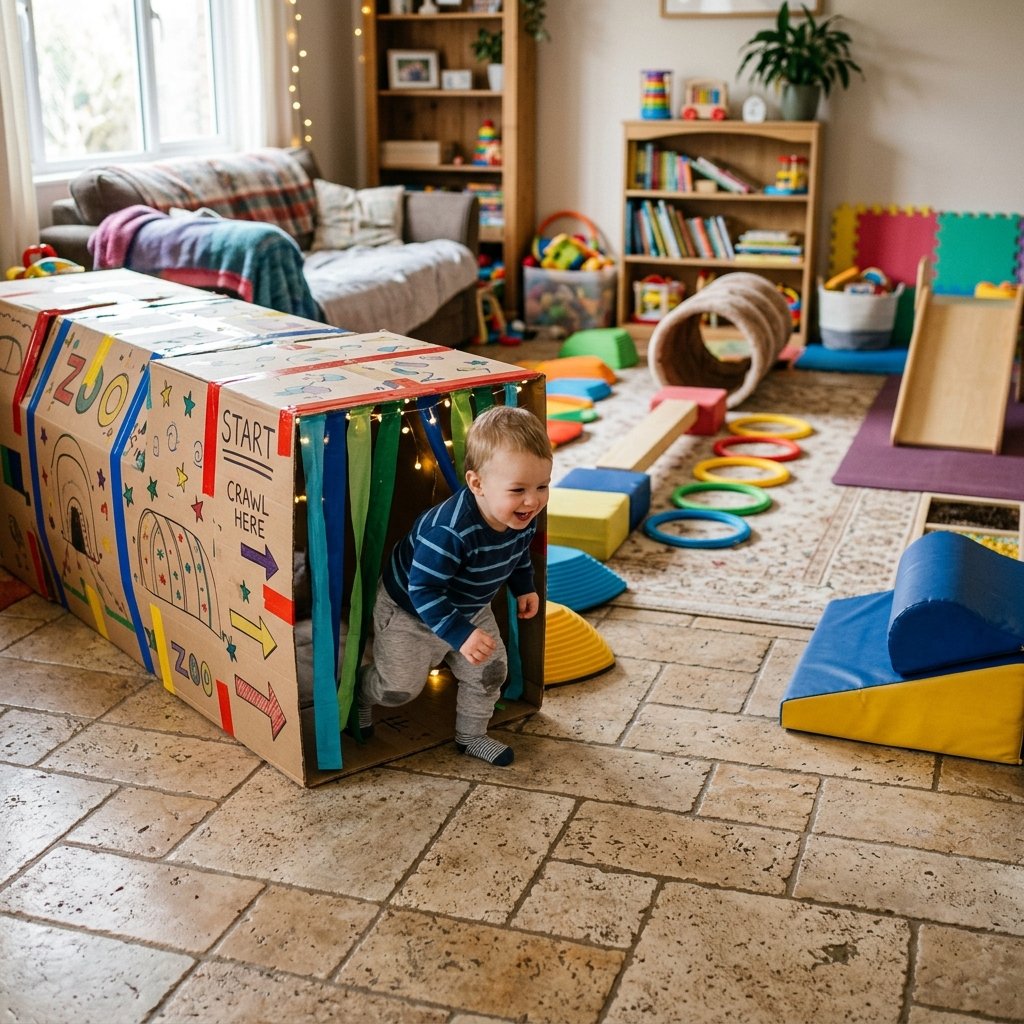
Once you have mastered the basic sensory tiles, you can expand your indoor obstacle course with more advanced upcycled engineering. For the truly ambitious handy parent, the recycling bin offers endless possibilities.
- The Cardboard Tunnel: Save a large appliance box. Open the ends to create a crawl-through tunnel. Tape sensory materials to the inside roof of the tunnel so they brush against the toddler’s back as they crawl through.
- The Balance Beam: Roll up several thick bath towels tightly and secure them with duct tape to form a long, sturdy log. Place this between two cardboard sensory tiles to act as a tightrope challenge.
- The Ramps: If you have a sturdy couch cushion, lean a large, rigid piece of double-walled cardboard against it to create a ramp. Cover the ramp in an old yoga mat for grip, allowing the toddler to climb up and slide down.
By continually adding new elements to your DIY sensory path, you ensure that the toy grows with your child’s developing motor skills. The modular nature of these cardboard tiles means you can swap out damaged ones, introduce new textures, and redesign the layout every single week.
Conclusion
Building a DIY cardboard sensory path is the ultimate testament to resourceful parenting. It proves that you do not need to spend a fortune to provide high-quality, developmentally appropriate activities for your children. With a little bit of elbow grease, a hot glue gun, and a raid on your recycling bin, you have created a rugged, engaging, and brain-building obstacle course that will keep your toddler active, happy, and exhausted by naptime.
Remember, the goal isn’t Pinterest-perfect aesthetics; it is functional, frugal fun. Every crooked sponge and tape-reinforced edge is a mark of a parent who cares enough to build something with their own hands. So the next time a rainy day threatens to derail your afternoon, don’t panic. Just break down a few Amazon boxes, unleash your inner crafty-expert, and watch your living room transform into an epic adventure zone. Happy building, and enjoy the well-earned quiet time when they finally fall asleep!

Makenzie is the founder and lead writer at MoneyHackTips.com — a personal finance blog dedicated to delivering street-smart financial wisdom for real people on real budgets. With 300+ published articles covering everything from debt management to investing fundamentals, Makenzie’s mission is to make every dollar work harder. When not writing about money hacks, Makenzie is testing frugal living strategies, optimizing side hustles, and helping readers build financial freedom from scratch.