
The Magic of the Humble Box
In an era dominated by high-definition tablets and glowing rectangles, there is a profound, rugged elegance in the simplicity of cardboard. As a frugal DIYer, you know that the best toys aren’t bought; they are engineered from the remnants of your latest delivery. This DIY cardboard laptop isn’t just a toy; it is a screen-free vessel for imagination, designed to mimic the ‘work’ toddlers see their parents doing every day. By upcycling household waste, you are not only saving $30 to $50 on plastic electronic toys but also providing a tactile, customizable experience that grows with your child. This project is about more than just craft; it is about structural integrity, resourceful design, and the joy of creating something from nothing. Let us dive into the blueprint of the ultimate pretend-play workstation.
Scavenging the Supply Chain: Materials for Your Bespoke Tech
Sourcing the Chassis
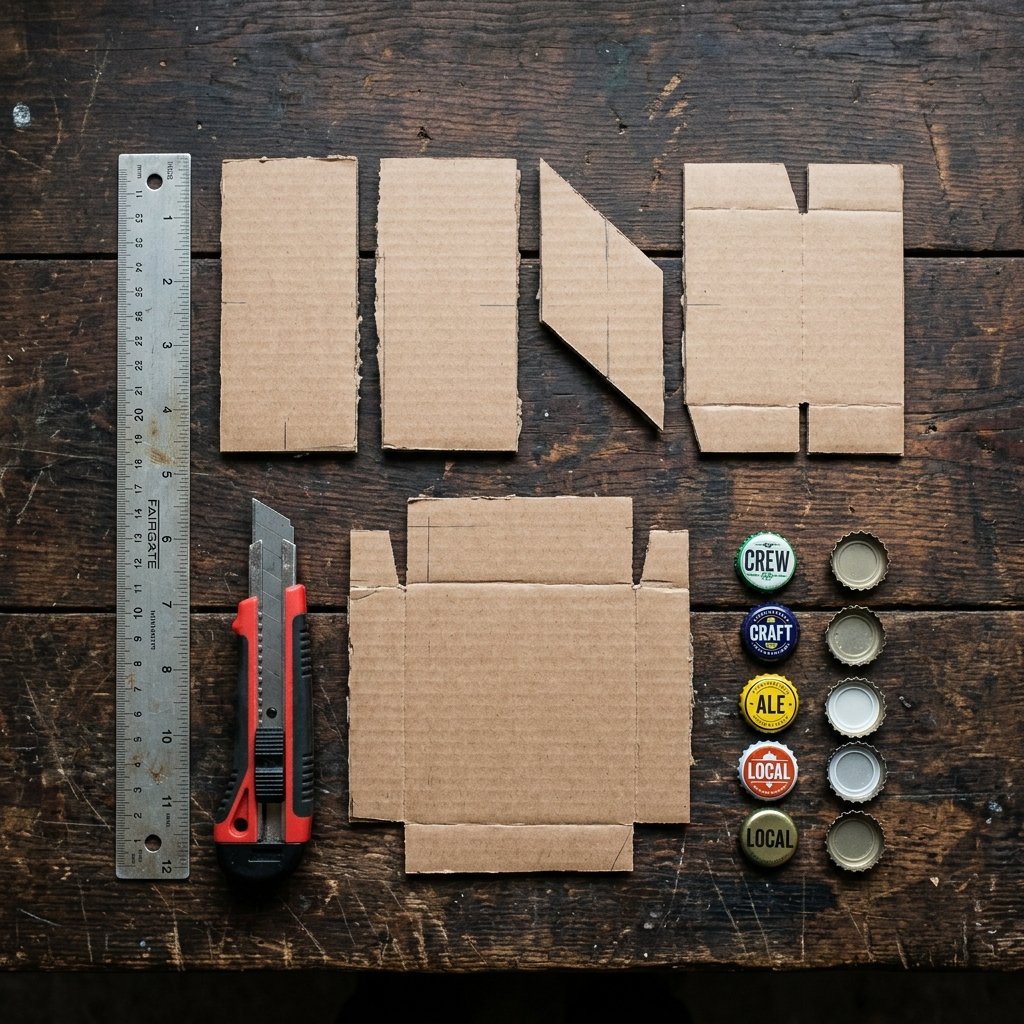
The foundation of any great build is the quality of the raw materials. For this laptop, you want a double-wall corrugated cardboard if possible, or at least a very sturdy shipping box (think heavy-duty appliance or pantry-stock boxes). Avoid the flimsy cereal box variety for the main body; we want this to withstand the ‘heavy processing’ of a determined three-year-old.
| Material | Source | Estimated Cost |
|---|---|---|
| Sturdy Shipping Box | Recycling Bin / Deliveries | $0.00 |
| Bottle Caps (26-30) | Milk Jugs, Soda Bottles | $0.00 |
| Self-Adhesive Velcro | Craft Drawer / Dollar Store | $1.25 |
| Hot Glue / Wood Glue | Workshop Supplies | $0.50 |
| Washi Tape or Duct Tape | Home Supplies | $0.25 |
| Total Investment | Resourceful Sourcing | $2.00 |
The Essential Tool Kit
- Precision Utility Knife: For clean, professional-grade cuts.
- Metal Ruler: For straight edges and scoring hinges.
- Hot Glue Gun: For rapid structural bonding.
- Permanent Markers: To detail the ‘hardware’ and ‘ports’.
Pro Tip: If you want a ‘Space Gray’ or ‘Midnight’ finish, look for boxes that have a consistent brown or white interior, or consider a quick coat of leftover matte spray paint for that high-end tech aesthetic.
Structural Engineering: Crafting the Laptop Chassis
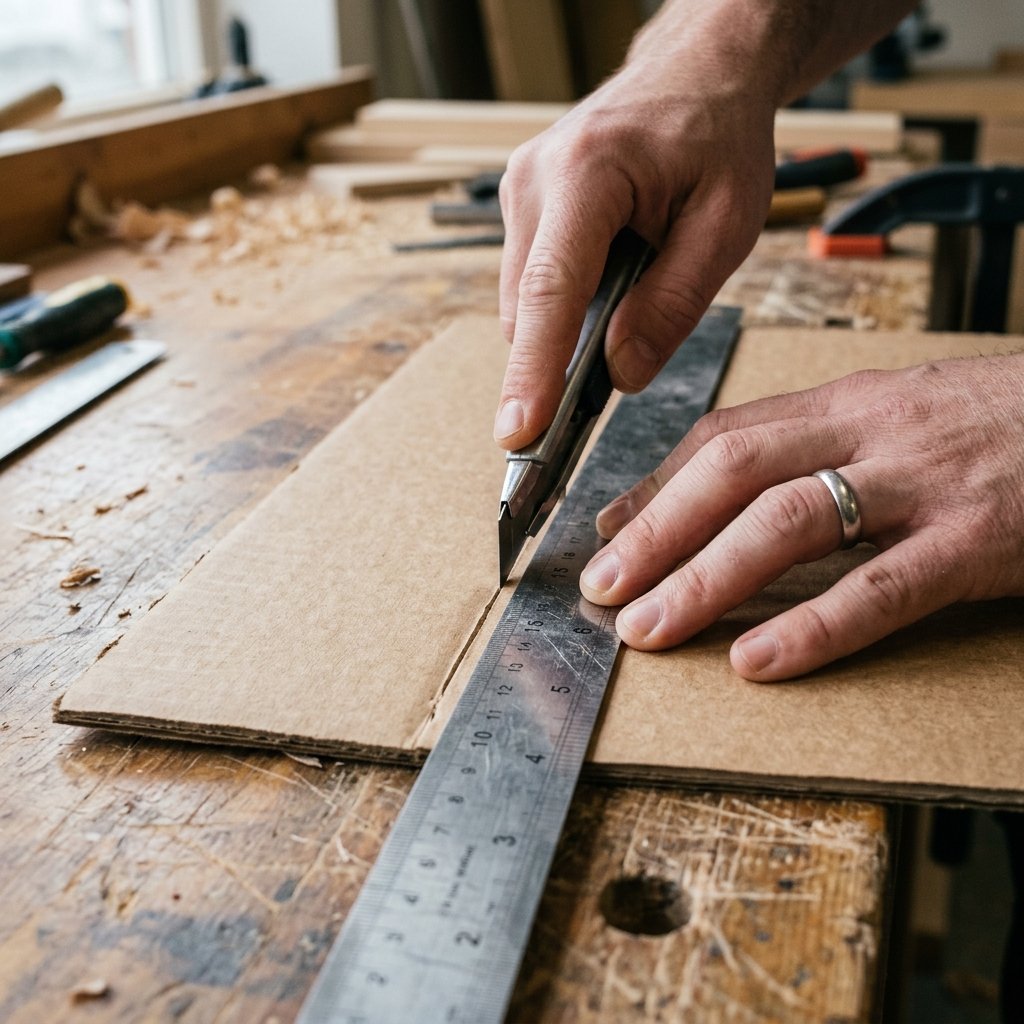
Measuring and Cutting the Frame
To achieve a realistic laptop feel, we need to mimic the 13-inch or 15-inch form factor. Measure two identical rectangles of 12 inches by 9 inches. One will serve as the base (the keyboard deck) and the other as the lid (the screen). To create the hinge, we will use a third piece of cardboard, approximately 12 inches by 2 inches, which will act as the ‘spine’ of the laptop.
The Art of the Score
A common mistake in cardboard DIY is folding against the grain. To create a crisp, durable hinge, use your metal ruler and the back of your utility knife (the non-sharp side) to ‘score’ the cardboard. This compresses the internal fluting without breaking the outer liner, allowing for a smooth 90-degree or 180-degree bend. This technique ensures your laptop lid won’t snap off after five minutes of play.
Assembly Instructions
- Lay the lid and base flat with the spine piece in between them.
- Leave a 1/8 inch gap between the pieces to allow for the thickness of the cardboard when folded.
- Apply heavy-duty duct tape or reinforced kraft tape across the joints on both the interior and exterior.
- Test the ‘clamshell’ action; it should close flush and open to a comfortable viewing angle.
The Tactile Interface: Engineering Buttons and Trackpads
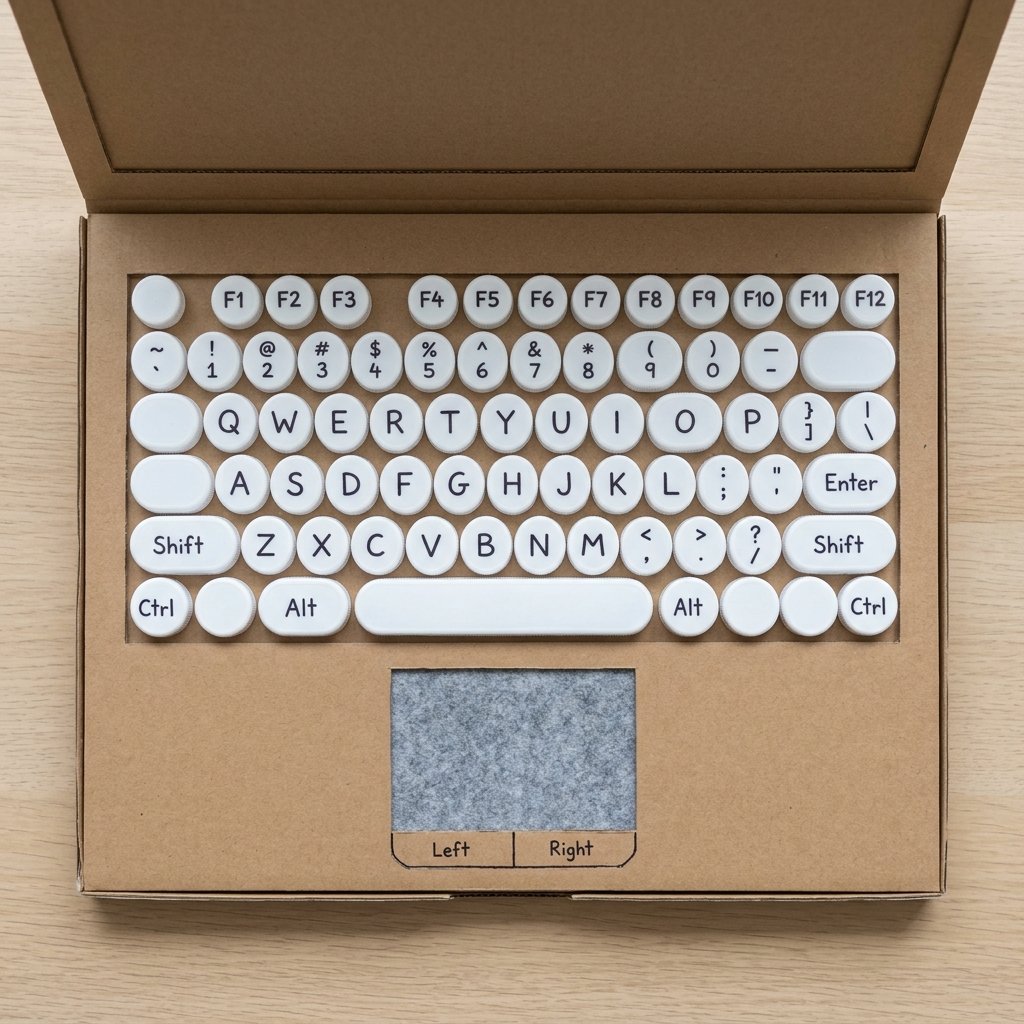
The Keyboard Grid
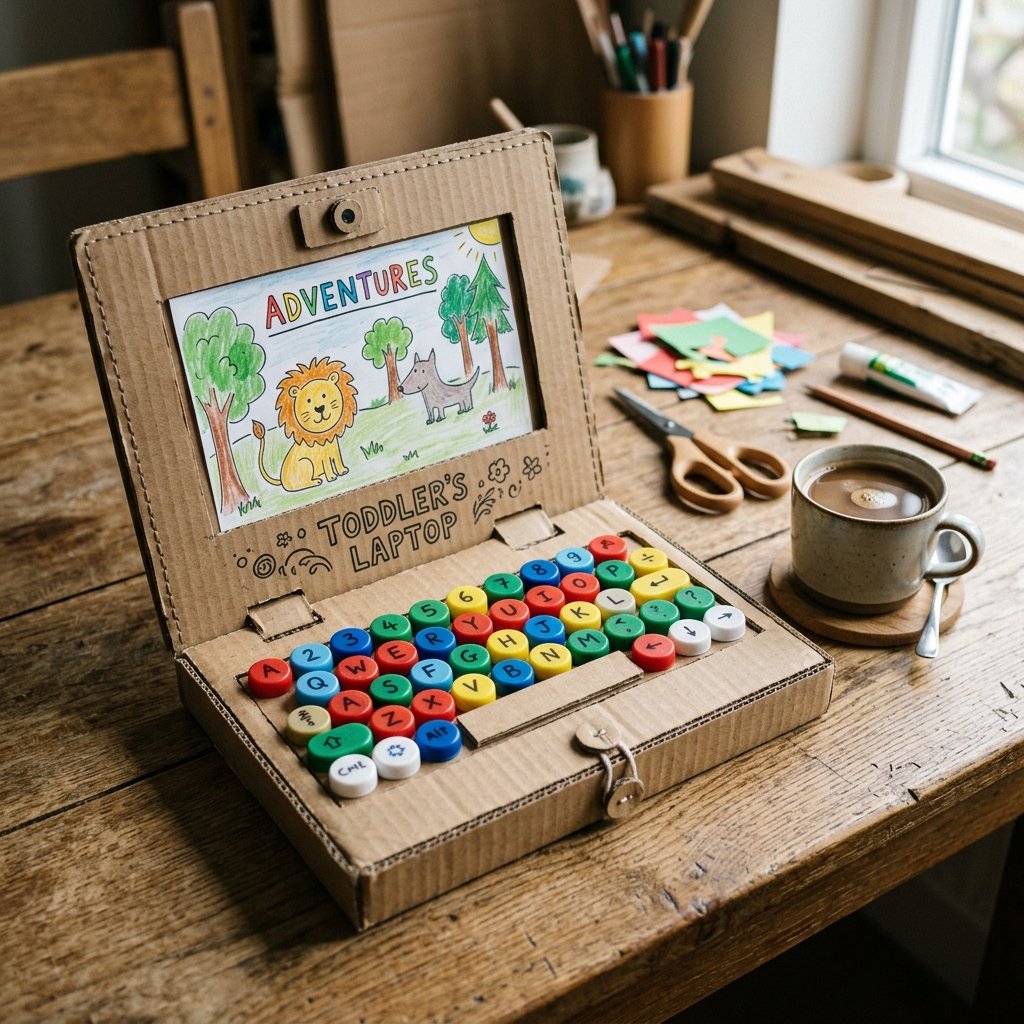
The soul of the laptop is the keyboard. While you could simply draw the keys, we want a tactile, sensory experience. This is where the bottle caps come in. Using a grid pattern, hot glue 26 to 30 bottle caps onto the base rectangle. For a more sophisticated look, use caps of the same color (all white or all black). If you are feeling extra crafty, you can print out small letters and glue them to the top of each cap.
The Click-Clack Factor
To simulate the ‘click’ of a mechanical keyboard, you can place a small piece of crumpled parchment paper or a tiny spring inside a few select caps before gluing them down. This provides a subtle auditory feedback that toddlers find mesmerizing. For the spacebar, use a long strip of corrugated cardboard raised slightly by two smaller scraps on either end.
The Precision Trackpad
Every pro-grade laptop needs a trackpad. Cut a 4-inch by 3-inch rectangle out of a different textured material—perhaps a piece of felt, a smooth piece of cardstock, or even a scrap of faux leather. Glue this centered below your keyboard. This textural contrast helps the toddler distinguish between ‘typing’ and ‘mousing’.
| Feature | Material Suggestion | Sensory Benefit |
|---|---|---|
| Keys | Plastic Bottle Caps | Tactile & Sound |
| Spacebar | Double-layered Cardboard | Height Distinction |
| Trackpad | Felt or Smooth Cardstock | Texture Contrast |
| Power Button | Red Soda Cap | Visual Recognition |
Software Updates: Creating Interchangeable Paper Screens

The Dynamic Display System
Why settle for one static screen when you can have an entire library of ‘apps’? To make the screen interactive, we will build a top-loading slot behind the lid. Cut a piece of cardboard slightly smaller than the lid and glue it to the back, but only along the side and bottom edges. This creates a pocket where your child can slide in different ‘software’ screens.
Designing the ‘Apps’
Cut several pieces of white cardstock or heavy paper to fit the slot. On these, you can draw various interfaces:
- The Office Suite: A fake email inbox with ‘To-Do’ lists for ‘working like Mommy/Daddy’.
- The Creative Studio: A blank screen for the toddler to draw their own ‘designs’.
- The Learning Center: A screen with numbers and shapes for educational play.
- The Video Call: A drawing of a face (or a small mirror glued on) to simulate a Zoom meeting.
Creative Hack: Use a small piece of clear acetate (from toy packaging) over the screen slot to act as a ‘glass’ protector. Your toddler can then use dry-erase markers to ‘draw on the screen’ and wipe it clean for the next task.
Ruggedized for Toddlers: Reinforcing Hinges and Hardware
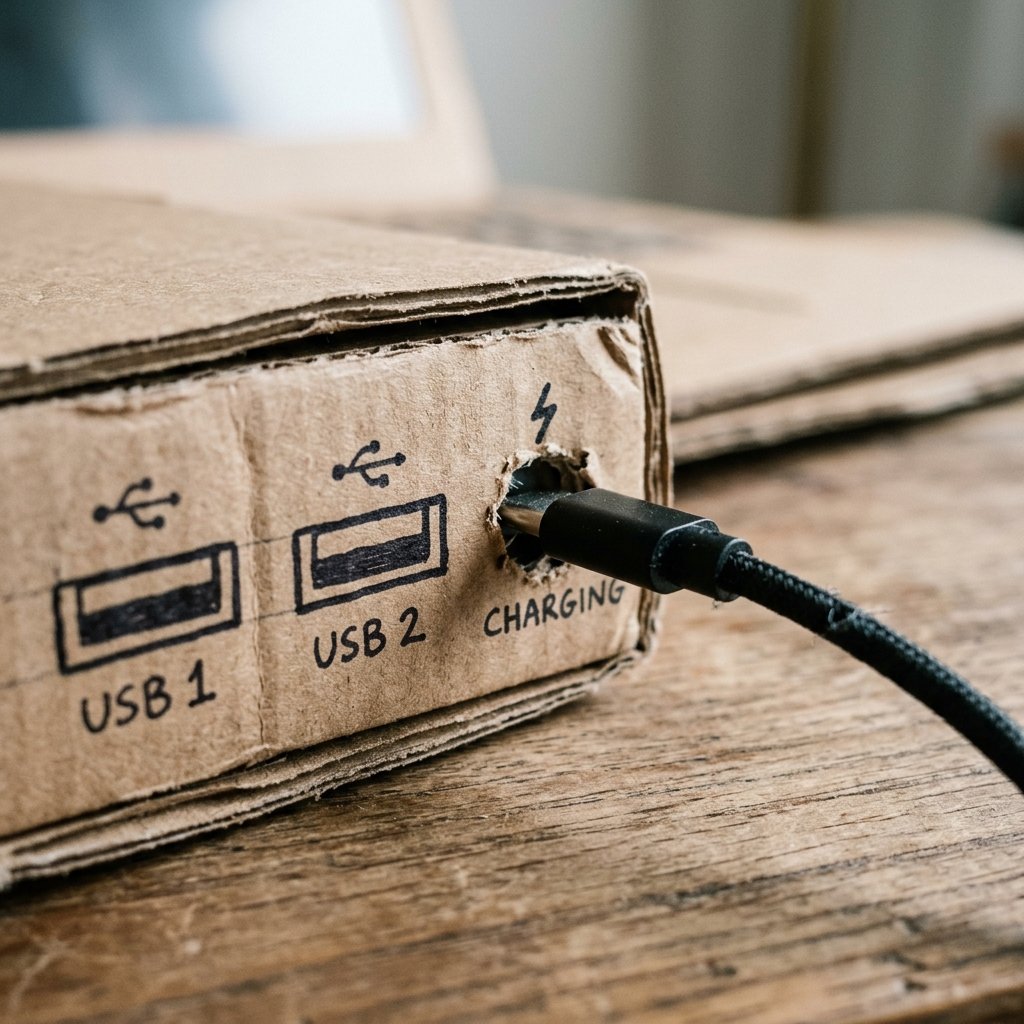
Industrial-Strength Durability
Toddlers are notoriously hard on ‘hardware’. To ensure this laptop survives the ‘commute’ from the living room to the playroom, we need to reinforce the stress points. Apply extra layers of hot glue to the corners of the chassis. You can also ‘edge-band’ the exposed corrugated edges with washi tape or electrical tape. This not only looks like a sleek trim but prevents the cardboard from fraying or causing paper cuts.
Adding the ‘Ports’
To add to the realism, use a black marker to draw ‘USB ports’, ‘HDMI outlets’, and a ‘charging port’ on the sides of the base. If you have an old, broken charging cable, you can even cut the end off and glue a small ‘port’ (a small hole reinforced with tape) into the side so the toddler can ‘charge’ their laptop at night.
The Finishing Touches
For a final touch of masculine elegance, consider adding a ‘logo’ to the lid. A simple silver sticker or a hand-drawn geometric shape can make the device feel like a premium piece of tech. If you want to go the extra mile, add a small velcro closure to the front of the lid and base so the laptop ‘snaps’ shut and stays closed during transport.
The ROI of Play: Educational Games and Creative Scenarios
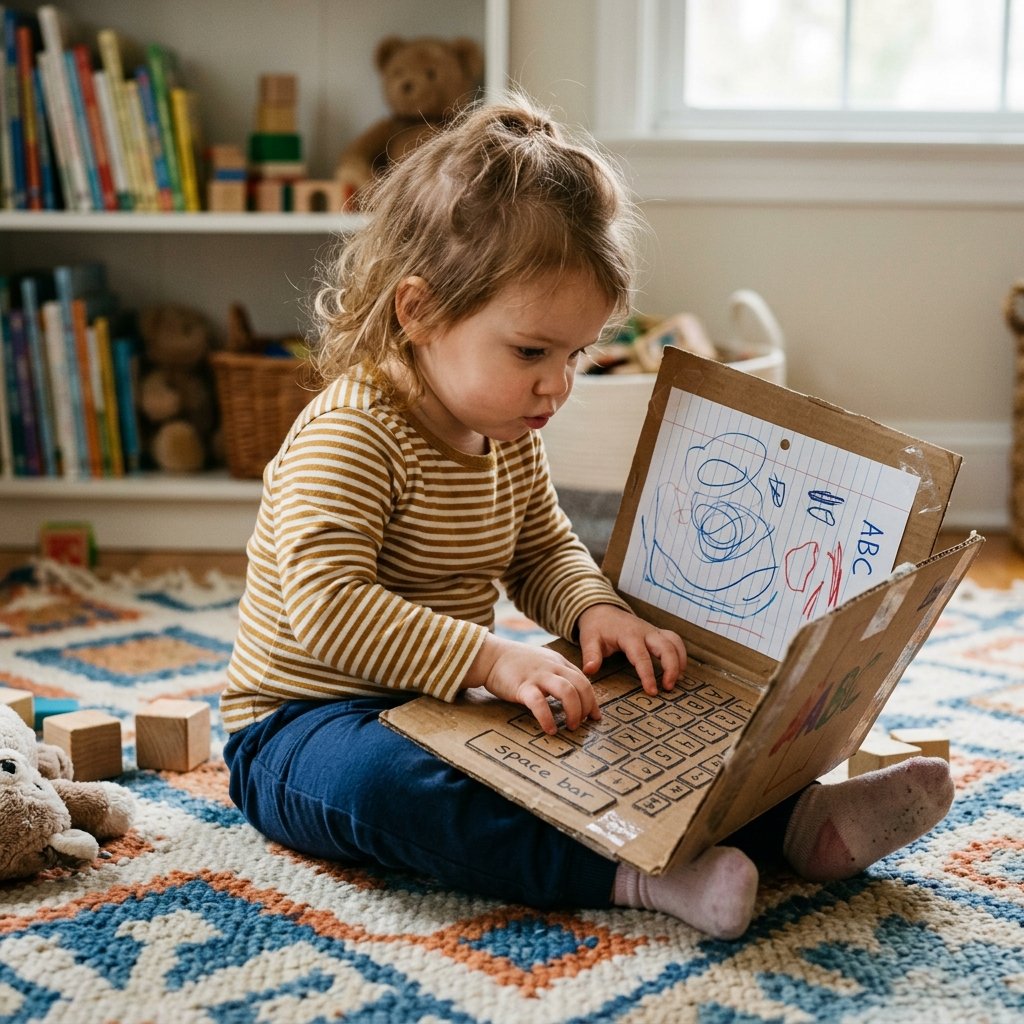
Imitative Play and Development
The Return on Investment (ROI) for this project is measured in hours of quiet, focused play. By mimicking adult behavior, toddlers develop fine motor skills through typing and sliding screens. They also engage in ‘symbolic play’, which is a critical milestone in cognitive development. This laptop allows them to ‘work’ alongside you, reducing the friction of them wanting to grab your actual expensive MacBook.
Game Ideas for Your Cardboard Tech
- The Dictation Game: Ask your toddler to ‘type’ a grocery list as you call out items.
- The Tech Support Call: Pretend the laptop is ‘broken’ and have them fix it with a cardboard ‘screwdriver’.
- The Email Exchange: Write a small note on a piece of paper and ‘send’ it by sliding it into the screen slot for them to read.
| Developmental Skill | Activity | Outcome |
|---|---|---|
| Fine Motor | Pressing Bottle Cap Keys | Hand-Eye Coordination |
| Social/Emotional | Pretend Office Work | Empathy & Role Modeling |
| Cognitive | Matching Screen to Task | Problem Solving |
| Literacy | Identifying Letters on Keys | Early Reading Skills |
Conclusion
A Masterpiece of Frugal Engineering
Building this DIY cardboard laptop is a testament to the fact that creativity is more valuable than a credit card. For the cost of a few bottle caps and a recycled box, you have engineered a toy that provides infinite ‘software’ updates and requires zero batteries. You have given your child a tool for imagination that is rugged, repairable, and remarkably sophisticated. As you watch them ‘type’ away with a look of intense professional focus, you can take pride in your crafty expertise and the 100% savings you achieved by choosing trash over treasure. Now, go forth and build; your toddler’s ‘corner office’ is waiting for its newest piece of tech.

Makenzie is the founder and lead writer at MoneyHackTips.com — a personal finance blog dedicated to delivering street-smart financial wisdom for real people on real budgets. With 300+ published articles covering everything from debt management to investing fundamentals, Makenzie’s mission is to make every dollar work harder. When not writing about money hacks, Makenzie is testing frugal living strategies, optimizing side hustles, and helping readers build financial freedom from scratch.