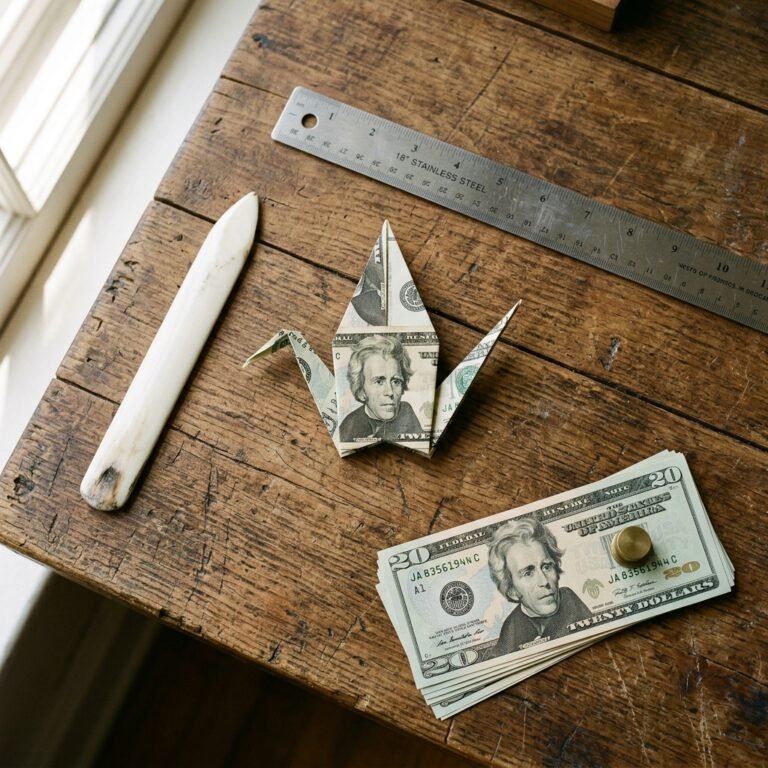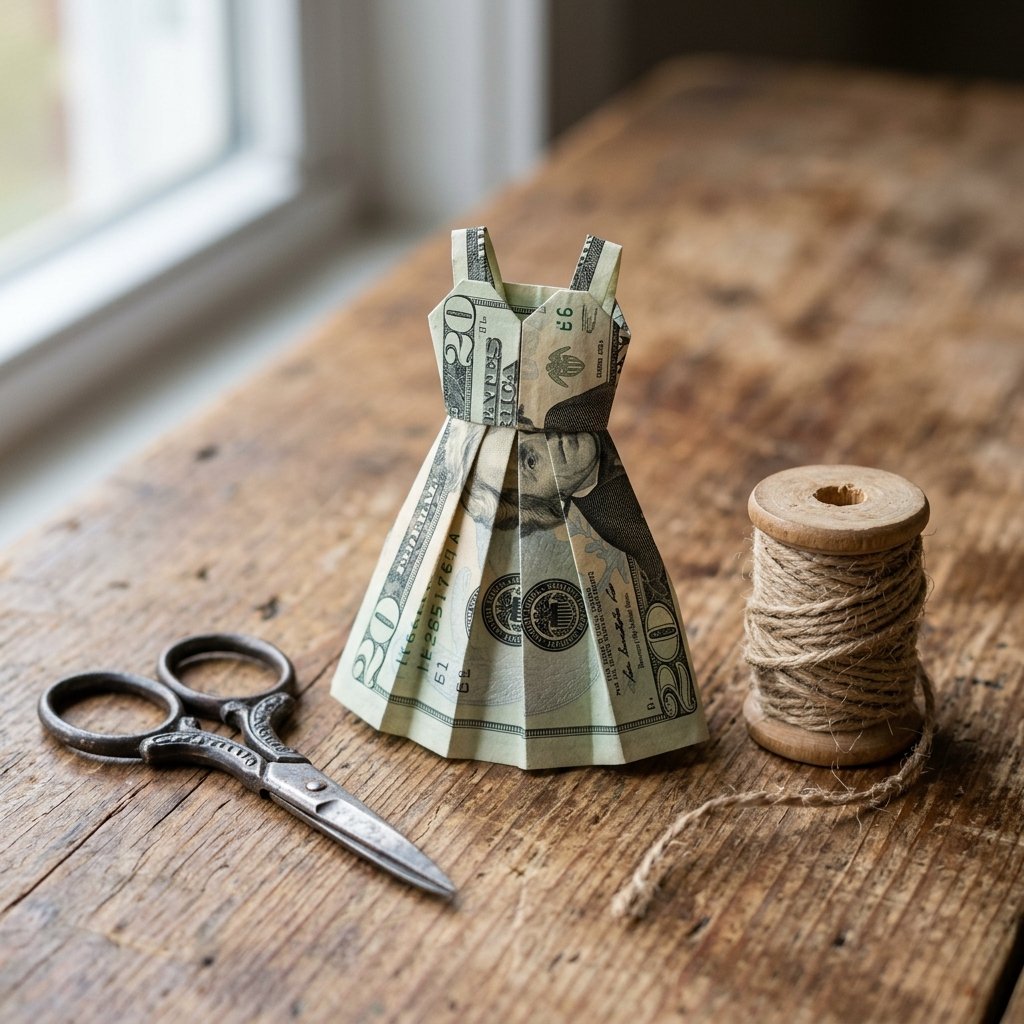

The Art of the Thoughtful Currency
Let’s be honest: gifting cash is often seen as the ‘easy way out.’ It is the practical choice, the one we make when we aren’t quite sure what the recipient needs or when we want to ensure they can buy exactly what they desire. But as a resourceful DIYer, you know that the presentation is just as important as the gift itself. Why hand over a boring white envelope when you can present a miniature masterpiece? The money origami dress is a clever, budget-savvy way to elevate a simple $20 or $50 bill into a keepsake that the recipient might actually hesitate to spend. This tutorial is designed for the crafty expert and the handy parent alike, proving that with a few precise folds, you can turn ‘cold hard cash’ into a warm, personal gesture. Whether you are preparing for a bridal shower, a graduation, or a ‘just because’ gift for a fashion-forward friend, this guide will walk you through every crease and tuck with the precision of a master tailor.
The Strategic Toolkit: What You Need Before the First Fold
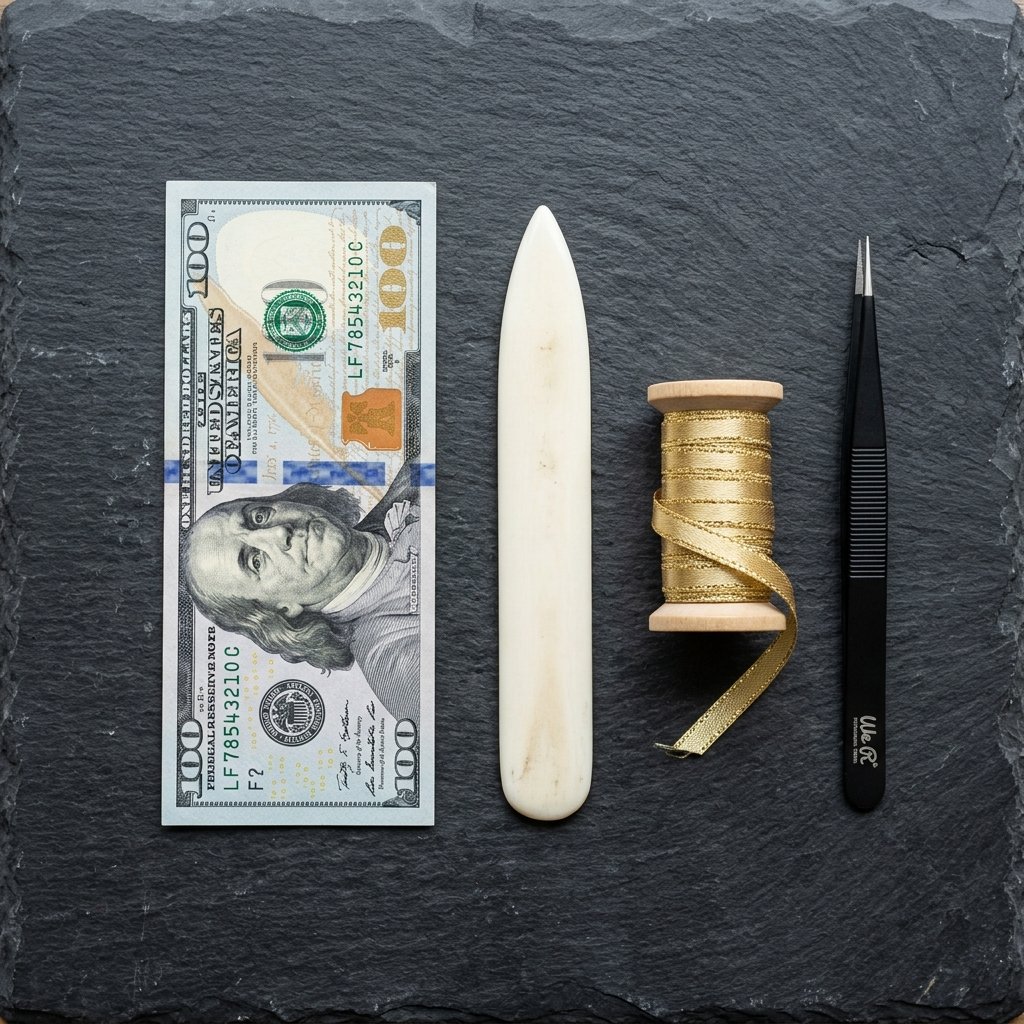
Before we dive into the geometry of paper folding, we need to gather our supplies. Unlike high-end crafting projects that require expensive machinery, money origami is the ultimate low-cost, high-impact hobby. Your primary material is, of course, the currency itself. For the best results, you want bills that are crisp and uncirculated. A limp, wrinkled bill will not hold a crease well, and the final dress will look more like a ‘laundry day’ accident than a ‘runway’ success.
Essential Materials List
| Item | Purpose | Estimated Cost |
|---|---|---|
| Crisp Currency | The main fabric of your dress | Face Value (e.g., $20) |
| Bone Folder or Credit Card | To create sharp, professional creases | $0.00 (Use what you have) |
| Small Tweezers | For intricate tucking in tight corners | $1.00 |
| Thin Ribbon or Twine | For the ‘waist’ embellishment | $0.10 |
| Miniature Hanger | For the final presentation | $0.50 (DIY from a paperclip) |
Pro Tip: If your bills are slightly wrinkled, you can actually iron them on a low heat setting (no steam!) to regain that ‘fresh from the mint’ crispness. Just be careful not to scorch the ink!
The Blueprint: Step-by-Step Anatomy of a Money Dress

Folding money is a lesson in patience and rugged precision. The US dollar bill is a unique canvas—it is made of a blend of 75% cotton and 25% linen, which makes it incredibly durable for folding compared to standard printer paper. Follow these steps carefully to ensure your dress has the perfect silhouette.
Phase 1: Creating the Foundation
- The Vertical Crease: Start with the bill face down. Fold it in half lengthwise, matching the edges perfectly. Crease it hard with your bone folder and then unfold it.
- The Gate Fold: Fold both long edges inward to meet at the center crease you just created. Your bill should now be half its original width.
- The Z-Fold: This is the most critical step for the ‘waist.’ About one-third of the way down from the top, fold the bill backward, then fold it forward again about 1/2 inch below that. This creates a small accordion pleat that will become the waistband.
Phase 2: Shaping the Skirt and Bodice
- The Flare: On the bottom section of the bill (below the Z-fold), gently pull the inner corners outward. This will cause the bottom of the bill to flare out, creating an A-line skirt shape. Press the diagonal creases flat.
- The Collar: At the very top of the bill, fold the two inner corners outward to create a ‘V’ neck or a collar effect. This defines the neckline of the dress.
- The Sleeves: Flip the bill over. Fold the top corners inward toward the center to narrow the shoulders. When you flip it back, you will see a defined bodice and shoulder line.
“The secret to a perfect origami dress isn’t in the hands; it’s in the creases. A soft crease leads to a soft shape. A sharp crease leads to a sharp gift.” — The Frugal Guru’s Mantra
The Value Matrix: Choosing the Right Denomination
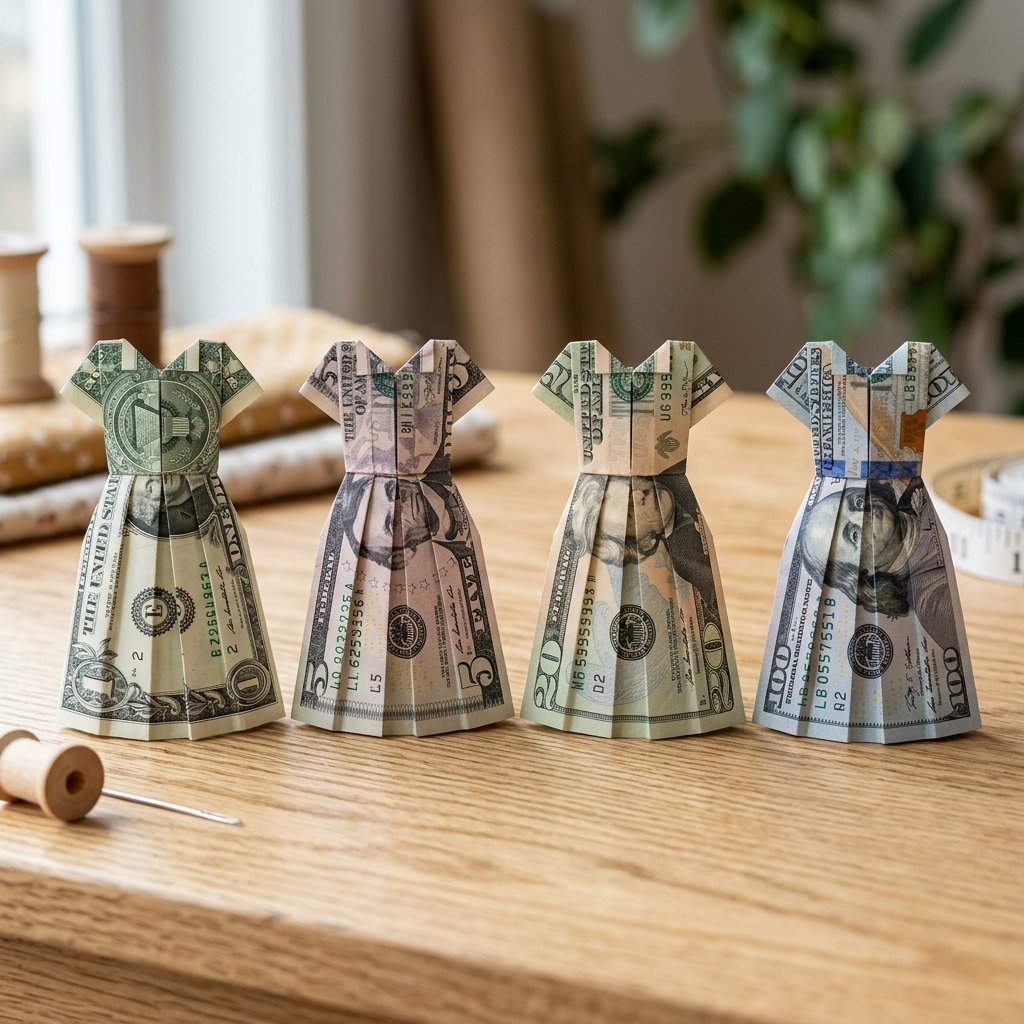
Not all dresses are created equal. The denomination you choose can change the entire ‘vibe’ of the gift. While a $1 bill is great for practice, a $100 bill dress is a showstopper for a wedding. Use the table below to decide which ‘fabric’ fits your occasion.
| Denomination | Best Occasion | Visual Impact |
|---|---|---|
| $1.00 | Tooth Fairy or Practice | Charming & Simple |
| $5.00 | Child’s Birthday | Colorful (Pink/Purple hues) |
| $20.00 | Graduation / Housewarming | Classic & Sophisticated |
| $50.00 | Milestone Birthday | Elegant & Substantial |
| $100.00 | Wedding Gift | High-End Luxury |
When folding higher denominations, be extra careful. You don’t want to tear the ‘fabric’ of a $100 gift! If you are nervous, practice the entire sequence five times using $1 bills until your muscle memory takes over. This is the clever way to ensure your high-value gift looks professional and polished.
The Presentation: From Paper Fold to Designer Gift
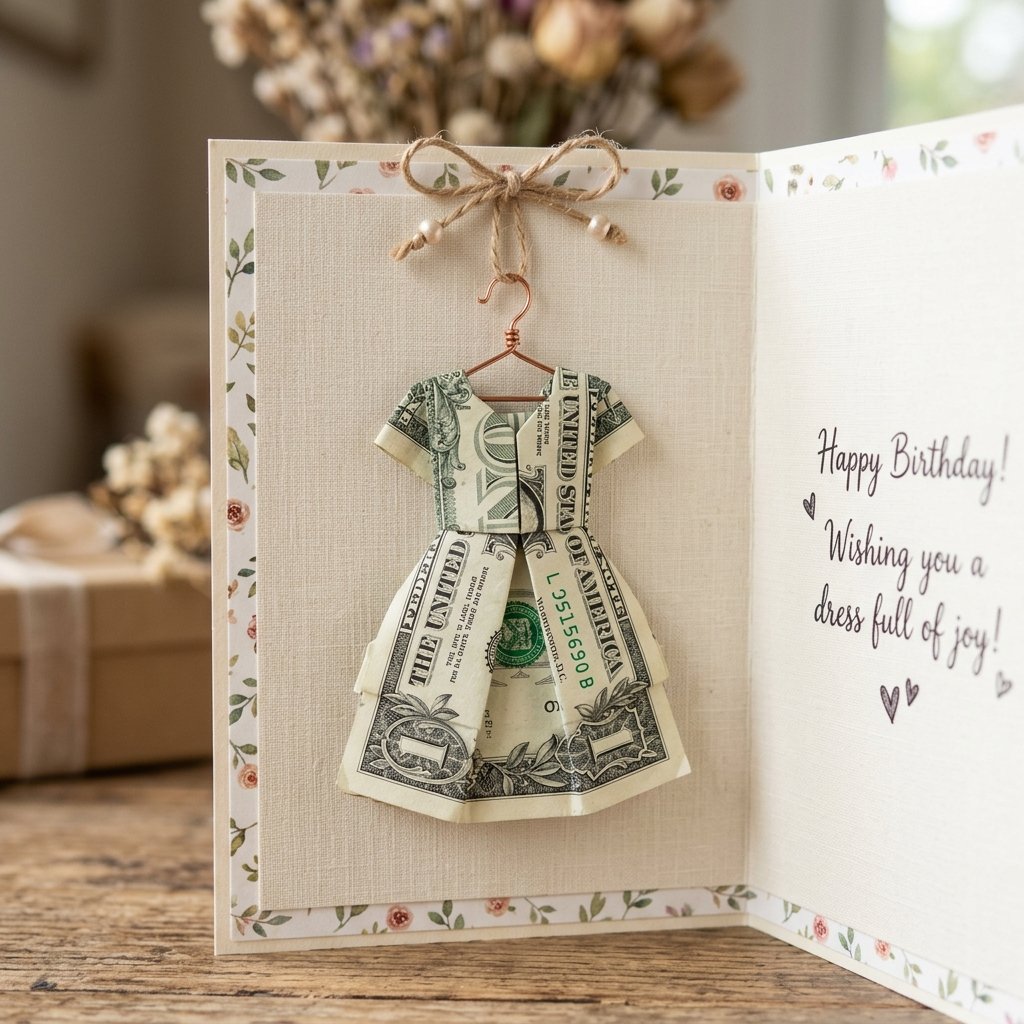
You’ve mastered the fold, but a crafty expert knows that the reveal is everything. Simply tossing the folded dress into an envelope defeats the purpose. You want to present this as if it were a piece of designer couture. Here are three budget-savvy ways to display your work:
- The Shadow Box: Purchase a small 4×4 shadow box frame from a craft store (or the Dollar Tree). Use a tiny piece of double-sided tape to mount the dress against a piece of decorative scrapbooking paper. This turns the gift into instant wall art.
- The Miniature Hanger: Take a standard metal paperclip and use needle-nose pliers to bend it into the shape of a tiny clothes hanger. Hook the dress over the hanger and pin it inside a high-quality greeting card.
- The Clothesline Card: Use two small twigs or dowels and a piece of twine to create a ‘clothesline’ across the front of a card. Use mini clothespins to hang your money dress alongside a ‘suit’ (folded from another bill) for a wedding gift.
Cost Comparison: Store-Bought vs. DIY Origami Presentation
| Component | Store-Bought Fancy Card | DIY Origami Presentation |
|---|---|---|
| Base Cost | $7.00 – $12.00 | $1.25 (Cardstock/Frame) |
| Personalization | Low (Printed Message) | High (Handcrafted) |
| ‘Wow’ Factor | Moderate | Off the Charts |
| Time Investment | 5 Minutes (Shopping) | 15 Minutes (Crafting) |
Advanced Tailoring: Customizing the Silhouette
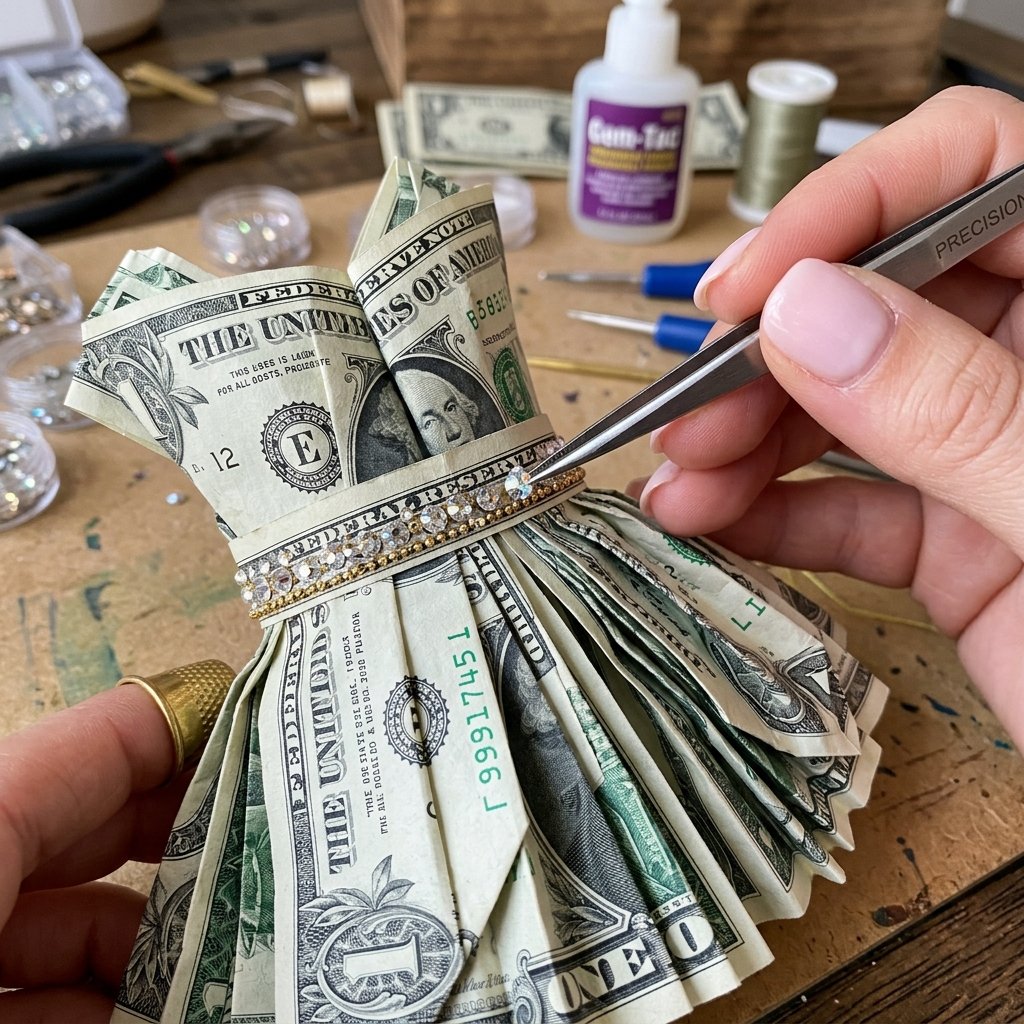
Once you are comfortable with the basic sun-dress, you can start upcycling the technique to create different styles. By adjusting the width of your initial folds or the angle of your skirt flare, you can create entirely different ‘fashions.’
Style Variations
- The Ball Gown: Increase the width of the bottom flare and add multiple ‘Z-folds’ at the waist to create a ruffled, voluminous look.
- The Pencil Skirt: Keep the side folds parallel to the center instead of flaring them out. This creates a sleek, professional aesthetic—perfect for a promotion gift.
- The Strapless Look: Fold the top ‘collar’ section entirely behind the bodice for a clean, chic evening gown silhouette.
Remember, the goal is to make the recipient smile. Adding a small $0.05 adhesive rhinestone to the ‘waist’ as a belt buckle or using a metallic gel pen to write a tiny ‘designer label’ on the inside of the fold are the kinds of resourceful touches that make your gift unforgettable.
Safety Note: Never use permanent glue or staples on the currency. The goal is for the recipient to be able to unfold and spend the money eventually without the bank rejecting a damaged bill. Use light-tack double-sided tape or friction-based folds only.
Conclusion
The Final Stitch
Mastering the money origami dress is more than just a party trick; it is a testament to your resourcefulness and creativity. In a world of digital transfers and generic gift cards, taking 15 minutes to hand-fold a piece of currency shows a level of care that far exceeds the face value of the bill itself. You’ve taken a standard $20 and turned it into a story, a conversation piece, and a memory. So the next time you find yourself reaching for a plain envelope, stop. Grab a crisp bill, find a flat surface, and start folding. Your reputation as the ultimate budget-savvy gift-giver is officially secured. Happy folding!

Makenzie is the founder and lead writer at MoneyHackTips.com — a personal finance blog dedicated to delivering street-smart financial wisdom for real people on real budgets. With 300+ published articles covering everything from debt management to investing fundamentals, Makenzie’s mission is to make every dollar work harder. When not writing about money hacks, Makenzie is testing frugal living strategies, optimizing side hustles, and helping readers build financial freedom from scratch.