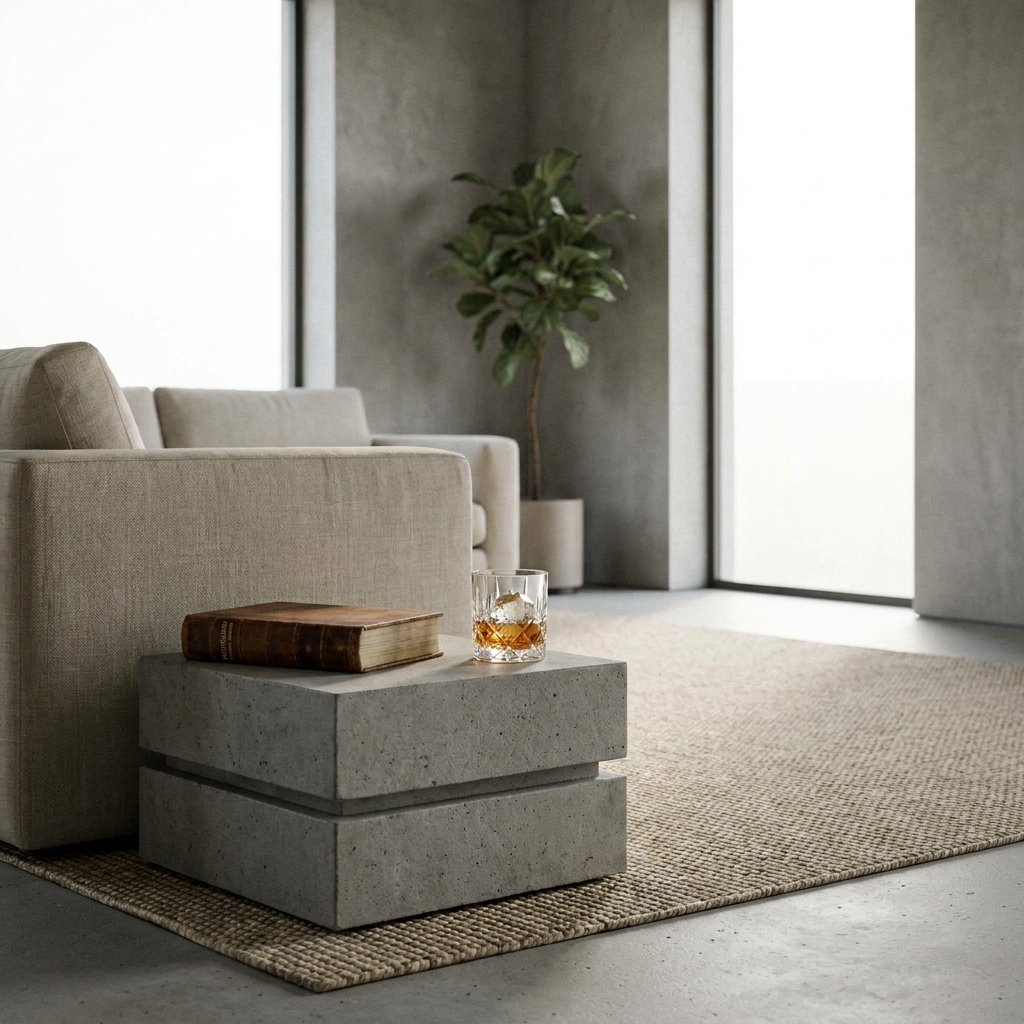

The Industrial Revolution in Your Living Room
Forget the days when concrete blocks were reserved for basement foundations and construction sites. In the hands of a clever, budget-savvy crafter, these rugged materials transform into masculine-elegant furniture that rivals high-end boutique pieces. We are talking about achieving that coveted industrial-chic aesthetic for the price of a fast-food meal. If you have $10 and an afternoon, you have everything you need to build a statement piece that is as sturdy as it is stylish. This isn’t just about stacking rocks; it’s about curated, resourceful design that proves luxury doesn’t have to come with a triple-digit price tag.
The Raw Materials: Sourcing Your $10 Masterpiece
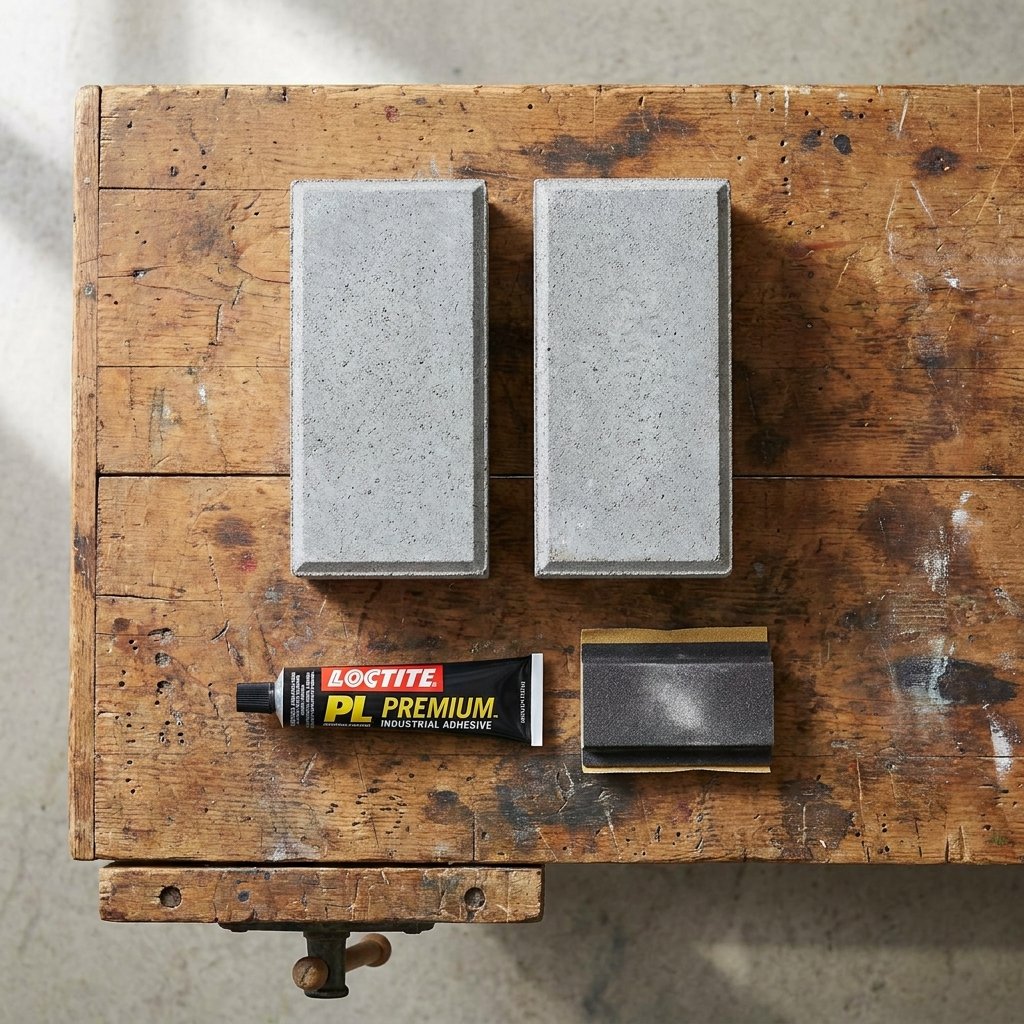
The secret to a successful budget build is knowing exactly what to look for at the local hardware store. We aren’t looking for specialty pavers; we want the standard, rugged Cinder Block or Hollow-Core Concrete Block. These are incredibly affordable, often priced between $1.50 and $2.50 per unit. To keep this project under our $10 limit, we will focus on a two-block vertical stack or a clever three-block arrangement.
Budget Breakdown & Shopping List
| Material | Source | Estimated Cost |
|---|---|---|
| 2-3 Standard Concrete Blocks | Home Improvement Warehouse | $4.50 – $6.00 |
| Construction Adhesive (Small Tube) | Dollar Store / Hardware Aisle | $1.25 |
| Coarse Sanding Sponge | Dollar Store | $1.25 |
| Clear Matte Sealer or Scrapped Paint | Pantry / Clearance Bin | $1.50 |
| Total Project Cost | $8.50 – $10.00 |
“The frugal crafter sees a building material where others see a burden. Your goal is to find blocks with the fewest chips, but remember: a little texture adds to the rugged charm.”
The Prep Work: Cleaning and Sanding for a High-End Finish
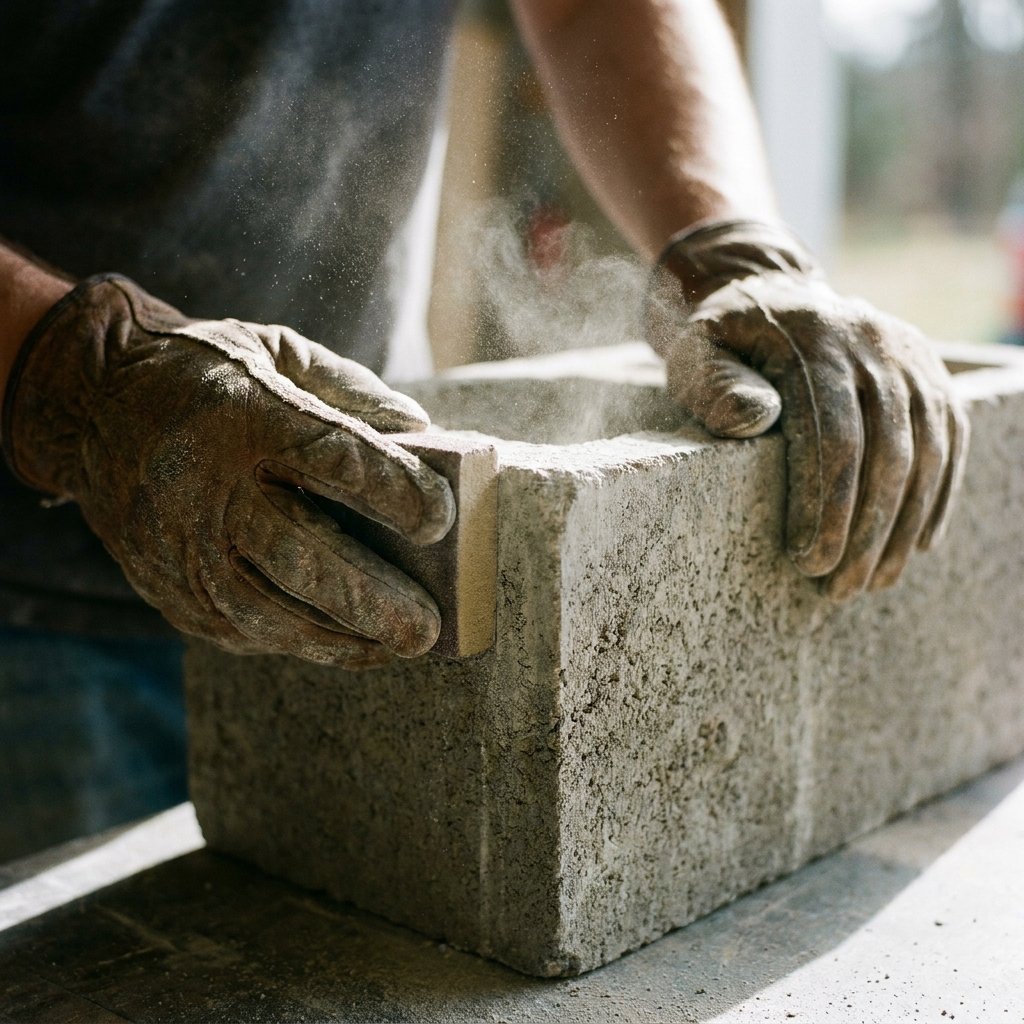
Concrete is inherently dusty and rough. To transition it from the ‘backyard’ to the ‘bedroom,’ you must invest a little elbow grease into the preparation. This is where the crafty expert separates themselves from the amateur. Start by using a stiff brush to remove any loose grit or debris from the interior and exterior of the blocks.
The Smoothing Process
- Step 1: Use a 60-grit or 80-grit sanding sponge to knock down the sharpest edges. Focus on the corners to give them a slightly rounded, ‘honed’ look.
- Step 2: Wipe the blocks down with a damp microfiber cloth. It is crucial to remove all dust, or your adhesive and paint will not bond properly.
- Step 3: Allow the blocks to dry completely. Concrete is porous and holds moisture, so give it at least 30 minutes in the sun.
Safety Note: Always wear a dust mask and eye protection when sanding concrete. The fine silica dust is not something you want to inhale. Work in a well-ventilated area, preferably outdoors.
The Assembly: Structural Integrity with Style
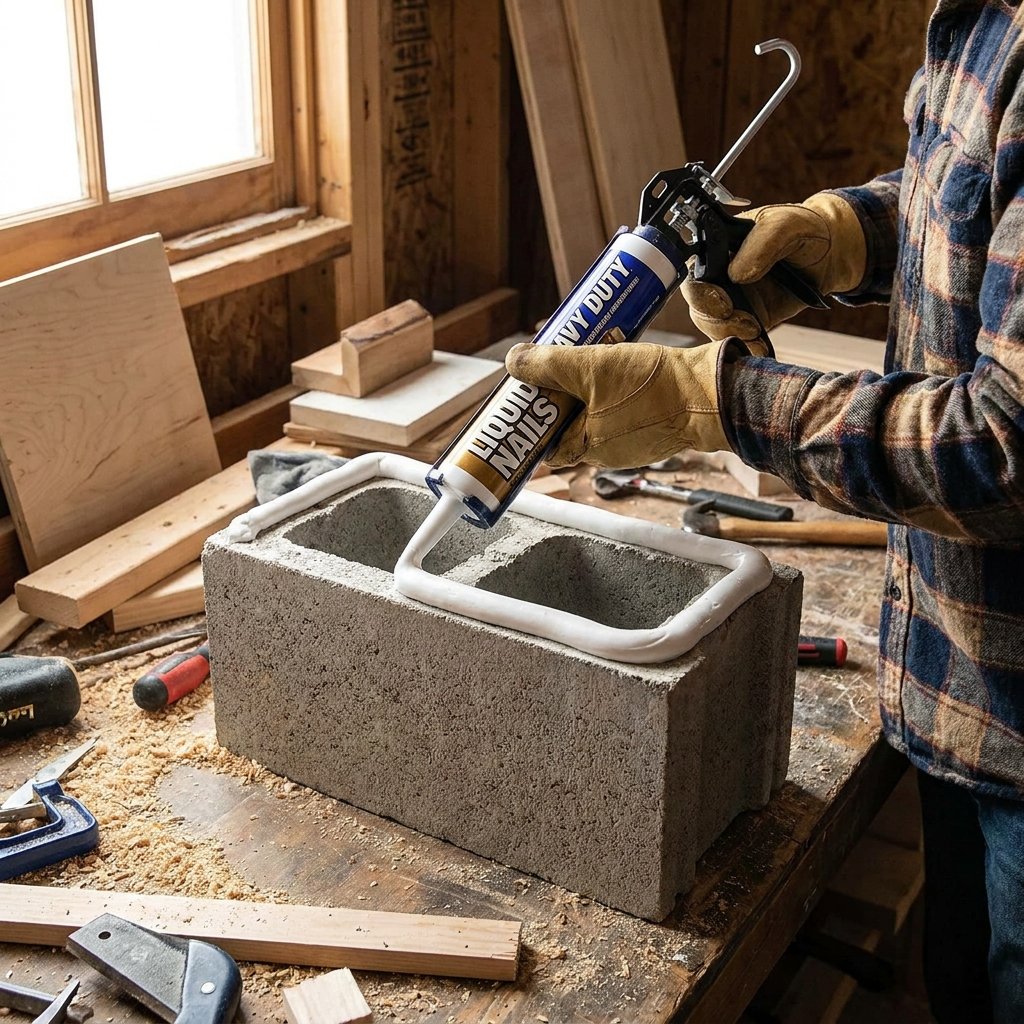
Now comes the architecture. Depending on your height requirements, you can stack your blocks vertically or horizontally. For a standard couch-side height, two blocks stacked vertically on their ends usually hit the 16-inch to 24-inch sweet spot. To ensure this table doesn’t become a hazard, we use heavy-duty construction adhesive.
Step-by-Step Stacking
- Dry Fit First: Stack your blocks without glue to ensure they sit level. If your floor is uneven, you may need to add small felt pads to the bottom.
- Apply Adhesive: Using a caulking gun or a squeeze tube, apply a generous bead of Liquid Nails or similar construction adhesive to the contact points of the bottom block.
- The Set: Carefully lower the top block onto the adhesive. Press down firmly to ensure a tight bond.
- Cure Time: Do not move the table for at least 24 hours. Concrete is heavy, and the adhesive needs time to fully chemically bond.
“Patience is the best tool in your kit. A rushed bond is a weak bond. Let the glue do the heavy lifting while you plan your finish.”
The Finish: Painting, Staining, or Raw Brutalism
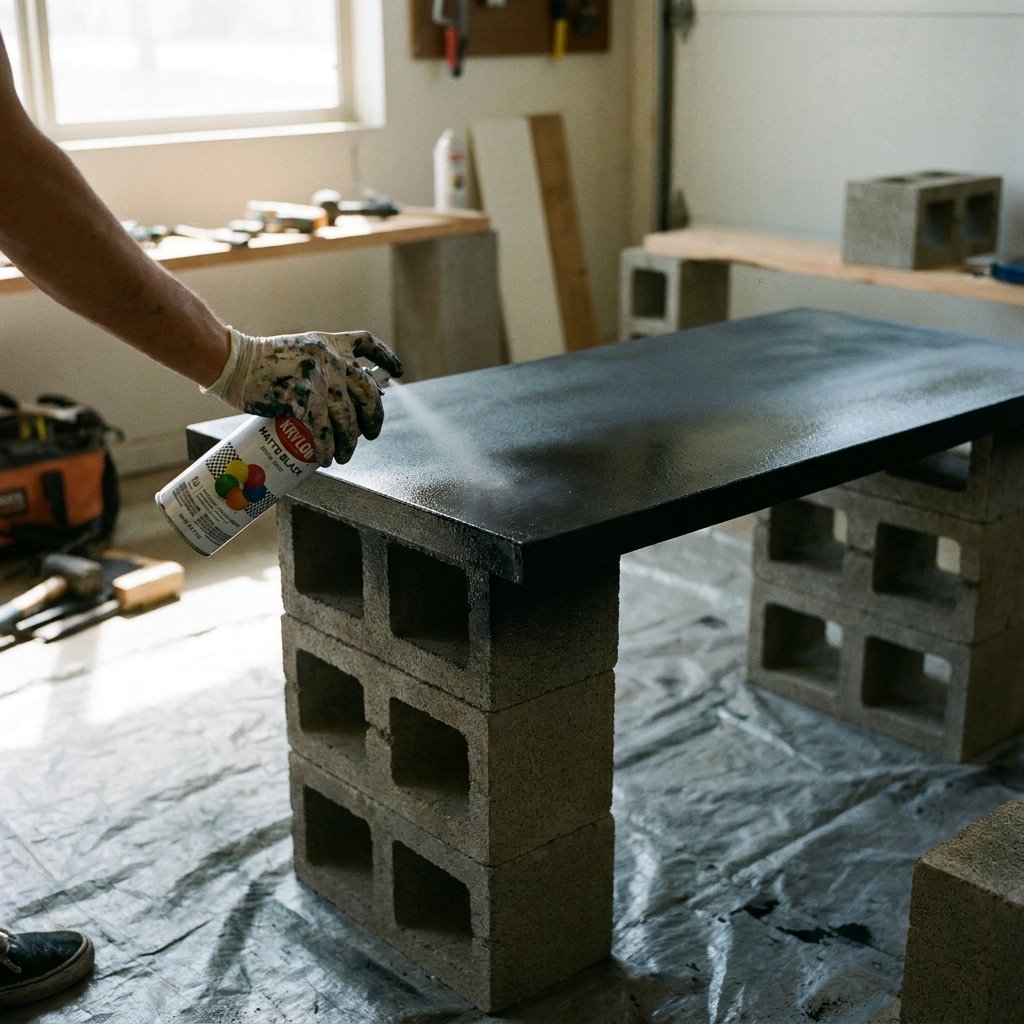
How you finish your table determines its ‘vibe.’ You can leave it raw for a Brutalist look, or you can use the baking soda paint trick to give it a ceramic, high-end appearance. If you want a masculine-elegant feel, a matte black spray paint or a dark charcoal stain works wonders.
Comparison: Finish Styles
| Finish Style | Technique | Visual Impact |
|---|---|---|
| Raw Industrial | Clear Matte Sealer Only | Rugged, authentic, light gray. |
| Modern Noir | Matte Black Spray Paint | Sleek, hides imperfections, sophisticated. |
| Faux Stone | Baking Soda + Acrylic Paint | Textured, looks like expensive earthenware. |
| Urban Rust | Iron Acetate Stain | Weathered, vintage, warm tones. |
To seal the concrete and prevent it from ‘shedding’ dust onto your carpet, apply a thin coat of water-based polyurethane or a dedicated concrete sealer. This makes the surface wipeable and spill-resistant—perfect for holding your morning coffee.
Styling Your Creation: From Construction Site to Living Room
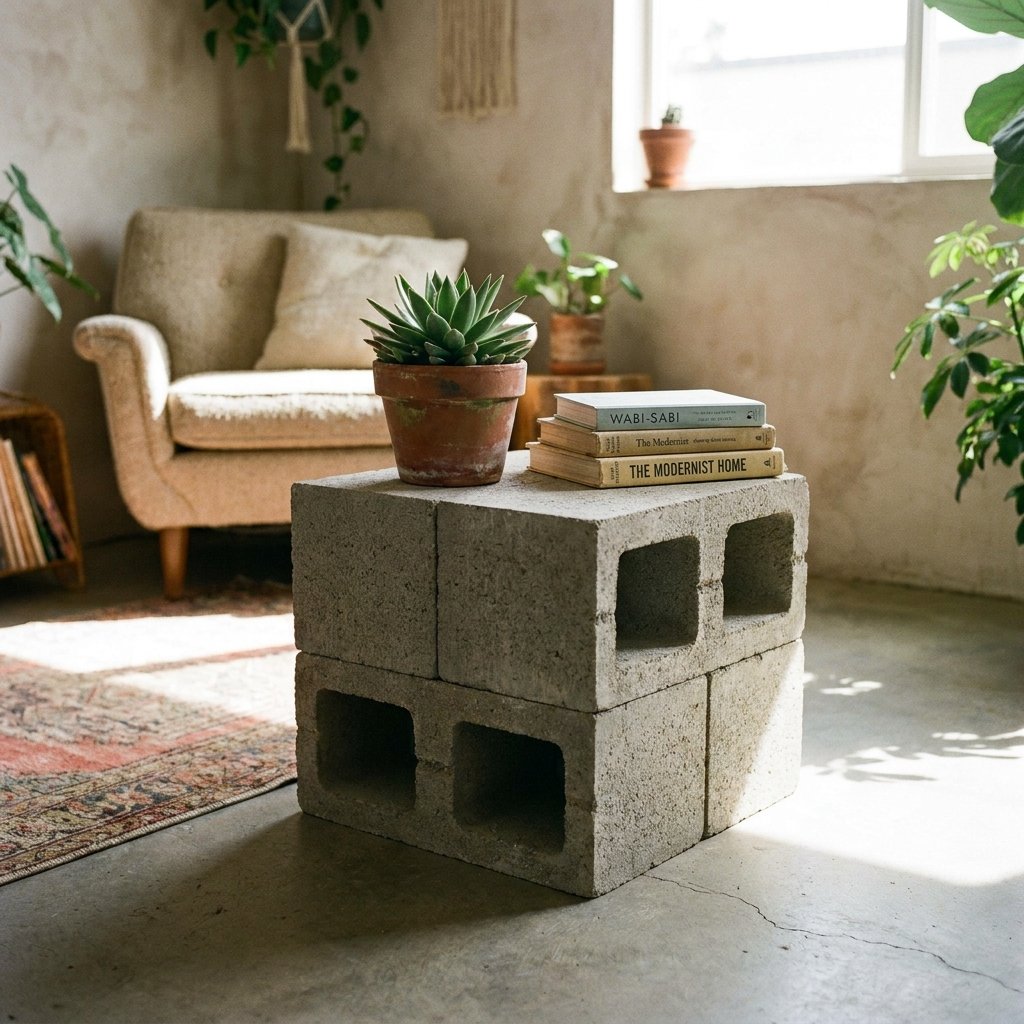
A concrete block on its own is just a block. A concrete block styled with intention is furniture. To elevate the look, consider adding a warm element to contrast the coldness of the stone. A scrap piece of 1×12 pine or a leftover floor tile can serve as a beautiful tabletop insert.
Styling Tips for the Frugal Guru
- Wood Accents: Visit a local lumber yard and ask for ‘off-cuts.’ A 12-inch piece of walnut or oak placed on top adds instant luxury for $0.
- Greenery: The gray of the concrete makes the green of a snake plant or succulent pop. Place a small pot inside one of the hollow cores for a built-in planter look.
- Lighting: A small Edison bulb lamp placed on the lower ‘shelf’ (the bottom block’s core) creates a stunning architectural shadow effect.
| Feature | Store-Bought Industrial Table | DIY Concrete Block Table |
|---|---|---|
| Price | $150 – $450 | Under $10 |
| Durability | Medium (Veneer/MDF) | Extreme (Solid Concrete) |
| Customization | None | Infinite |
| Build Time | 1 Hour (Assembly) | 30 Minutes |
Conclusion
Solid Style on a Shoestring
Building a Modern DIY Concrete Block Side Table is more than just a weekend project; it is a testament to the power of resourceful creativity. By taking the most basic of building materials and applying a few ‘expert’ touches—sanding, sealing, and smart styling—you have created a piece of furniture that is functional, durable, and undeniably cool. You’ve saved over $100 compared to retail prices, and you have a custom piece that tells a story of rugged ingenuity. Now, sit back, place your drink on your new $10 masterpiece, and start planning your next trash-to-treasure transformation.

Makenzie is the founder and lead writer at MoneyHackTips.com — a personal finance blog dedicated to delivering street-smart financial wisdom for real people on real budgets. With 300+ published articles covering everything from debt management to investing fundamentals, Makenzie’s mission is to make every dollar work harder. When not writing about money hacks, Makenzie is testing frugal living strategies, optimizing side hustles, and helping readers build financial freedom from scratch.