Let’s talk about the ‘wedding tax.’ The moment you slap the word ‘wedding’ or ‘event’ onto a product, the price tag magically triples. If you’ve been browsing high-end event rental catalogs or artisanal Etsy shops, you’ve likely seen those stunning industrial-chic concrete table numbers. They are brutalist, elegant, and perfectly weighted—and they often retail for $15 to $45 per unit. For a wedding with 20 tables, you’re looking at nearly $900 just for numbers. That is, quite frankly, absurd.
As a frugal DIYer, I see a bag of concrete at the hardware store for $5.50 and I see a gold mine. Today, we are going to reclaim your budget. We are going to take that rugged, utilitarian material and transform it into a sophisticated, ‘masculine-elegant’ decor piece that will have your guests asking which boutique designer you hired. This isn’t just about saving money; it’s about the satisfaction of crafting a cohesive, high-end look with your own two hands. Whether you are a budget bride, a handy dad helping with a party, or a craft-expert looking for your next project, these concrete table numbers are the ultimate ‘trash-to-treasure’ victory.
The Penny-Pincher’s Toolkit: Sourcing Your Mix and Molds
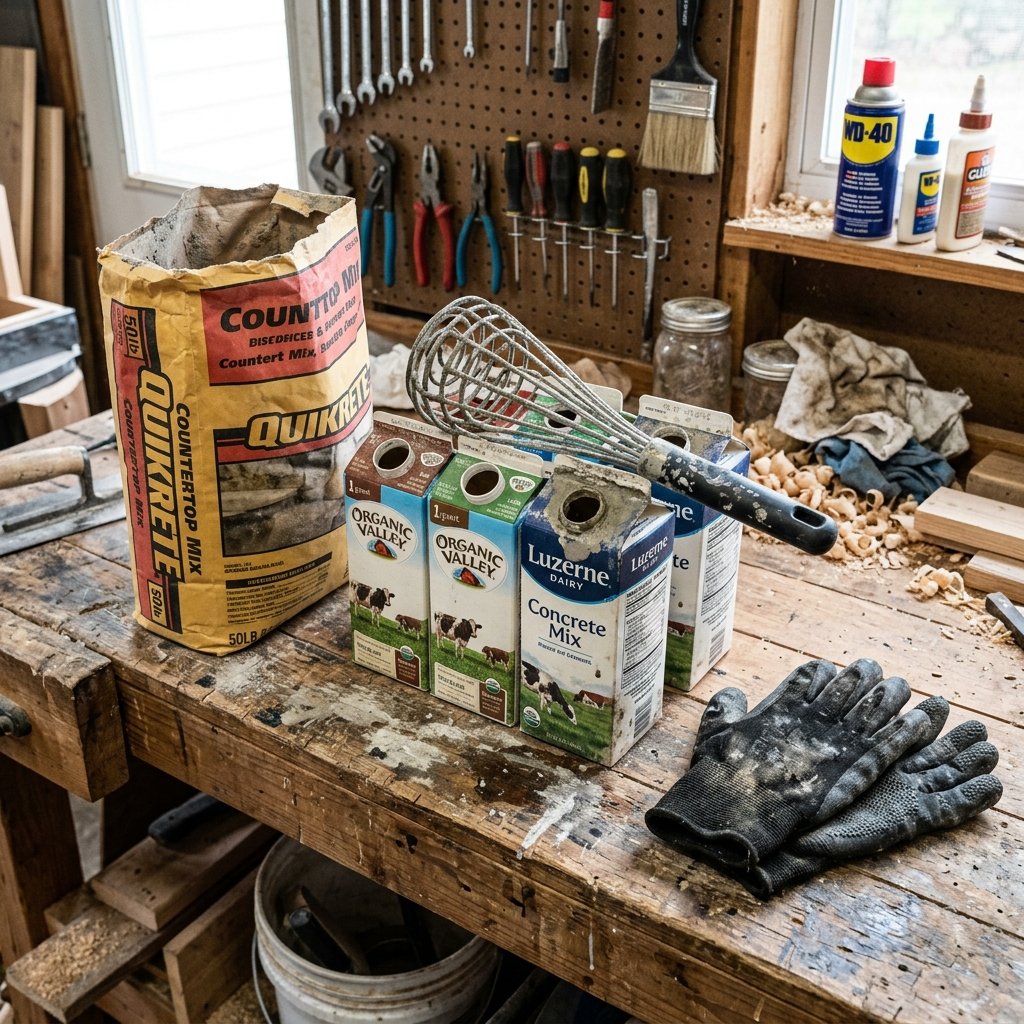
Gathering Your Raw Materials
To keep this project under a $20 total budget for dozens of numbers, we need to be resourceful. You don’t need expensive silicone molds from a craft store. In fact, some of the best shapes come from your recycling bin. The beauty of concrete is its versatility; it takes the shape of whatever container you pour it into.
| Material | Source | Estimated Cost |
|---|---|---|
| Quikrete or Portland Cement (10lb) | Hardware Store | $5.00 – $7.00 |
| Upcycled Molds (Milk cartons, juice boxes) | Recycling Bin | $0.00 |
| Cooking Spray (Release Agent) | Pantry | $0.00 |
| Sandpaper (Assorted Grits) | Workshop/Dollar Store | $1.25 |
| Gold or Black Acrylic Paint | Craft Stash | $1.00 |
| TOTAL ESTIMATED COST | – | $8.25 – $10.50 |
Choosing the Right Mix
For a smooth, professional finish, I recommend a Sand Topping Mix or a High-Strength Concrete Mix. Avoid the ‘Fast-Setting’ varieties if you are a beginner, as they can harden before you’ve had time to tap out the air bubbles. If you want a truly refined, marble-like finish, you can sift the large gravel out of a standard bag of concrete using a cheap kitchen strainer.
Safety First: Concrete is caustic and the dust is fine. Always wear a N95 mask and heavy-duty rubber gloves when mixing. Your skin and lungs will thank you.
The Alchemy of the Pour: Mastering the Perfect Slurry
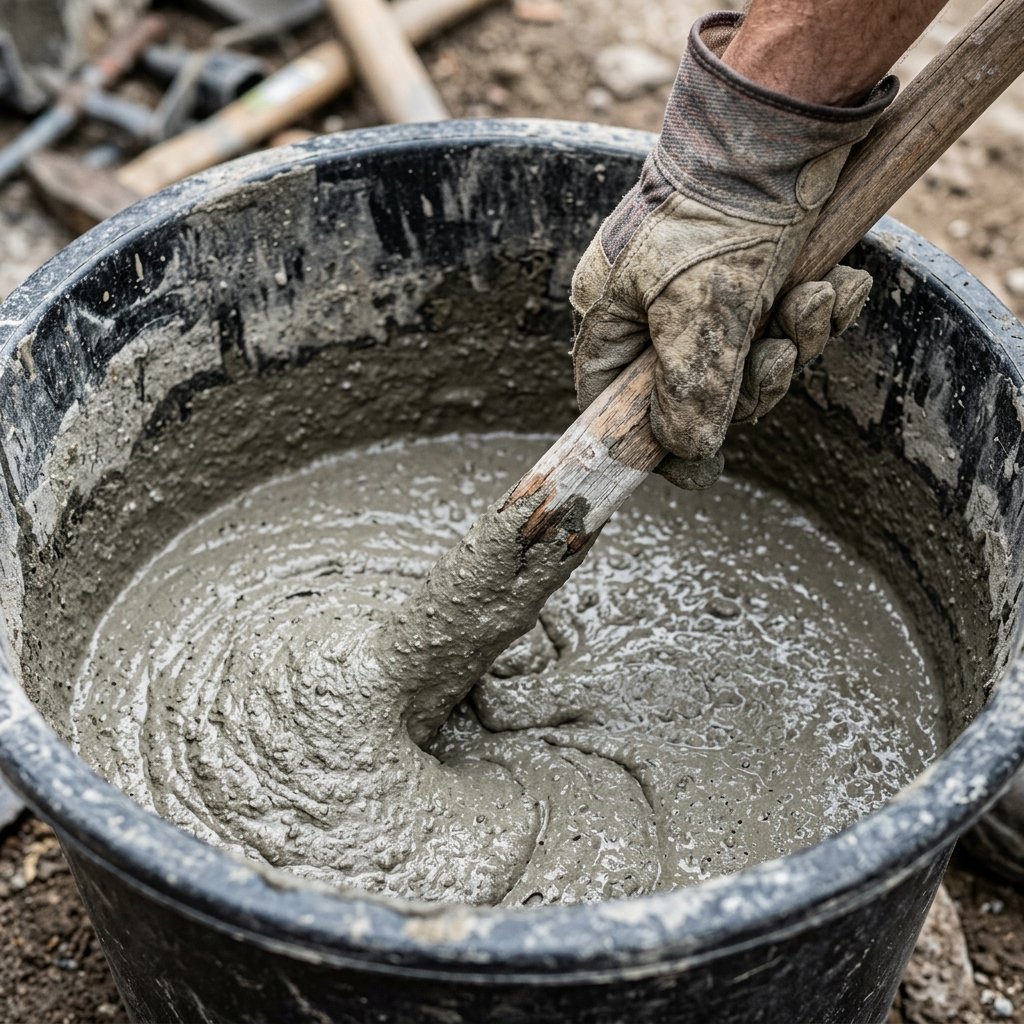
Preparing Your Molds
The secret to a successful demolding is the ‘release agent.’ You don’t need fancy industrial sprays. A light coating of vegetable oil or cooking spray inside your cardboard cartons works perfectly. Cut your milk cartons to the desired height—usually 4 to 6 inches is the sweet spot for visibility without obstructing cross-table conversation.
The Mixing Ratio
Mixing concrete is more like baking than construction. You want a consistency that is thick enough to hold its shape but fluid enough to pour into the corners of your mold. Aim for a 4:1 ratio of mix to water, adding the liquid slowly.
The Golden Rule of Concrete: You are looking for the consistency of thick pancake batter or creamy peanut butter. If it’s too runny, the numbers will be brittle; if it’s too dry, you’ll have unsightly ‘honeycombing’ (holes) on the surface.
- Measure out your dry mix into a plastic bucket.
- Add water in small increments, stirring constantly with a paint stick or old whisk.
- Once the mixture is homogenous, let it ‘slump’ for 2 minutes, then give it one final stir.
- Pour the mixture into your prepared molds, filling them to your marked line.
The Vibration Trick
This is the step that separates the amateurs from the pros. Once poured, you must vibrate the mold. Tap the sides of the carton rapidly with a pencil or vibrate the table itself. You will see tiny air bubbles rise to the surface. Continue this for 3 to 5 minutes until the bubbles stop appearing. This ensures a glass-smooth finish on the front face of your number.
The Great Reveal: Curing, Demolding, and Refining
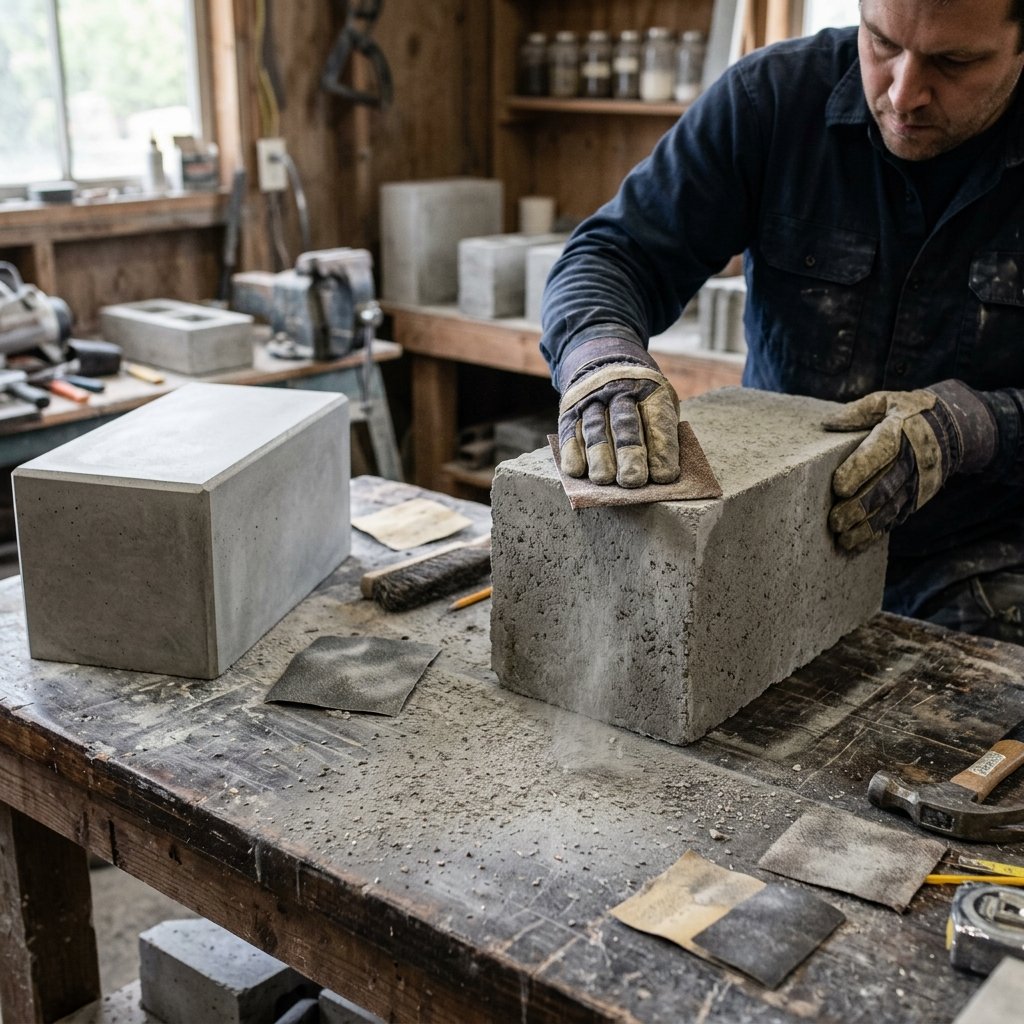
Patience is a Virtue
Concrete doesn’t ‘dry’; it ‘cures’ through a chemical reaction. Resist the urge to peel back the cardboard too early. For the best results, let your molds sit in a cool, shaded area for at least 24 to 48 hours. If you live in a very dry climate, covering the molds with a damp cloth or plastic wrap can prevent cracking.
The Demolding Process
Once the concrete is hard to the touch and cool (it gets warm as it cures!), it’s time for the reveal. Use a utility knife to carefully score the cardboard and peel it away. Don’t worry if the edges look a bit raw; that’s where our rugged-elegant aesthetic comes into play.
Sanding for Sophistication
To get that ‘high-end boutique’ feel, you need to sand your blocks. Start with a 80-grit sandpaper to knock down the sharp edges and level the bottom so the number stands perfectly straight. Finish with a 220-grit or even 400-grit for a surface that feels like polished stone.
| Sanding Phase | Grit Level | Desired Outcome |
|---|---|---|
| Leveling | 60-80 Grit | Removes heavy burrs and levels the base. |
| Smoothing | 120-150 Grit | Removes visible scratches from the coarse grit. |
| Polishing | 220-400 Grit | Creates a soft-touch, professional matte finish. |
The Designer’s Touch: Customizing Your Digits
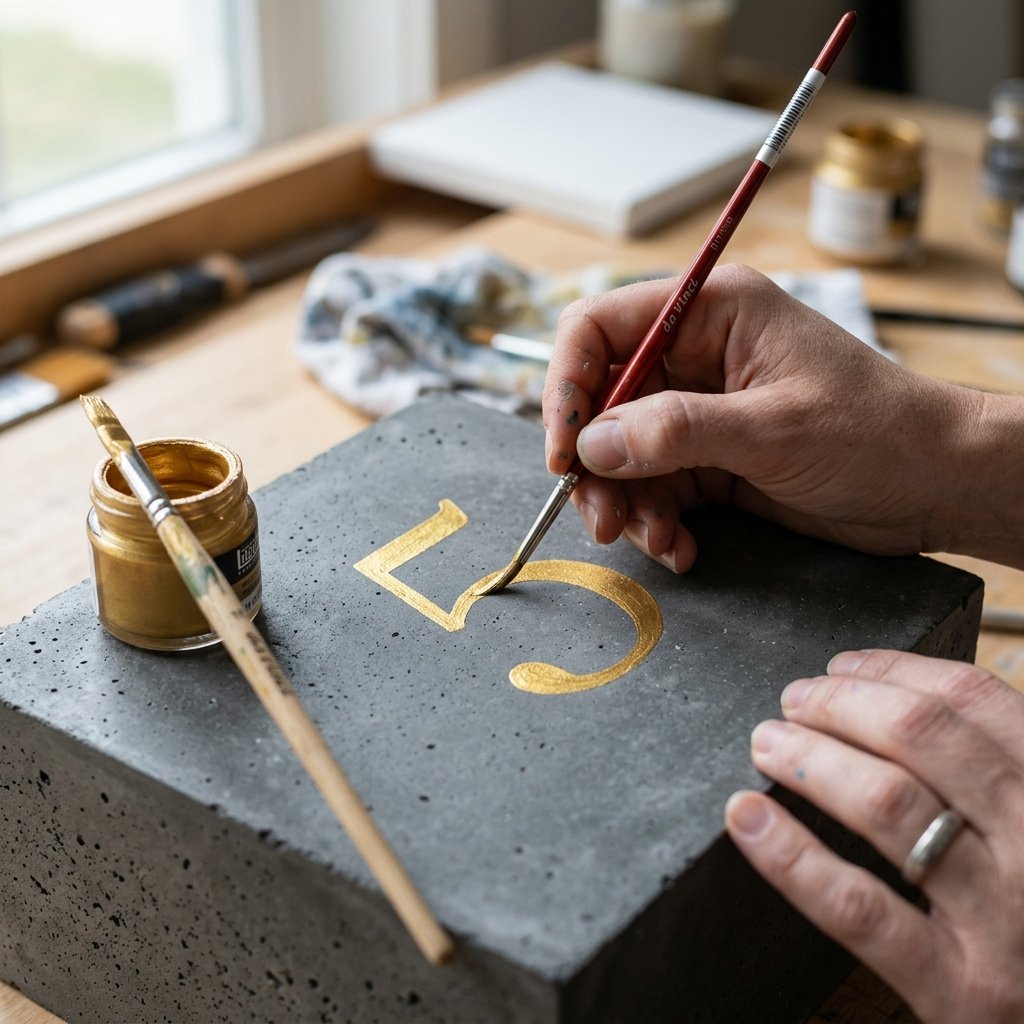
Adding the Numbers
Now that you have your ‘blanks,’ it’s time to turn them into functional table numbers. There are three primary ways to achieve a professional look depending on your skill level and tools.
- The Stencil Method: Use a laser-cut stencil and matte black spray paint for a clean, industrial look. This is the fastest method for large batches.
- The Hand-Painted Gold Leaf: For a touch of luxury, use a fine-tip brush and gold acrylic paint or liquid gilding. The contrast between the raw grey concrete and the shimmering gold is stunning.
- Vinyl Decals: If you own a Cricut or Silhouette machine, cut numbers out of permanent outdoor vinyl. This gives you the crispest lines and allows for complex typography.
Sealing the Deal
Concrete is porous and can absorb oils from guests’ hands. To keep them looking pristine, apply a thin coat of water-based matte sealer. This will deepen the color slightly and provide a subtle, elegant sheen without looking ‘plastic-y.’
Pro Tip: For a ‘dipped’ look, use painter’s tape to mark off the bottom third of the block and paint it solid gold. It adds a weighted, designer feel that mimics expensive paperweights.
The Budget Breakdown: Professional Results on a Shoestring
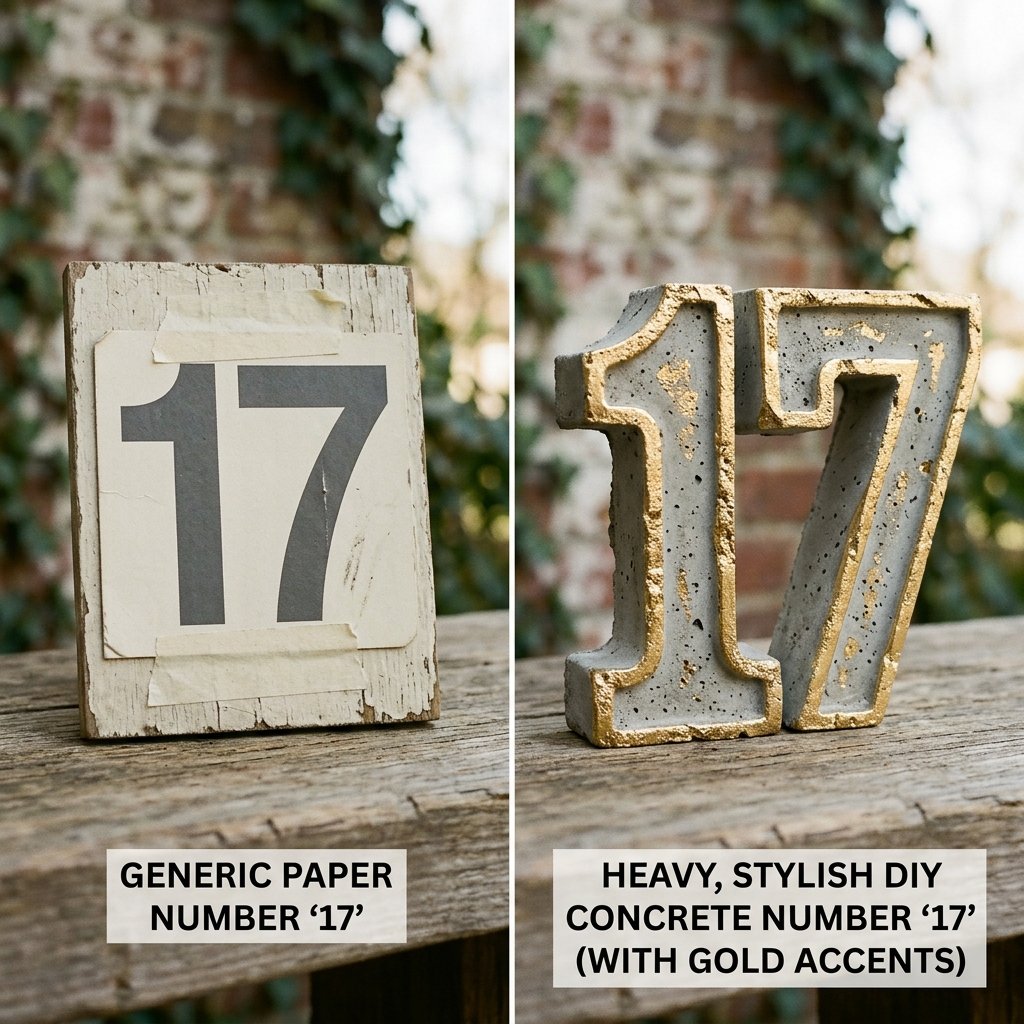
DIY vs. Retail: The Final Verdict
When you see the numbers side-by-side, the choice is clear. By choosing the DIY route, you aren’t just saving pennies; you are saving hundreds of dollars that could be better spent on your honeymoon, your first home, or a better open bar.
| Feature | Boutique Retailer | DIY Concrete Version |
|---|---|---|
| Cost Per Unit | $25.00 | $0.42 |
| Customization | Limited to stock colors | Unlimited (Paint, shape, texture) |
| Durability | High | Very High (Wind-proof for outdoor events) |
| Production Time | 3-week shipping | 3 Days (Active work: 2 hours) |
| Total for 20 Tables | $500.00 | $8.40 |
Why This Works for You
Beyond the cost, these numbers are heavy. If you are planning an outdoor wedding or an event in a breezy tent, light cardstock numbers will fly away. These concrete blocks stay exactly where you put them. They are rugged enough to survive a fall, elegant enough for a black-tie gala, and resourceful enough to make any frugal crafter proud.
Conclusion
Stop paying the ‘wedding tax’ and start embracing the power of raw materials. These DIY concrete table numbers prove that luxury isn’t about how much you spend, but about the creativity and effort you pour into the details. With a single bag of concrete and some upcycled cartons, you’ve created a centerpiece element that is both functional and a conversation starter. You’ve taken something as humble as sidewalk material and elevated it to a piece of event art. So, head to the hardware store, grab that bag of mix, and start pouring. Your budget—and your tablescape—will thank you.

Makenzie is the founder and lead writer at MoneyHackTips.com — a personal finance blog dedicated to delivering street-smart financial wisdom for real people on real budgets. With 300+ published articles covering everything from debt management to investing fundamentals, Makenzie’s mission is to make every dollar work harder. When not writing about money hacks, Makenzie is testing frugal living strategies, optimizing side hustles, and helping readers build financial freedom from scratch.