
The Hidden Goldmine in the Trash Pile
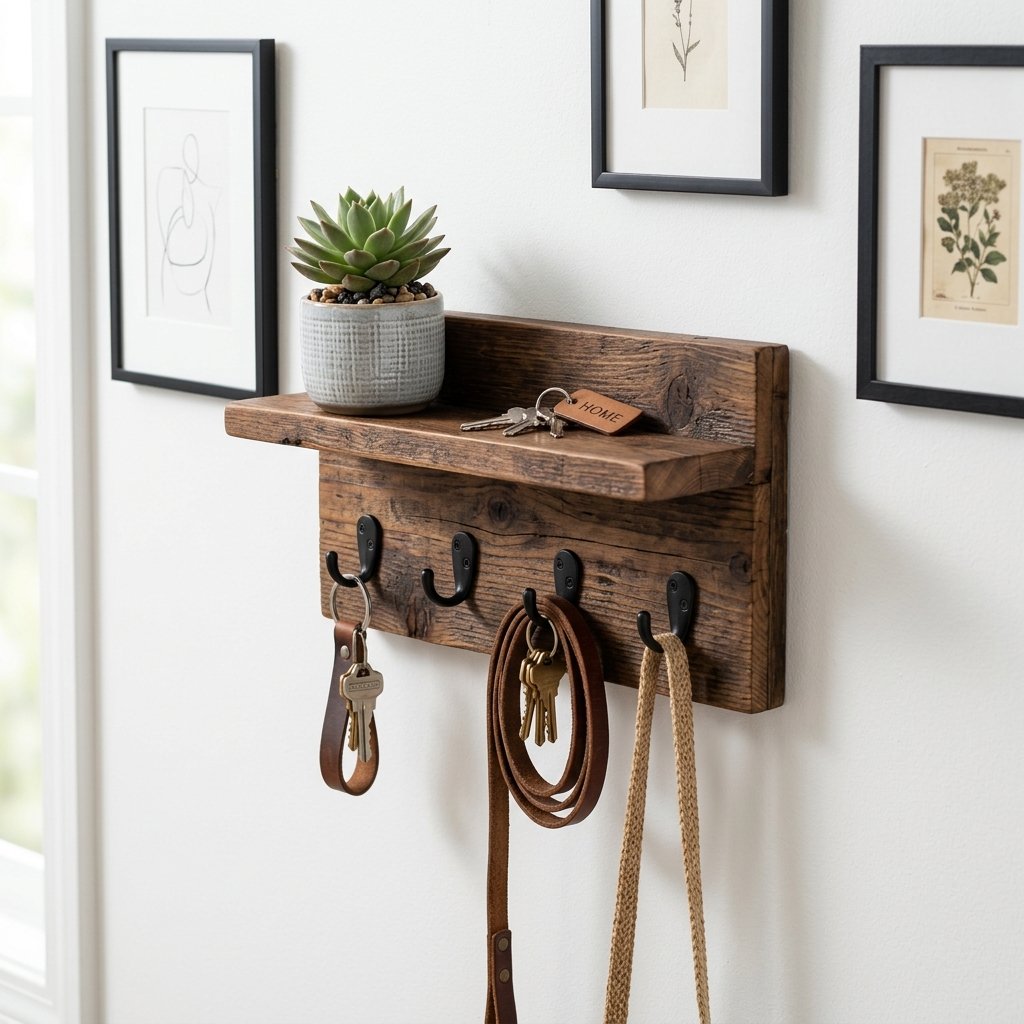
Let’s be honest: walking through a high-end furniture store can feel like a personal attack on your bank account. You see a ‘reclaimed wood’ wall organizer with a few hooks and a shelf, and the price tag screams $150 or more. But here is the secret that the big-box retailers don’t want you to know: that ‘reclaimed’ look is literally sitting behind your local hardware store or grocery outlet for the grand price of $0. We are talking about the humble wooden pallet. With a bit of grit, a few clever techniques, and a resourceful mindset, you can turn a discarded shipping platform into a ruggedly elegant centerpiece for your entryway or office. This isn’t just about saving money; it’s about the satisfaction of looking at a beautiful, functional piece of furniture and knowing you rescued it from a landfill. Ready to stop paying for shelving and start building your own? Let’s get to work.
The Scavenger’s Guide: Sourcing the Right Pallet Safely

Not all pallets are created equal. If you want a high-end look that won’t compromise your health, you need to be a savvy scavenger. Look for pallets that are structurally sound, but more importantly, check the stamps. You are looking for the HT (Heat Treated) stamp. This means the wood was seasoned in a kiln rather than being doused in toxic chemicals. Avoid any pallet marked with MB (Methyl Bromide), as that is a hazardous pesticide you do not want in your home.
Where to Find Your Materials
- Local Hardware Stores: Smaller, family-owned shops are often happy to let you take their pallets to save them a trip to the dump.
- Pet Supply Stores: These pallets usually carry dry goods and are often kept clean and dry.
- Online Marketplaces: Check ‘Free’ sections on Craigslist or Facebook Marketplace; people are often desperate to have someone haul them away.
| Pallet Stamp | Meaning | Safe for Indoor Use? |
|---|---|---|
| HT | Heat Treated | Yes |
| DB | Debarked | Yes |
| MB | Methyl Bromide | NO |
| Colored/Painted | Rental Pallets | Avoid (Chemicals) |
Always ask permission before taking a pallet. A quick ‘Hey, are you guys tossing these?’ goes a long way and builds a relationship for your next project.
Dismantling Without the Drama
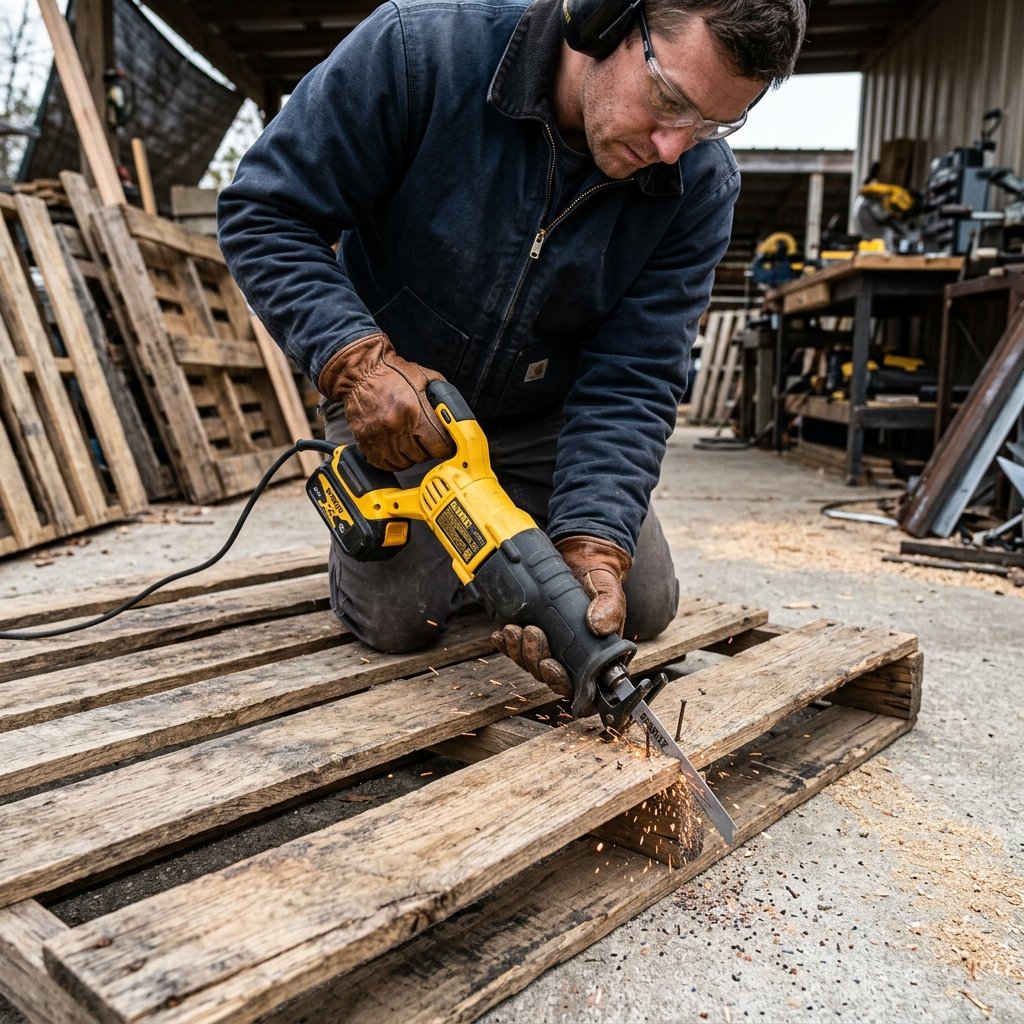
Dismantling a pallet can be the most frustrating part of the process if you don’t have a plan. Those spiral nails are designed to stay put forever. You have two main options: the Muscle Method (crowbar and hammer) or the Surgical Method (reciprocating saw). For a high-end look, we want to preserve as much of the wood grain as possible. Using a reciprocating saw with a metal-cutting blade allows you to slide right between the boards and slice the nails, leaving the nail heads in the wood for that authentic, rugged aesthetic.
Tools You’ll Need
- Reciprocating Saw (or a sturdy pry bar)
- Hammer and Nail Punch
- Safety Glasses and Work Gloves
- Measuring Tape
Once you have your boards free, spend 15 minutes removing any dangerous splinters or protruding nail ends. Leave the nail heads that are flush with the wood; they add character that money can’t buy.
The Rugged Refinement: Sanding and Prepping

The difference between a ‘trashy’ DIY and a ‘high-end’ masterpiece is sanding. You want to remove the rough, splintery surface while keeping the unique indentations and saw marks that give pallet wood its soul. Start with a coarse 60-grit sandpaper to level the surface, move to 120-grit to smooth it out, and finish with 220-grit for a buttery-soft feel.
Mantra: Sand with the grain, never against it. Your stain will thank you later.
After sanding, wipe the boards down with a tack cloth or a damp rag to remove every speck of dust. If you skip this, your finish will look muddy and cheap. We are aiming for a professional, ‘Pottery Barn’ level of polish here.
Assembly: Building the Foundation
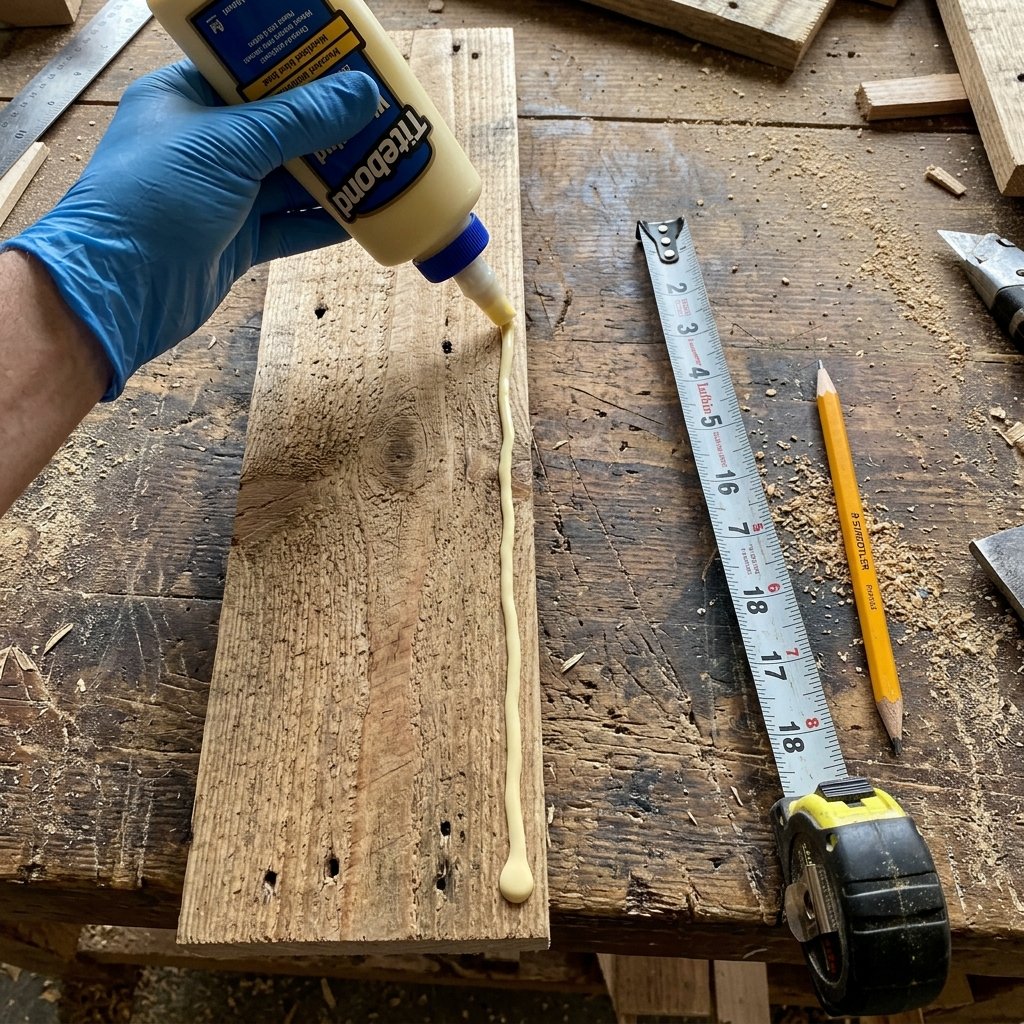
For a standard wall organizer, we are going to create a vertical ‘backing’ with a small shelf and a ‘catch-all’ bin at the bottom. This layout is perfect for keys, mail, and even a heavy winter coat.
Step-by-Step Construction
- Lay out your backboard: Align 3-4 boards vertically. Use two thinner strips of wood across the back to screw them all together. Pro Tip: Pre-drill your holes to prevent the old wood from splitting!
- Attach the shelf: Measure a board to the width of your backer. Use L-brackets or pocket-hole screws for a 100% secure hold.
- Create the mail bin: Use a shorter board and two small side blocks to create a ‘pocket’ at the bottom of the organizer.
- Check for square: Ensure your shelf is perfectly level. Nothing ruins a high-end look faster than a crooked line.
| Part | Dimensions (Approx) | Quantity |
|---|---|---|
| Backing Boards | 18 inches | 3 |
| Shelf Board | 12 inches | 1 |
| Bin Front | 10 inches | 1 |
| Support Cleats | 14 inches | 2 |
The Designer Finish: Staining and Hardware
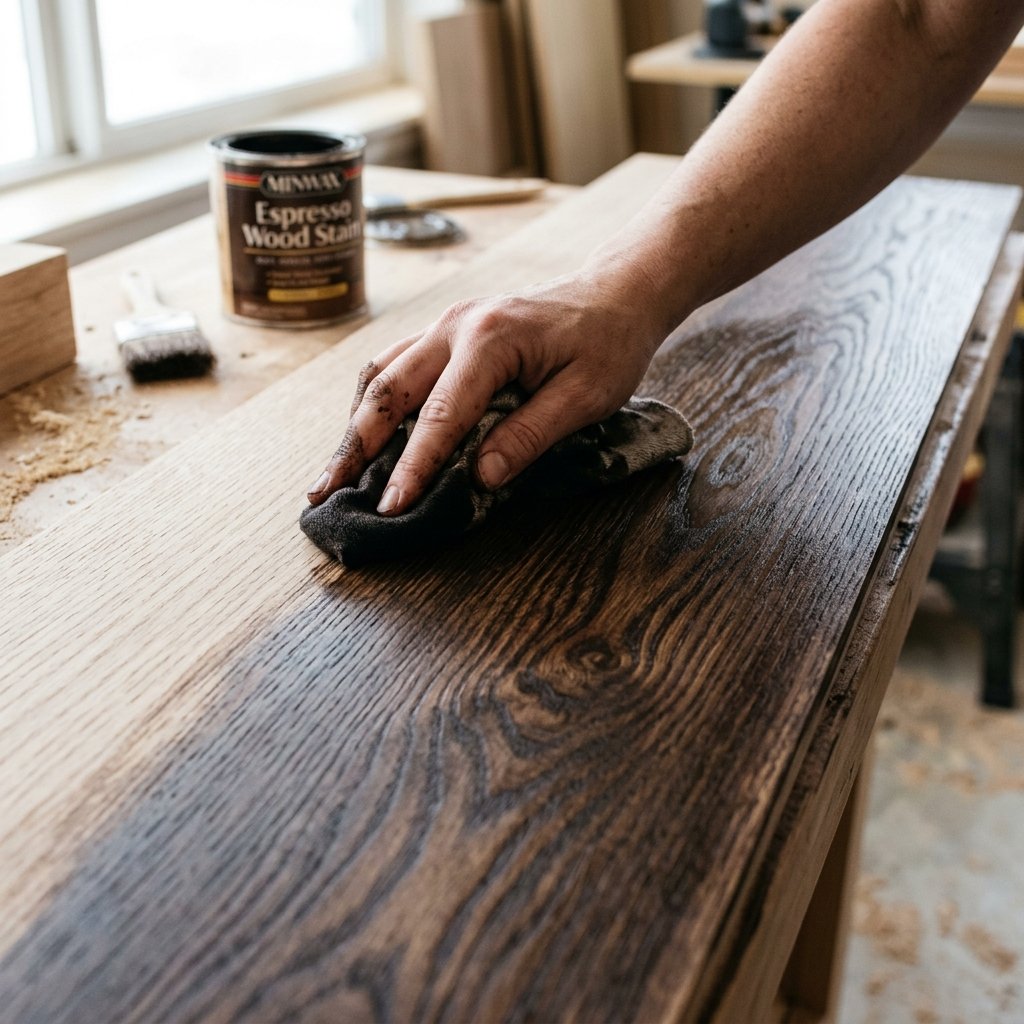
This is where the magic happens. To get that ‘expensive’ look, stay away from bright, glossy finishes. Instead, opt for a Matte Dark Walnut or a Weathered Gray stain. Apply the stain with a rag, let it sit for 5 minutes, and wipe away the excess. This highlights the grain without hiding it.
The Hardware Secret
Don’t use cheap silver hooks. To elevate the piece, spend $10 on some heavy-duty matte black iron hooks or vintage-style brass hardware. The contrast between the rugged wood and the clean, dark metal is the hallmark of high-end industrial design. Space your hooks evenly—usually 4 inches apart—and ensure they are rated to hold at least 10 lbs each.
Installation: Mounting for Longevity
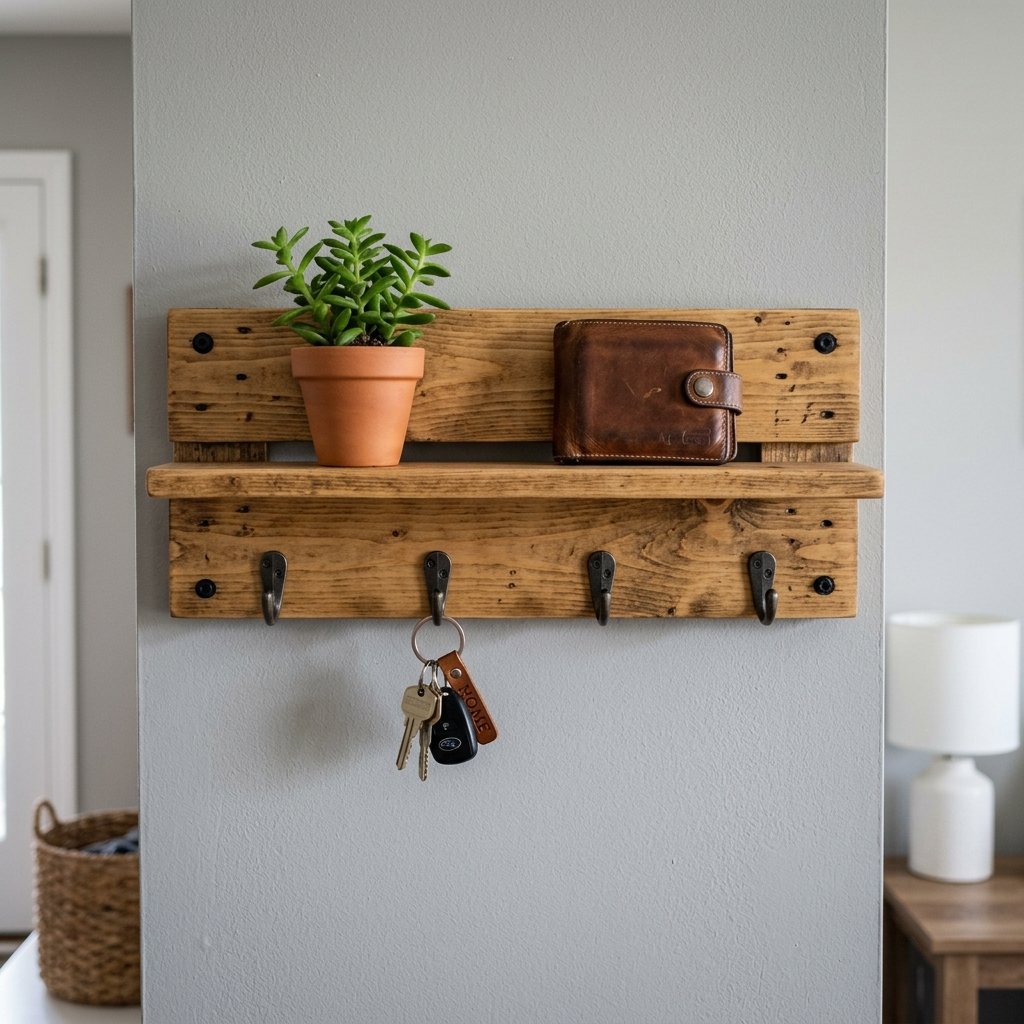
A pallet organizer is heavy wood. You cannot just hang this on a nail and hope for the best. To keep your walls safe and your organizer secure, you must find a stud. Use a stud finder to mark your points, and use 3-inch wood screws to go through the backer boards directly into the wall studs.
Safety Note: If you cannot find a stud, use heavy-duty toggle bolts. Plastic drywall anchors will eventually fail under the weight of the wood and the items you hang on it.
Once mounted, style it! Add a small potted succulent on the shelf, a vintage jar for pens in the bin, and your daily keys on the hooks. You’ve just turned a piece of garbage into a functional work of art.
Conclusion
Your $0 Masterpiece is Complete
Take a step back and look at what you’ve accomplished. You didn’t just save $100+ today; you practiced the art of resourcefulness. You saw potential where others saw waste. By following these steps—sourcing safe wood, sanding with intention, and choosing high-quality hardware—you’ve created a piece that looks like it belongs in a designer showroom. The next time you see a stack of pallets behind a store, you won’t see trash. You’ll see your next bookshelf, coffee table, or garden planter. Keep crafting, keep saving, and never pay full price for shelving again!

Makenzie is the founder and lead writer at MoneyHackTips.com — a personal finance blog dedicated to delivering street-smart financial wisdom for real people on real budgets. With 300+ published articles covering everything from debt management to investing fundamentals, Makenzie’s mission is to make every dollar work harder. When not writing about money hacks, Makenzie is testing frugal living strategies, optimizing side hustles, and helping readers build financial freedom from scratch.