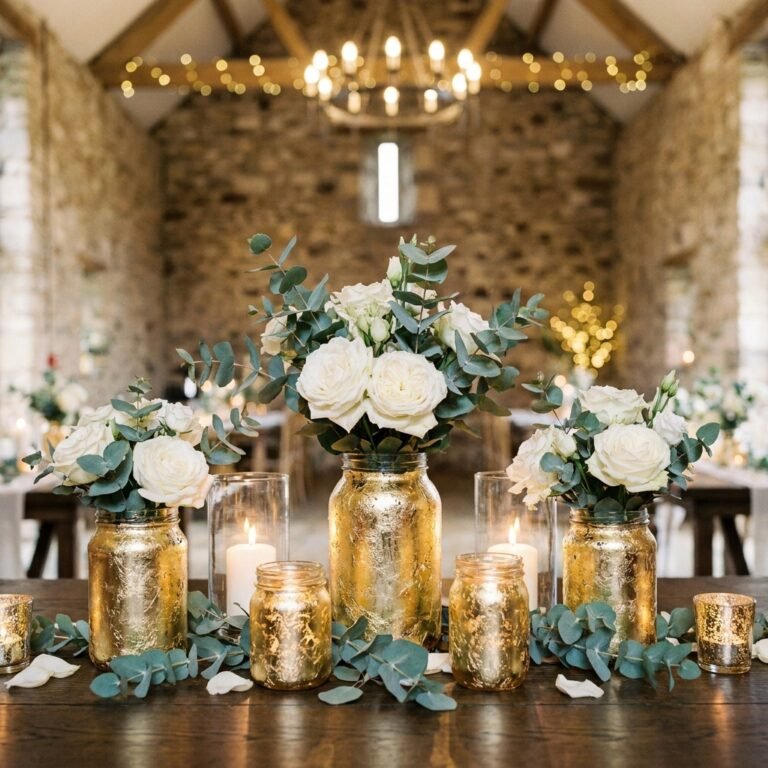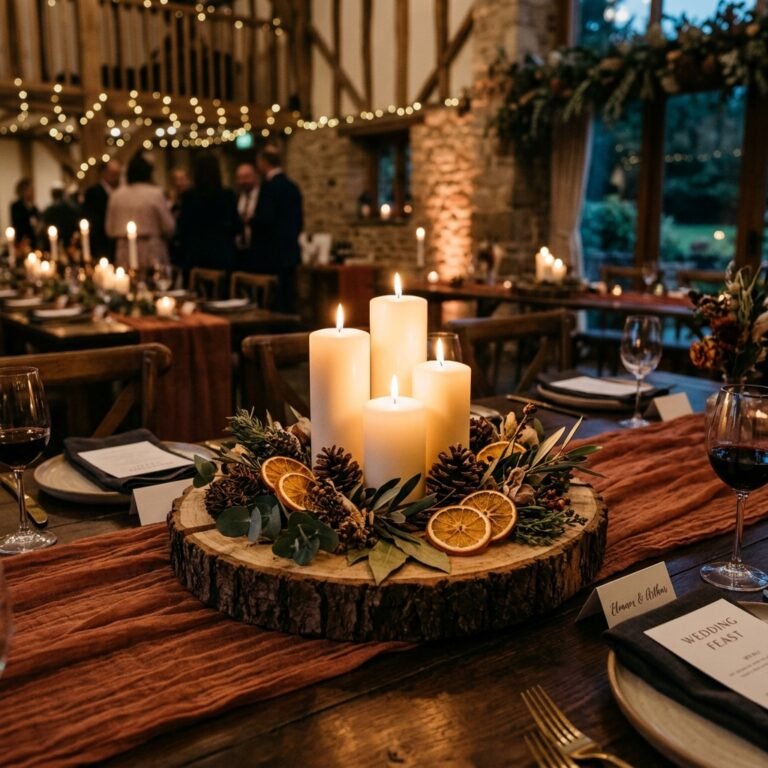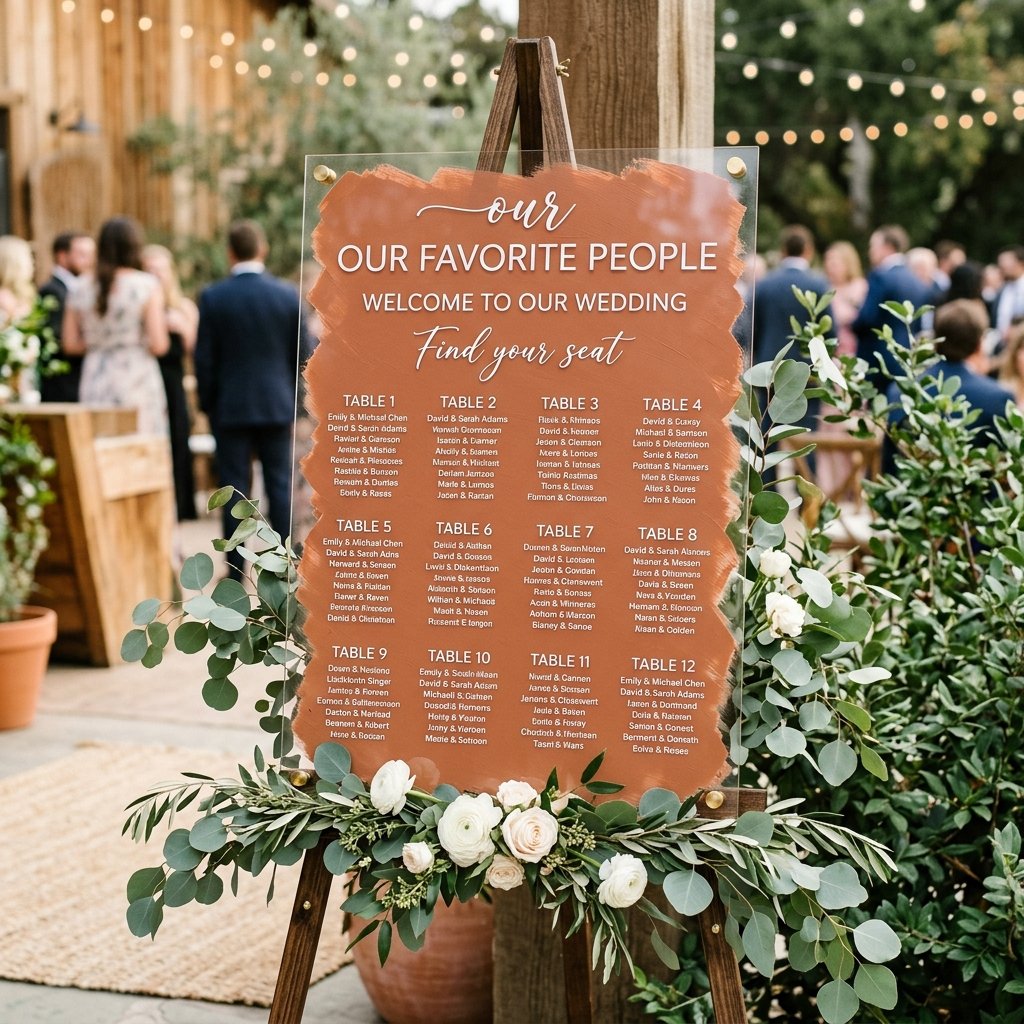

Welcome to the intersection of high-end wedding elegance and ruthless budget-savviness. If you are a frugal DIYer, a budget bride or groom, or a handy partner looking to inject some sweat equity into your big day, you have just stumbled upon the holy grail of wedding crafts. We all know the wedding industry loves to slap a massive premium on anything labeled ‘bridal.’ A custom acrylic seating chart—the kind you see dominating Pinterest boards with their chic, floating letters and painted backs—can easily set you back anywhere from $200 to $500. But what if I told you that with a little crafty expertise, a Cricut machine, and a quick trip to the local hardware store, you could recreate this exact masterpiece for under $40?
This isn’t just about cutting corners; it is about resourceful creativity. It is about taking raw, industrial materials like a sheet of plexiglass and transforming it into a sophisticated, personalized piece of art that will leave your guests speechless. Whether you are aiming for a delicate, modern-romantic vibe or a rugged, masculine-elegant aesthetic with a heavy stained-wood base, this tutorial is your blueprint.
Grab your weeding tools, roll up your sleeves, and prepare to master the ultimate Cricut hack. We are going to break down the exact materials you need, the secret alignment tricks that professionals use, and the foolproof transfer methods that will save your sanity when dealing with dozens of tiny vinyl names. Let’s build something beautiful without breaking the bank.
The Wedding Industry Markup Madness: Why We DIY
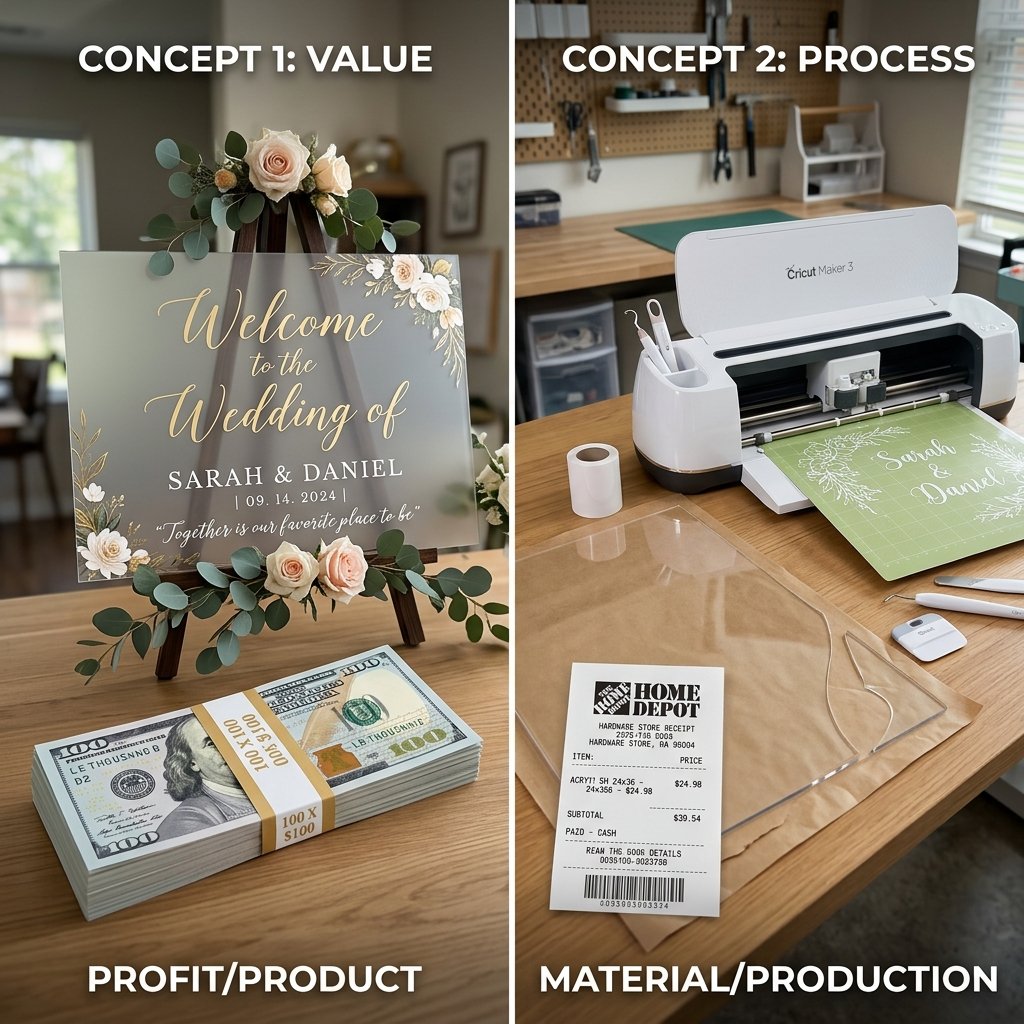
Before we dive into the cutting and weeding, let’s talk about the ‘why.’ The wedding industry markup is a very real, very intimidating beast. When a vendor creates a custom sign, you are paying for the raw materials, the design time, the machine wear-and-tear, the labor of weeding tiny letters, and shipping a massive, fragile piece of acrylic. While their time is absolutely valuable, those on a shoestring budget simply cannot justify dropping hundreds of dollars on a sign that will be used for exactly 6 hours.
The Real Cost of Wedding Elegance
By taking on this project, you are reclaiming your budget. The beauty of the DIY acrylic sign is that the materials themselves are incredibly utilitarian. You aren’t buying ‘wedding acrylic’; you are buying a standard sheet of plexiglass from the window replacement aisle of your local hardware store. You aren’t buying ‘bridal paint’; you are using standard craft acrylics. This mindset shift is the cornerstone of frugal crafting.
| Sign Sourcing Method | Estimated Cost | Pros & Cons |
|---|---|---|
| Professional Calligrapher/Sign Maker | $250 – $500+ | Zero effort, but destroys the decor budget. |
| Etsy Custom Decal (You apply) | $80 – $150 | Saves some money, but still paying a premium for the design. |
| The Ultimate DIY (Hardware Store + Cricut) | $30 – $45 | Maximum savings, fully customizable, requires sweat equity and patience. |
When you look at the numbers, the choice is clear. That extra $200 to $450 saved can be reallocated to things that truly matter—like upgrading the bar, extending the honeymoon, or simply keeping it in your savings account for your future together.
Sourcing Your Materials Like a Pro
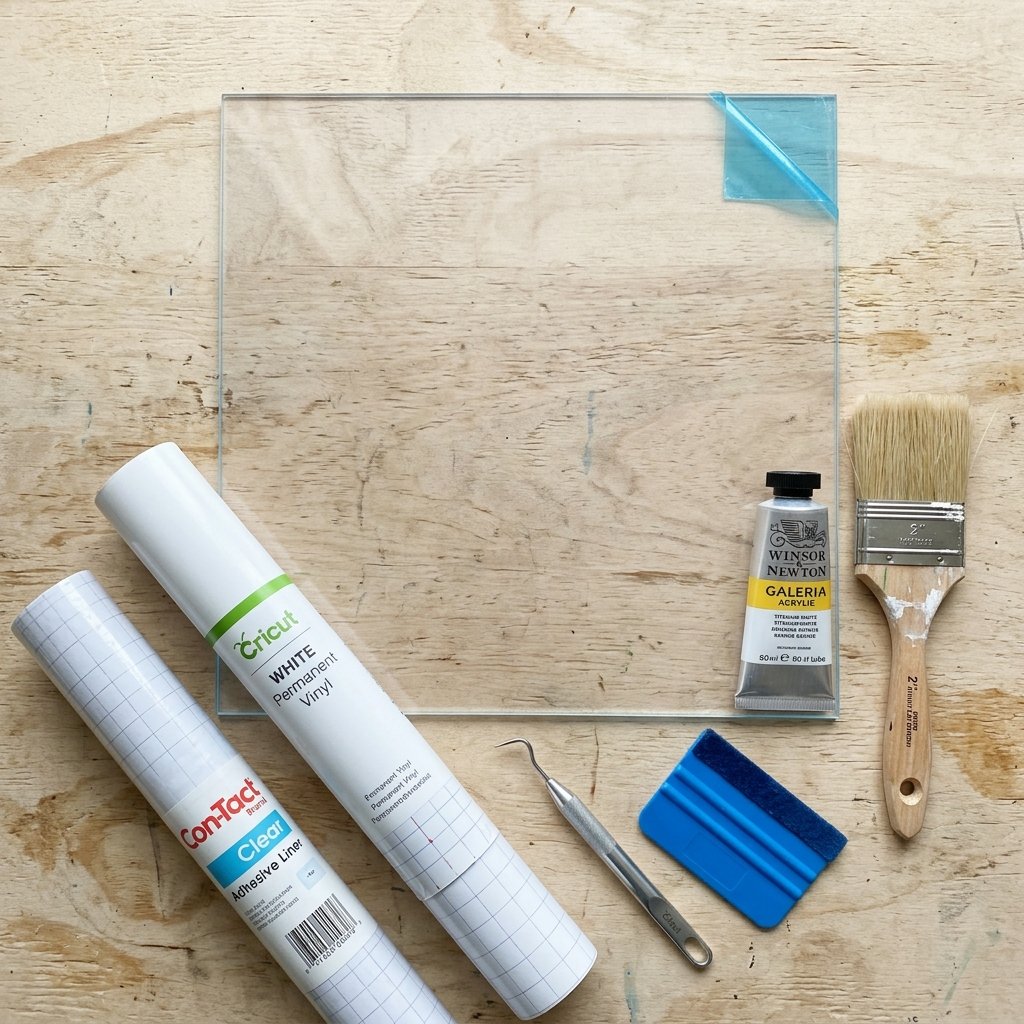
To pull off a high-end look on a shoestring budget, you need to know exactly where to source your materials. We are bypassing the craft store’s overpriced specialty blanks and heading straight to the industrial aisles and budget bins.
The Frugal Crafter’s Shopping List
- The Acrylic Sheet: Head to Lowe’s or Home Depot. Look for ‘OPTIX Acrylic Sheet’ or standard plexiglass. A massive 18×24 or 24×36 inch sheet usually runs between $15 and $25. Alternatively, upcycle! Hunt thrift stores for large, ugly framed pictures, ditch the art, and use the glass or acrylic insert. 100% upcycled, 100% clever.
- The Vinyl: You must use permanent adhesive vinyl. Oracal 651 is the gold standard for this. It won’t peel or lift, even if your reception is outdoors in the humid summer air. A roll costs about $6.
- Transfer Tape: Do not buy the expensive name-brand stuff. A roll of clear contact paper from the Dollar Tree ($1.25) works beautifully and has the perfect amount of tack to release small letters without a fight.
- Paint & Brushes: Standard acrylic craft paint ($1 to $2) and a wide bristle brush ($3). If you want a textured, plaster-like look, grab some baking soda from your pantry.
| DIY Material | Source | Estimated Cost |
|---|---|---|
| 24×36 Plexiglass Sheet | Local Hardware Store | $22.00 |
| Oracal 651 Permanent Vinyl (White) | Craft Store / Online | $6.00 |
| Dollar Tree Contact Paper (Transfer Tape) | Dollar Tree | $1.25 |
| Acrylic Paint & Wide Brush | Craft Store | $4.00 |
| Total Project Budget | $33.25 |
With your materials secured, you have officially bypassed the bridal tax. Now, it is time to prep your canvas.
Prepping Your Canvas: The Painted Back Trend
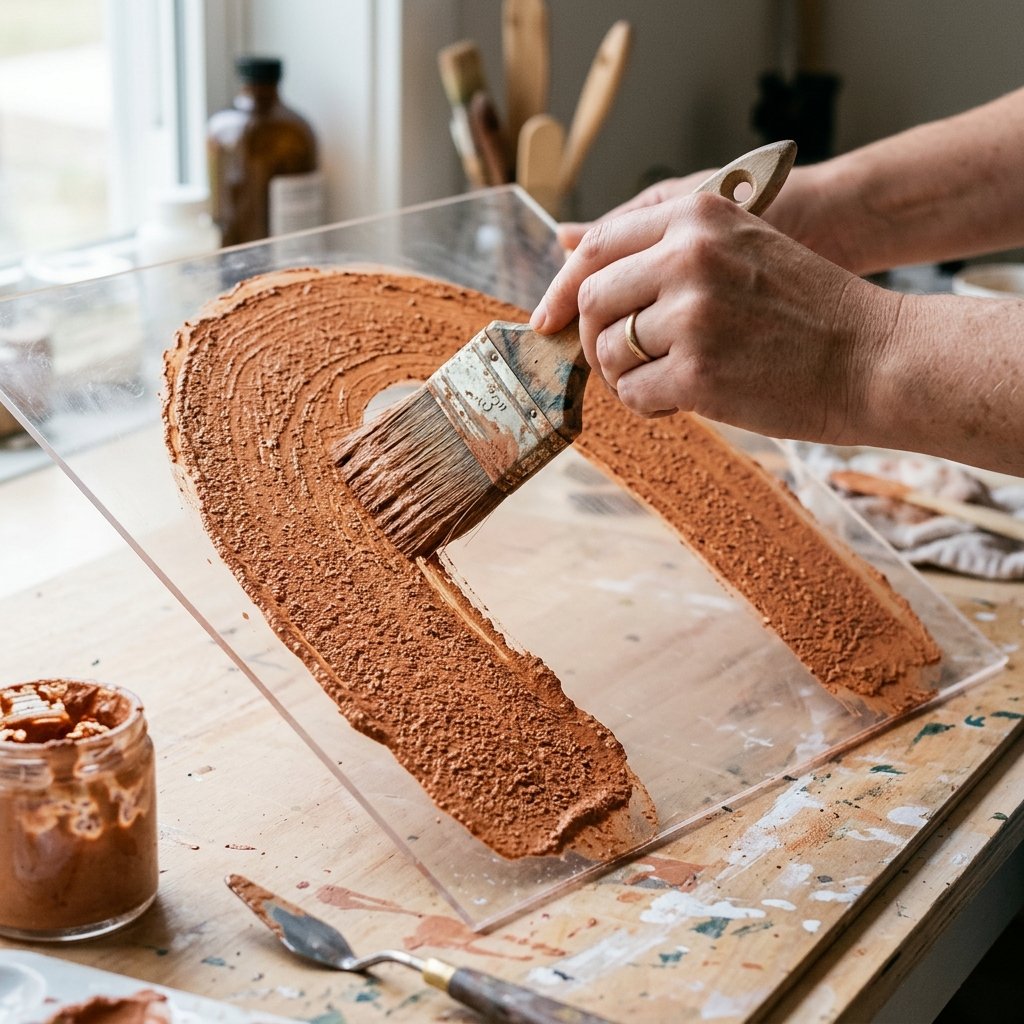
The signature look of a modern acrylic seating chart is the ‘painted back’ or ‘brushed back’ effect. This not only adds a beautiful pop of your wedding color, but it also creates an opaque background so your guests can actually read the white or gold vinyl lettering against the busy background of your venue.
Step-by-Step Preparation
- Clean the Acrylic: Hardware store acrylic comes with a protective film on both sides. Leave the front film on for now to prevent scratches. Peel the back film off. Clean the exposed surface with rubbing alcohol and a lint-free cloth to remove any manufacturing oils or fingerprints.
- Mix the Paint (Optional Texture Hack): If you want a smooth, modern look, use the acrylic paint straight from the tube. If you want a rugged, plaster-like, masculine-elegant texture, mix 1 part baking soda into 3 parts acrylic paint. This creates a thick, matte finish that looks incredibly expensive.
- Apply the Paint: Using your wide bristle brush, apply the paint to the back of the acrylic. You want to create an organic, brushed shape—leave the edges of the acrylic clear to frame the color. Do not aim for perfection; the visible brush strokes are what give it that bespoke, handmade charm.
- Seal It: Once dry (allow at least 2 hours), you can seal the back with a quick spray of clear matte sealant to prevent any scratching during transport.
Safety & Handling Disclaimer: When handling large sheets of hardware-store plexiglass, the edges can be surprisingly sharp. Run a piece of fine-grit sandpaper gently along the outer edges to dull them, and always handle the sheet with care to avoid slicing your fingers before the big day!
The Ultimate Cricut Hack: Designing & Aligning
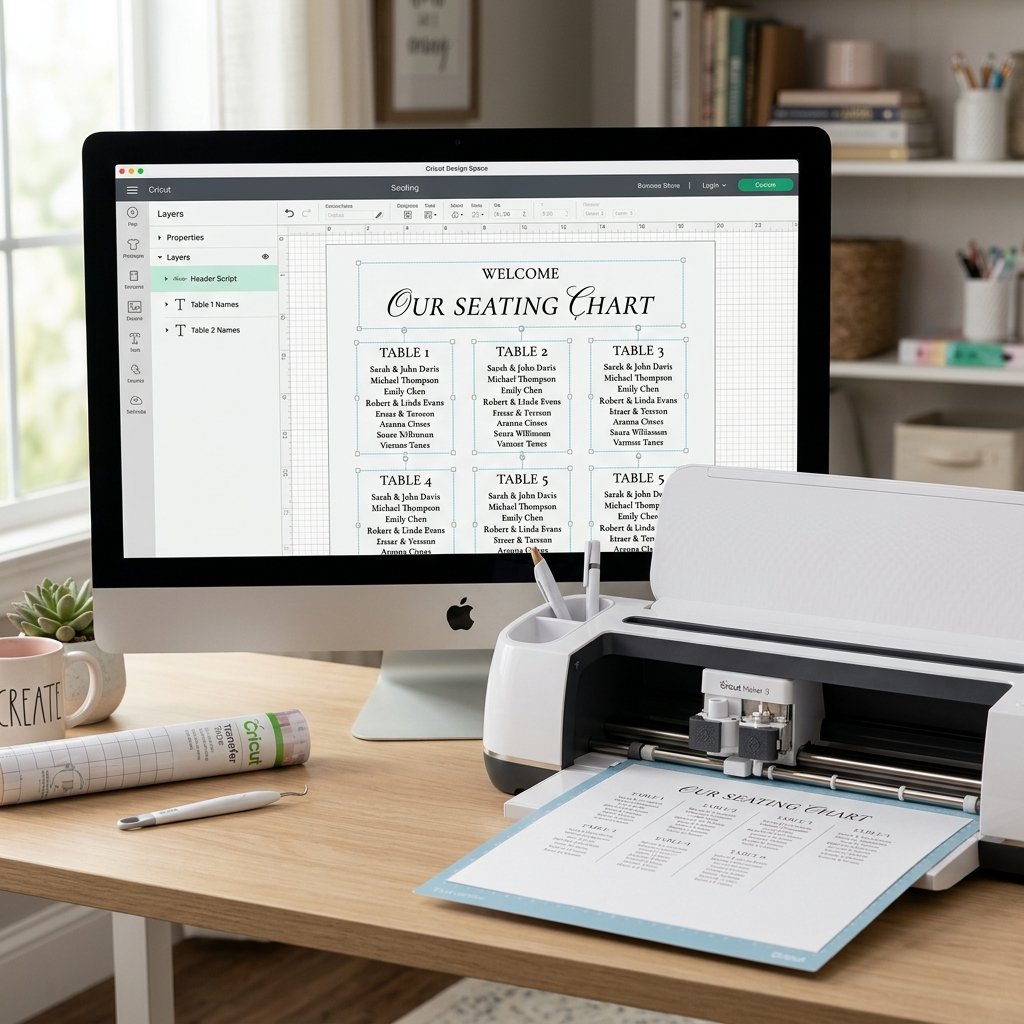
Designing a seating chart for 100+ guests in Cricut Design Space can feel like trying to build a ship in a bottle. The software can get laggy, and visualizing a 24×36 inch sign on a screen is tough. This is where the resourceful, clever hacks come into play.
Mastering Design Space on a Large Scale
First, set your canvas size to match your acrylic sheet. Draw a large rectangle in Design Space and set it to 24×36 (or your specific dimensions). This is your template. Now, choose your fonts. A classic, elegant look pairs a sweeping script font for the headers (like ‘Find Your Seat’ or Table Numbers) with a clean, highly legible serif or sans-serif font for the guest names.
The Alignment Box Hack
The hardest part of this project is getting the names perfectly straight and evenly spaced. Do not rely on your eyeballs. Use the Alignment Box Hack.
The Alignment Box Hack: In Design Space, draw a thin rectangle (like a border) around each column of names. Attach the names AND the box together before hitting ‘Make It’. When your Cricut cuts the vinyl, it will cut that box around the names. You can then use the straight lines of that box to perfectly align your columns on the acrylic using a ruler and a dry erase marker. Once the names are stuck down, simply peel away the thin vinyl box!
Because your design is larger than a standard 12×24 Cricut mat, you will need to slice your design into manageable columns. Cut ‘Table 1 through Table 4’ as one long vertical strip, ‘Table 5 through Table 8’ as the next, and so on. This keeps everything organized and prevents you from wasting precious vinyl.
Weeding, Transferring, and The Hinge Method
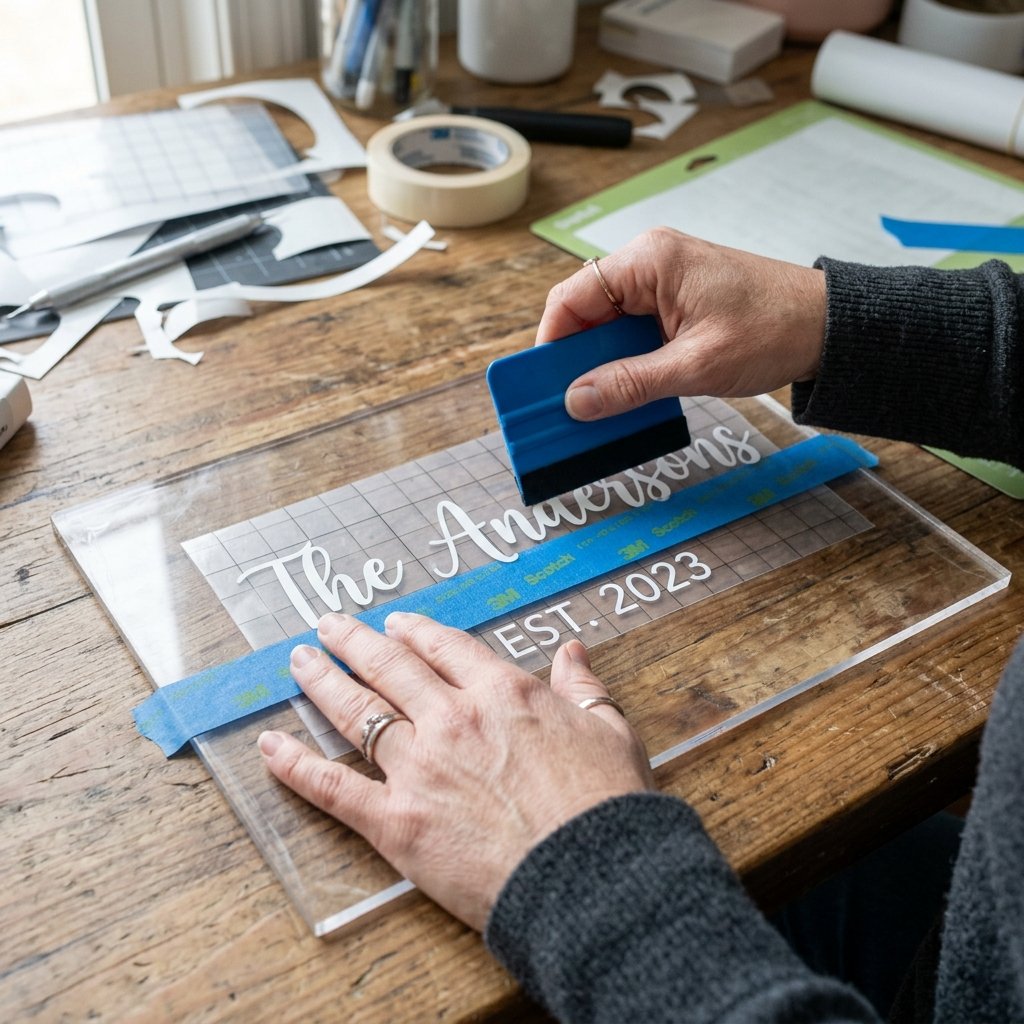
Welcome to the trenches. Weeding tiny serif fonts for 150 guests is a test of endurance, but it is also where the magic happens. Put on a good podcast, pour yourself a beverage, and get to work. Remember, every letter you weed is another dollar saved.
The Hinge Method Breakdown
Applying massive sheets of transfer tape to an acrylic board is a recipe for bubbles, wrinkles, and crooked lines. To combat this, professional sign makers use ‘The Hinge Method’. It is a rugged, foolproof technique that ensures perfect placement every single time.
- Prep the Board: Peel the protective film off the front of your painted acrylic. Use a ruler and a dry erase marker to draw a faint grid on the front of the acrylic. This will guide your placement. (Dry erase marker wipes right off acrylic!).
- Position the Decal: Take your weeded column of names (with transfer tape already applied) and place it on the board. Do not peel the white backing off yet! Just position it exactly where you want it.
- Create the Hinge: Take a piece of blue painter’s tape and place it horizontally right across the middle of your vinyl decal, taping it securely to the acrylic board. Your decal is now ‘hinged’ to the board.
- Apply the Top Half: Fold the top half of the decal down over the painter’s tape hinge. Peel the white paper backing away from the top half, exposing the sticky vinyl. Use scissors to cut away the loose paper backing. Now, use your scraper tool to firmly smooth the top half of the sticky vinyl onto the board, working from the center hinge upwards.
- Apply the Bottom Half: Remove the blue painter’s tape. Lift the bottom half of the decal, peel away the remaining paper backing, and smooth it down from the center downwards.
This method guarantees that your long lists of names will not shift, stretch, or apply crookedly. It is a true game-changer for large-scale DIY signage.
Displaying Your Masterpiece: Rugged Stands & Florals
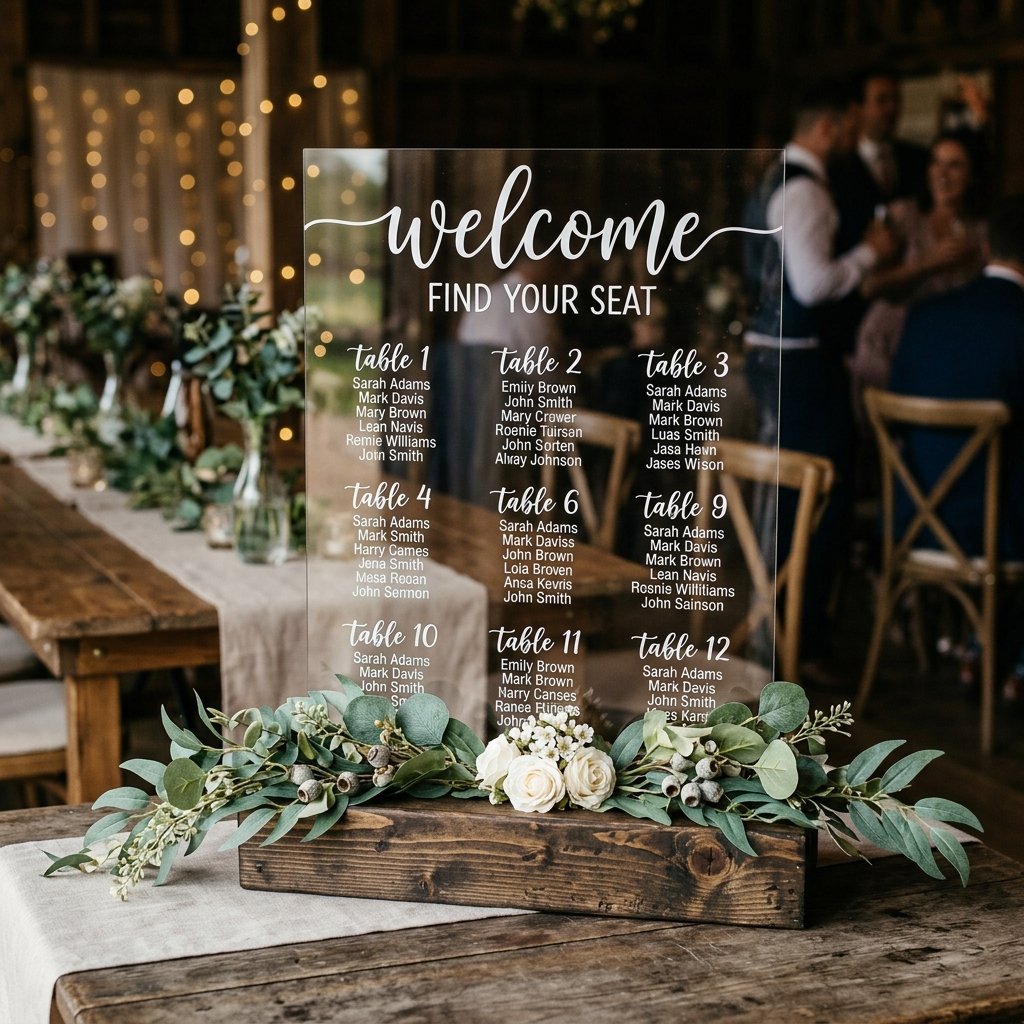
You have crafted a breathtaking, high-end acrylic sign. Now, you cannot just lean it against a folding chair. The display is what elevates this from a ‘craft project’ to ‘professional event decor.’ For the handy DIYer, building a custom stand is the perfect weekend project to add a touch of masculine-elegant architecture to the wedding.
Building a Masculine-Elegant Wooden Base
Instead of renting a flimsy brass easel for $50, build a heavy-duty, minimalist wooden block stand for under $10.
- The Wood: Purchase a thick piece of lumber from the hardware store, like a 4×4 or a chunky piece of scrap oak. Cut it to be exactly the width of your acrylic sign (e.g., 24 inches long).
- The Groove: Using a table saw or a router, cut a straight groove down the center of the wood block. The groove should be just wide enough to snugly fit the thickness of your acrylic sheet, and about 1.5 inches deep to provide stability.
- The Finish: Sand the block smooth and apply a rich, dark walnut wood stain. The contrast between the rugged, dark stained wood, the delicate clear acrylic, and the crisp white font is incredibly striking.
If woodworking isn’t your forte, upcycle a thrifted easel. A can of matte black or antique gold spray paint can transform a beat-up $5 thrift store easel into a piece of chic, industrial decor in exactly 10 minutes. To soften the look, zip-tie a budget-friendly garland of faux eucalyptus or Dollar Tree florals to one corner of the sign. The combination of the industrial acrylic, the rugged wood, and the soft florals creates a perfectly balanced aesthetic.
Your High-End Wedding, Your Rules
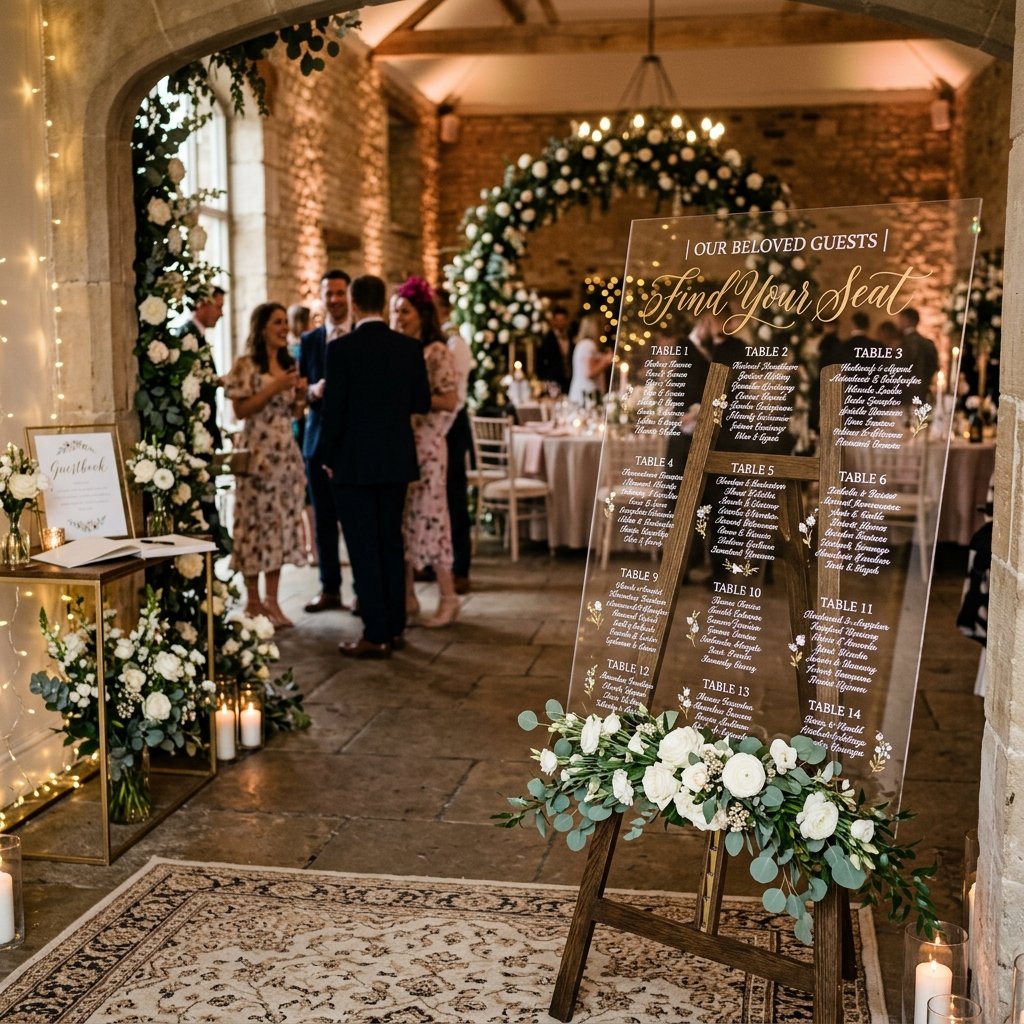
Creating your own acrylic wedding seating chart is the ultimate flex for the frugal DIYer. You have taken raw, inexpensive materials from the hardware store and, using your Cricut and a healthy dose of crafty ingenuity, transformed them into a breathtaking focal point for your reception. You didn’t just save hundreds of dollars; you created a bespoke piece of art that carries the energy and effort of your own two hands.
When your guests are finding their seats, marveling at the elegant painted backdrop and the crisp, perfect lettering, you will have the quiet satisfaction of knowing you beat the wedding industry markup at its own game. Keep your budget savvy, keep your creativity flowing, and remember that the most memorable details of a wedding are rarely the ones that cost the most money—they are the ones crafted with love, resourcefulness, and a little bit of sweat equity. Happy crafting, and congratulations on your beautiful, budget-friendly big day!
Conclusion
To wrap up this ultimate masterclass in budget wedding decor: never underestimate the power of a Cricut machine, a sheet of hardware store plexiglass, and a little bit of patience. By utilizing clever hacks like the alignment box, mastering the hinge method, and building your own rugged display stand, you have successfully bypassed the bridal tax. This DIY acrylic seating chart proves that you do not need an unlimited budget to have a high-end, elegant wedding. You just need the willingness to roll up your sleeves and create something extraordinary. Now go forth, craft boldly, and enjoy the incredible savings!

Makenzie is the founder and lead writer at MoneyHackTips.com — a personal finance blog dedicated to delivering street-smart financial wisdom for real people on real budgets. With 300+ published articles covering everything from debt management to investing fundamentals, Makenzie’s mission is to make every dollar work harder. When not writing about money hacks, Makenzie is testing frugal living strategies, optimizing side hustles, and helping readers build financial freedom from scratch.