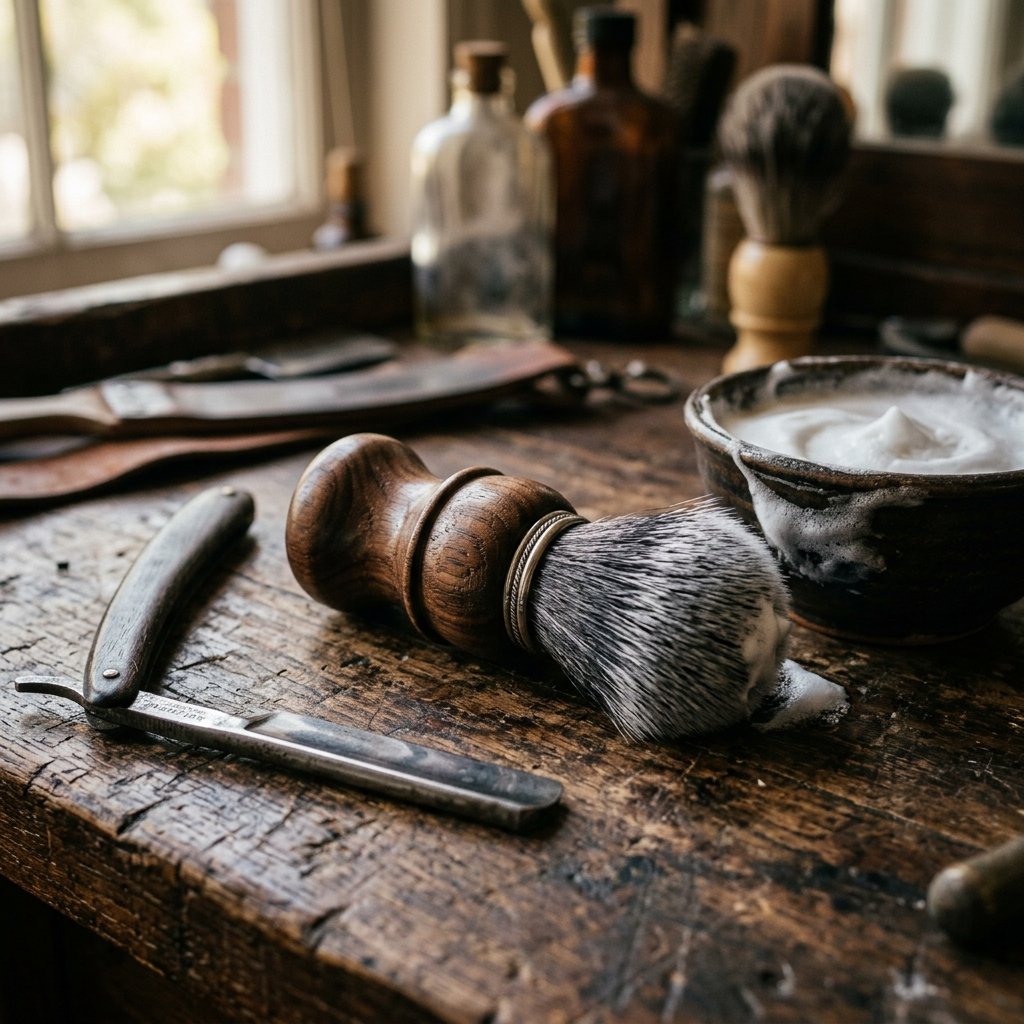

There is something inherently timeless about the ritual of a wet shave. It is a moment of pause, a nod to a more deliberate era, and a far cry from the plastic-heavy, disposable culture of modern grooming. But if you have ever stepped into a high-end apothecary or a boutique barbershop, you know that a premium shaving brush can easily fetch anywhere from $80 to $200. For the frugal DIYer, that price tag is a challenge accepted. By sourcing your own hardwood scraps and purchasing a high-quality bristle knot separately, you can create a rugged, masculine-elegant gift that looks like it belongs in a Victorian gentleman’s club—all for the price of a couple of lattes. This project is perfect for handy parents, budget-conscious gift-givers, and anyone who appreciates the character of upcycled materials. We are going to take a simple piece of wood and turn it into a functional piece of art that will last for decades.
The Anatomy of a Premium Shaving Brush
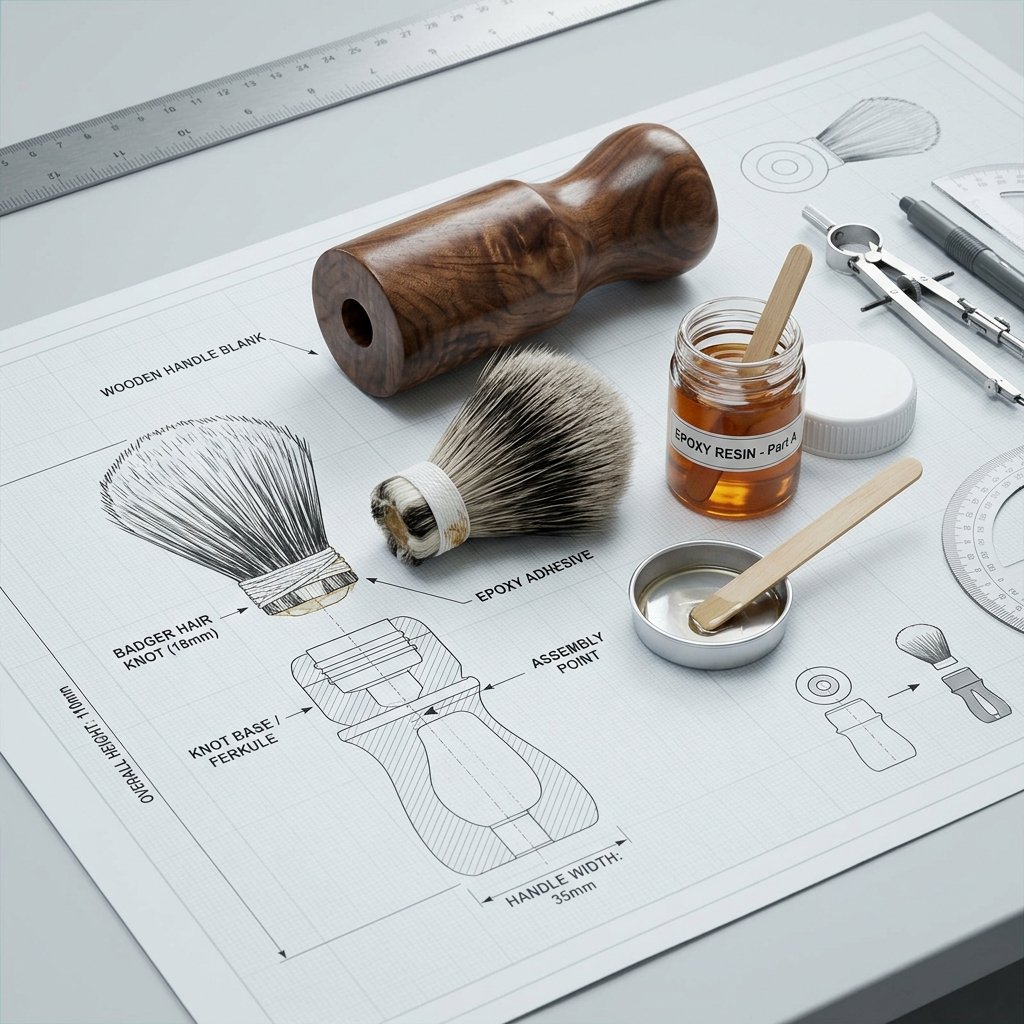
Before we dive into the sawdust, it is crucial to understand what makes a shaving brush truly exceptional. A brush consists of two main parts: the handle and the knot (the bristles). The handle provides the weight and ergonomics, while the knot is responsible for whipped-up lather and exfoliating the skin. When you build your own, you have total control over the weight, the grip, and the aesthetic. For a rugged yet sophisticated look, we focus on hardwoods like oak, walnut, or even upcycled mahogany from old furniture. These woods offer the density required to withstand a moist environment when properly sealed.
| Component | Purpose | DIY Material Choice |
|---|---|---|
| Handle | Ergonomics & Aesthetics | Walnut, Oak, or Cherry Scraps |
| Knot | Lathering & Application | Synthetic or Badger Bristles |
| Adhesive | Securing the Knot | Waterproof Marine Epoxy |
| Finish | Waterproofing | Tung Oil or Spar Urethane |
The secret to a professional-feeling brush is the balance. You want the handle to have enough heft to feel substantial in the hand, typically around 2.5 to 3 inches in length.
Sourcing Your Materials: The Scavenger’s Strategy
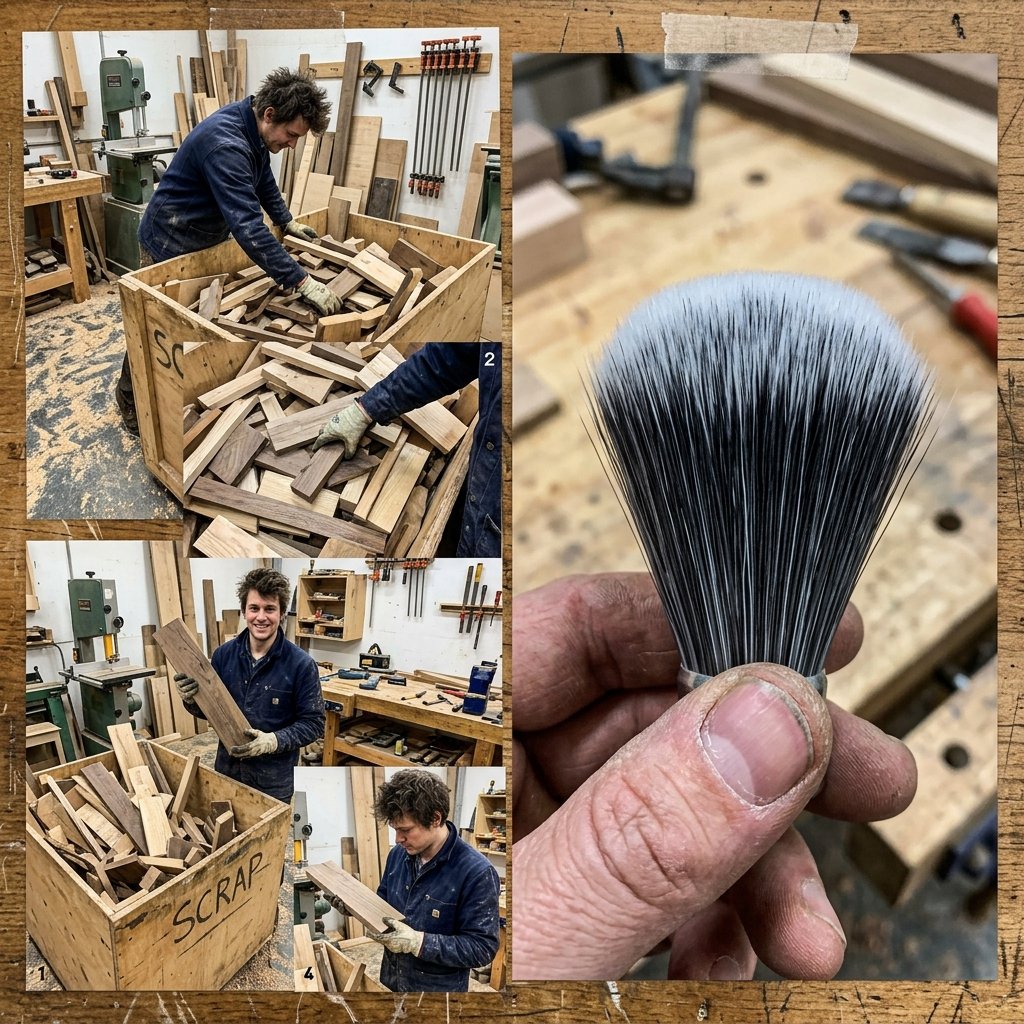
To keep this project truly budget-friendly, we are going to look for materials in places others might overlook. You do not need to buy a 10-foot board of exotic lumber. Instead, visit a local cabinet shop and ask for their ‘off-cuts’ or ‘scrap bin’—often, they will let you take small pieces of premium wood for free or a few dollars. Alternatively, look for old tool handles or broken furniture at thrift stores. A broken mahogany chair leg can provide enough material for four or five shaving brushes. As for the knot, you can find high-quality synthetic knots online for about $7 to $12. These are often preferred over animal hair today because they dry faster and are more durable.
Cost Comparison: DIY vs. Store-Bought
| Item | Boutique Store Price | DIY Upcycled Cost |
|---|---|---|
| Luxury Shaving Brush | $120.00 | $9.50 |
| Artisan Shave Soap | $25.00 | $4.00 |
| Presentation Box | $15.00 | $0.00 (Upcycled) |
| Total | $160.00 | $13.50 |
Step-by-Step: Shaping the Masculine Handle
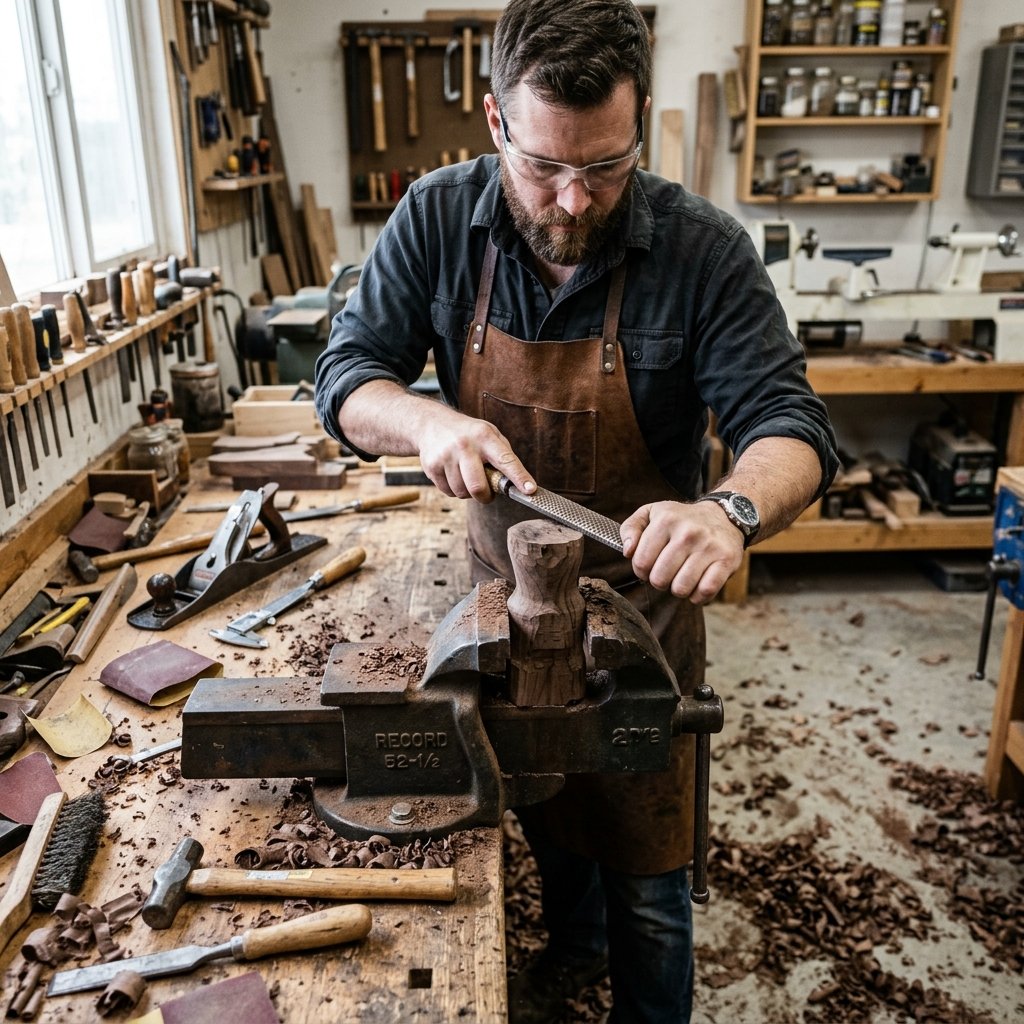
You do not need a lathe to create a beautiful handle, though one certainly helps. If you are working with basic hand tools, you can achieve a ‘faceted’ or ‘hand-carved’ look that is very popular in modern-rugged design. Start with a block of wood approximately 1.5″ x 1.5″ x 3″. If you are using a lathe, turn it to your desired profile—classic hourglass or a stout, cylindrical ‘chubby’ style. If carving by hand, use a coping saw to cut the basic shape and then refine it with a wood rasp and sandpaper.
- Mark the Center: Use a ruler to find the exact center on the top of your wood block.
- Drill the Hole: Using a Forstner bit that matches the diameter of your knot (usually 24mm), drill a hole about 15mm to 20mm deep. Safety Note: Always secure the wood in a clamp or vise before drilling.
- Shape the Body: Use a rasp or lathe to taper the bottom of the handle so it sits comfortably in the palm.
- Sand to Perfection: Start with 80-grit sandpaper to remove tool marks, then move to 120, 220, and 400-grit for a glass-smooth finish.
When sanding, always follow the grain of the wood. This ensures that the final stain or oil penetrates evenly and doesn’t leave unsightly cross-grain scratches.
The Finishing Touch: Waterproofing and Assembly
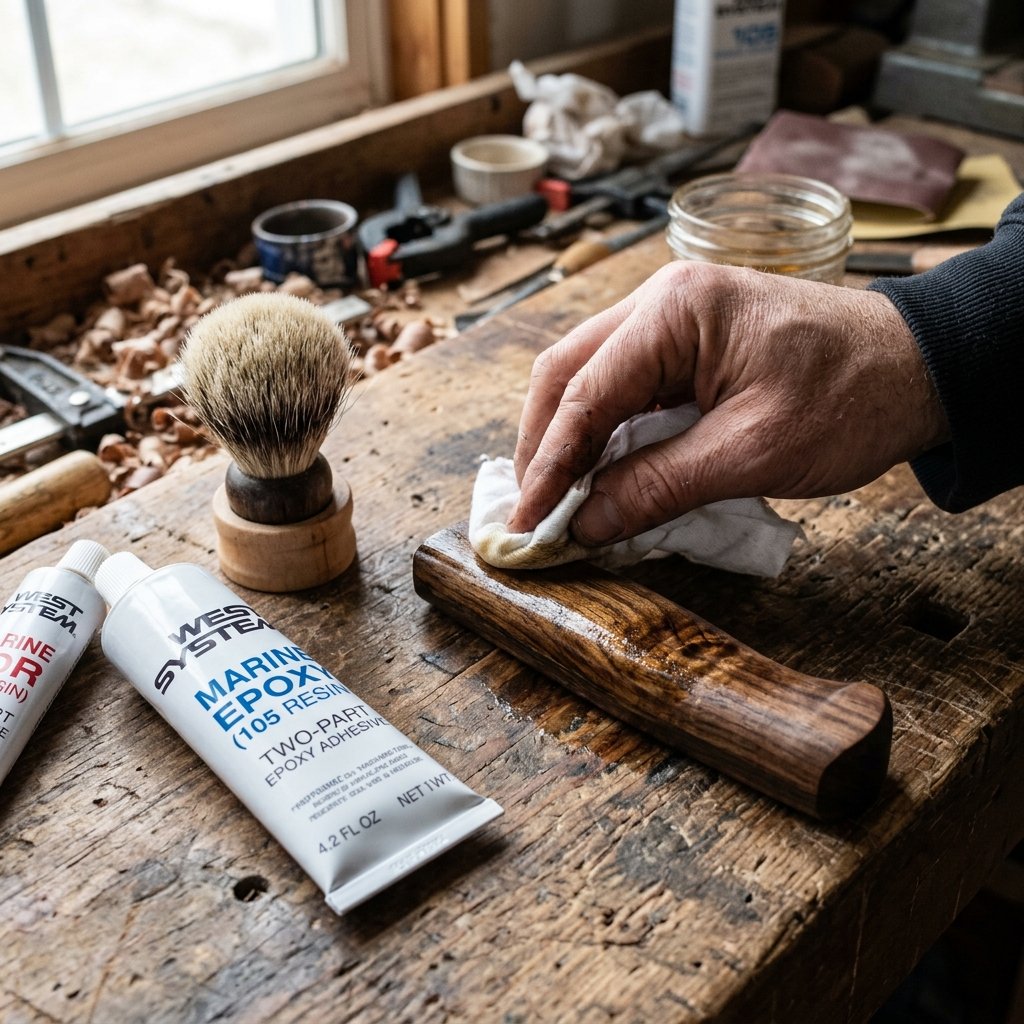
Since this brush will live in a humid bathroom and be submerged in water daily, the finish is the most critical step. A simple wax won’t cut it. You need a finish that penetrates the wood fibers and creates a barrier. Tung oil is a fantastic choice for a natural, ‘in-the-wood’ feel that highlights the grain. For a high-gloss, ‘bulletproof’ finish, use a wipe-on poly or spar urethane. Once the finish has cured (usually 24 to 48 hours), it is time to set the knot.
- Dry Fit: Place the knot in the hole to ensure it sits at the right height. You want the ‘loft’ (the height of the hair) to be around 50mm to 55mm.
- Epoxy: Mix a small amount of two-part waterproof marine epoxy. Apply it to the bottom of the knot and the bottom of the hole.
- Set and Align: Press the knot firmly into the hole. Wipe away any squeeze-out immediately with a damp cloth or rubbing alcohol.
- Cure: Let the brush sit upright for 24 hours before the first use.
Complete the Gift: The Grooming Set Add-ons
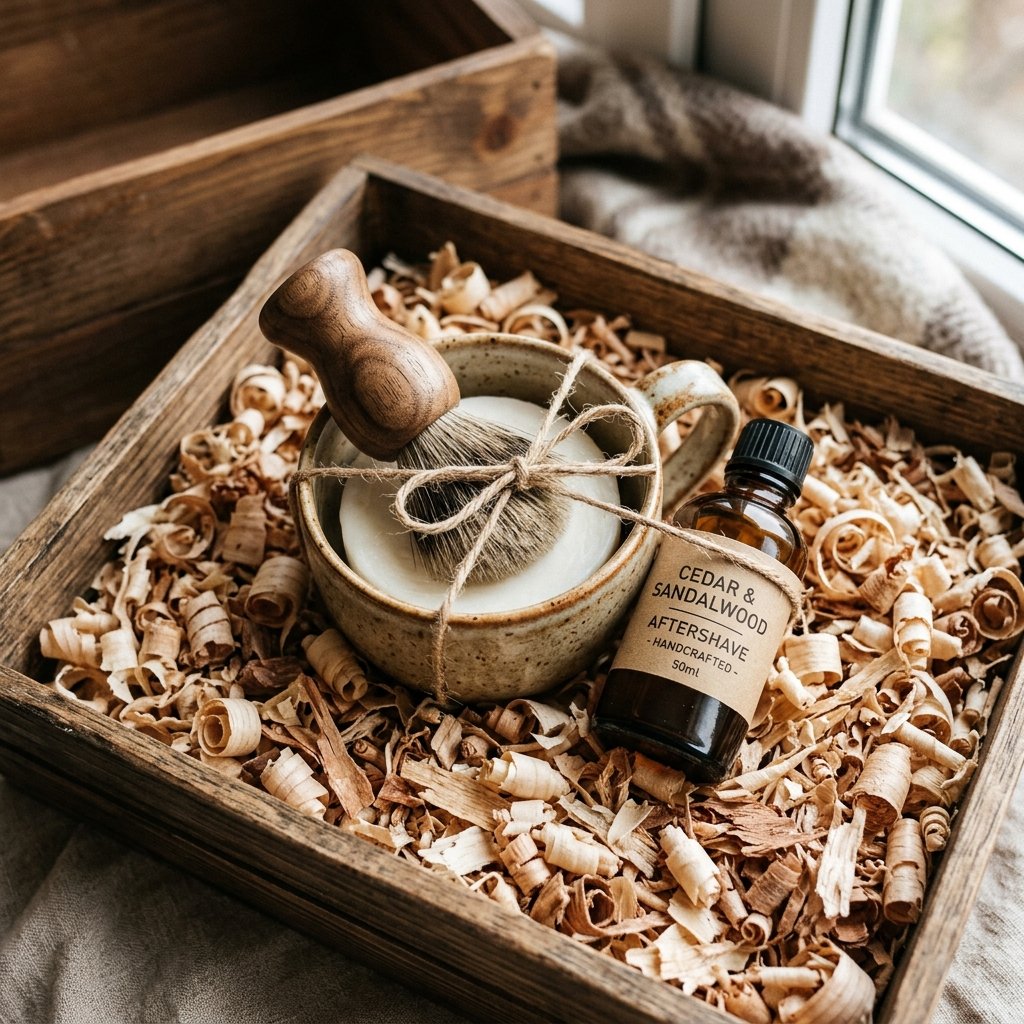
A shaving brush is a great gift on its own, but you can turn it into a full ‘Barbershop Experience’ kit by adding a few DIY grooming essentials. This not only increases the ‘wow’ factor but keeps the entire gift within a $20 budget. You can easily whip up a batch of homemade shave soap using a ‘melt and pour’ glycerin base, a teaspoon of bentonite clay (for ‘slip’), and a few drops of sandalwood or cedarwood essential oil.
DIY Shave Soap Recipe Ratio
| Ingredient | Amount | Benefit |
|---|---|---|
| Glycerin Soap Base | 4 oz | Gentle cleansing and lather |
| Bentonite Clay | 1 tsp | Provides razor glide |
| Shea Butter | 1/2 tsp | Moisturizing properties |
| Essential Oils | 10 drops | Masculine scent (Cedar/Sandalwood) |
Package the soap in a wide-mouth mason jar or a thrifted ceramic mug. Wrap the brush and the soap in brown kraft paper and tie it with twine for a rugged, masculine-elegant presentation that any man would be proud to display on his vanity.
Conclusion
Creating a DIY wood shaving brush is more than just a craft project; it is about reclaiming a piece of traditional masculinity and proving that luxury doesn’t have to come with a triple-digit price tag. By being resourceful with your materials—using wood scraps and affordable synthetic knots—you have created a gift that is both practical and deeply personal. Whether it is for Father’s Day, a groomsman gift, or a birthday, this brush serves as a daily reminder of the care and craftsmanship you put into it. So, go ahead, hit the workshop, and give him the gift of a perfect, barbershop-quality shave every single morning. Happy crafting!

Makenzie is the founder and lead writer at MoneyHackTips.com — a personal finance blog dedicated to delivering street-smart financial wisdom for real people on real budgets. With 300+ published articles covering everything from debt management to investing fundamentals, Makenzie’s mission is to make every dollar work harder. When not writing about money hacks, Makenzie is testing frugal living strategies, optimizing side hustles, and helping readers build financial freedom from scratch.