
Revving Up Your Gifting Game
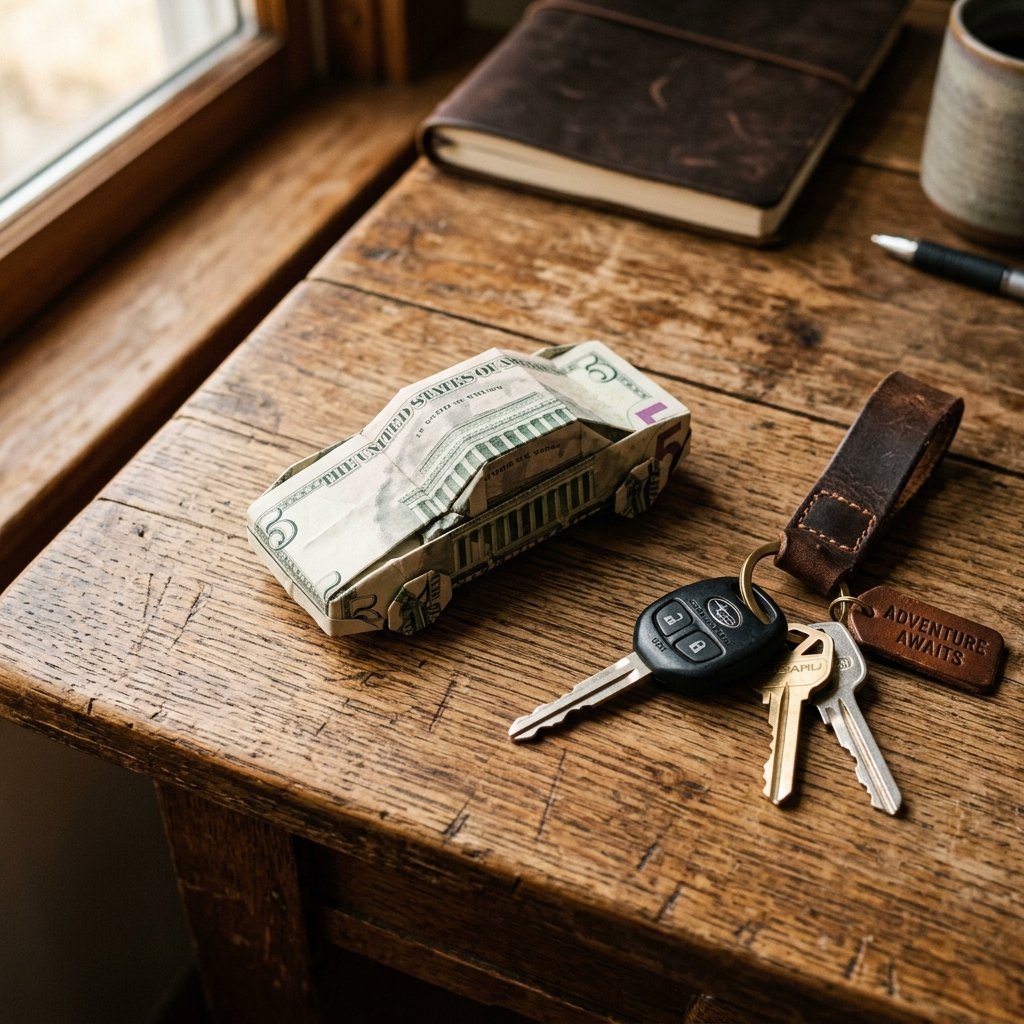
So, the teenager in your life finally passed their driver’s test? Or perhaps a friend just saved up enough for their first set of wheels? While a gift card to a gas station is practical, it lacks that ‘wow’ factor that honors such a massive rite of passage. As a resourceful DIYer, you know that the best gifts aren’t just about the dollar amount; they are about the presentation and the heart behind the craft. Enter the Money Origami Car. This isn’t just cash; it’s a symbolic gesture of freedom, a ruggedly elegant piece of paper engineering that says, ‘I see your hard work, and here is some gas money to get you started.’
In this guide, we aren’t just folding paper; we are building a miniature chassis out of legal tender. Whether you are using a $1 bill for a small gesture or a $100 bill for a major milestone, this tutorial will guide you through the precision folds needed to create a sleek, recognizable vehicle. It’s clever, it’s budget-savvy, and it’s a gift they’ll likely keep in their glove box for good luck rather than spending it immediately.
The Toolbox: Essential Supplies for Precision Folding
Before we hit the assembly line, we need to gather our materials. Precision is key here—think of yourself as a master mechanic working on a micro-scale. You don’t need a heavy-duty workshop, but a few simple tools will ensure your folds are as sharp as a new set of tires.
The Material List
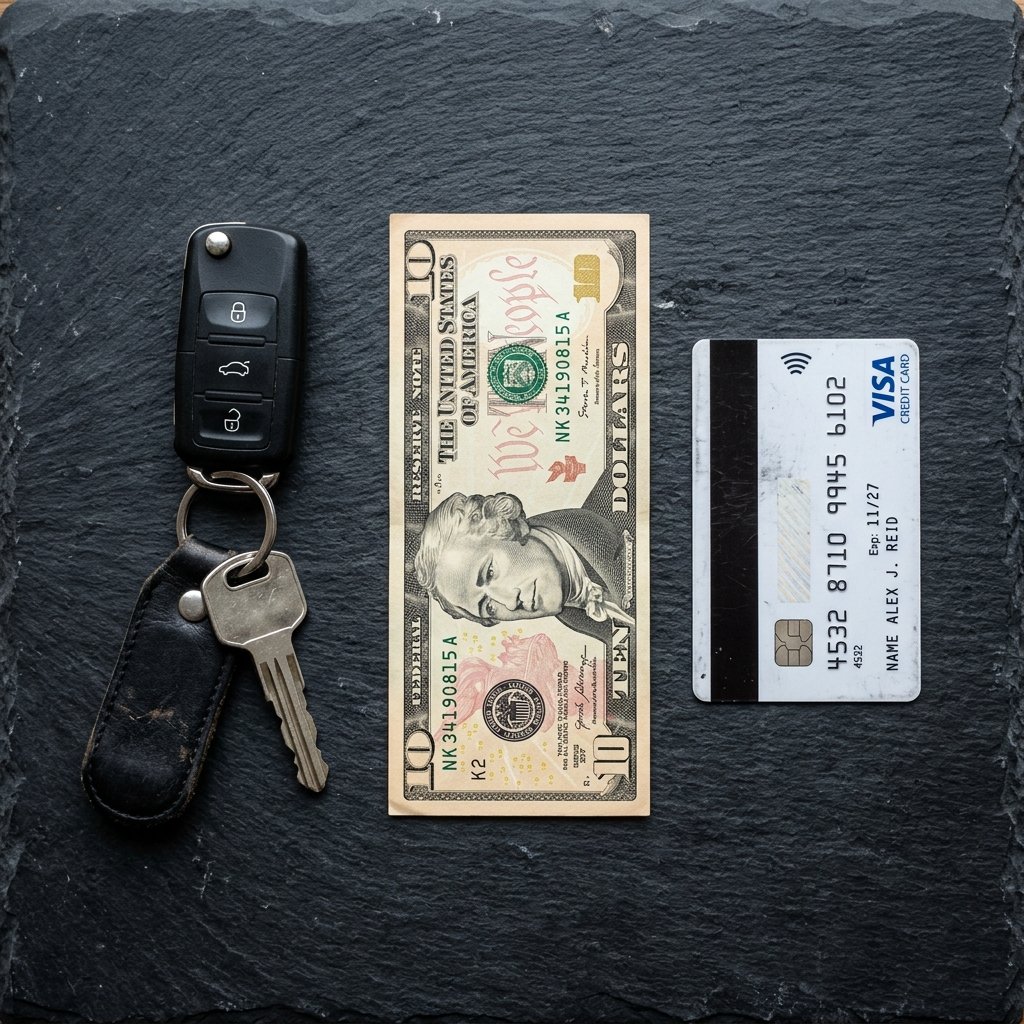
- A Crisp Bill: This is non-negotiable. An old, wrinkled bill won’t hold the creases and will result in a ‘clunker’ rather than a sports car. If your cash is limp, try ironing it on low heat (no steam!) between two pieces of paper.
- A Bone Folder or Credit Card: To get those professional-grade creases, you need something harder than your fingernail. A simple plastic card works wonders for burnishing the edges.
- A Flat Surface: A rugged wooden table or a clean desk is your workbench.
| Item | Requirement | Pro-Tip |
|---|---|---|
| Currency | Any Denomination | Use a $20 for a ‘full tank’ gift impact. |
| Texture | Crisp/New | Ask for ‘uncirculated’ bills at the bank. |
| Folding Tool | Hard Edge | A ruler or credit card ensures 100% precision. |
“The secret to great origami is the same as the secret to great car maintenance: don’t rush the process, and make sure every alignment is spot-on before you move to the next step.”
The Assembly Line: Step-by-Step Car Folding Instructions
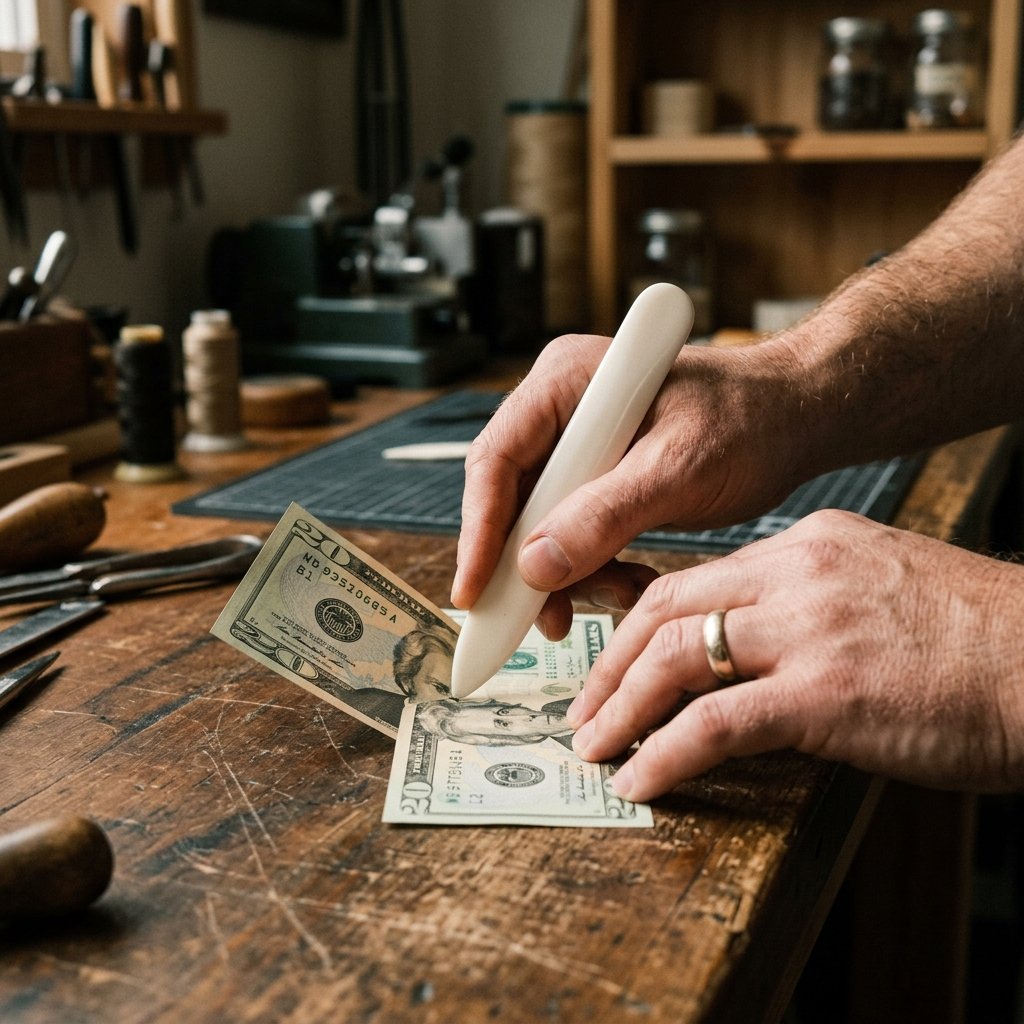
Follow these steps closely. We are going to transform a flat rectangle into a three-dimensional vehicle. Take your time with the initial folds, as they form the ‘frame’ of your car.
- The Center Line: Place your bill horizontally. Fold it in half lengthwise (hot dog style) to create a center crease, then unfold.
- The Fenders: Fold all four corners inward so the tips meet the center crease. Your bill should now look like it has two pointed ends (like a hexagonal shape).
- The Chassis Sides: Fold the top and bottom edges inward to meet the center crease again. This creates a long, narrow strip.
- The Wheel Well Prep: Flip the bill over. Fold about one inch of each end toward the center. This will eventually form the front and back of the car.
- The Wheel Folds: This is the clever part. On the ends you just folded, pull the inner corners outward to create small triangular ‘tabs’ that stick out. These are your wheels.
- The Roofline: Fold the entire bill in half, bringing the two ends together. Then, tuck one end into the folds of the other to lock the car shape.
- Final Shaping: Gently pinch the top to create a ‘roof’ and ensure the wheels are tucked out so the car can stand on its own.
“If the bill feels like it’s resisting, use your folding tool to reinforce the crease. A well-folded car should feel sturdy enough to ‘drive’ across the table!”
The Showroom: Customizing Your Gift for Maximum Impact
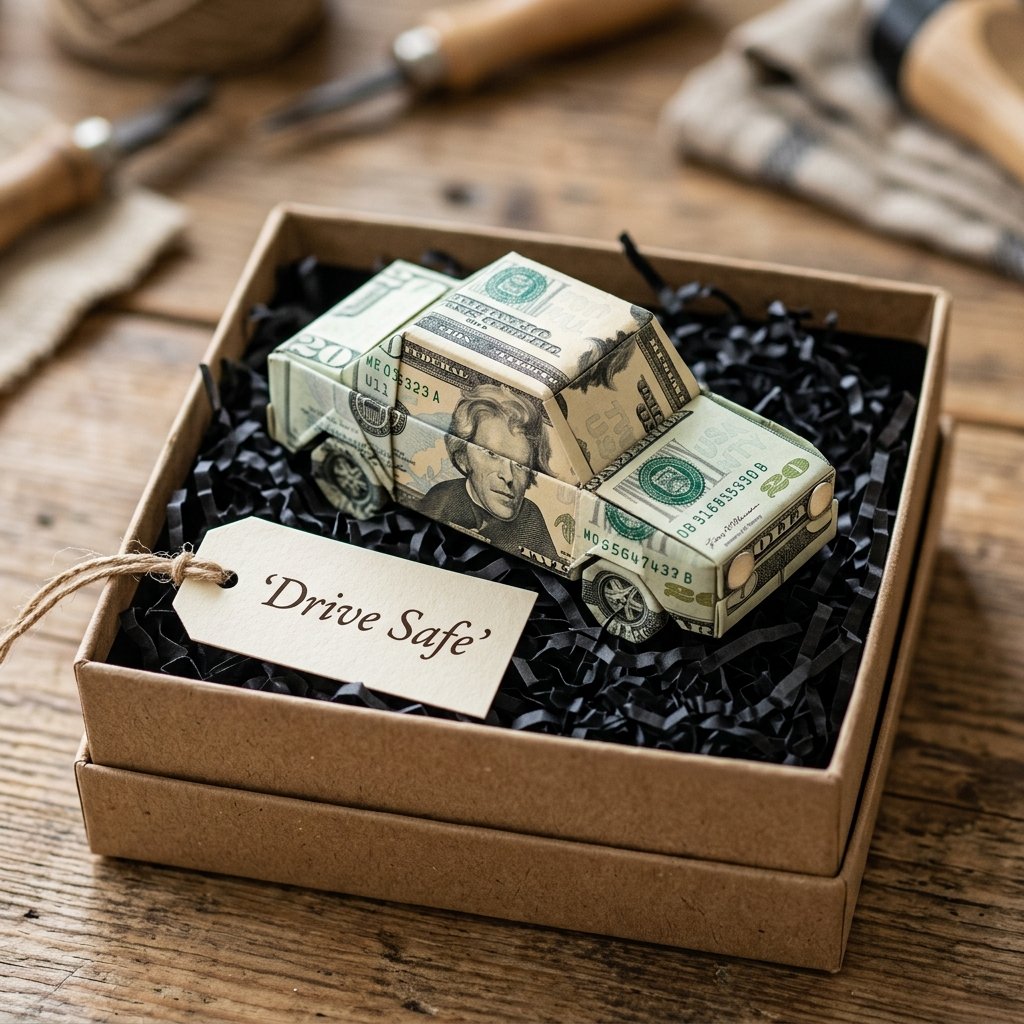
A car sitting on a table is great, but a car presented in a ‘showroom’ is unforgettable. Since we are being resourceful and crafty, let’s look at how to package this gift without spending more than $2 on materials.
Creative Presentation Ideas
- The Matchbox Garage: Find an old matchbox or a small jewelry box. Line the bottom with a piece of black sandpaper to look like asphalt. Place your money car inside with a small note that says, ‘Fuel for the Road.’
- The Keychain Tag: Attach the money car to a leather keychain using a small piece of clear, removable tape. It makes the gift feel like a functional accessory.
- The Dashboard Card: Create a DIY card with a drawing of a dashboard. Tape the money car over the ‘speedometer’ area.
| Presentation Style | Difficulty | Cost |
|---|---|---|
| Matchbox Garage | Easy | $0.50 |
| Leather Keychain Pair | Moderate | $5.00 |
| Greeting Card Insert | Very Easy | $0.00 |
By adding these small, crafty touches, you elevate the gift from ‘just cash’ to a handcrafted keepsake. It shows the new driver that you put thought into their milestone, making the moment much more significant than a digital transfer or a plain envelope.
The Fuel Gauge: Comparing the Value of Creative Gifting
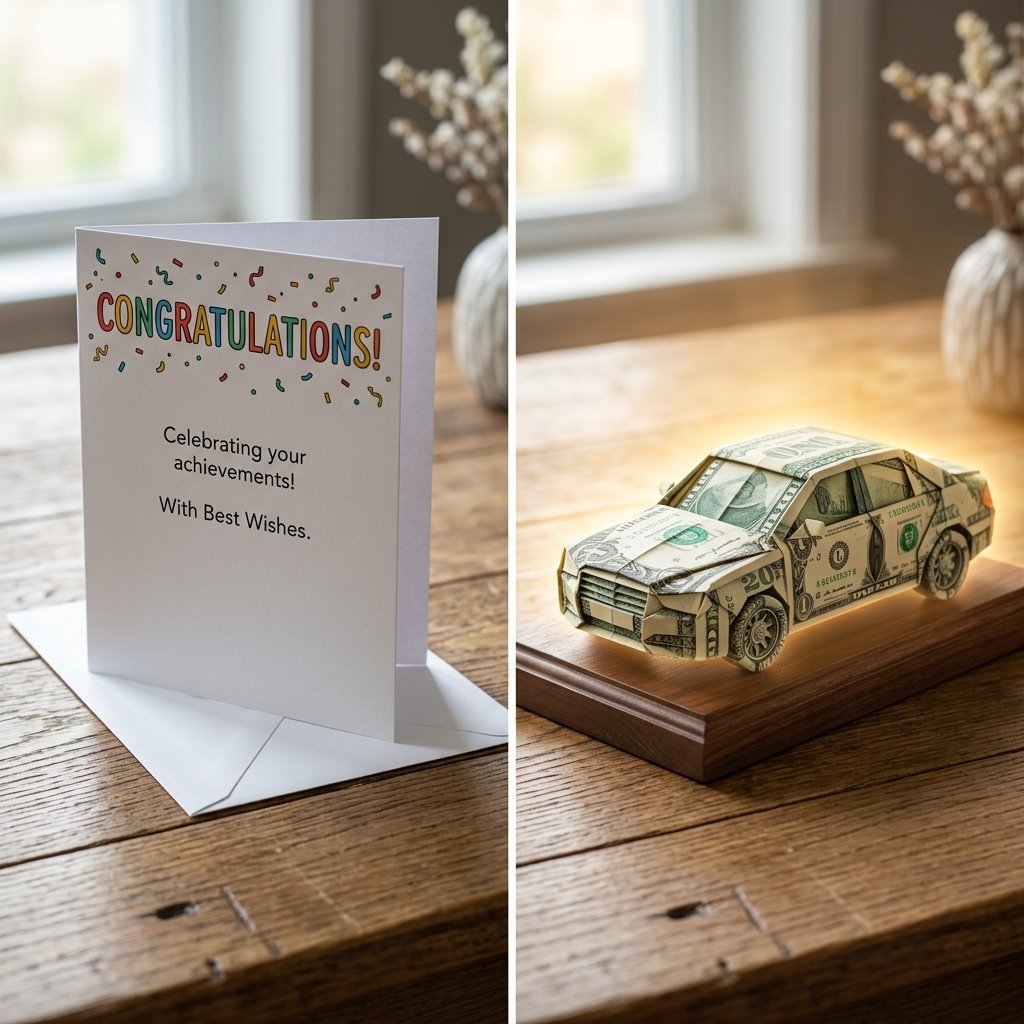
Why go through the trouble of folding a bill when you could just buy a card? The answer lies in the clever, budget-savvy philosophy of the DIYer. Let’s look at the breakdown of why this origami car is the superior choice for your wallet and the recipient’s experience.
| Feature | Store-Bought Card & Gift Card | Money Origami Car |
|---|---|---|
| Material Cost | $5.00 (Card) + Gift Amount | $0.00 + Gift Amount |
| Time Investment | 10 mins (Driving to store) | 5 mins (Folding) |
| Memorable Factor | Low (Disposable) | High (Keepsake) |
| Waste Produced | High (Paper/Plastic) | Zero Waste |
As you can see, the DIY route saves you the ‘hidden’ costs of gifting—like the $5.00 you’d spend on a glittery card that will eventually end up in the trash. Instead, that money stays in your pocket or, better yet, gets added to the value of the car itself!
“True luxury isn’t about how much you spend; it’s about the craftsmanship and the intention you put into the presentation.”
Conclusion
Hitting the Open Road
Congratulations! You’ve just turned a standard piece of currency into a custom-built masterpiece. This money origami car is more than just a clever trick; it’s a testament to your resourcefulness and your support for the new driver in your life. Whether they use it for their first tank of premium gas or keep it as a memento of the day they earned their license, your gift will stand out in a sea of generic envelopes.
Remember, the best DIY projects are the ones that combine practicality with creativity. You’ve saved money on expensive cards and packaging while creating something far more valuable: a memory. Now, go ahead and present that car with pride—you’ve earned your stripes as a master of the trash-to-treasure (or in this case, cash-to-treasure) craft!

Makenzie is the founder and lead writer at MoneyHackTips.com — a personal finance blog dedicated to delivering street-smart financial wisdom for real people on real budgets. With 300+ published articles covering everything from debt management to investing fundamentals, Makenzie’s mission is to make every dollar work harder. When not writing about money hacks, Makenzie is testing frugal living strategies, optimizing side hustles, and helping readers build financial freedom from scratch.