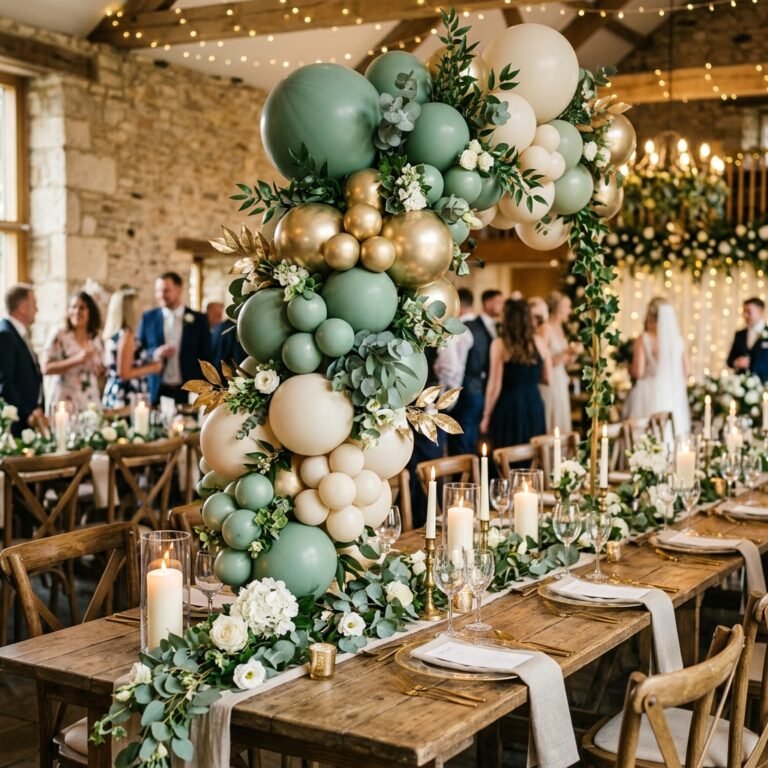
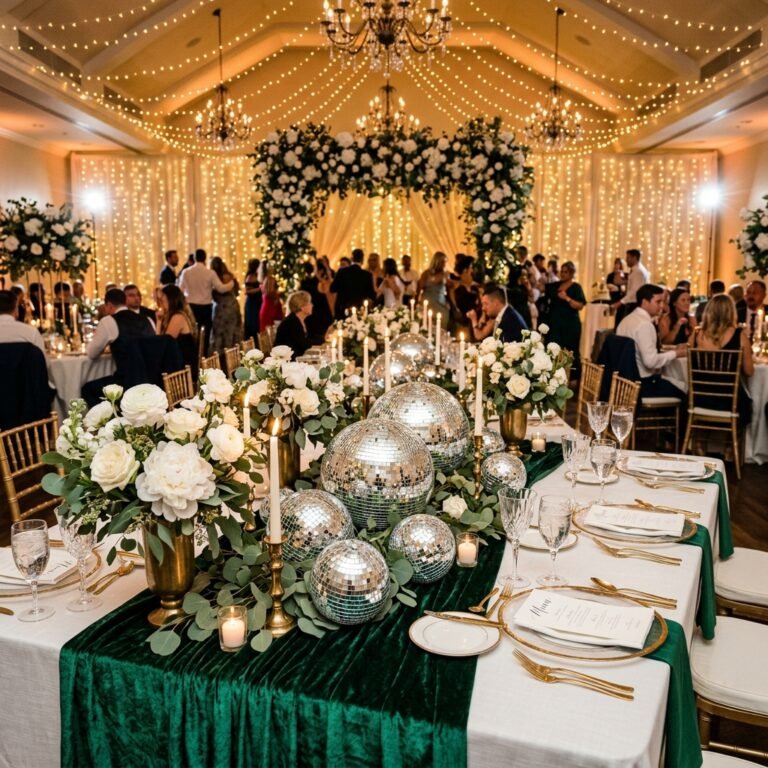
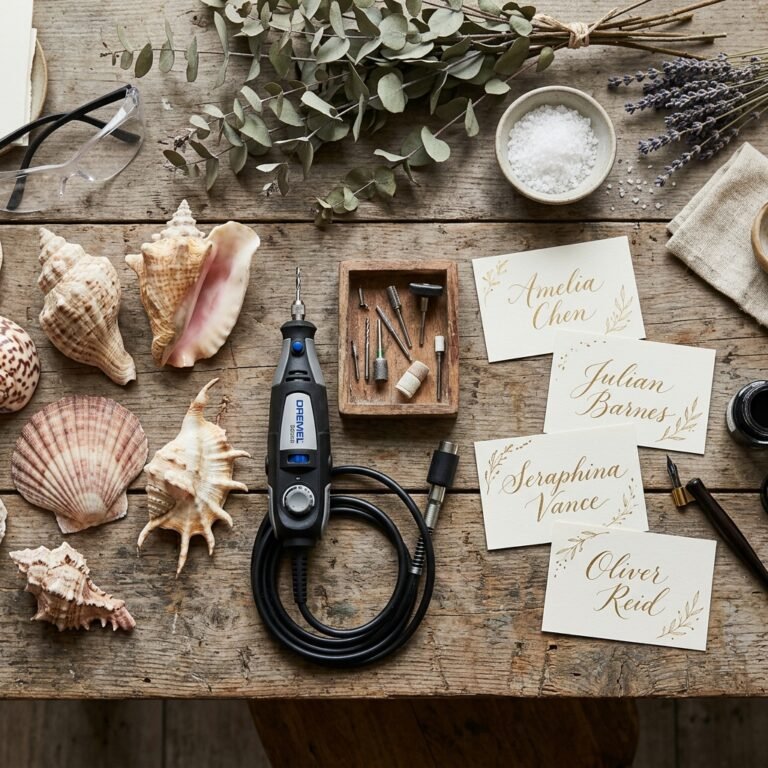
Let us talk about the dreaded ‘W’ word: Wedding. The moment you attach that word to any item—a cake, a dress, a chair, or a sign—the price tag magically quadruples. It is what savvy budget brides and crafty planners call the ‘wedding tax.’ But if you are a frugal DIYer with a taste for high-end aesthetics, you do not have to fall victim to it. You can create an entrance that commands attention, sets a sophisticated tone, and leaves your guests whispering about how incredibly expensive your taste is.
Enter the DIY Copper Pipe Sign Stand. This project bridges the gap between rugged, masculine hardware and elegant, romantic wedding decor. By taking a trip down the plumbing aisle of your local hardware store, you can build a stunning, custom-sized display stand that looks like it belongs in a high-end bridal magazine. Whether you are hanging a frosted acrylic welcome sign, a canvas seating chart, or a wooden timeline board, the warm, rosy glow of polished copper provides the ultimate luxurious frame.
Best of all? You can build this for under $45, and it requires zero heavy machinery, zero soldering, and only about 45 minutes of your time. Grab your work gloves, channel your inner master plumber, and let us turn basic hardware into a million-dollar bridal masterpiece.
The ‘Wedding Tax’ Reality Check: Why You Should DIY Your Sign Stand
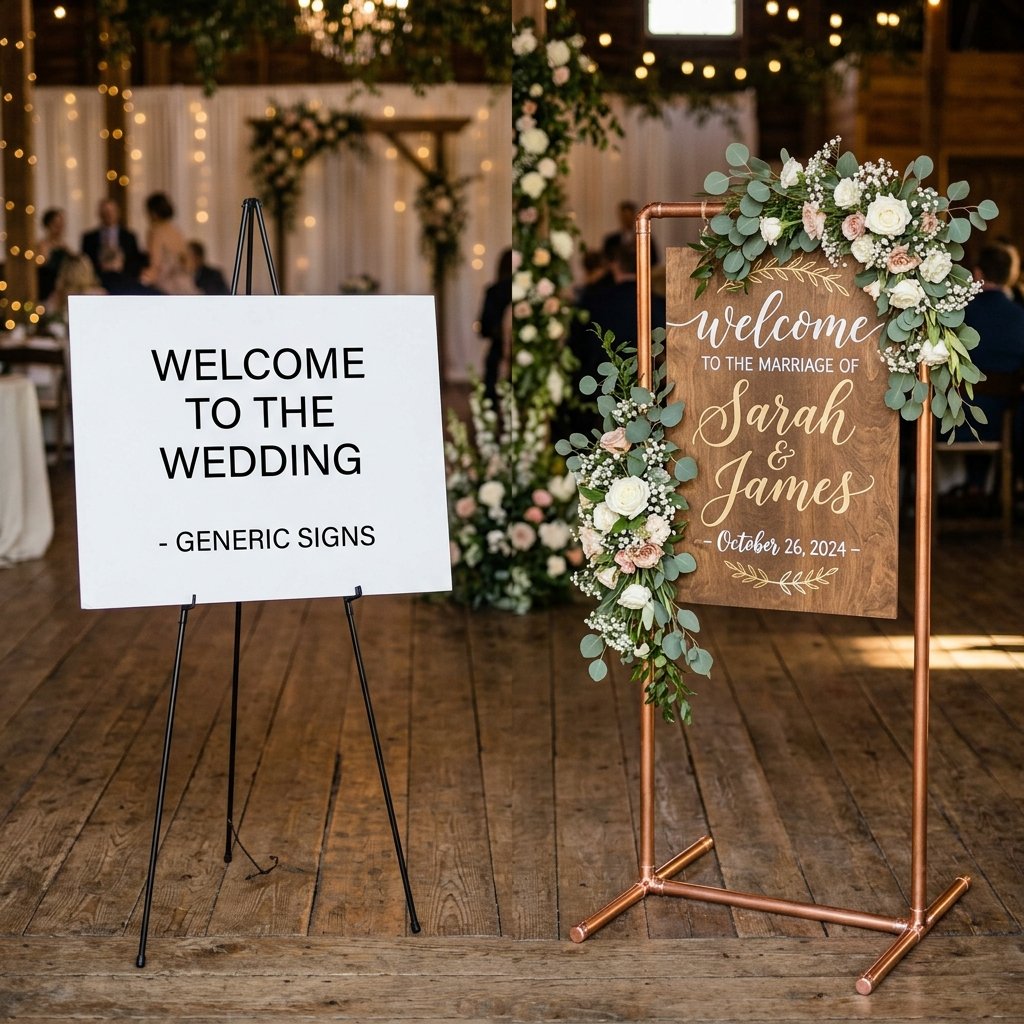
Before we dive into the nuts and bolts (or rather, pipes and fittings) of this project, let us look at the cold, hard numbers. Renting a basic easel or a boutique metal sign stand from an event styling company can be shockingly expensive. Furthermore, rentals often come with strict pickup and drop-off times, adding unnecessary stress to your big day.
Building your own copper stand not only saves you a significant amount of money, but it also gives you a versatile piece of home decor after the wedding. Throw some S-hooks on it, and it becomes a chic minimalist clothing rack for your guest room, or a rugged display for your favorite cozy blankets.
| Option | Estimated Cost | Pros & Cons |
|---|---|---|
| Boutique Rental Stand | $75 – $150 | Easy, but expensive. Must be returned immediately. Prone to late fees. |
| Store-Bought Metal Easel | $60 – $100 | Flimsy, often looks cheap or overly generic. Unstable in outdoor wind. |
| DIY Copper Pipe Stand | $35 – $45 | Customizable, incredibly sturdy, gorgeous industrial look, 100% yours to keep. |
“A budget-savvy crafter knows that the most elegant solutions are rarely found in a bridal boutique; they are hiding in plain sight in the plumbing aisle.”
The Master Plumber’s Materials List: What You Need
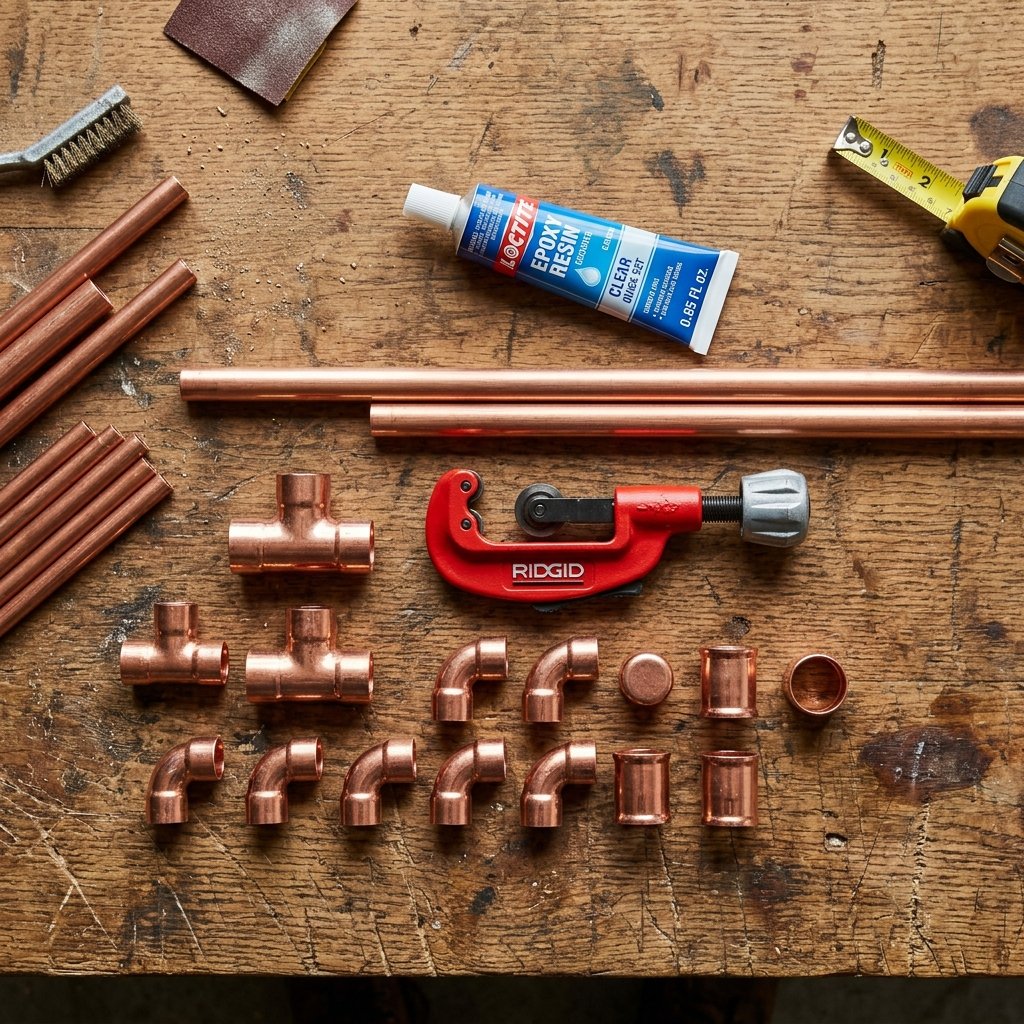
To pull off this rugged-yet-elegant look, you need the right materials. Copper pipes come in different thicknesses (Type M, Type L, and Type K). For our purposes, Type M (which has the thinnest wall and is the cheapest) is absolutely perfect. It is lightweight but provides more than enough structural integrity to hold a heavy acrylic or wood sign.
Your Hardware Store Shopping List
- Three 5-foot lengths of 1/2-inch Type M Copper Pipe: This will yield all the straight cuts you need for a standard 24×36 inch sign.
- Four 1/2-inch Copper 90-degree Elbows: These create the top corners and the back of the base.
- Two 1/2-inch Copper Copper Tee Fittings: These will connect the upright poles to the base legs.
- Four 1/2-inch Copper Caps: To seal off the exposed ends of the base legs for a finished, professional look.
- A Simple Tube Cutter: A small, inexpensive hand tool specifically for cutting copper pipes. No saws required!
- Clear Epoxy or Super Glue (Gel): Because we are not soldering (keeping it accessible and safe!), a strong adhesive will lock the joints in place.
| DIY Material | Quantity | Estimated Cost |
|---|---|---|
| 1/2″ Type M Copper Pipe (5ft) | 3 | $24.00 ($8 ea) |
| 1/2″ Copper Elbows | 4 | $4.00 ($1 ea) |
| 1/2″ Copper Tees | 2 | $3.00 ($1.50 ea) |
| 1/2″ Copper Caps | 4 | $3.00 ($0.75 ea) |
| Tube Cutter (if you don’t own one) | 1 | $10.00 |
| Total DIY Cost | – | $44.00 |
Sizing It Up: The Golden Blueprint & Cut List
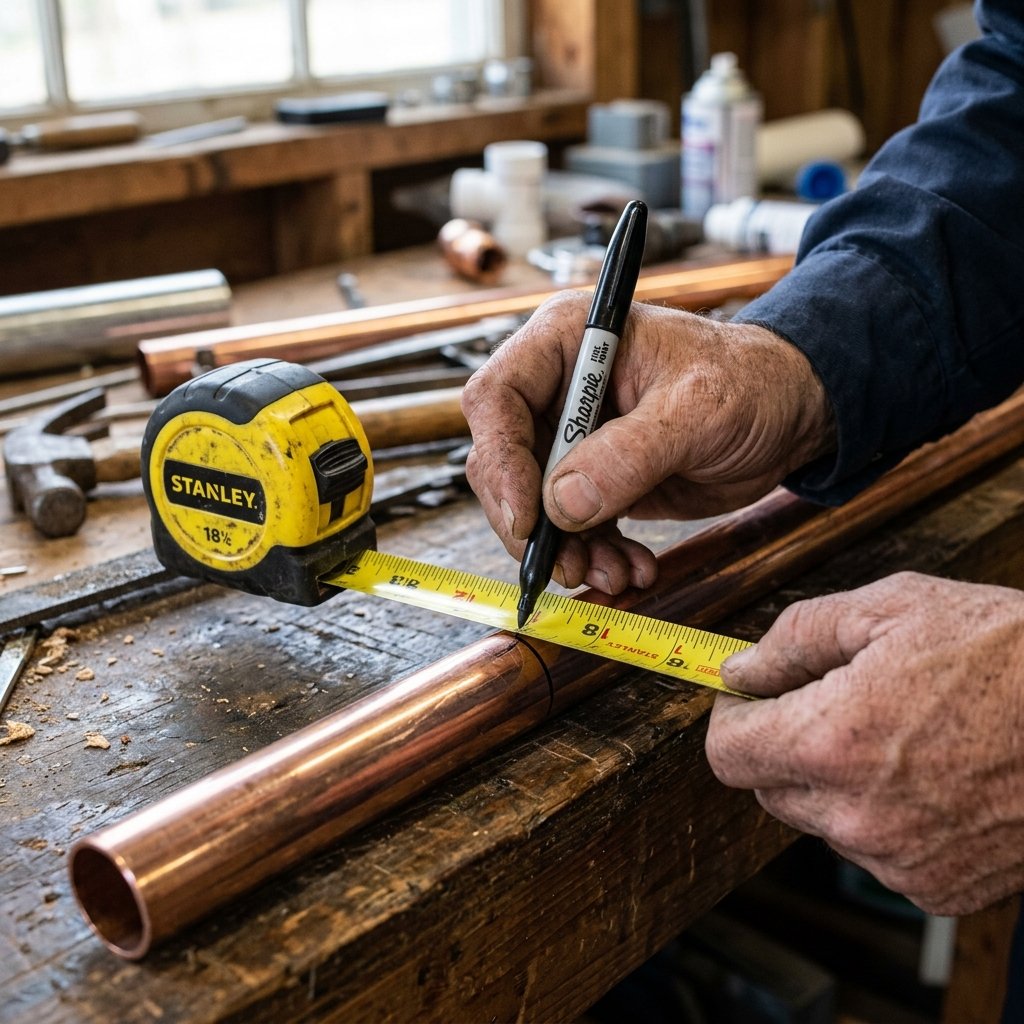
Proportions are everything when it comes to high-end design. If your stand is too short, your sign will look like an afterthought. If it is too tall, it will look awkwardly lanky. The following cut list is mathematically optimized to perfectly frame a standard 24″ x 36″ or 18″ x 24″ wedding sign, leaving enough breathing room for floral arrangements and hanging straps.
The Official Cut List
Grab your measuring tape and a Sharpie. Measure twice, mark your pipes, and prepare to cut the following lengths from your three 5-foot poles:
- Two 48-inch pieces: These are your main vertical uprights.
- One 28-inch piece: This is your top horizontal crossbar (giving you 2 inches of clearance on either side of a 24-inch wide sign).
- Four 10-inch pieces: These will form the front and back legs of your base.
“Craftsman’s Mantra: Measure twice, cut once. Copper is forgiving aesthetically, but your budget is not forgiving of wasted materials.”
The Cutting and Prepping Phase: Precision Without Power Tools
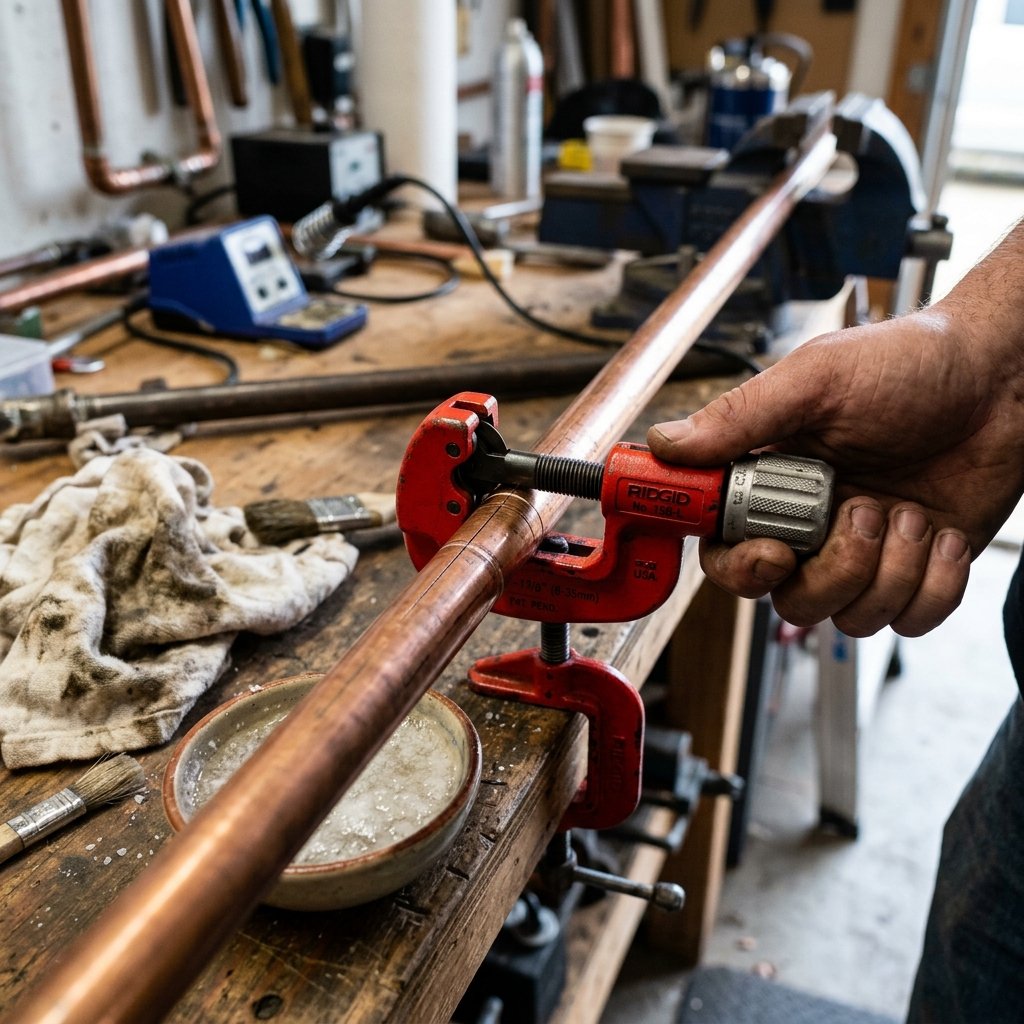
If you have never cut metal before, do not be intimidated. A simple tube cutter makes this process incredibly satisfying and requires zero electricity. It is a purely mechanical, crafty process that makes you feel like a true artisan.
How to Use a Tube Cutter
- Open the jaws of the tube cutter by twisting the knob.
- Place the copper pipe into the cutter so the cutting wheel aligns perfectly with your Sharpie mark.
- Tighten the knob until the wheel gently bites into the copper. Do not over-tighten, or you will dent the pipe!
- Rotate the entire tool around the pipe 360 degrees. You will score a perfect circle into the metal.
- Tighten the knob a quarter-turn, and rotate the tool again.
- Repeat this process (tighten, spin, tighten, spin) for about 30 seconds until the pipe cleanly snaps apart.
The Million-Dollar Shine (Polishing)
Hardware store copper often comes with printed barcodes, red ink stamps, and a bit of tarnish. To get that luxurious, expensive wedding glow, you need to clean it. You do not need expensive chemicals; just raid your kitchen pantry.
Mix equal parts white vinegar and plain table salt. Dip a rag into this mixture and rub it vigorously over the pipes. The tarnish and ink will melt away instantly, revealing a brilliant, rose-gold shine. Rinse with water and dry thoroughly with a clean microfiber cloth.
Safety Note: While cutting copper is generally safe, the freshly cut inside edges can be sharp. Run a piece of sandpaper over the cut edges to remove any metal burrs before assembly to protect your hands.
The Assembly Process: Putting the Puzzle Together
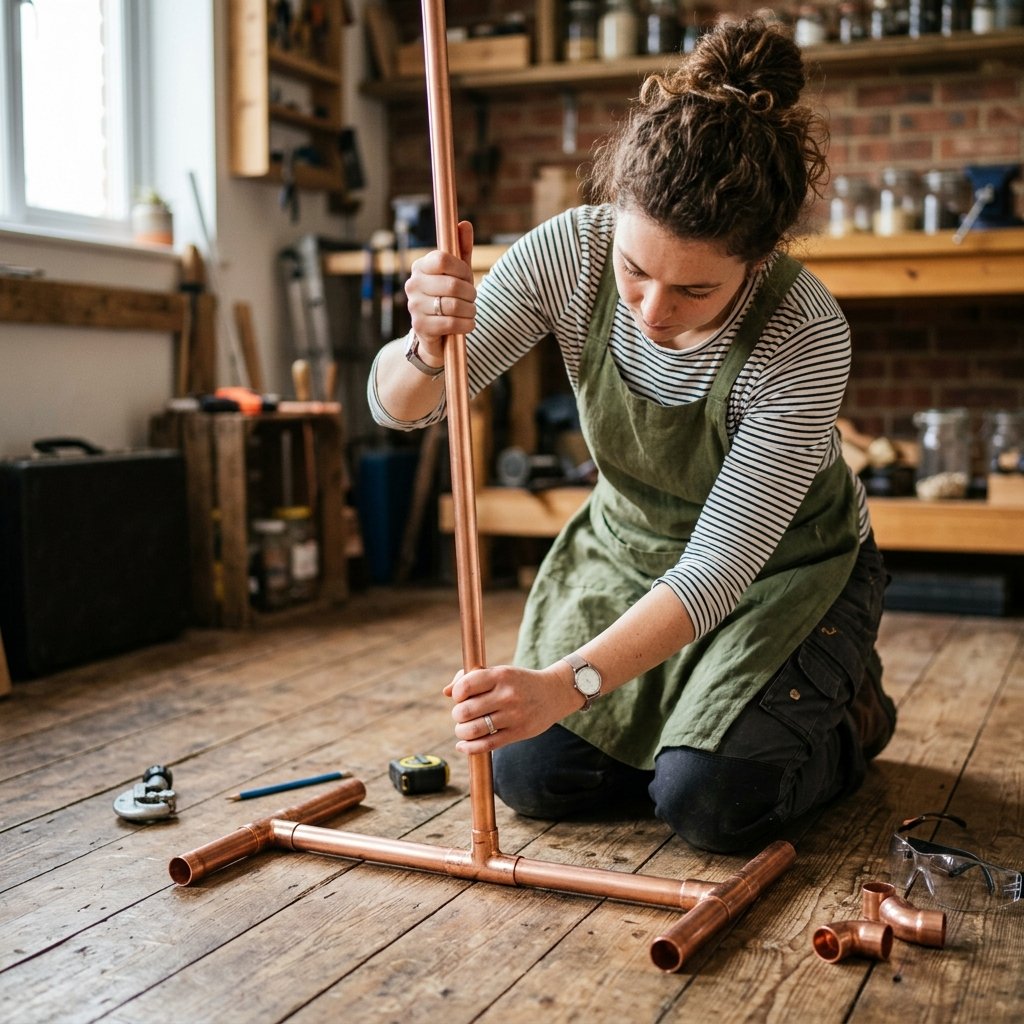
Now comes the fun part: watching your pile of plumbing supplies transform into a boutique piece of event architecture. We highly recommend doing a ‘dry fit’ first—assembling the entire stand without glue to ensure all your cuts are accurate and the stand sits level.
Step-by-Step Assembly
- Build the Base: Take one Copper Tee fitting. Insert a 10-inch pipe into the left side and a 10-inch pipe into the right side. Cap both exposed ends with your Copper Caps. Repeat this for the second leg. You now have two sturdy feet.
- Add the Uprights: Insert your two 48-inch vertical pipes into the top-facing holes of your two base Tees.
- Construct the Top Frame: Attach a 90-degree Copper Elbow to each end of your 28-inch top crossbar.
- The Final Connection: Carefully lift the top crossbar assembly and slide the elbows down onto the two 48-inch upright pipes. Press down firmly to seat the fittings.
Securing the Joints
Once you are happy with the dry fit and the stand is perfectly level, it is time to make it permanent. Pull the joints apart one by one, apply a small dab of clear epoxy or heavy-duty super glue gel to the inside of the fitting, and press the pipe back in. Hold for 30 seconds. Work quickly and methodically.
Clever Frugal Tip: If you want to break the stand down flat for easy transport to the wedding venue, glue the base together and glue the top crossbar together, but do not glue the uprights into the base tees. Simply let gravity hold them during the event, and pull them apart to fit in the trunk of your car!
Hanging Your Masterpiece: Styling, Straps, and Florals
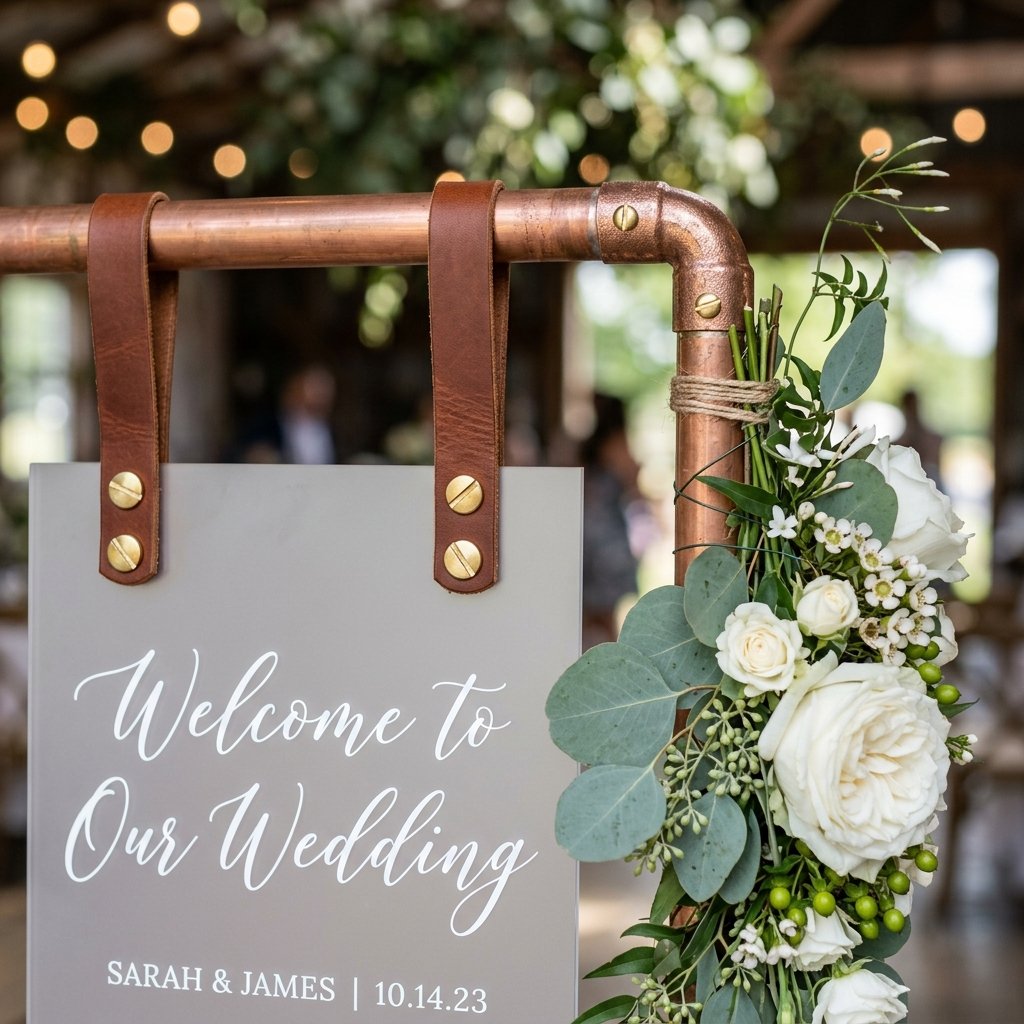
Your stand is built, but styling is what takes it from ‘hardware store project’ to ‘million-dollar wedding entrance.’ The way you hang the sign and dress the copper will define the final aesthetic.
Masculine-Elegant Hanging Methods
- Leather Straps: For a rugged, high-end look, buy a cheap leather belt from a thrift store. Cut it into two 6-inch strips. Punch holes in the ends, loop them over the copper crossbar, and secure them through the holes of your acrylic sign using Chicago screws or brass nuts and bolts.
- S-Hooks and Chains: For an industrial vibe, drape small brass or black S-hooks over the top bar and use a delicate brass chain to suspend a wooden sign.
- The Floating Illusion: For a modern, minimalist look, use heavy-duty clear fishing line. It will look like your sign is magically hovering within the copper frame.
Frugal Floral Accents
You do not need to spend $200 on a florist to dress your sign. Head to a craft store (armed with a 50% off coupon, naturally) or the Dollar Tree. Buy two stems of faux silver dollar eucalyptus and three faux white roses. Using green floral wire, attach a small, asymmetrical cluster to the top-left corner of the stand, and a tiny matching cluster to the bottom-right leg. The contrast of the organic green leaves against the strict, geometric rose-gold copper is breathtaking.
Conclusion
And there you have it—a striking, industrial-chic copper pipe sign stand that completely bypasses the exorbitant wedding tax. By combining a little hardware store ingenuity with a touch of elegant styling, you have created a bespoke piece of event architecture that will leave your guests absolutely speechless as they walk into your venue.
This project is the epitome of resourceful, budget-savvy crafting. It proves that you do not need a massive budget to achieve a high-end, luxurious aesthetic; you just need a little creativity, a tube cutter, and the willingness to roll up your sleeves. Long after the cake is eaten and the dress is packed away, this sturdy copper frame will find a new life in your home as a chic blanket rack or plant hanger—a beautiful, daily reminder of your special day and your undeniable DIY prowess. Now, go forth, craft beautifully, and happy wedding planning!

Makenzie is the founder and lead writer at MoneyHackTips.com — a personal finance blog dedicated to delivering street-smart financial wisdom for real people on real budgets. With 300+ published articles covering everything from debt management to investing fundamentals, Makenzie’s mission is to make every dollar work harder. When not writing about money hacks, Makenzie is testing frugal living strategies, optimizing side hustles, and helping readers build financial freedom from scratch.