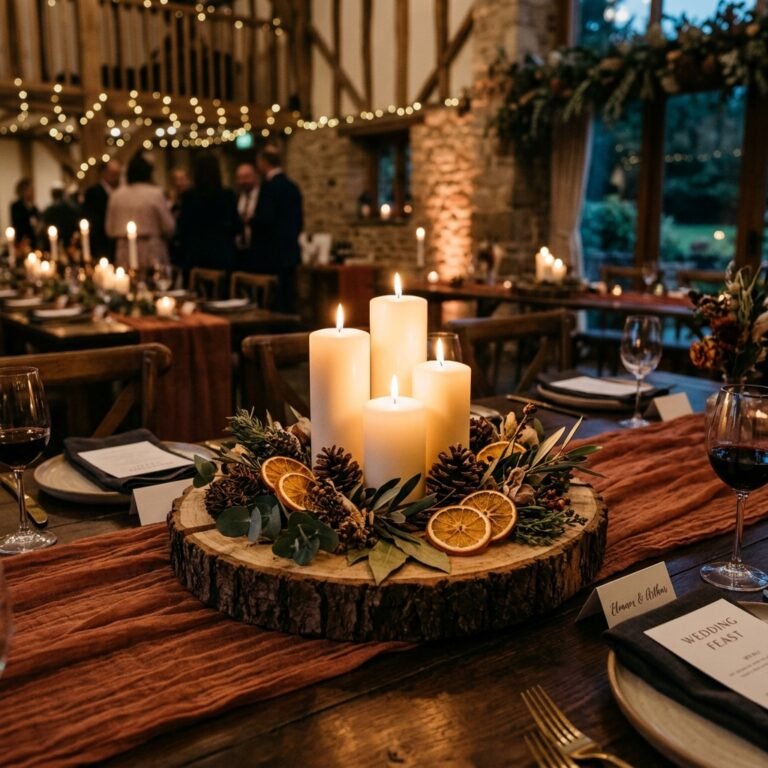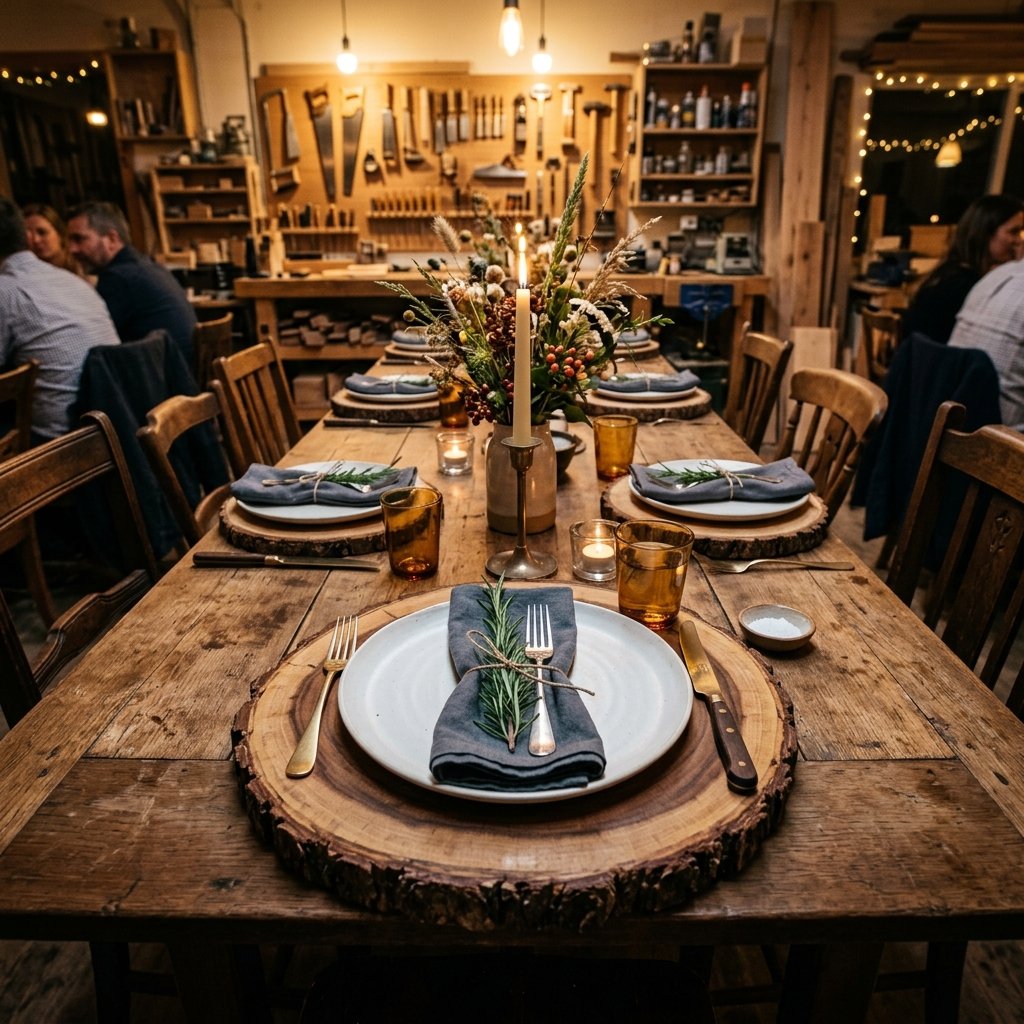

Elevate Your Table Without Emptying Your Wallet
There is something undeniably magnetic about the ‘Rustic Chic’ aesthetic. It balances the rugged, raw beauty of nature with the refined elegance of a well-set table. However, if you have ever browsed the aisles of high-end home decor boutiques or scrolled through wedding rental catalogs, you know that wood slice charger plates can carry a staggering price tag—often ranging from $15 to $45 per plate. For a wedding of 100 guests or a full holiday dinner set, that is a budget-breaker.
But here is the secret: nature provides the raw materials for free, and with a bit of elbow grease and some clever techniques, you can produce chargers that look better than the store-bought mass-produced versions. Whether you are a budget-savvy bride, a crafty homeowner, or a DIYer who loves the smell of fresh sawdust, this guide will walk you through the process of sourcing, slicing, curing, and finishing your own timber treasures. We are talking about taking a fallen oak limb and turning it into a Pottery Barn-level masterpiece for the cost of a few sheets of sandpaper and a tin of sealant.
Sourcing the Timber: The Hunt for Free or Frugal Wood
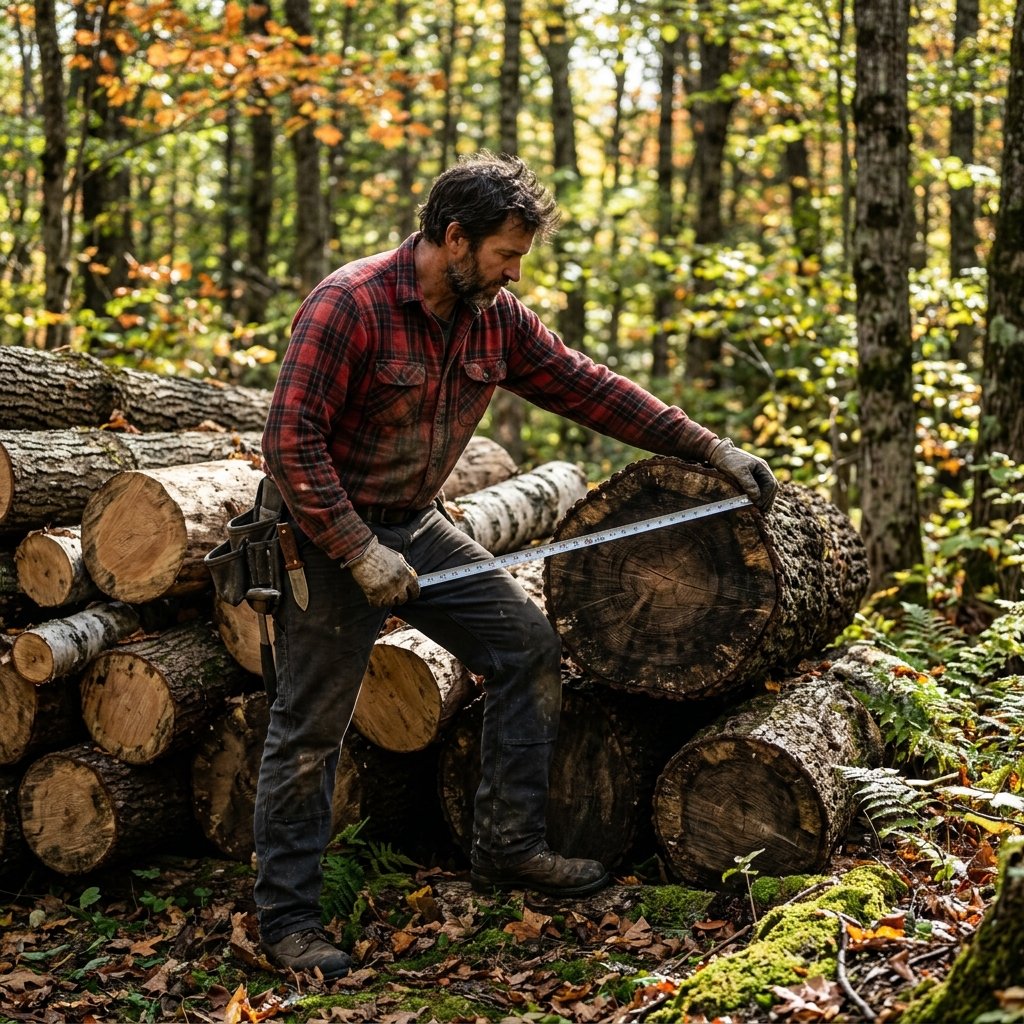
The first step in your journey to a ruggedly elegant table is finding the right wood. You do not need to head to a specialty lumber yard. In fact, some of the best wood for chargers is currently sitting in a neighbor’s driveway or a local park after a storm.
The Best Species for the Job
Not all wood is created equal when it comes to thin slices. You want hardwoods that have tight grain and beautiful bark adhesion. Oak, Maple, Walnut, and Ash are the gold standards. Softwoods like Pine or Cedar are easier to cut but tend to seep sap and have bark that peels away easily.
- Hardwoods (Oak, Hickory): Extremely durable, beautiful grain, but requires more effort to sand.
- Fruitwoods (Apple, Cherry): Gorgeous reddish hues and very tight bark.
- Birch: The ultimate ‘Rustic Chic’ choice with its iconic white papery bark.
| Source Method | Estimated Cost | Effort Level |
|---|---|---|
| Tree Service Cleanup | $0 – $10 | High (Heavy lifting) |
| Facebook Marketplace ‘Free Wood’ | $0 | Medium (Pickup required) |
| Craft Store Blanks (Raw) | $5 – $8 | Low (Pre-cut) |
| Firewood Bundles | $5 – $10 | Medium (Requires sorting) |
Budget Guru Tip: Call local tree trimming companies and ask if they have any logs between 11 and 13 inches in diameter. Often, they pay to dispose of this ‘waste,’ and they will happily let you take it for free if you pick it up!
The Master’s Toolkit: Slicing with Precision
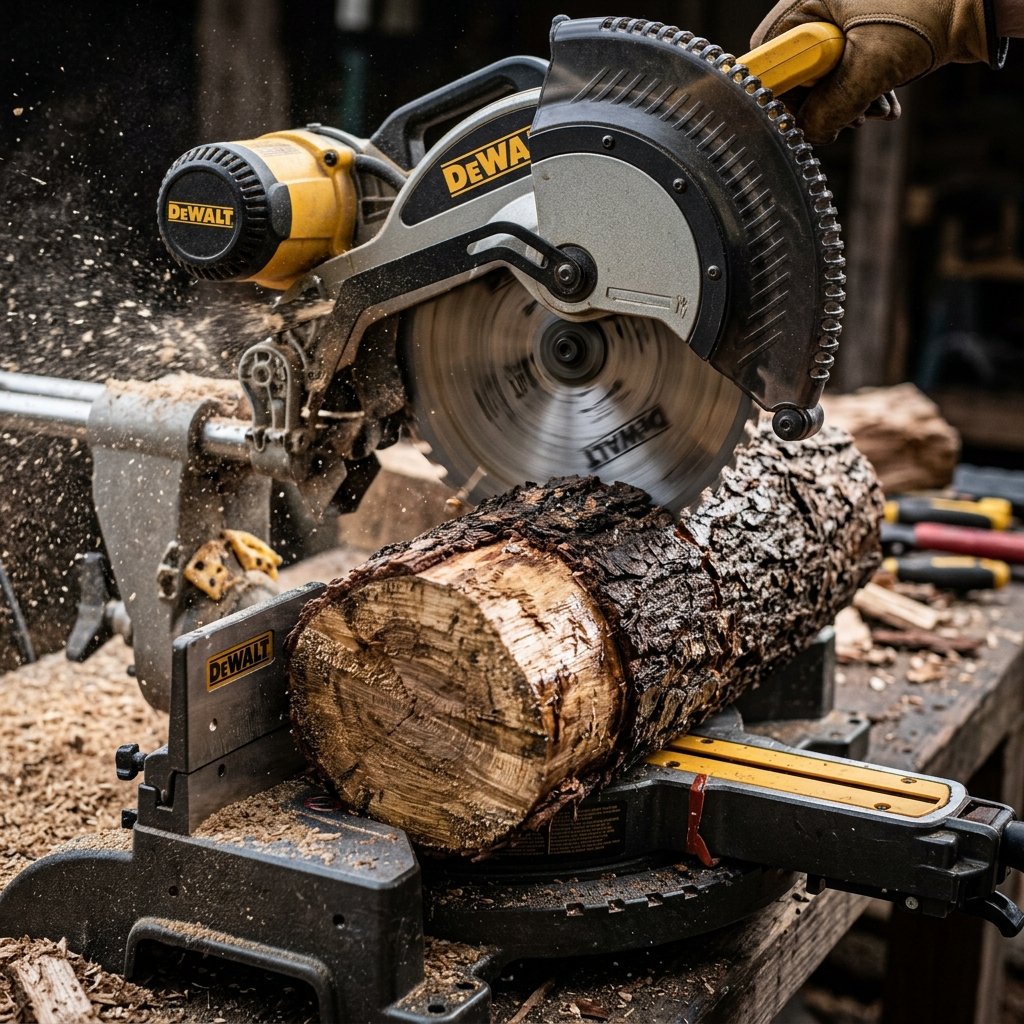
Once you have your logs, it is time to turn them into plates. The goal is a uniform thickness of 3/4 inch to 1 inch. Anything thinner may warp; anything thicker becomes a ‘stump’ rather than a charger.
Tools of the Trade
If you are lucky enough to have a large miter saw (12-inch sliding), that is your best bet for perfect, level cuts. However, a steady hand and a well-sharpened chainsaw can also get the job done for that truly ‘hewn’ look.
- Measure and Mark: Use a carpenter’s pencil to mark your 1-inch increments along the log.
- Secure the Log: Use a sawbuck or clamps to ensure the log does not roll during the cut. Safety is paramount.
- The Level Cut: Keep your blade perfectly perpendicular to the log. A slanted cut means a wobbly plate.
Safety First: Always wear eye protection and heavy-duty gloves. If using a chainsaw, ensure you are working on a stable surface and never cut with the tip of the bar to avoid kickback.
The Curing Secret: Preventing the Dreaded Crack
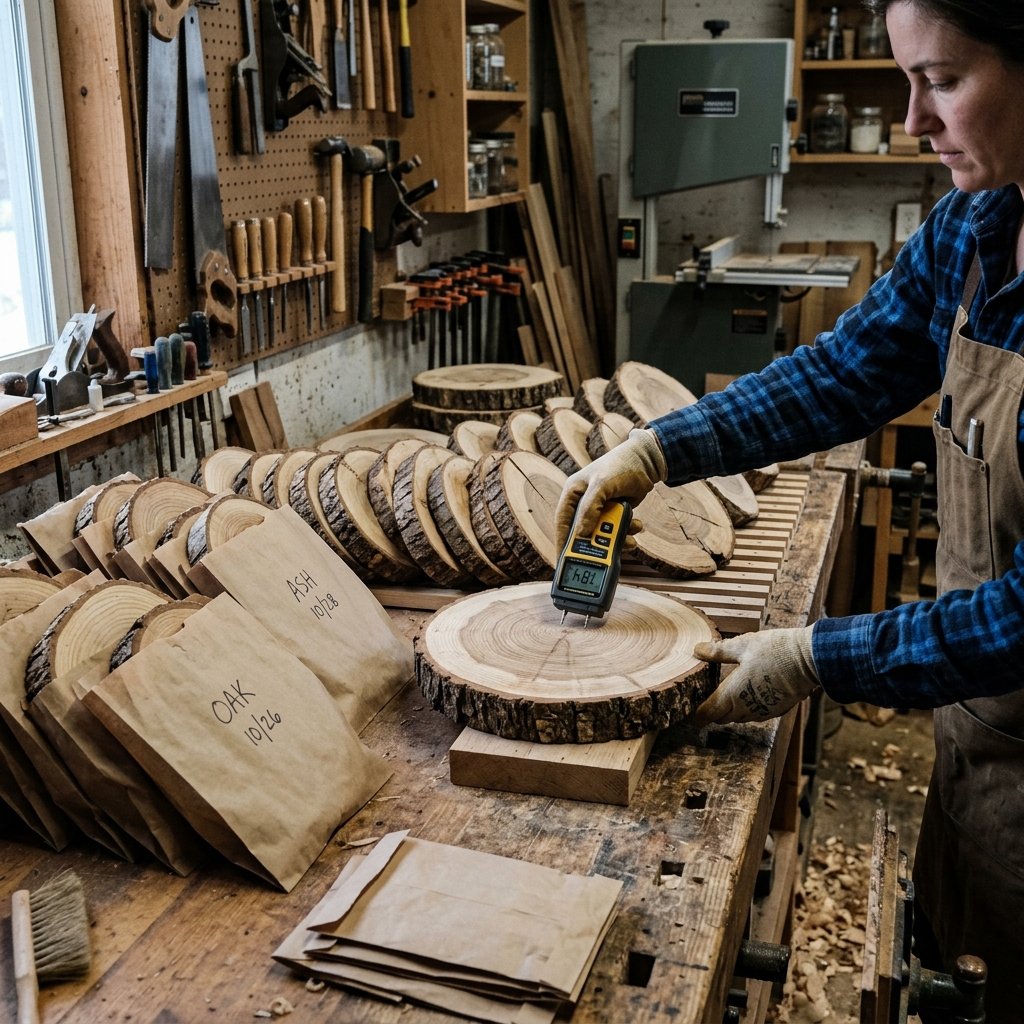
Wood is a living, breathing material. As the moisture leaves the wood, it shrinks. If it shrinks too fast, your beautiful chargers will develop ‘checks’ or large cracks from the center to the edge. To achieve a professional finish, you must control the drying process.
The Pentacryl Method vs. The Slow Dry
Professional woodworkers often use a wood stabilizer like Pentacryl. You soak the fresh slices in this solution, and it replaces the water in the wood cells, preventing shrinkage. However, for the budget-savvy DIYer, the ‘Paper Bag Method’ works wonders. Place your slices in brown paper bags and store them in a cool, dry place (like a basement) for 2 to 4 weeks. This slows the evaporation and keeps the wood stable.
| Drying Method | Timeframe | Success Rate |
|---|---|---|
| Air Drying (Open Air) | 1-2 Weeks | 60% (High risk of cracking) |
| Paper Bag Method | 3-4 Weeks | 85% (Very reliable) |
| Pentacryl Soak | 24 Hours + 1 Week Dry | 98% (Professional Grade) |
Sanding and Refining: From Rough Cut to Silky Smooth
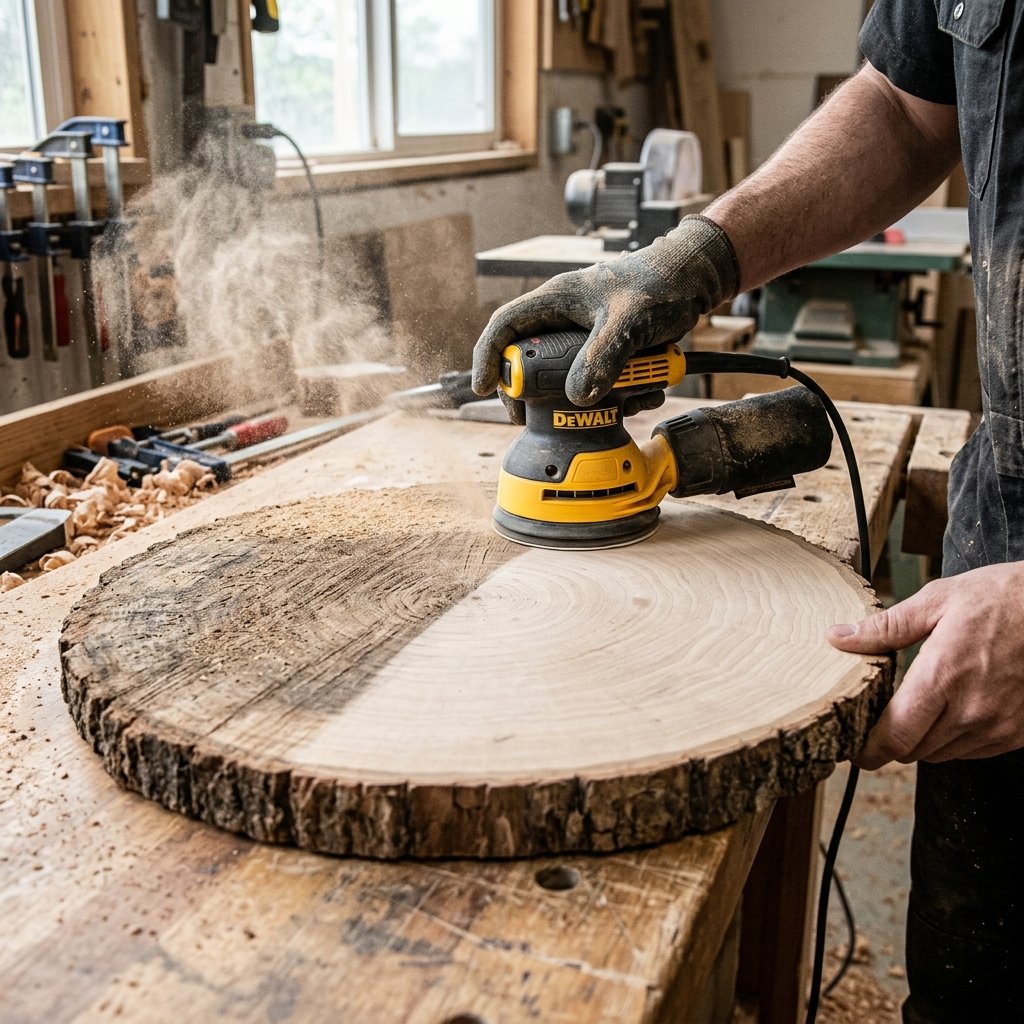
Now that your wood is dry, it is time to reveal the beauty of the grain. This is where the masculine-elegant transformation happens. You want the top surface to be so smooth it feels like marble, while keeping the bark edge rugged and intact.
- Step 1: 80 Grit. Use an orbital sander to remove the saw marks and level any unevenness.
- Step 2: 120 Grit. Smooth out the scratches from the 80-grit paper.
- Step 3: 220 Grit. This is the ‘polishing’ stage. By the time you finish here, the wood should have a slight natural sheen.
Don’t Forget the Bark! If any pieces of bark are loose, use a small amount of clear wood glue to secure them back into place. To keep the bark from shedding on your guests’ laps, give it a light brush with a stiff wire brush to remove loose debris.
The Finishing Touch: Staining and Sealing for Longevity
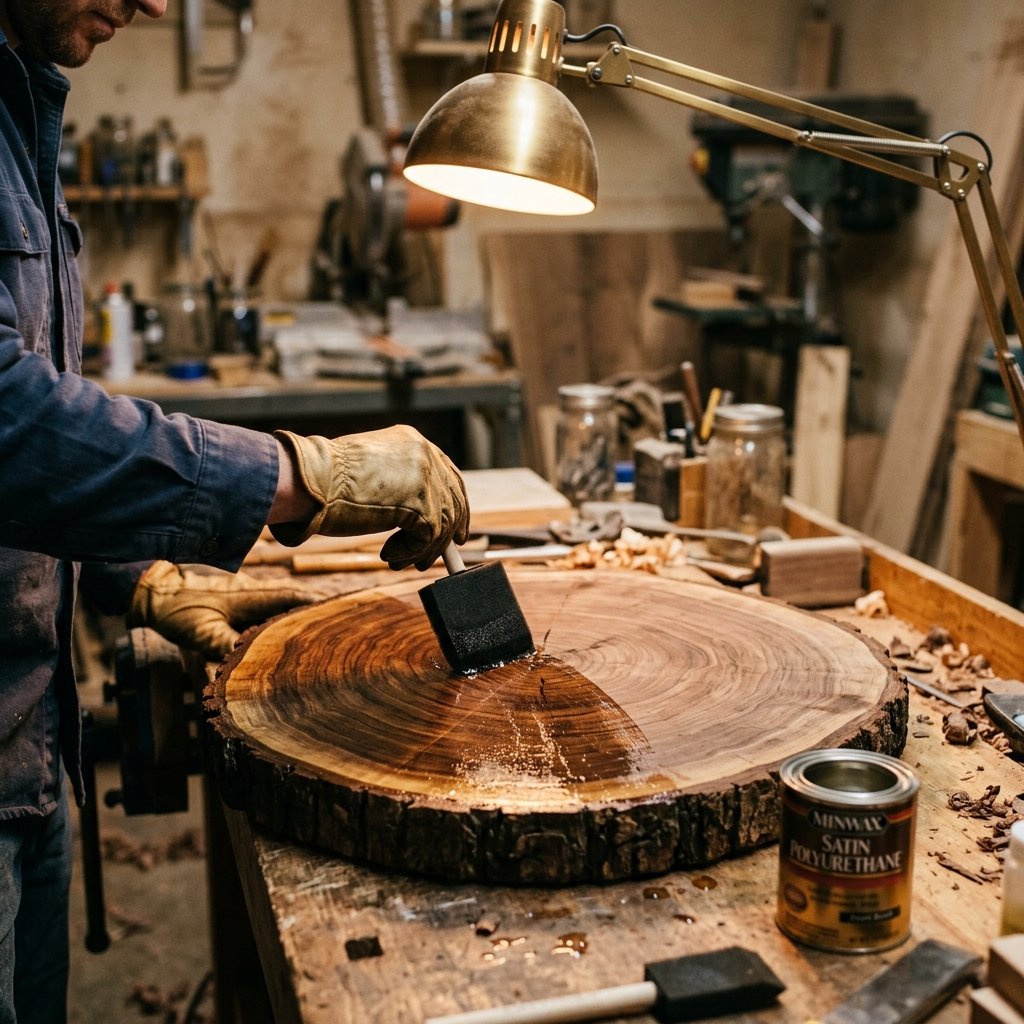
To make these plates truly ‘chic,’ you need a finish that protects against food spills and highlights the wood’s character. While chargers are not typically eaten off of directly, they should still be finished with non-toxic, food-safe materials just in case.
Choosing Your Finish
If you love the natural look of the wood, a Butcher Block Oil (Mineral Oil) or Beeswax finish is perfect. It provides a warm, matte glow. If you want a more formal, high-gloss look that is bulletproof against wine stains, a Water-Based Polyurethane in a satin finish is the way to go.
| Finish Type | Appearance | Durability |
|---|---|---|
| Mineral Oil | Matte / Natural | Low (Requires re-oiling) |
| Beeswax Polish | Soft Glow | Medium |
| Satin Polyurethane | Professional / Sleek | High (Stain Resistant) |
Mantra for the Maker: ‘Thin coats, long waits.’ It is better to apply three paper-thin coats of sealant than one thick, gloppy one. Sand lightly with 400-grit paper between coats for a glass-like finish.
Conclusion
The Ultimate Return on Investment
By following this guide, you have transformed what was essentially yard waste into a sophisticated set of DIY wood slice charger plates that will anchor your tablescapes for years to come. Let’s look at the final math: a set of 12 chargers from a high-end retailer would cost you roughly $300. Your DIY version? Likely under $20 for the sandpaper and sealant. That is a 93% savings, not to mention the immense satisfaction of telling your guests, ‘I made those from an old oak tree in the backyard.’
These chargers are more than just plates; they are conversation starters. They bring a rugged, grounded energy to your home that no plastic or glass alternative can match. So, grab your saw, find your timber, and start crafting your own piece of rustic luxury today!

Makenzie is the founder and lead writer at MoneyHackTips.com — a personal finance blog dedicated to delivering street-smart financial wisdom for real people on real budgets. With 300+ published articles covering everything from debt management to investing fundamentals, Makenzie’s mission is to make every dollar work harder. When not writing about money hacks, Makenzie is testing frugal living strategies, optimizing side hustles, and helping readers build financial freedom from scratch.