
The Art of the Meaningful Denomination
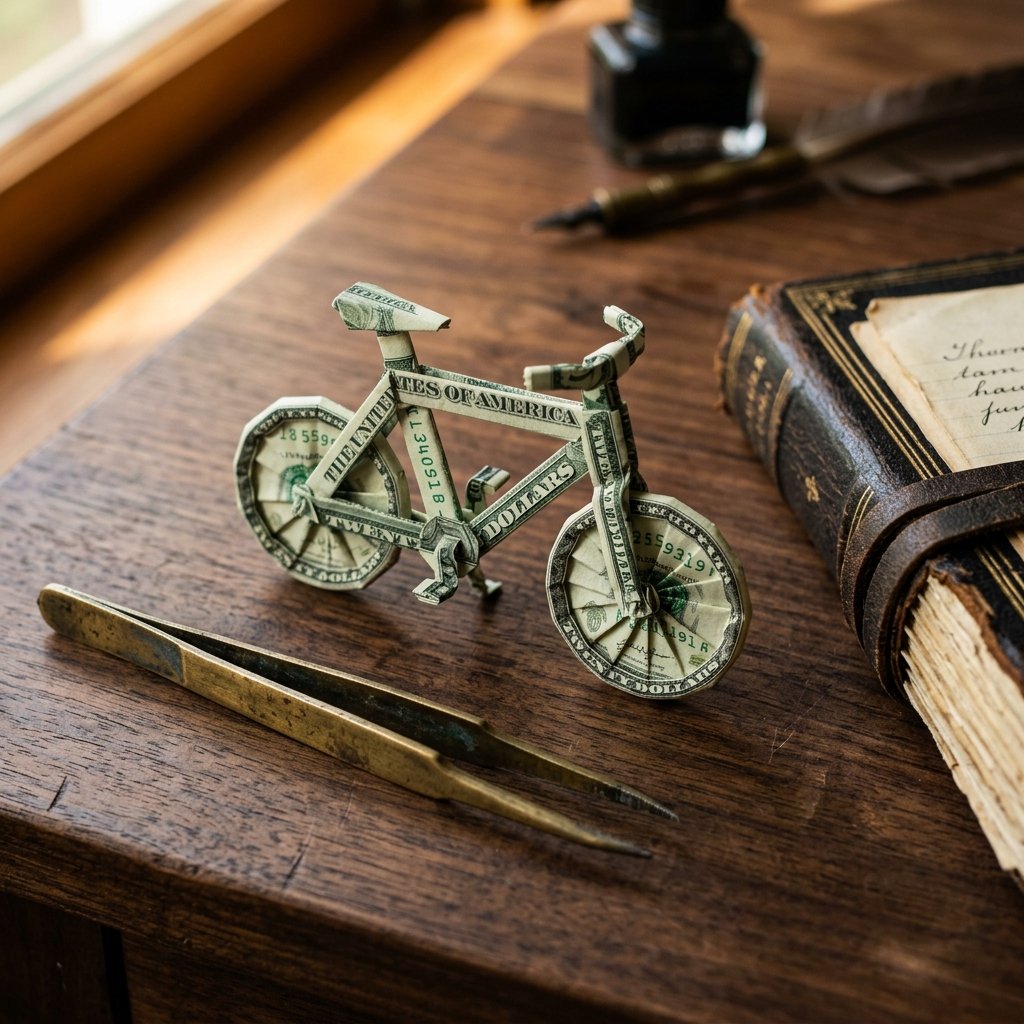
Let’s be honest: giving cash often feels like a last-minute cop-out. It’s practical, sure, but it lacks the ‘soul’ of a hand-picked gift. However, as a resourceful DIYer, you know that the value of a gift isn’t just in the number printed on the corner of the bill—it’s in the presentation. Enter the money origami bicycle. This isn’t just a gift; it’s a conversation piece, a display of crafty expertise, and a symbol of life’s journey. Whether you are celebrating a graduation, a wedding, or a milestone birthday, turning a flat piece of legal tender into a three-dimensional sculpture shows that you invested something more valuable than money: your time.
In this guide, we are going to dive deep into the mechanics of paper folding. We’ll treat the US dollar (or any currency of your choice) like a high-performance material. We’ll cover the rugged precision needed for the wheels, the clever geometry of the frame, and the masculine-elegant finish that makes this the ultimate ‘trash-to-treasure’ maneuver. Grab your crispest bills, clear your workbench, and let’s build something spectacular for $0 in extra material costs.
The Blueprint: Choosing Your Currency & Tools
Selecting the Right Bill
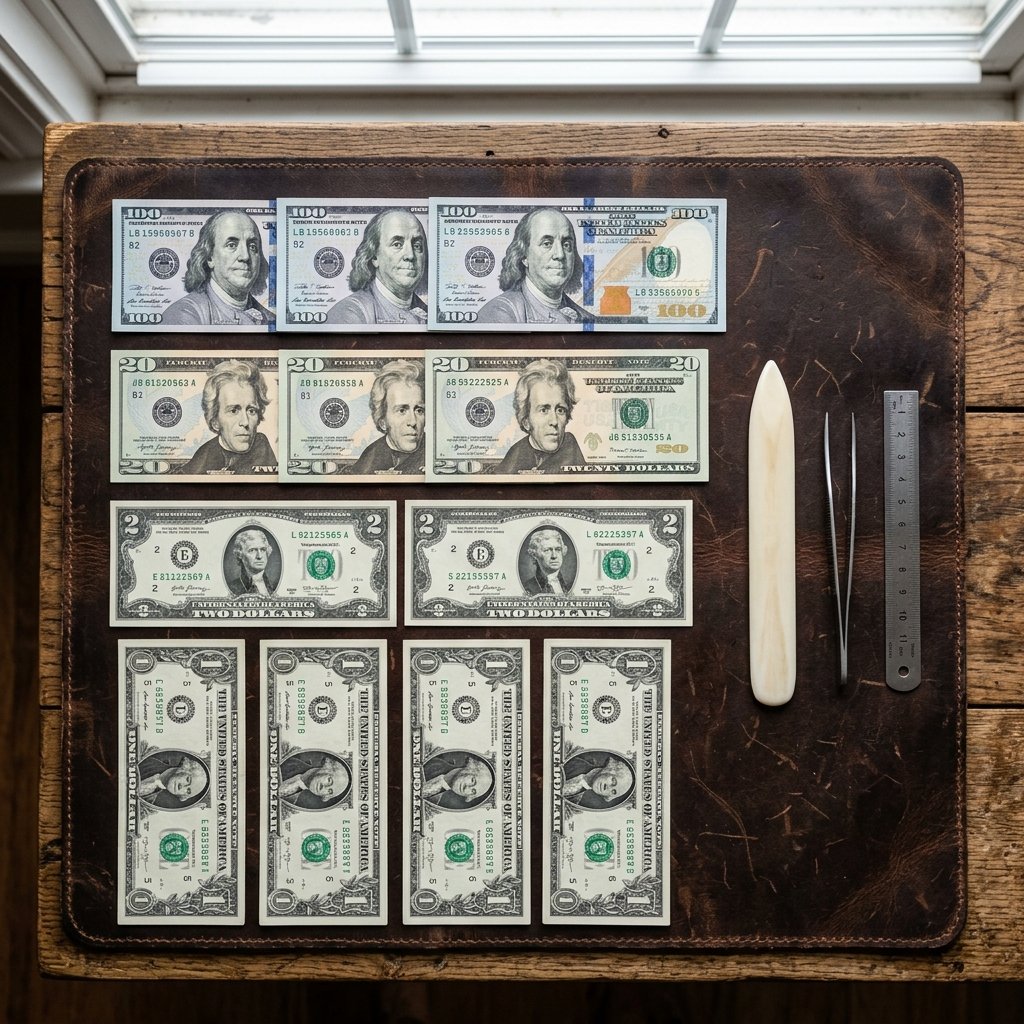
Not all bills are created equal when it comes to high-precision folding. For a bicycle, which requires structural integrity to stand on its own, you want a bill that is brand new and crisp. If you use a limp, circulated bill, your bicycle will look like it’s been through a category five hurricane before it even leaves your hands. If you only have old bills, a pro-tip is to lightly mist them with water and iron them flat (with a cloth in between) to restore some stiffness.
The Bill Denomination vs. Visual Impact Matrix
Before you start folding, consider the message you want to send. A bicycle made of singles is a fun ‘just because’ gift, while a century-note cycle is a high-end wedding tribute.
| Denomination | Best Occasion | Visual Vibe |
|---|---|---|
| $1 Bill | Practice or ‘Just Because’ | Classic green, high contrast on wheels. |
| $2 Bill | Good Luck / Graduation | Unique, rare feel; the ‘vintage’ bike look. |
| $20 Bill | Birthdays / Father’s Day | The ‘Standard’—rich colors and great paper weight. |
| $100 Bill | Weddings / Major Milestones | High-end luxury; the ‘Carbon Fiber’ of origami. |
Essential Tools for the Crafty Expert
- Crisp Currency: As mentioned, the backbone of the project.
- Bone Folder or Credit Card: Used to create razor-sharp creases.
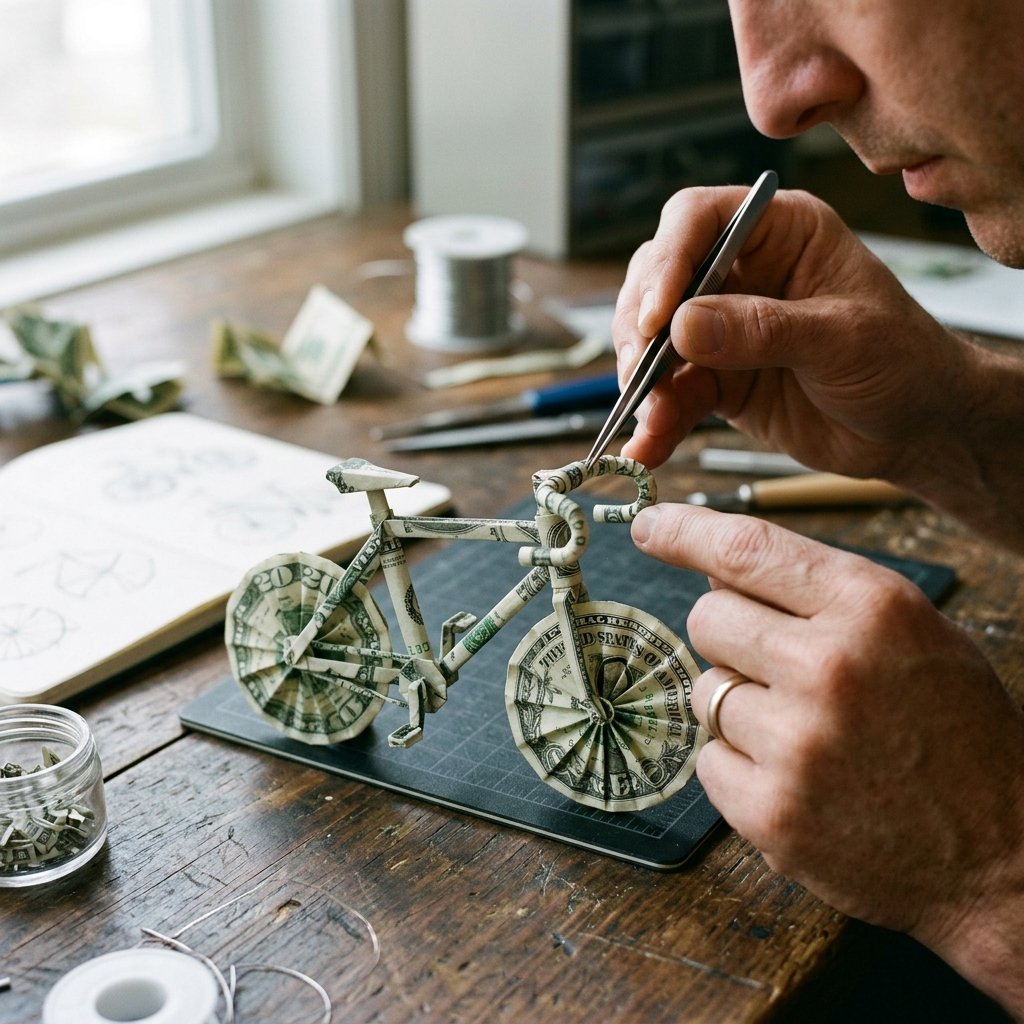
- Tweezers: Crucial for the tiny folds in the handlebars and pedals.
- A Small Paperclip: Useful for holding folds in place while you work on the next section.
Step-by-Step Construction: The Rear Wheel and Frame
Phase One: The Foundation
The bicycle is typically folded from two bills if you want maximum detail, but a master can do a simplified version with one. For this stunning version, we will use two bills to ensure the wheels are perfectly circular and the frame is sturdy.
“Precision is the difference between a bicycle and a crumpled wad of cash. Press every fold as if your reputation depends on it.”
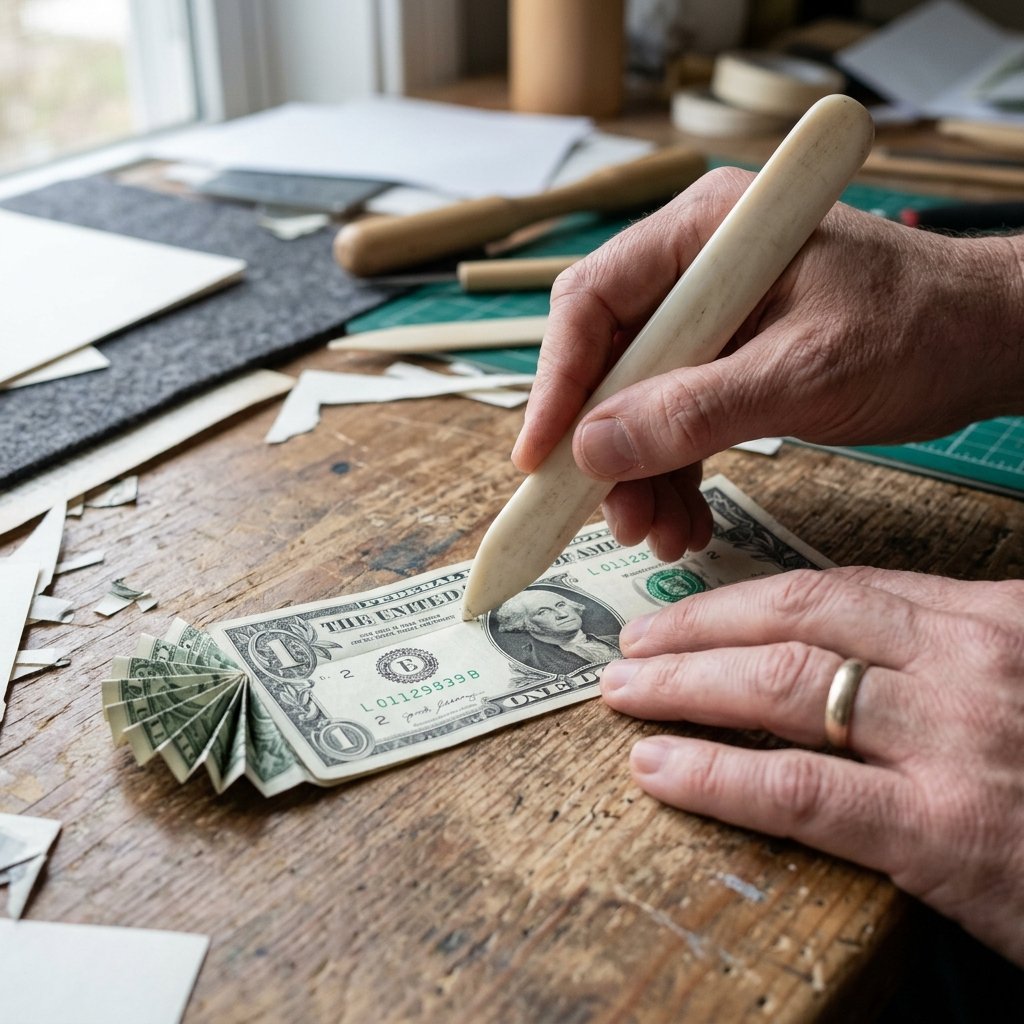
- The Long Fold: Take your first bill and fold it in half lengthwise. Crease it with your bone folder and unfold.
- The Cup Fold: Fold both long edges into the center crease. You now have a long, thin strip of currency.
- The Wheel Radius: At one end of the strip, begin a series of small, accordion folds (about 1/8th of an inch each). You need about 10-12 of these to create the ‘spoke’ effect for the rear wheel.
- The Circle Lock: Curve the pleated section into a circle. Use the remaining length of the bill to wrap around the pleats, locking the wheel shape into place.
- The Seat Post: The leftover tail of this bill will be folded upward at a 45-degree angle to create the seat post and the back half of the frame.
Safety Note: While origami is safe, be careful with sharp bone folders or metal rulers. Always fold away from your body to maintain control over the paper’s resistance.
The Front End: Handlebars and Steering
Phase Two: Navigation and Style
The second bill forms the front wheel and the handlebars. This is where the masculine-elegant aesthetic really comes into play. You want the handlebars to have a slight ‘drop’ like a road bike or a wide ‘cruiser’ feel depending on the recipient’s personality.
- Repeat the Strip: Fold the second bill into a long strip exactly like the first.
- The Front Wheel: Create the accordion pleats on one end, just as you did for the rear wheel. Ensure the diameter matches the first wheel—consistency is key for a professional look.
- The Fork: Fold the strip just above the wheel at a 90-degree angle. This creates the ‘fork’ that holds the wheel.
- The Handlebar Twist: At the top of the fork, split the remaining paper (you may need to make a tiny, careful tear or a very clever reverse-fold) to create two arms.
- The Grip Detail: Use your tweezers to curl the ends of the handlebars. A downward curl gives it a ‘Tour de France’ racing vibe, while an upward curl looks like a classic 1950s cruiser.
| Part | Folding Technique | Time Estimate |
|---|---|---|
| Rear Wheel | Accordion Pleat & Wrap | 5 Minutes |
| Main Frame | 45-Degree Pivot Fold | 3 Minutes |
| Front Fork | 90-Degree Angle Fold | 2 Minutes |
| Handlebars | Tweezer Curl | 4 Minutes |
The Final Assembly: Merging the Components
Bringing the Machine to Life
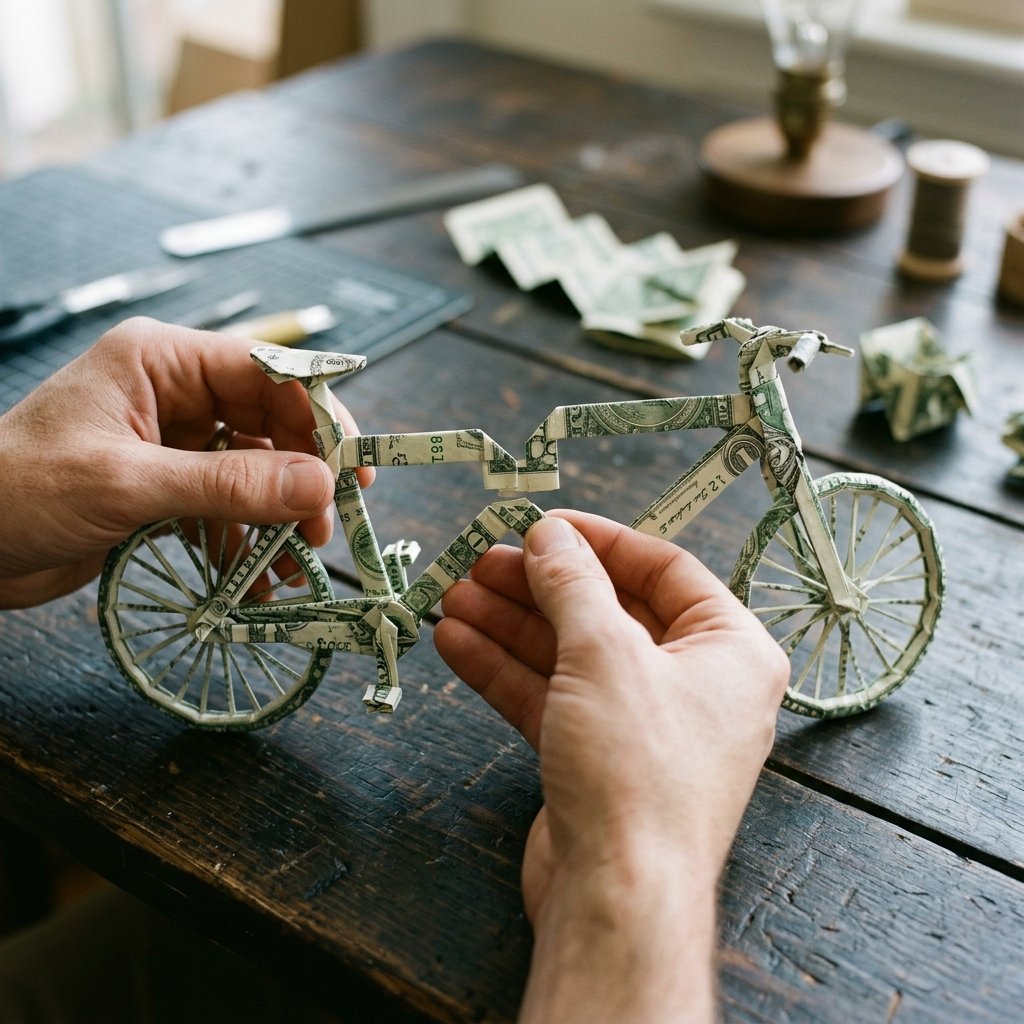
Now comes the most satisfying part of the process: connecting the two halves. This requires no glue—just clever engineering and friction. As a handy upcycler, you’ll appreciate how the folds interlock to create a stable structure.
- The Connection Point: Slide the ‘seat post’ end of the first bill into the ‘head tube’ area of the second bill (just below the handlebars).
- The Tension Lock: Fold the overlapping paper over itself to lock the two bills together. If done correctly, the bike should now be able to stand on its two wheels.
- The Pedal Trick: If you have a small scrap of paper (or a third bill if you are feeling generous), fold a tiny ‘Z’ shape and tuck it into the center of the frame to act as the pedals.
- The Kickstand: Adjust the angle of the rear wheel slightly to act as a natural kickstand, or use a tiny piece of a clear paperclip hidden underneath for a ‘floating’ display.
“A gift that stands on its own is a gift that stands out in their memory. Balance is everything.”
Presentation Hacks: From Paper to Masterpiece
The ‘Boutique’ Look on a Budget
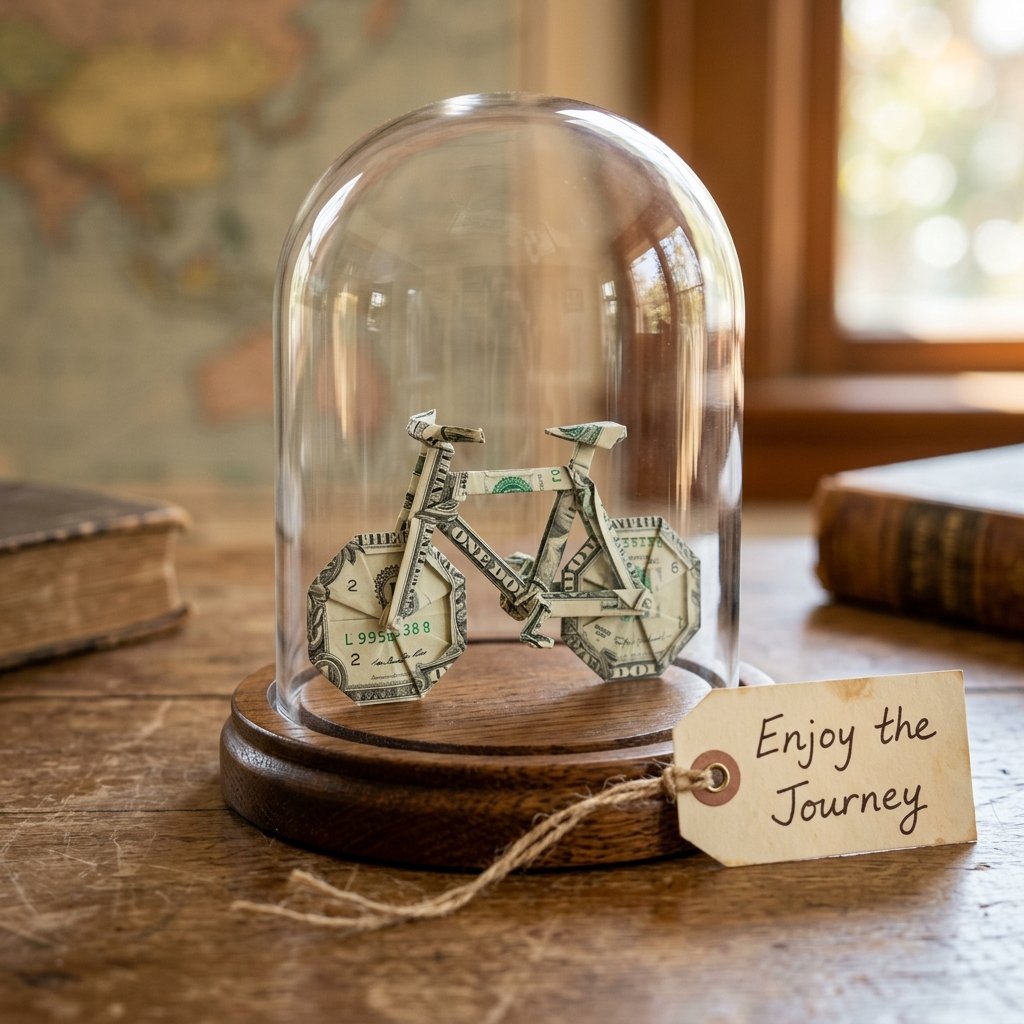
You’ve spent 15 to 20 minutes crafting this masterpiece; don’t just toss it in an envelope. Elevate the presentation to match the effort. As a budget-savvy stylist, you can use items found around the house to create a high-end display.
- The Shadow Box: Purchase a small 4×4 shadow box from a craft store (or find one at a thrift shop). Mount the bicycle on a piece of black cardstock using a tiny dot of removable adhesive. It looks like a museum artifact.
- The ‘Road’ Card: Draw a simple winding road on a kraft paper card. Attach the bike so it looks like it’s riding up the hill. Write a message like, “Enjoy the ride!” or “The journey is the reward.”
- The Glass Dome: Use an upside-down mason jar. Place the bicycle on the lid (which is now the base) and screw the jar on. It’s an instant DIY snow globe—minus the water.
| Presentation Method | Estimated Cost | Effort Level |
|---|---|---|
| Standard Envelope | $0.00 | Low |
| Handmade Road Card | $0.50 | Medium |
| Thrifted Shadow Box | $2.00 | High |
Conclusion
Pedaling Toward the Perfect Gift
Mastering the money origami bicycle is more than just a party trick; it’s a testament to your resourceful creativity. You’ve taken a flat, cold piece of currency and transformed it into a symbol of movement, freedom, and craft. This project proves that you don’t need a massive budget to give a gift that feels expensive and thoughtful. You just need a bit of patience, a few crisp bills, and the willingness to learn a new skill.
Next time you’re tempted to just tuck a twenty into a generic card, remember the bicycle. Remember the rugged elegance of a perfectly executed fold and the look on the recipient’s face when they realize they’re holding a work of art. Now, get out there and start folding—your next stunning gift is just a few creases away!

Makenzie is the founder and lead writer at MoneyHackTips.com — a personal finance blog dedicated to delivering street-smart financial wisdom for real people on real budgets. With 300+ published articles covering everything from debt management to investing fundamentals, Makenzie’s mission is to make every dollar work harder. When not writing about money hacks, Makenzie is testing frugal living strategies, optimizing side hustles, and helping readers build financial freedom from scratch.