
Reclaim Your Sanctuary Without the Premium Price Tag
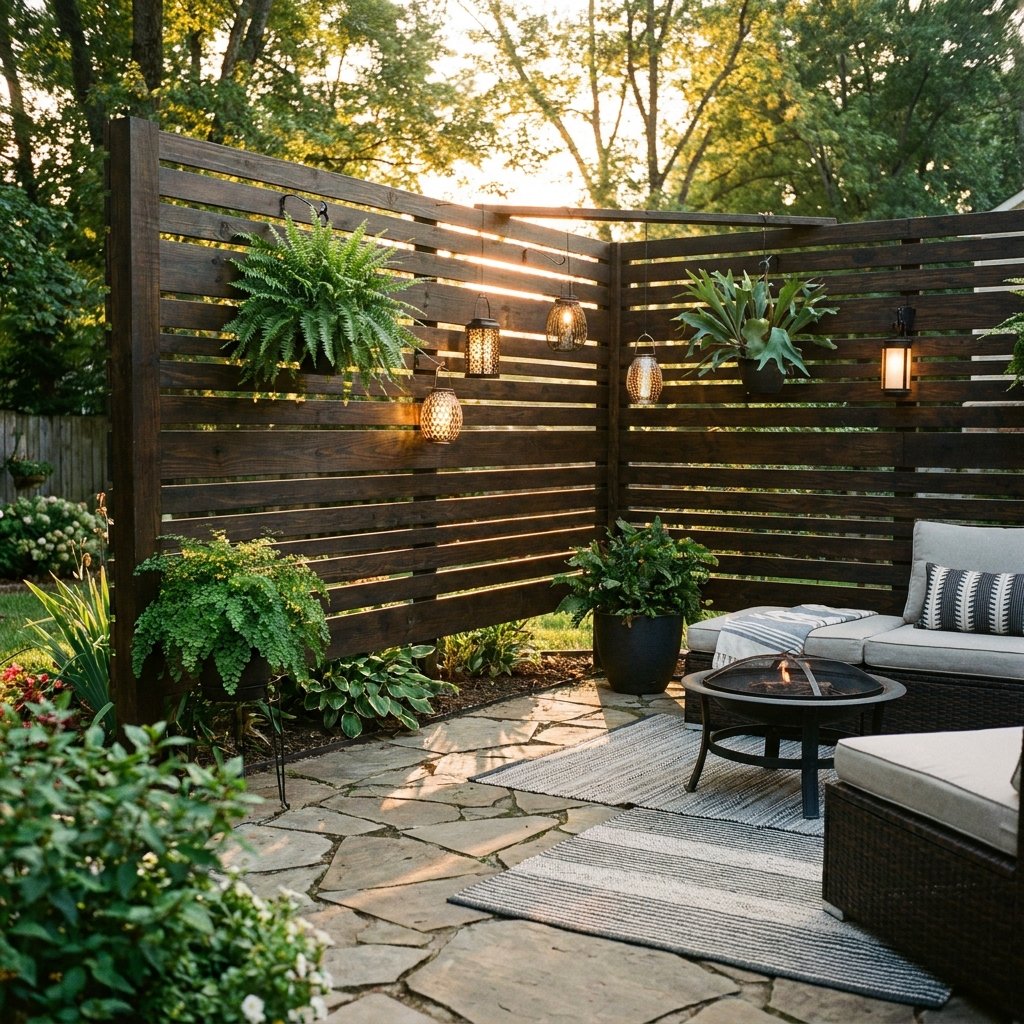
We’ve all been there: you’re trying to enjoy a quiet morning coffee on the patio or hosting a rugged backyard BBQ, and you realize you’re on full display for the neighborhood. Professional fencing or high-end privacy panels can easily run you $500 to $1,500 for a single section. But as a savvy DIYer, you know better. You don’t need a contractor; you need a plan, a few scrounged materials, and a bit of elbow grease. This guide is designed for the resourceful homeowner who wants a masculine-elegant aesthetic on a shoestring budget. We’re going to turn ‘trash’ into a high-end architectural feature that keeps the neighbors’ eyes on their own lawns.
Budget Mantra: A little sanding and a dark stain can make a free pallet look like expensive exotic hardwood.
The Master Plan: Sourcing Your Scraps for a $0 to $50 Build

The secret to a cheap build isn’t buying cheaper materials—it’s finding materials for free. To keep this project under $50, we are going to focus on upcycled shipping pallets and ‘cull’ lumber from big-box hardware stores. Most stores sell slightly warped or cracked boards at a 70% discount. If you’re clever, you can cut around the defects and end up with premium wood for pennies.
Material Comparison: Store-Bought vs. Savvy DIY
| Material Item | Big Box Retail Price | Savvy DIY Cost |
|---|---|---|
| 6ft Privacy Panel | $120.00 | $0.00 (Upcycled Pallets) |
| Support Posts (4×4) | $45.00 | $12.00 (Cull Lumber/T-Posts) |
| Stain & Sealer | $35.00 | $8.00 (Homemade Steel Wool Mix) |
| Total Cost | $200.00+ | $20.00 – $45.00 |
Before you start, gather your tactical toolkit: a hammer (or pry bar), a drill, outdoor-rated screws (3-inch for framing, 1.5-inch for slats), and a level. If you’re going the pallet route, ensure they are marked ‘HT’ (Heat Treated) and not ‘MB’ (Methyl Bromide), which is a toxic pesticide you don’t want near your patio.
The Upcycled Pallet Wall: Horizontal Slat Elegance
The horizontal slat look is currently a high-end landscaping trend found in modern luxury homes. We can replicate this using the long slats from disassembled pallets. This ‘rugged-elegant’ style provides excellent privacy while allowing airflow so your screen doesn’t turn into a sail during a windstorm.
Step-by-Step Construction:
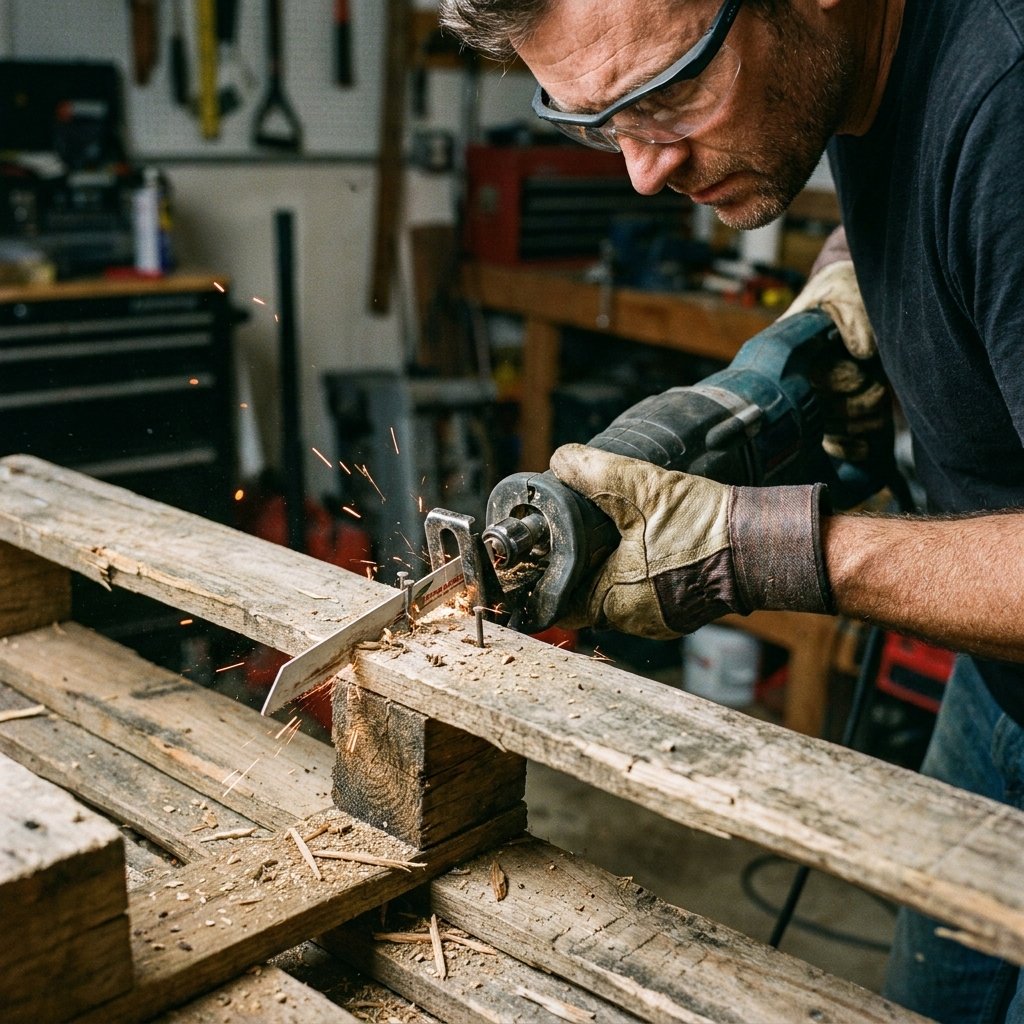
- Disassemble the Pallets: Use a pry bar to carefully remove the slats. Pro-Tip: Use a reciprocating saw with a metal-cutting blade to slice through the nails directly—it saves the wood from splitting and leaves a cool ‘industrial’ nail head look.
- Surface Prep: Give the slats a quick pass with 60-grit sandpaper. We aren’t looking for furniture-grade smoothness; we want to remove splinters while keeping the rustic texture.
- Build the Frame: Use two 2x4s as your vertical ‘spine.’ If this is a free-standing screen, you’ll need to anchor these into the ground or into heavy planters.
- The Layout: Start from the top and work down. Use a 1/2-inch spacer (a scrap piece of wood) between each slat to ensure perfectly even gaps. This is what makes it look professional rather than ‘homemade.’
SAFETY FIRST: Always wear eye protection when cutting wood and gloves when handling pallets to avoid splinters and old rusty nails.
The Dollar Tree Lattice Hack: High-End Greenery on a Dime

If you don’t have access to pallets, or you want a lighter, more ‘botanical’ look, we turn to the Dollar Tree. By combining their small plastic trellis pieces with faux ivy rolls from discount sites, you can create a ‘living wall’ that requires zero watering.
The Assembly Process:
- Purchase 10-12 plastic garden trellises from the dollar store ($1.25 each).
- Spray paint them with a Matte Black or Oil-Rubbed Bronze spray paint. This instantly makes plastic look like expensive wrought iron.
- Zip-tie the panels together to create a large grid.
- Weave in faux ivy or eucalyptus strands. This creates a dense visual barrier that is 100% neighbor-proof.
This method is perfect for apartment balconies or renters because it is lightweight and can be attached to existing railings with simple zip-ties, making it 100% removable when you move.
Structural Integrity: Anchoring for the Long Haul
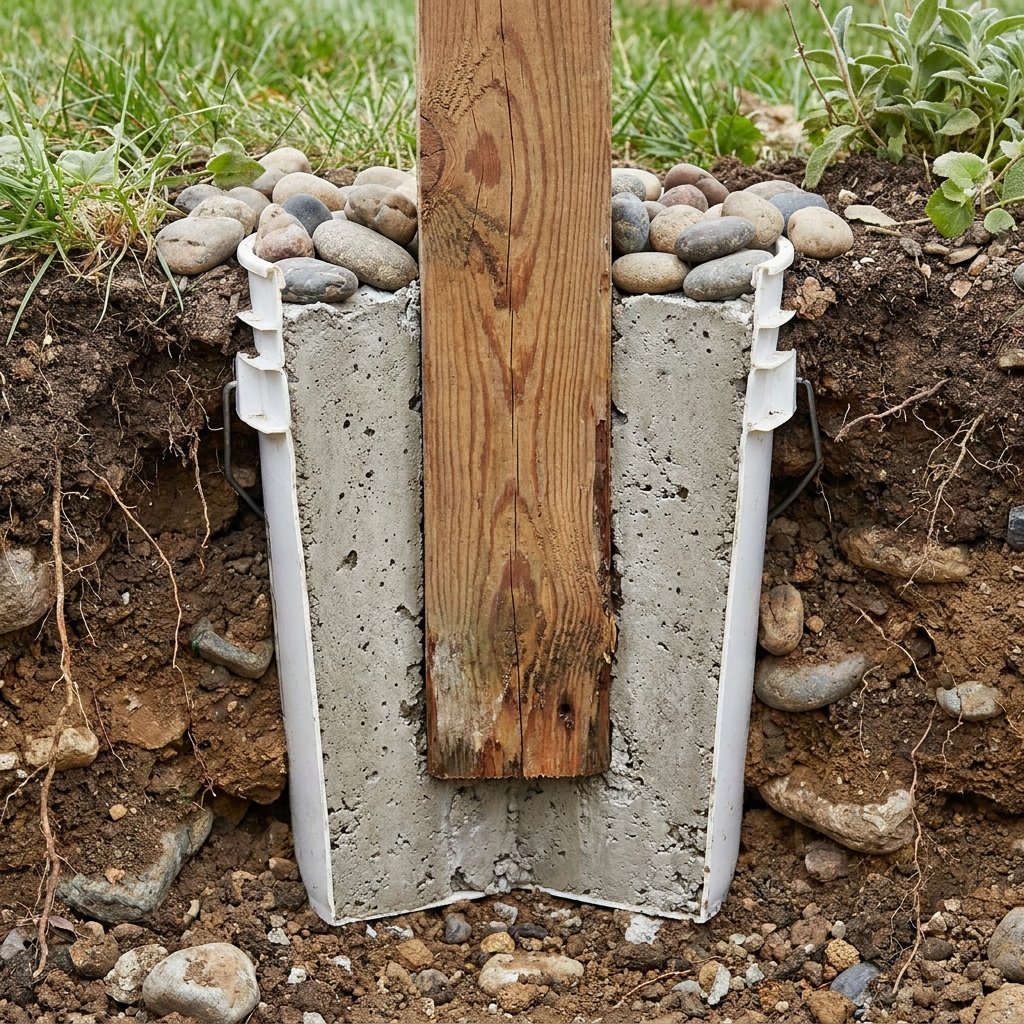
A privacy screen is essentially a giant sail. If you don’t anchor it properly, the first summer thunderstorm will send it into the neighbor’s yard—defeating the purpose of avoiding them! For a rugged, permanent solution, we use the ‘Bucket Anchor’ method.
The Bucket Anchor Method:
- Place your 4×4 support posts inside 5-gallon buckets (often free from bakeries or construction sites).
- Fill the buckets with 80lbs of quick-set concrete (approx $6.00 per bag).
- Level the posts and let them cure for 24 hours.
- Bury the buckets in the ground or, for a more ‘masculine-elegant’ look, build a simple wooden box around the bucket and top it with decorative river stones.
This provides a massive weight base that ensures your screen stays upright without the need for digging deep post holes in rocky soil.
Finishing Touches: The ‘Iron Vinegar’ Stain Secret

To get that sophisticated, weathered gray or deep ebony look without spending $40 on a can of premium stain, use this ‘Grandma’s secret’ chemistry trick. It creates a chemical reaction with the tannins in the wood for a permanent, deep color.
The DIY Oxidation Formula:
| Ingredient | Amount | Purpose |
|---|---|---|
| Steel Wool (Grade 0000) | 1 Pad | Provides the iron for the reaction. |
| White Vinegar | 1 Quart | The acidic base that dissolves the iron. |
| Black Tea (Brewed Strong) | 2 Cups | Adds extra tannins to ‘cheap’ wood like pine. |
Instructions: Shred the steel wool and drop it into a jar of vinegar. Let it sit for 24 to 48 hours. Brush the strong tea onto your screen first and let it dry. Then, brush on the vinegar solution. Watch in amazement as the wood turns a beautiful, variegated charcoal gray within minutes. Seal it with a cheap coat of boiled linseed oil for a rugged, water-resistant finish.
Conclusion
Enjoy Your Newfound Privacy
Building a DIY outdoor privacy screen is about more than just blocking a view; it’s about reclaiming your home’s outdoor potential. By using upcycled pallets, budget-friendly lattice hacks, and homemade stains, you’ve created a high-end architectural feature for less than the cost of a takeout dinner. You’ve saved over $150 compared to store-bought alternatives and built something with your own two hands that is rugged, stylish, and practical. Now, kick back, crack open a cold one, and enjoy the peace and quiet of your private sanctuary. You earned it.

Makenzie is the founder and lead writer at MoneyHackTips.com — a personal finance blog dedicated to delivering street-smart financial wisdom for real people on real budgets. With 300+ published articles covering everything from debt management to investing fundamentals, Makenzie’s mission is to make every dollar work harder. When not writing about money hacks, Makenzie is testing frugal living strategies, optimizing side hustles, and helping readers build financial freedom from scratch.