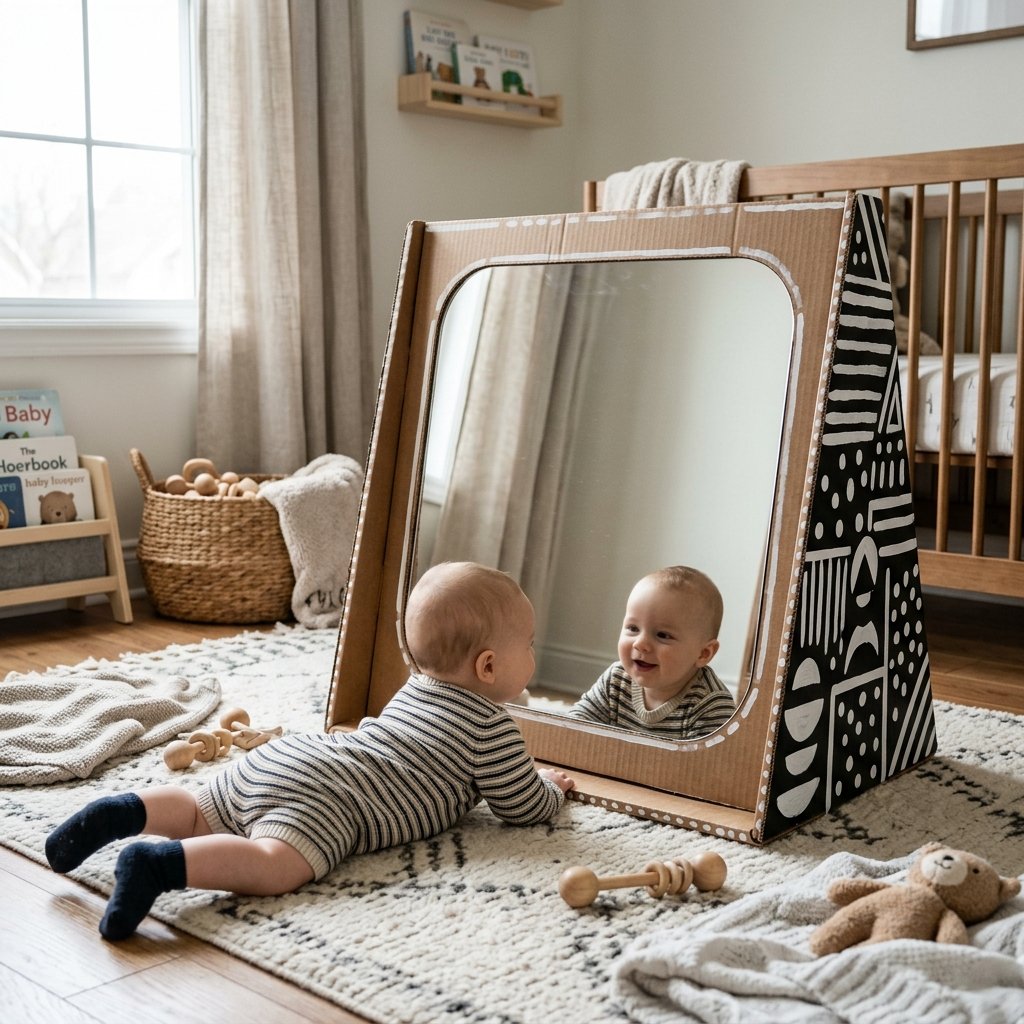

The $0 Development Hack Every Parent Needs
Let’s be honest: the baby industry is built on the idea that if you don’t spend $50 on a piece of wood and glass, your child won’t reach their milestones. But as a resourceful, budget-savvy maker, you know better. Tummy time is one of the most critical stages of early development, helping your little one build neck strength and motor skills. A floor mirror is the ‘secret weapon’ of the Montessori method, encouraging self-recognition and keeping babies engaged while they work those muscles. Today, we aren’t going to the big-box store. We are heading to the recycling bin. We’re going to build a rugged, safe, and incredibly effective DIY Montessori Cardboard Baby Mirror that looks like a high-end boutique find but costs next to nothing.
“Frugality isn’t about having less; it’s about making more out of what you already have.”
Why the Montessori Mirror is a Tummy Time Game Changer
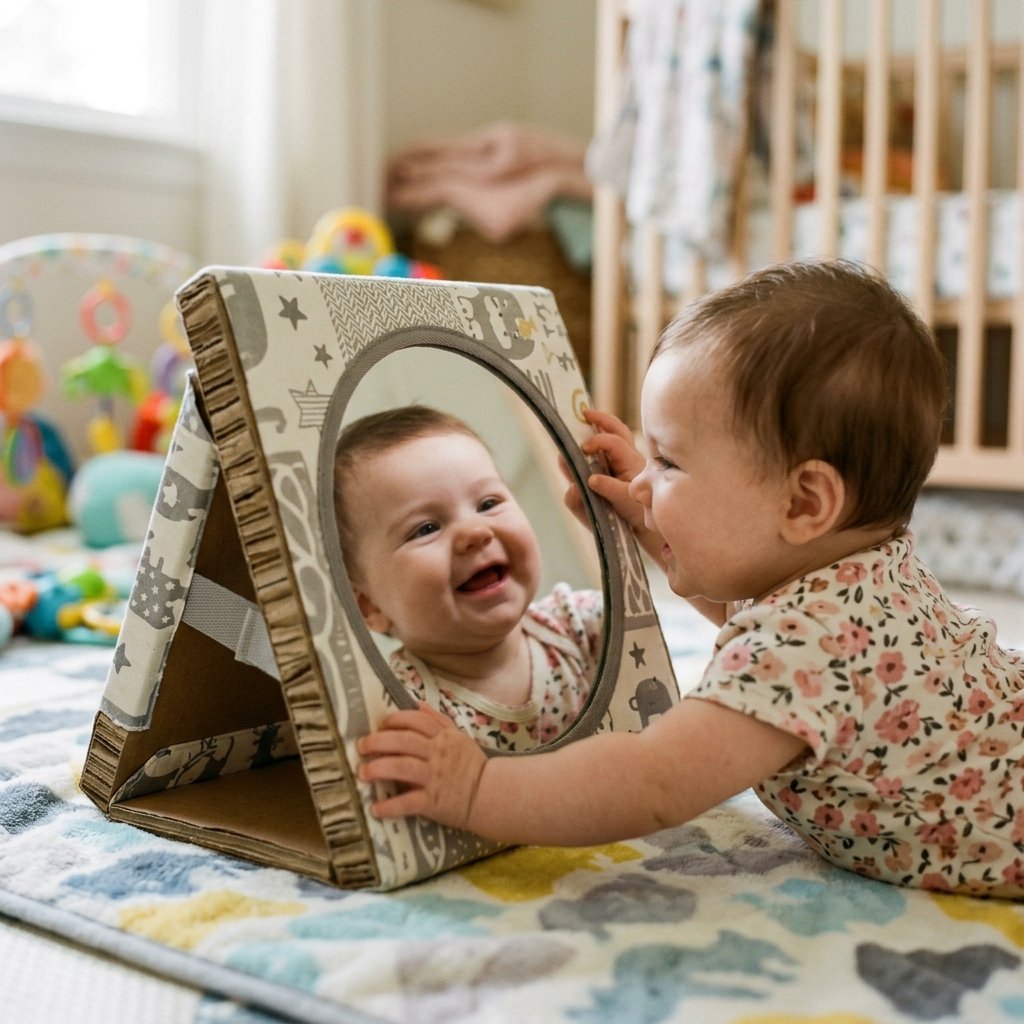
In the Montessori philosophy, the environment is the ‘third teacher.’ A floor mirror allows a baby to observe their own movements, which is foundational for body awareness and cognitive development. When a baby sees their ‘friend’ in the mirror, they are motivated to lift their head higher, reach out, and stay on their tummy longer. By using cardboard, we are not only being eco-conscious but also creating a lightweight, portable tool that can be moved from the living room to the nursery with ease.
The Developmental Benefits
- Visual Tracking: Watching their own reflection move helps develop focus.
- Gross Motor Skills: Encourages pushing up and pivoting during tummy time.
- Self-Discovery: Facilitates the early stages of social-emotional development.
Instead of a fragile glass mirror, we will use shatterproof acrylic, ensuring that even the most enthusiastic kicker is perfectly safe.
The Blueprint: Materials and Cost Breakdown
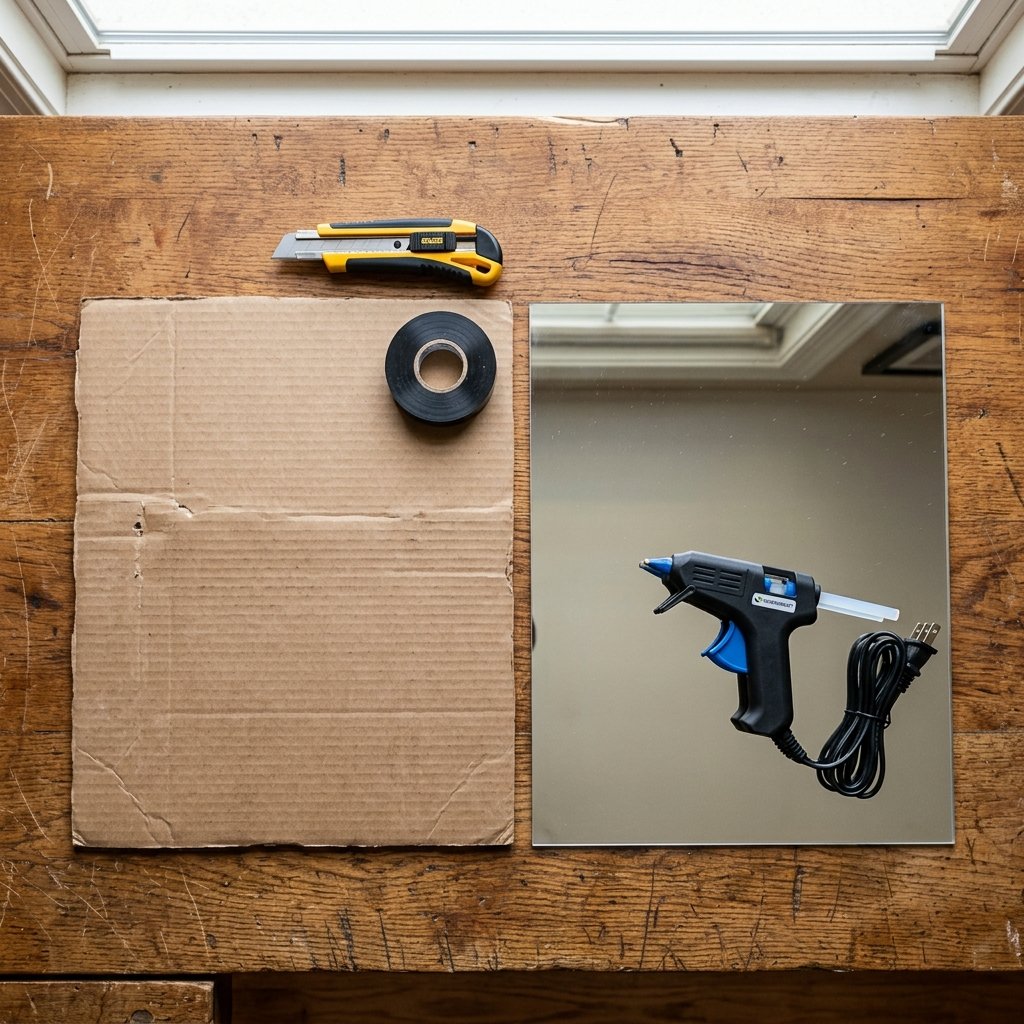
Before we start cutting, let’s gather our supplies. You likely have 90% of these items in your pantry or garage right now. The goal here is a ‘zero-waste’ build that rivals the $45 versions found online.
| Material | Source | Estimated Cost |
|---|---|---|
| Heavy-Duty Cardboard | Shipping Box/Recycling | $0.00 |
| Acrylic Safety Mirror (6×9 or 8×10) | Craft Store or Old Toy | $5.00 – $8.00 |
| Hot Glue / Wood Glue | Workshop | $0.50 |
| Black Electrical Tape or Paint | Junk Drawer | $1.00 |
| Utility Knife & Straight Edge | Toolbox | $0.00 |
| Total Project Cost | – | $6.50 – $9.50 |
Compare this to the $40-$60 price tag of ‘designer’ Montessori floor mirrors, and you’ve already saved enough for a month of diapers just by being crafty.
Step-by-Step Construction: Building the Frame
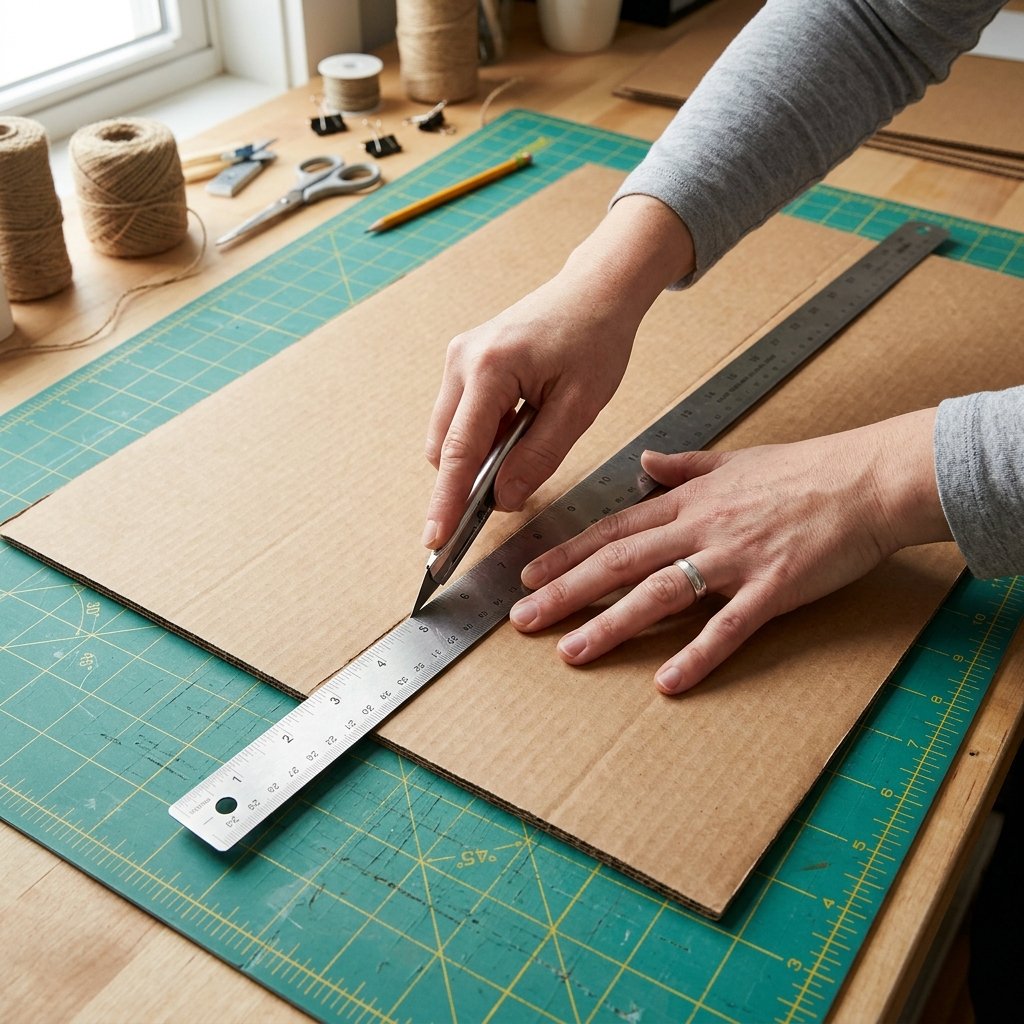
We want a stable, triangular ‘wedge’ shape. This ensures the mirror sits at the perfect 45-to-60-degree angle for a baby lying on the floor. Follow these steps for a rugged, professional-grade build:
- Measure and Cut: Cut a long strip of cardboard roughly 10 inches wide and 30 inches long. Use a straight edge to ensure your lines are crisp; this is where the ‘elegant’ look comes from.
- Score for Folding: Divide your strip into three sections. For an 8×10 mirror, make your sections 11 inches (front), 11 inches (back), and 8 inches (base). Lightly score the cardboard with your knife—do not cut all the way through!
- The Window Cut: On your front 11-inch panel, center your acrylic mirror. Trace it, then draw a second rectangle 1/2 inch smaller inside that line. Cut out this inner rectangle to create the ‘window frame.’
- Reinforce the Base: Double up the cardboard on the base section for extra weight. This prevents the mirror from sliding around on hardwood floors.
“Measure twice, cut once, and always pull the blade toward your body’s side, never your hand.”
The Assembly: Securing the Mirror and Finishing

Now we bring the structure together. This is where your ‘handy parent’ skills shine. We want this to be ‘baby-proof,’ meaning no sharp edges and no loose parts.
Mounting the Mirror
Apply a generous bead of hot glue or high-strength adhesive to the back of your ‘window frame.’ Press the acrylic mirror firmly into place. For extra security, use duct tape or electrical tape around the edges of the mirror on the inside of the cardboard. This ensures that even if the glue fails, the mirror stays put.
Closing the Triangle
Fold your scored cardboard into a triangle. The base should be flat on the ground. Use a ‘tongue and groove’ method or a simple heavy-duty tape seal to close the bottom. I prefer using black electrical tape along all the exposed cardboard edges. Not only does this hide the ‘corrugated’ look of the cardboard, but it also provides the high-contrast visual stimulation that newborns crave.
Sensory Upgrades and Customization
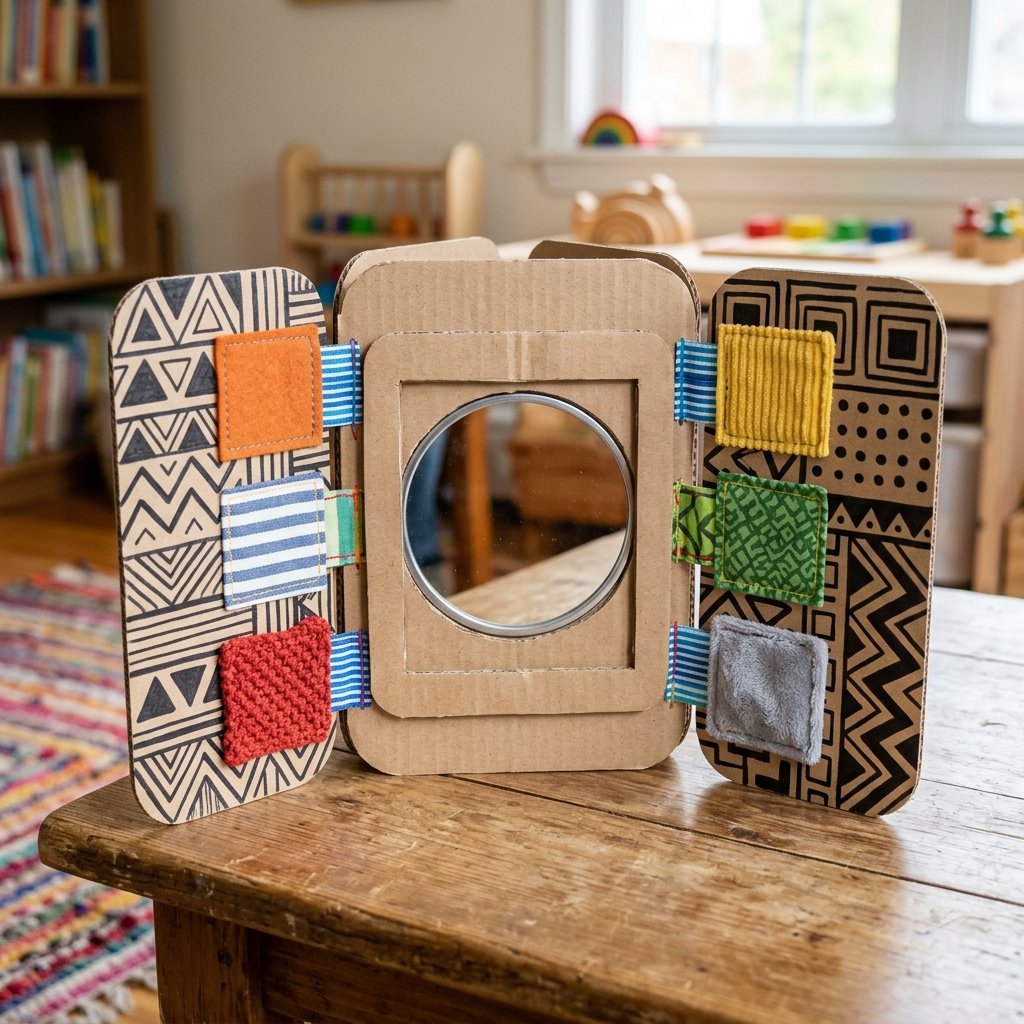
Why stop at a mirror? Since we are building this from scratch, we can add ‘tactical’ sensory features that store-bought toys lack. Use your scraps to turn this into a multi-sensory station.
- High-Contrast Side Panels: Use a black marker to draw bold stripes, dots, or chevrons on the sides of the cardboard. Newborns see high-contrast patterns best.
- Texture Strips: Glue a strip of burlap, a piece of velvet, or some crinkly plastic (from a cereal bag) onto the side panels for the baby to touch.
- The Pull-Tab: Attach a small loop of ribbon or leather scrap to the top, making it easy for you to grab and move the toy one-handed while carrying a baby.
By adding these custom touches, you aren’t just making a mirror; you’re making a bespoke developmental tool tailored specifically to your child’s needs.
Safety First: The ‘Wiggle Test’ and Maintenance
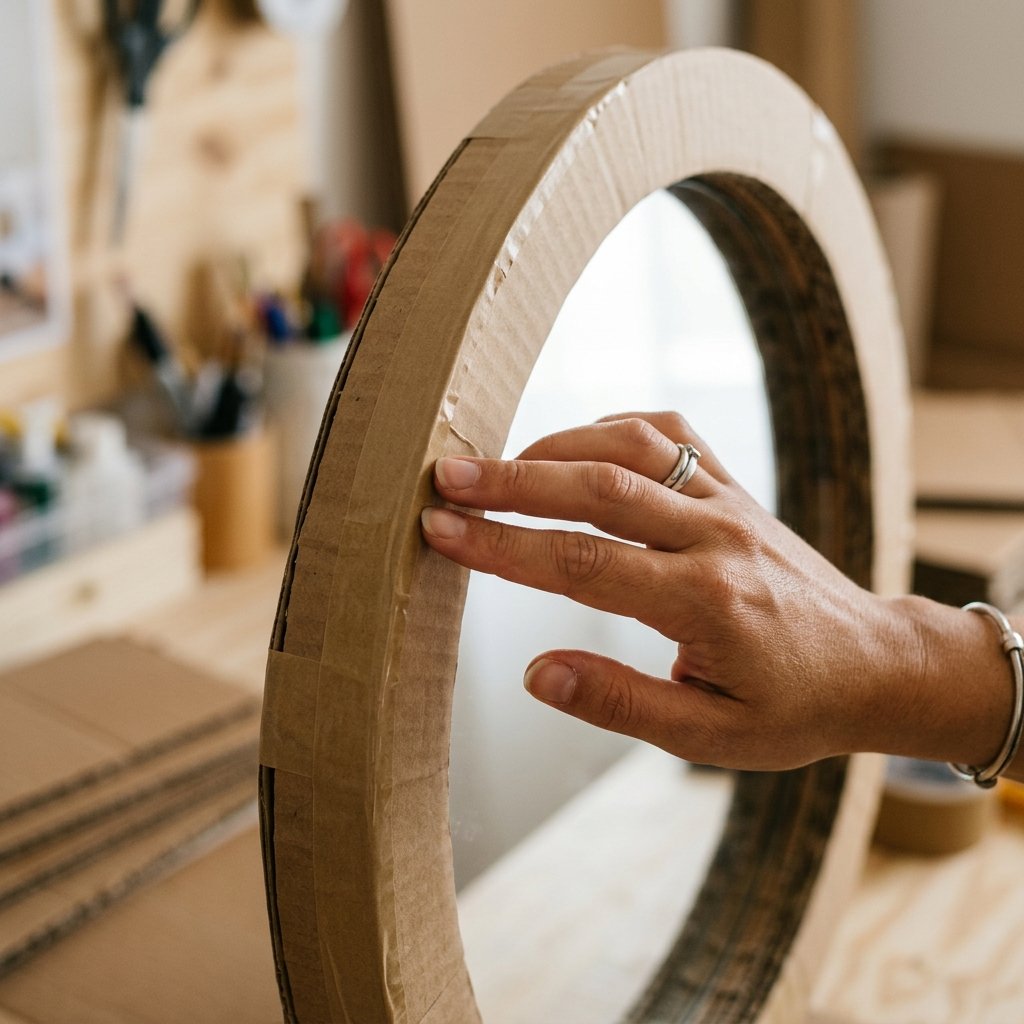
Safety is our top priority. Before handing this over to your little explorer, perform a rigorous safety check. Cardboard is sturdy, but it requires a bit of ‘rugged’ oversight.
Safety Checklist:
- Check for any sharp cardboard ‘burrs’ and sand them down or cover with tape.
- Ensure the acrylic mirror is 100% shatterproof (never use real glass).
- Verify that no glue is seeping out where tiny fingers can pick at it.
- Perform the ‘Wiggle Test’: Shake the frame vigorously to ensure the mirror doesn’t shift.
Since this is a cardboard toy, it isn’t waterproof. If it gets hit with a ‘spit-up’ incident, simply wipe it immediately with a slightly damp cloth. The beauty of this project? If it gets too worn out, you can recycle it and build a new, improved version in 15 minutes for $0.
Conclusion
The Ultimate Budget-Savvy Win
Building your own Montessori mirror isn’t just about saving $40—though that’s a fantastic perk. It’s about the satisfaction of creating something functional and beautiful for your child with your own two hands. You’ve taken ‘trash’ and turned it into a developmental treasure. This DIY project proves that you don’t need a massive budget to provide a rich, stimulating environment for your baby. So, grab that utility knife, find a sturdy box, and get crafting. Your baby (and your wallet) will thank you for the hours of tummy time fun ahead!

Makenzie is the founder and lead writer at MoneyHackTips.com — a personal finance blog dedicated to delivering street-smart financial wisdom for real people on real budgets. With 300+ published articles covering everything from debt management to investing fundamentals, Makenzie’s mission is to make every dollar work harder. When not writing about money hacks, Makenzie is testing frugal living strategies, optimizing side hustles, and helping readers build financial freedom from scratch.