
The Cardboard Revolution: Why Parents are Ditching Plastic for Pulp
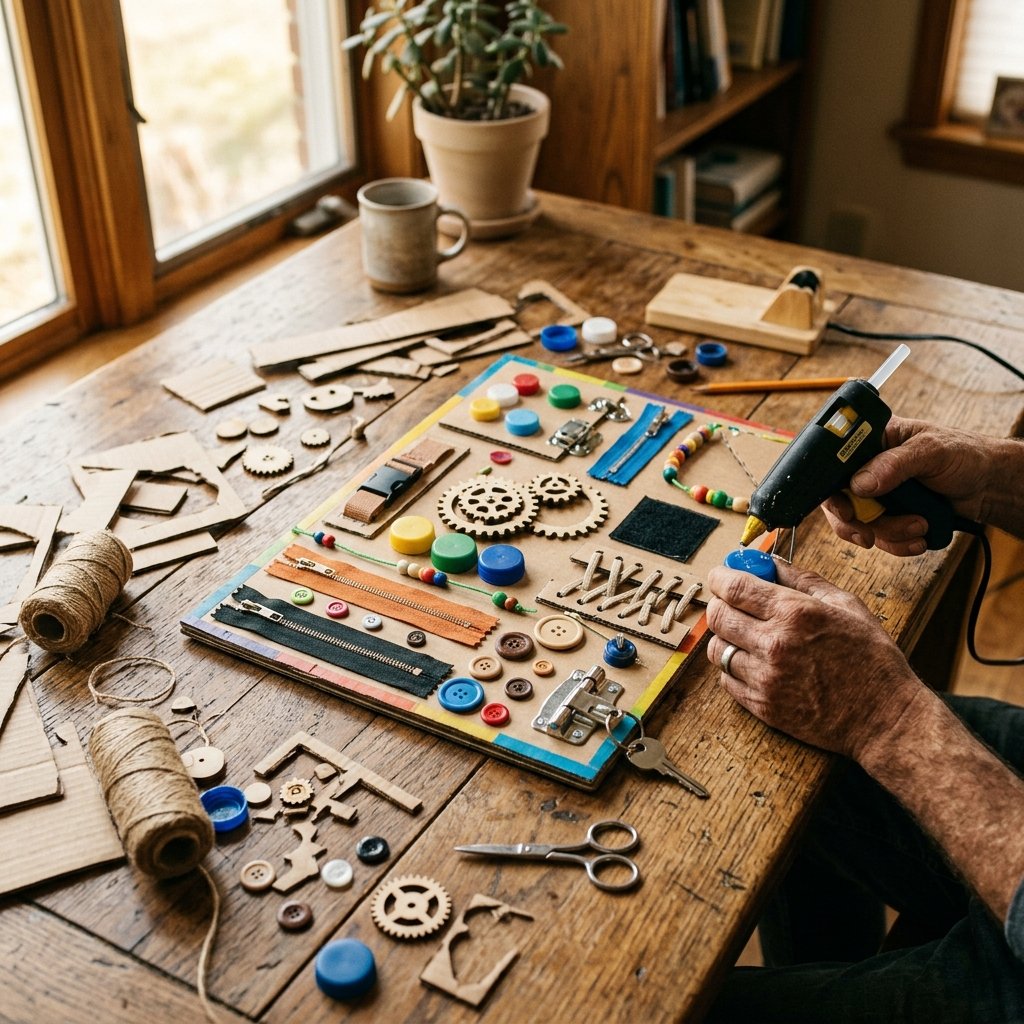
We have all been there: you spend $50 on a flashing, beeping, battery-draining plastic toy, only for your child to spend the next three hours playing with the box it came in. It is a classic parenting irony, but it is also a golden opportunity for the resourceful DIYer. The ‘Busy Board’—a sensory-rich station designed to engage curious little fingers—is a staple of early childhood development. However, high-end wooden versions can easily set you back $100 to $200. Enter the Cardboard Busy Board: a rugged, practical, and remarkably elegant solution that costs next to nothing and takes less than 60 minutes to assemble.
As a savvy crafter, you know that ‘trash’ is just a lack of imagination. By upcycling corrugated cardboard and those random bits and bobs living in your ‘junk drawer,’ you are not just saving money; you are engineering a bespoke experience tailored to your child’s specific interests. Whether you are a handy dad looking for a weekend project or a frugal mom wanting to clear out the recycling bin, this guide will show you how to build a masterpiece of play for $0.
Budget Mantra: The best toy in the world is the one you build with your own hands and a bit of clever grit.
The Anatomy of a Zero-Dollar Busy Board: Scavenging for Parts
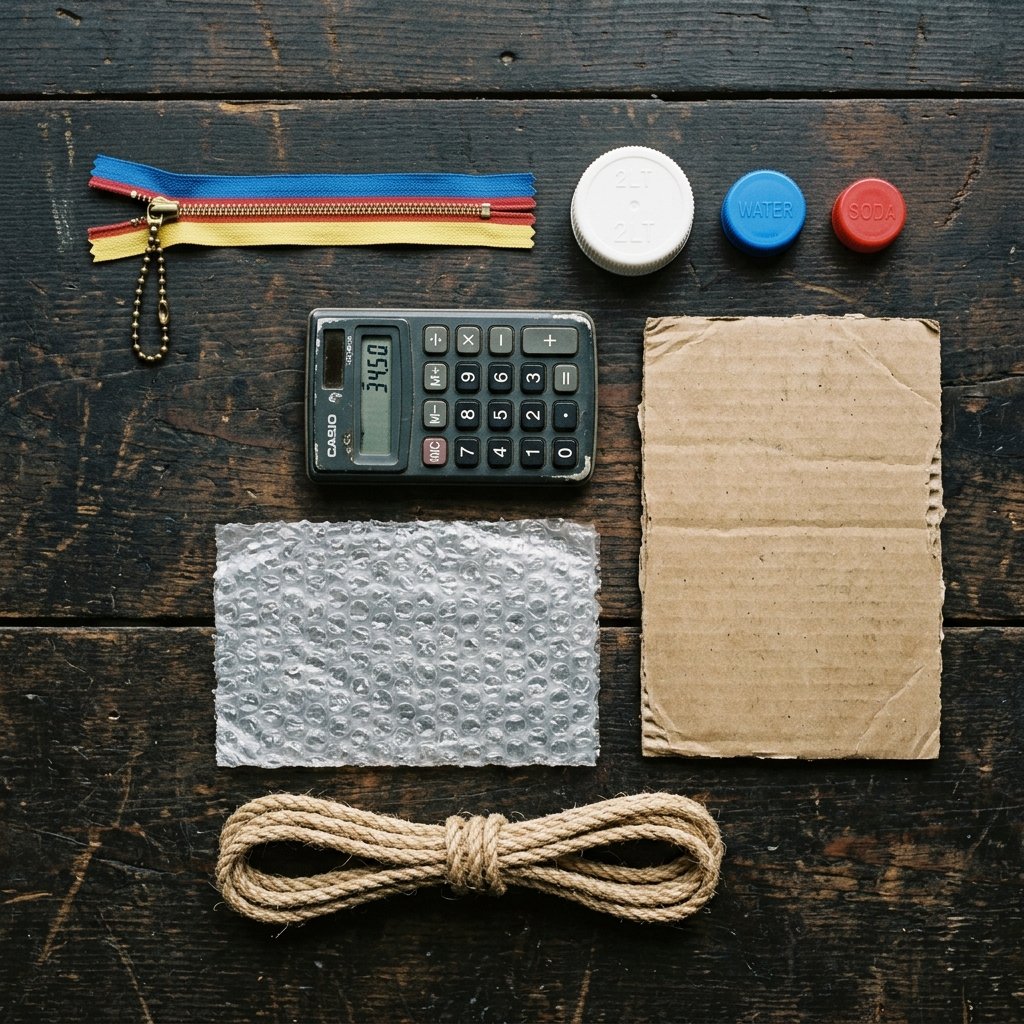
Before you reach for your wallet, reach for your recycling bin. The beauty of this project lies in the ‘scavenge.’ We are looking for items that provide tactile feedback, mechanical movement, or visual interest. Think like an engineer and look for things that click, slide, turn, or zip.
Essential Materials & Cost Comparison
To prove how much you are saving, let’s look at the breakdown of a store-bought sensory board versus our rugged DIY version.
| Feature | Store-Bought Wooden Board | DIY Cardboard Version |
|---|---|---|
| Base Material | Plywood ($15) | Double-Walled Cardboard (Free) |
| Hardware | Plastic Latches ($20) | Bottle Caps & Zippers (Free) |
| Assembly Time | N/A (Shipping 3-5 Days) | 45-60 Minutes |
| Total Cost | $65 – $120 | $0 – $5 |
Your tool kit should be simple but effective. You will need a heavy-duty box cutter, a high-temp hot glue gun, and perhaps some industrial-strength twine or zip ties for securing heavier items. Remember, we are building for ‘toddler-strength’ durability, so don’t be stingy with the adhesive.
Engineering the Foundation: Preparing the Ultimate Cardboard Chassis

A single sheet of cardboard is a snack for a determined toddler. To build a board that lasts, you need to engineer a ‘chassis.’ This involves laminating multiple layers of cardboard together to create a rigid, wood-like substrate. This is where the ‘Rugged & Practical’ aesthetic begins.
Step-by-Step Base Construction
- Select Your Grain: Cardboard has a ‘grain’ (the direction of the internal fluting). For maximum strength, cut two rectangular pieces of the same size, but ensure the grain of the second piece is perpendicular to the first.
- The Lamination Process: Apply a generous grid of hot glue to the first board. Press the second board firmly on top. For the best result, place a few heavy books on top for 5 minutes to ensure a flat, solid bond.
- Beveling the Edges: Use your box cutter to slightly round off the corners. This prevents ‘paper cuts’ and makes the board look more like a finished piece of furniture rather than a shipping remnant.
Pro Tip: If you want a more ‘Masculine-Elegant’ look, wrap the edges of your cardboard in black duct tape or brown kraft paper for a clean, framed finish.
Sensory Stations: 10 Gadgets You Already Own That Keep Kids Hooked
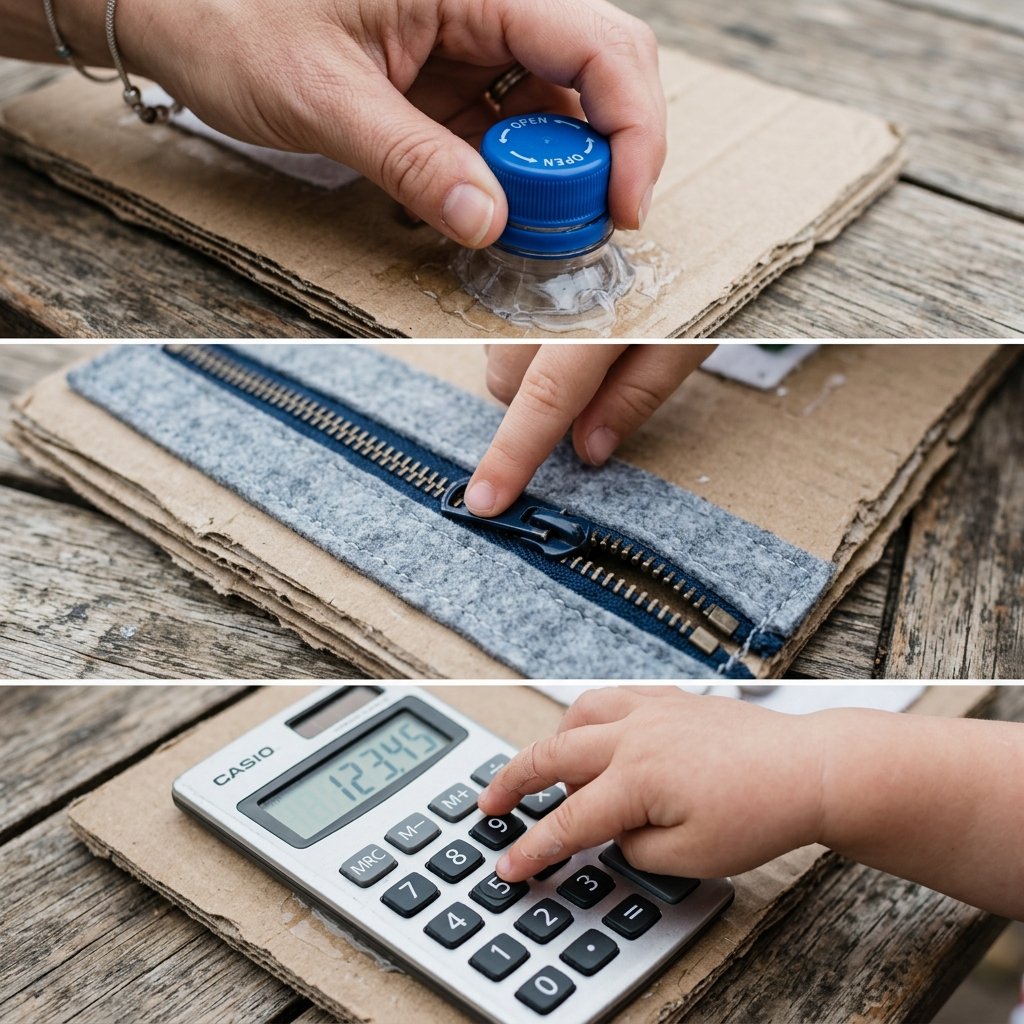
Now for the creative part. We are going to map out ‘stations’ on our board. Each station targets a specific fine motor skill. As a crafty expert, you want to vary the heights and textures to keep the sensory input high.
- The Zipper Slide: Take an old hoodie you were going to toss. Cut out the zipper strip and glue it flat. It’s the ultimate pincer grasp workout.
- The Bottle Cap Twist: Cut the tops off three different sized plastic bottles (soda, milk, water). Glue the ‘necks’ into holes cut into the cardboard. Kids love screwing the caps on and off.
- The Texture Strip: Glue down a piece of rough sandpaper, a scrap of silky ribbon, and a patch of bumpy bubble wrap side-by-side.
- The Hidden Door: Cut a small square flap in the top layer of cardboard. Use a piece of duct tape as a hinge. Inside, glue a photo of the family or a shiny piece of aluminum foil.
- The Calculator Keypad: An old, non-functional calculator is a goldmine of tactile ‘clicks.’
Skill Development Matrix
| Station Type | Primary Material | Developmental Benefit |
|---|---|---|
| Twist Station | Bottle Necks/Caps | Hand-Eye Coordination |
| Slide Station | Zippers/Ribbon | Fine Motor Control |
| Press Station | Old Calculator/Remote | Tactile Feedback |
| Peek-a-Boo | Cardboard Flaps | Object Permanence |
The Master Builder’s Assembly: Securing Elements for Rough Play
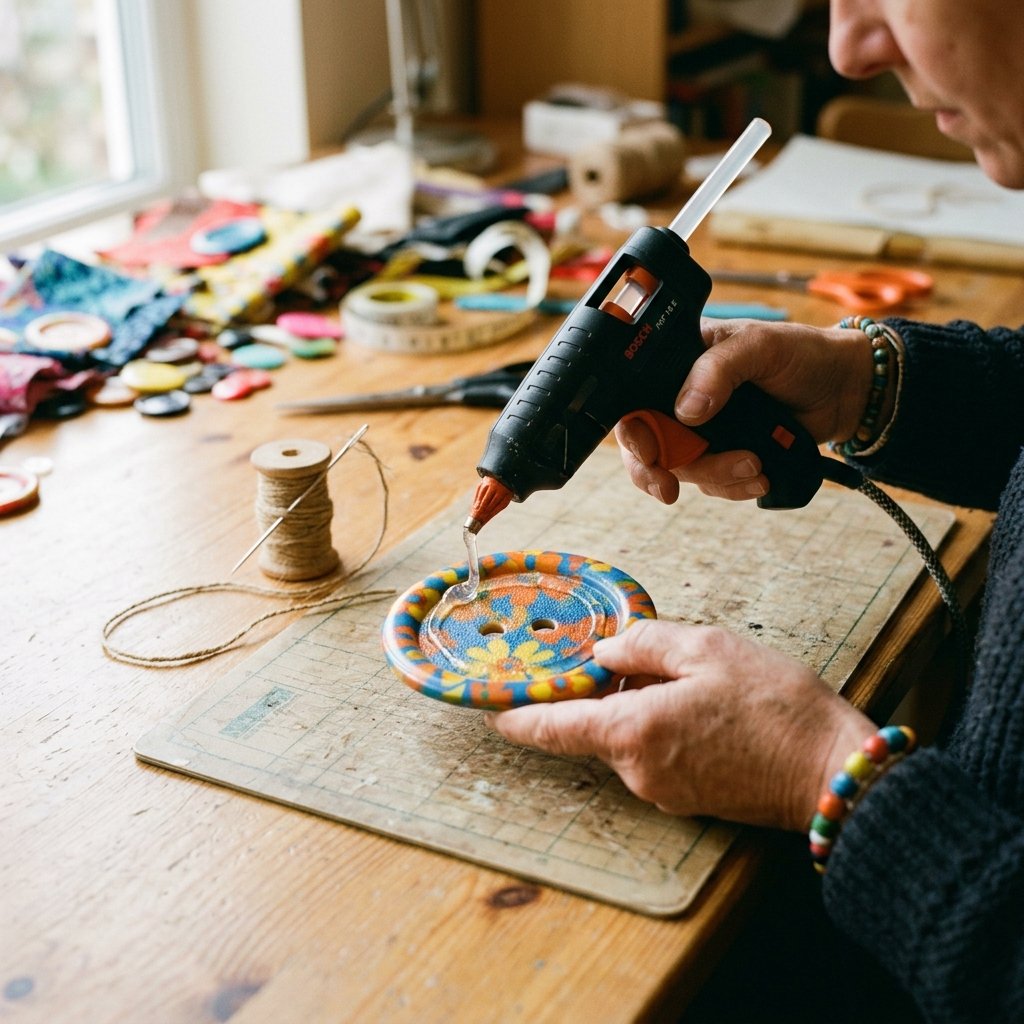
Safety is paramount when you are a ‘Handy Parent.’ Since this board is designed for toddlers, we must ensure nothing becomes a choking hazard. This is where your ‘Crafty-Expert’ status truly shines. We aren’t just gluing; we are anchoring.
The ‘Stress Test’ Protocol
Before handing the board over, perform the ‘Three-Second Tug.’ Pull on every item with moderate force for 3 seconds. If it moves, it needs more reinforcement. For items like heavy keys or large buttons, consider using a needle and thick twine to ‘sew’ the item directly through the cardboard layers, knotting it securely on the back before gluing a final ‘backing sheet’ of cardboard over the knots.
Safety Note: Always ensure that no small parts (like loose beads or small buttons) are used unless they are double-secured with both industrial adhesive and physical anchors. Supervise play at all times.
To finish the board, I recommend a ‘Rugged Industrial’ look. Use a black permanent marker to draw ‘control panels’ or ‘gears’ around the items. It adds a level of sophisticated design that makes the cardboard look intentional and high-end.
The Final Polish: Masculine-Elegant Aesthetics on a Budget

Just because it is cardboard doesn’t mean it has to look like trash. To achieve that ‘Pottery Barn Kids’ dupe look, we can use a few clever styling tricks. If you have any leftover baking soda and acrylic paint from other projects, you can create a ‘faux-stone’ or ‘terracotta’ texture on the flat surfaces of the board.
Design Upgrades for the Sophisticated DIYer
- Twine Borders: Glue thick jute twine around the perimeter of the board to hide the raw cardboard edges.
- Monogramming: Use a stencil to paint your child’s initials in the center. It turns a toy into a personalized heirloom.
- The ‘Control Center’ Theme: Use silver metallic paint to give the board a space-shuttle or submarine vibe. This appeals to the ‘Rugged’ aesthetic and makes the board a centerpiece of the playroom.
Total time for these upgrades? 15 minutes. Total cost? $0 if you use leftover supplies from your craft closet.
Conclusion
The 60-Minute Masterpiece: Playtime Redefined
By now, you have transformed a humble shipping box into a sensory powerhouse. You have saved over $100, kept cardboard out of the landfill, and created a custom toy that will provide hours of ‘quiet time’—the holy grail of parenting. This project proves that being a budget-savvy parent isn’t about doing without; it’s about doing better with what you have.
Your child doesn’t care about the brand name on the bottom of a toy. They care about the ‘click’ of the button, the ‘zip’ of the zipper, and the fact that you built something just for them. So, the next time an Amazon package arrives, don’t just throw the box away. Grab your glue gun, channel your inner Trash-to-Treasure Guru, and get building. Happy crafting!

Makenzie is the founder and lead writer at MoneyHackTips.com — a personal finance blog dedicated to delivering street-smart financial wisdom for real people on real budgets. With 300+ published articles covering everything from debt management to investing fundamentals, Makenzie’s mission is to make every dollar work harder. When not writing about money hacks, Makenzie is testing frugal living strategies, optimizing side hustles, and helping readers build financial freedom from scratch.