
The Art of the High-End Hustle: Why Spend More?
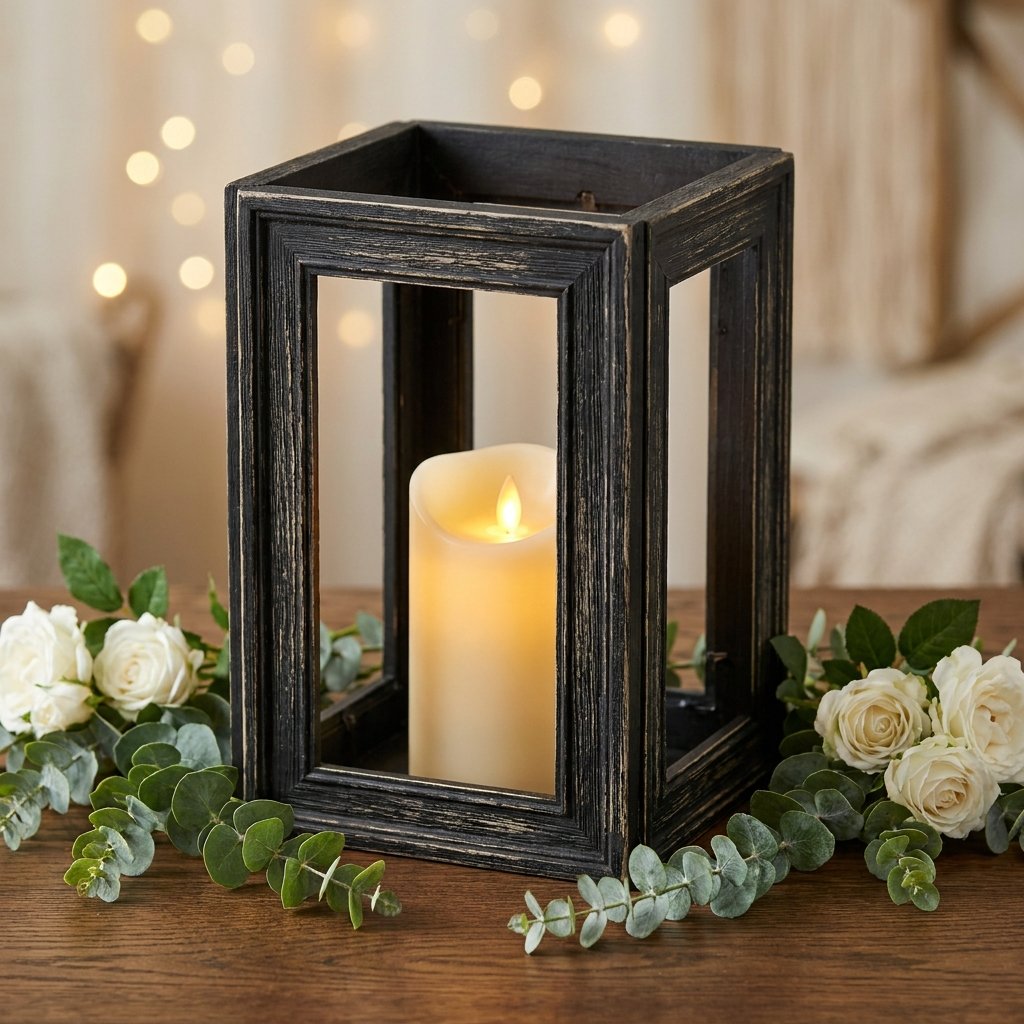
There is a specific, rugged satisfaction in looking at a $60 price tag in a boutique home store and knowing—with absolute certainty—that you can replicate it for under $10. Welcome to the world of tactical crafting, where we don’t just shop; we source. Today, we are tackling one of the most versatile pieces in the home-styling arsenal: the lantern centerpiece. Whether you are a budget-savvy bride aiming for a $5,000 look on a $500 decor budget, or a crafty homeowner looking to add some masculine-elegant charm to your mantle, this project is your secret weapon. We aren’t just gluing things together; we are engineering elegance from the mundane aisles of the Dollar Tree. By the time we’re finished, your guests won’t be asking where you bought these; they’ll be asking which high-end designer you hired.
The Material Blueprint: Sourcing Your Components
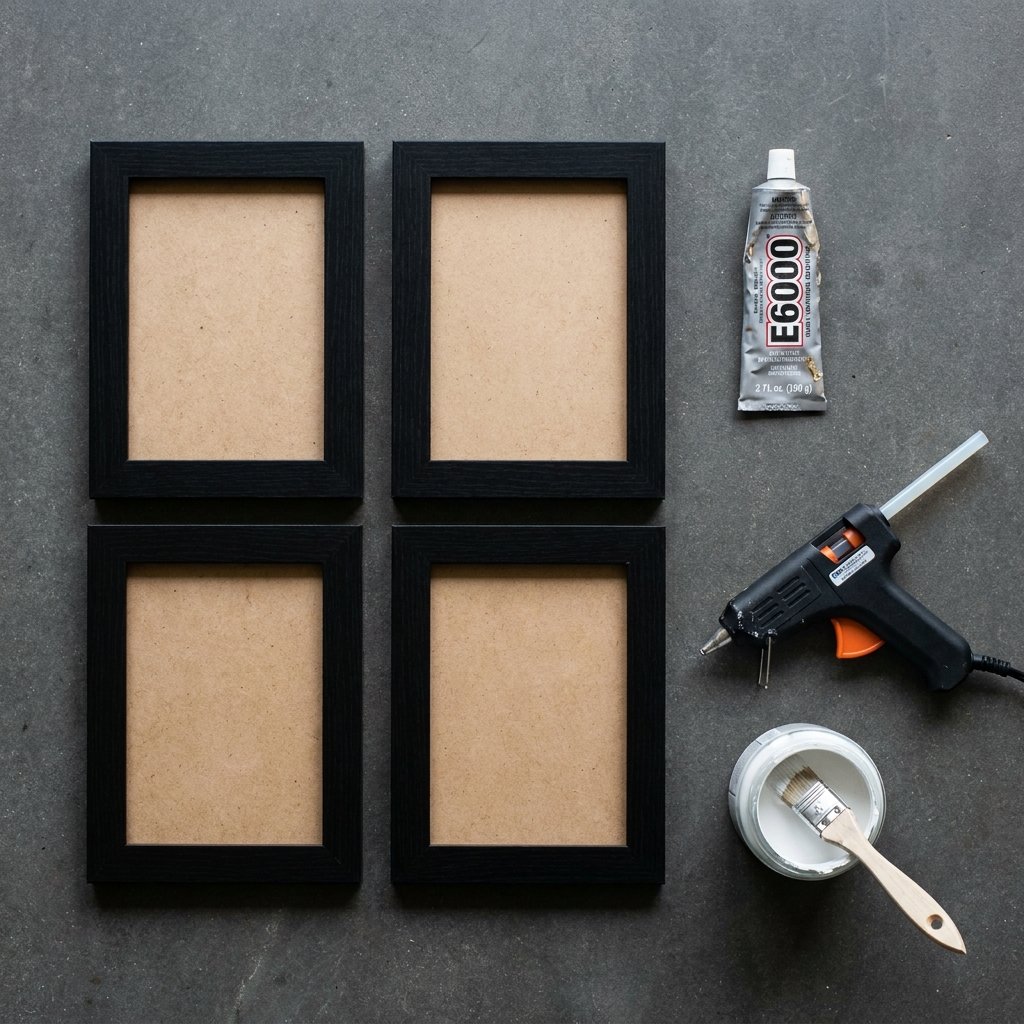
To build a lantern that survives the scrutiny of a dinner party, you need the right foundation. We are looking for 4×6 or 5×7 photo frames with clean lines. Avoid the overly ornate plastic frames; we want the flat-fronted wood or plastic ones that mimic the structure of a real window pane. Here is the tactical breakdown of what you need to grab on your next Dollar Tree run.
| Material Item | Quantity | Estimated Cost |
|---|---|---|
| 4×6 or 5×7 Photo Frames | 4 per lantern | $5.00 |
| Hot Glue Sticks (High Temp) | 1 Pack | $1.25 |
| E6000 Industrial Adhesive | 1 Tube | $1.25 |
| Square Mirror or Foam Board | 1 (for base) | $1.25 |
| Chalk Paint or Metallic Spray | 1 Can/Jar | $1.25 – $5.00 |
| TOTAL PER LANTERN | — | ~$10.00 |
“The secret to a ‘expensive’ DIY is the weight. If it feels light, it feels cheap. Use E6000 for a permanent bond and add a weighted base to give your lantern gravity and presence.”
Phase One: Structural Engineering and Assembly
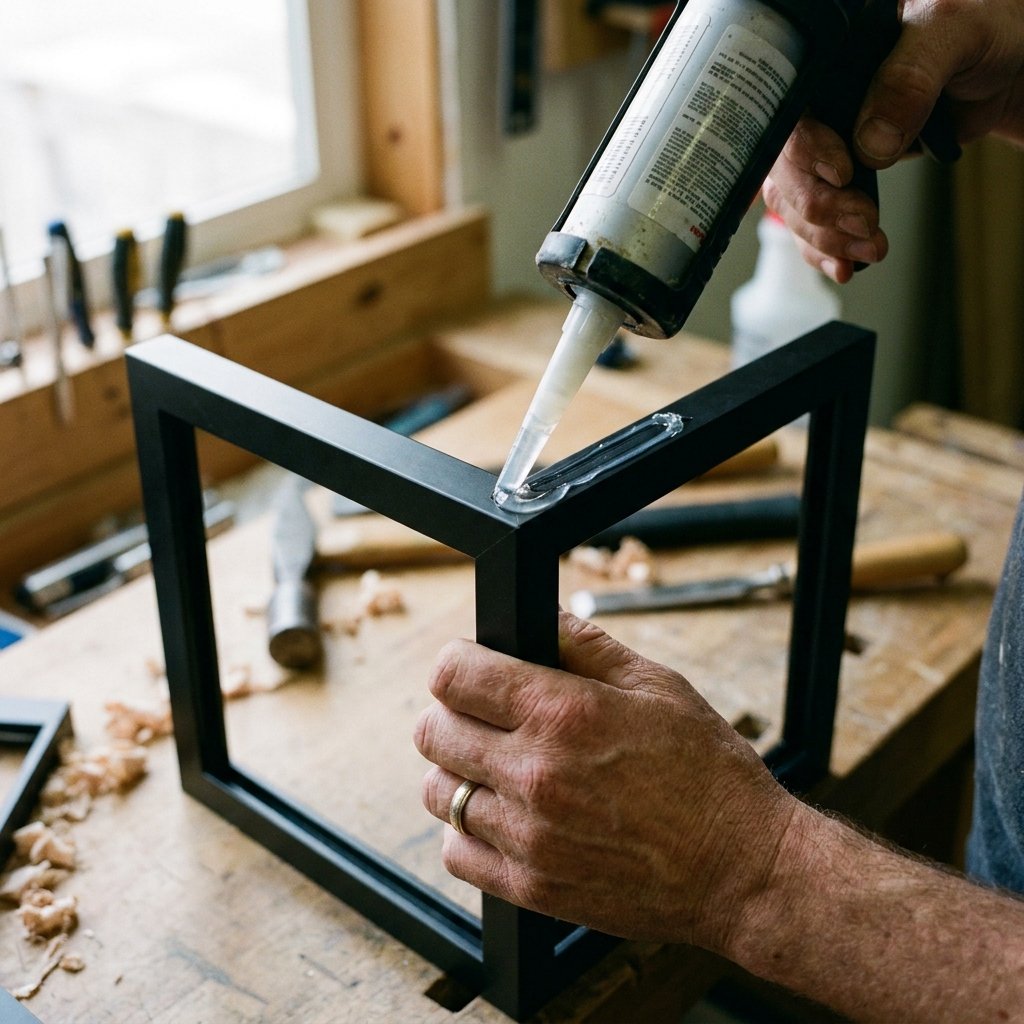
Now, let’s get into the rugged work of assembly. You aren’t just making a box; you are creating a structural frame. Follow these steps with precision to ensure your lantern is square and sturdy.
- Remove the Guts: Take the frames out of the packaging. Remove the cardboard backing and the flexible metal tabs. Keep the glass—this is crucial for that high-end reflective quality.
- Clean the Glass: Use a bit of rubbing alcohol to ensure there are no fingerprints or factory residue. Pro Tip: Glue the glass directly to the frame using a tiny dot of hot glue in each corner to prevent rattling.
- The L-Shape Foundation: Apply a thin bead of E6000 along the vertical edge of one frame. Press it against the edge of a second frame to form a 90-degree angle. Use a few dots of hot glue to hold it instantly while the E6000 sets.
- Complete the Square: Repeat this process for the remaining two frames until you have a four-sided box.
- Attach the Base: Glue your square box onto a Dollar Tree mirror or a piece of heavy-duty foam board cut to size. The mirror base is a master-stroke—it doubles the light of your LED candle.
“Precision is the difference between a craft project and a centerpiece. Use a speed square to ensure your corners are exactly 90 degrees before the glue sets.”
The Alchemy of Paint: Turning Plastic into Iron or Wood
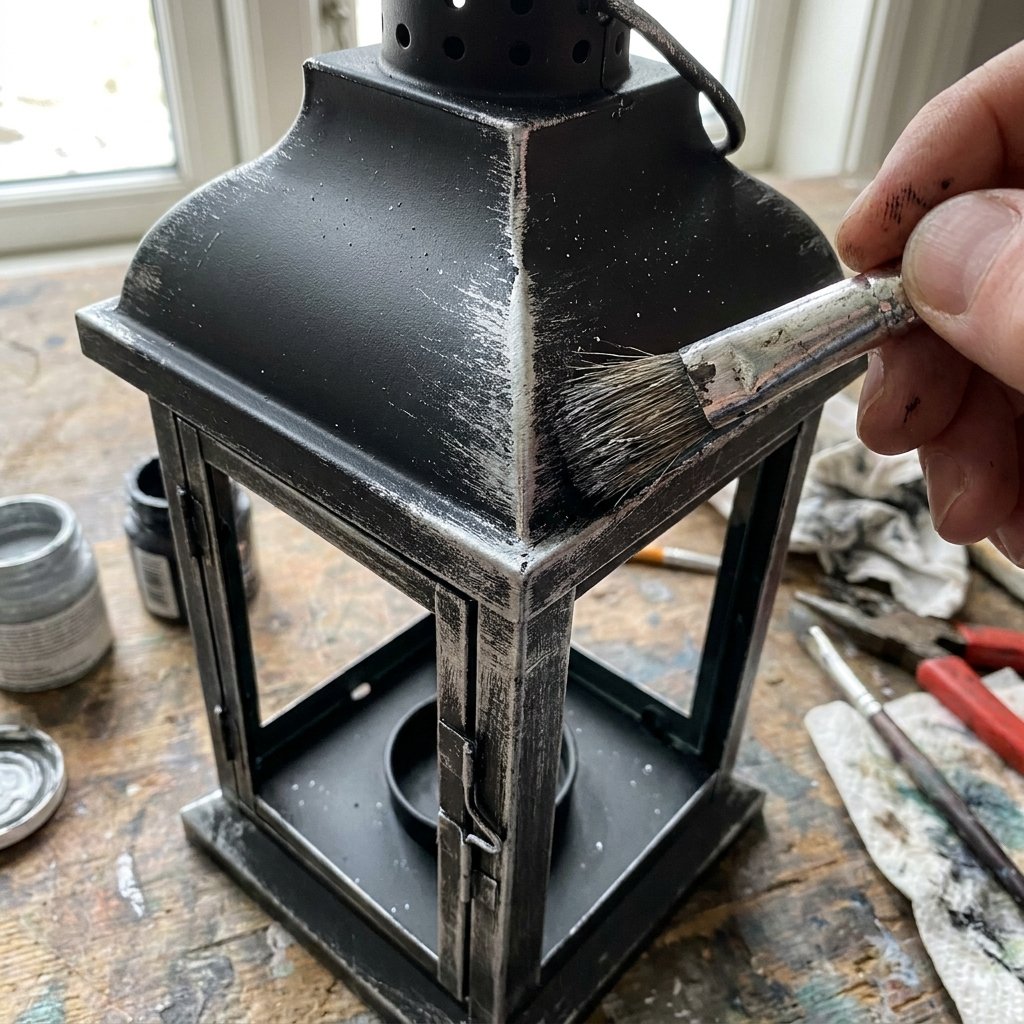
This is where the magic happens. A raw picture frame looks like… well, a picture frame. But with the right painting technique, we can mimic wrought iron, weathered oak, or antique bronze. This is the stage where you leave the ‘dollar store’ look behind.
The ‘Industrial Iron’ Technique
For a rugged, masculine look, spray the entire structure with a matte black primer. Once dry, take a dry brush and a tiny amount of silver or pewter metallic paint. Lightly ‘flick’ the brush over the edges. This creates a distressed metal effect that looks like it came from a high-end forge.
The ‘Rustic Farmhouse’ Technique
Apply a base coat of dark brown acrylic paint. Once dry, rub a candle over the edges and corners to apply wax. Paint over everything with white chalk paint. After the white paint is dry to the touch, use a fine-grit sandpaper to buff the edges. The white paint will peel away where the wax was, revealing the ‘wood’ beneath. This $2 trick creates a finish guests will swear is reclaimed timber.
Styling for Impact: The Designer’s Final Touch
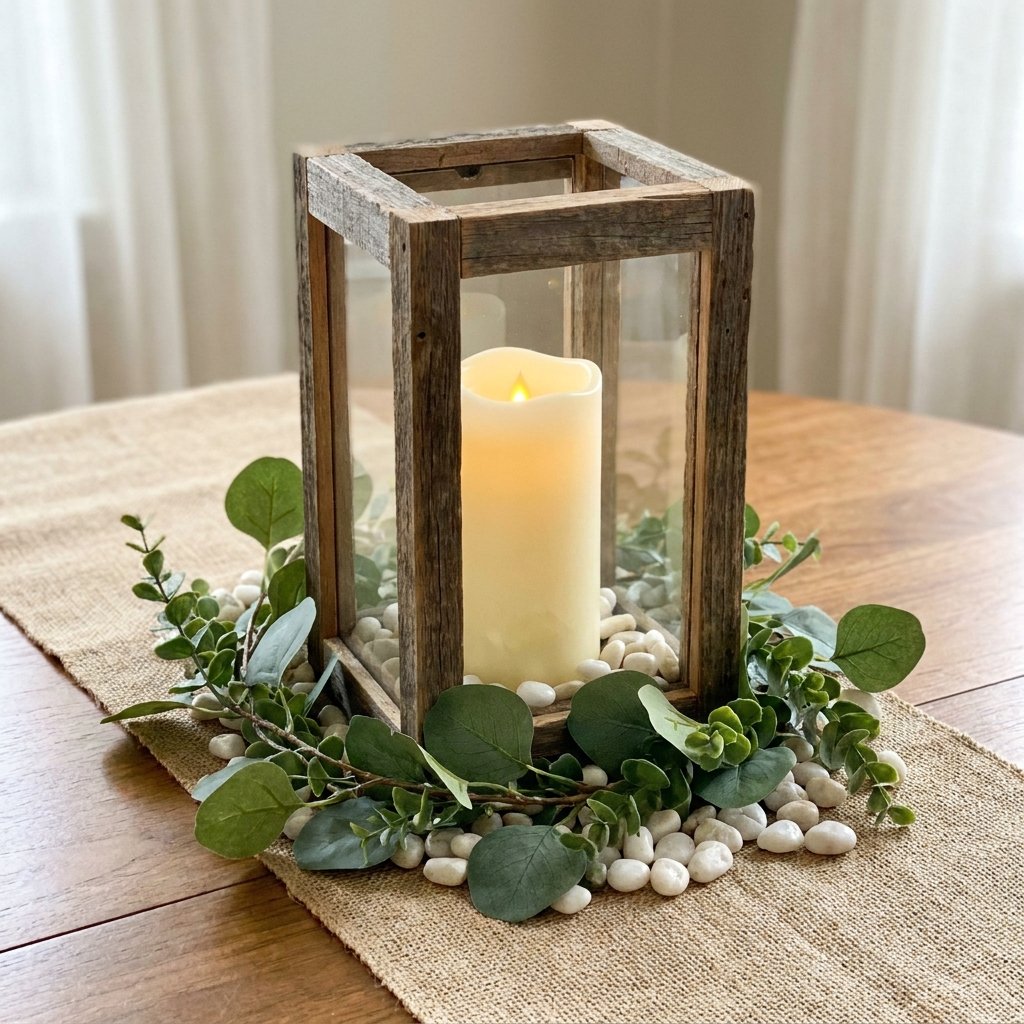
A lantern is just a vessel; what you put inside determines the ‘cost’ in the eyes of your guests. We are aiming for a curated, layered look. Avoid the temptation to just throw a single candle inside and call it a day.
- The Greenery Halo: Wrap the base of your lantern in eucalyptus sprigs or lamb’s ear. At the Dollar Tree, look for the ‘bushes’ rather than single stems—you get more volume for your $1.25.
- The Light Source: Use an LED pillar candle. Safety Note: Never use real candles in these DIY lanterns, as the glue can soften and the frames are not fire-rated.
- The Seasonal Filler: For a wedding, use white river stones or faux pearls at the bottom. For a rugged fall look, use acorns or small pinecones.
| Styling Element | Store-Bought Price | DIY/Dollar Tree Price |
|---|---|---|
| Eucalyptus Garland | $24.00 | $3.75 |
| LED Pillar Candle | $12.00 | $1.25 |
| Decorative Stones | $8.00 | $1.25 |
| TOTAL STYLING | $44.00 | $6.25 |
Scaling for Events: The Assembly Line Strategy
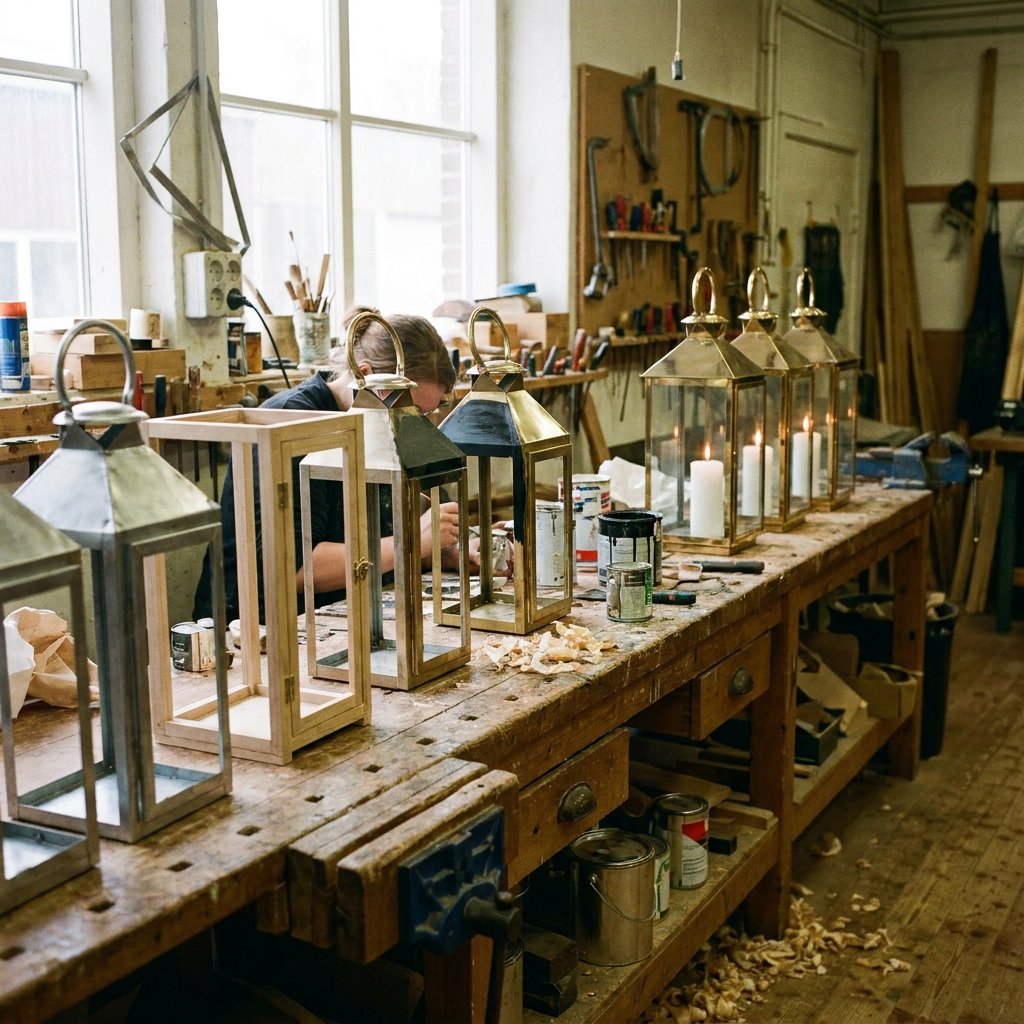
If you are making 20 of these for a wedding or a large gala, you need a tactical plan. Don’t build them one by one; you’ll lose your mind and your precision. Use the Assembly Line Method.
Step-by-Step Mass Production
- The Unboxing: Spend one hour unboxing all frames, removing glass, and prepping surfaces.
- The Batch Glue: Glue all glass panes to frames in one session.
- The Corner Jig: Create a ‘jig’ using a heavy book or a wooden block to ensure every lantern is the exact same width and height.
- The Spray Station: Line them up outside on a drop cloth and spray them all at once to ensure color consistency.
By batching your tasks, you can produce 20 high-end centerpieces in a single weekend for less than $200. A rental company would charge you $15-$25 per lantern, meaning you are effectively ‘earning’ $300 in savings for a few hours of crafty labor.
Conclusion
The Frugal Victory
Creating something beautiful doesn’t require a massive bank account; it requires a resourceful spirit and a bit of ‘elbow grease.’ These Dollar Tree Lanterns are a testament to what is possible when you stop seeing items for what they are and start seeing them for what they could be. You’ve taken $5 worth of frames and turned them into a piece of decor that commands attention and respect. Whether they are lighting up a wedding aisle or sitting proudly on your dining table, you can take pride in the fact that you didn’t just buy style—you built it. Now, go forth and craft with confidence, knowing that the most elegant things in life are often the ones we make ourselves on a budget.

Makenzie is the founder and lead writer at MoneyHackTips.com — a personal finance blog dedicated to delivering street-smart financial wisdom for real people on real budgets. With 300+ published articles covering everything from debt management to investing fundamentals, Makenzie’s mission is to make every dollar work harder. When not writing about money hacks, Makenzie is testing frugal living strategies, optimizing side hustles, and helping readers build financial freedom from scratch.