
The High-End Illusion on a Shoestring Budget
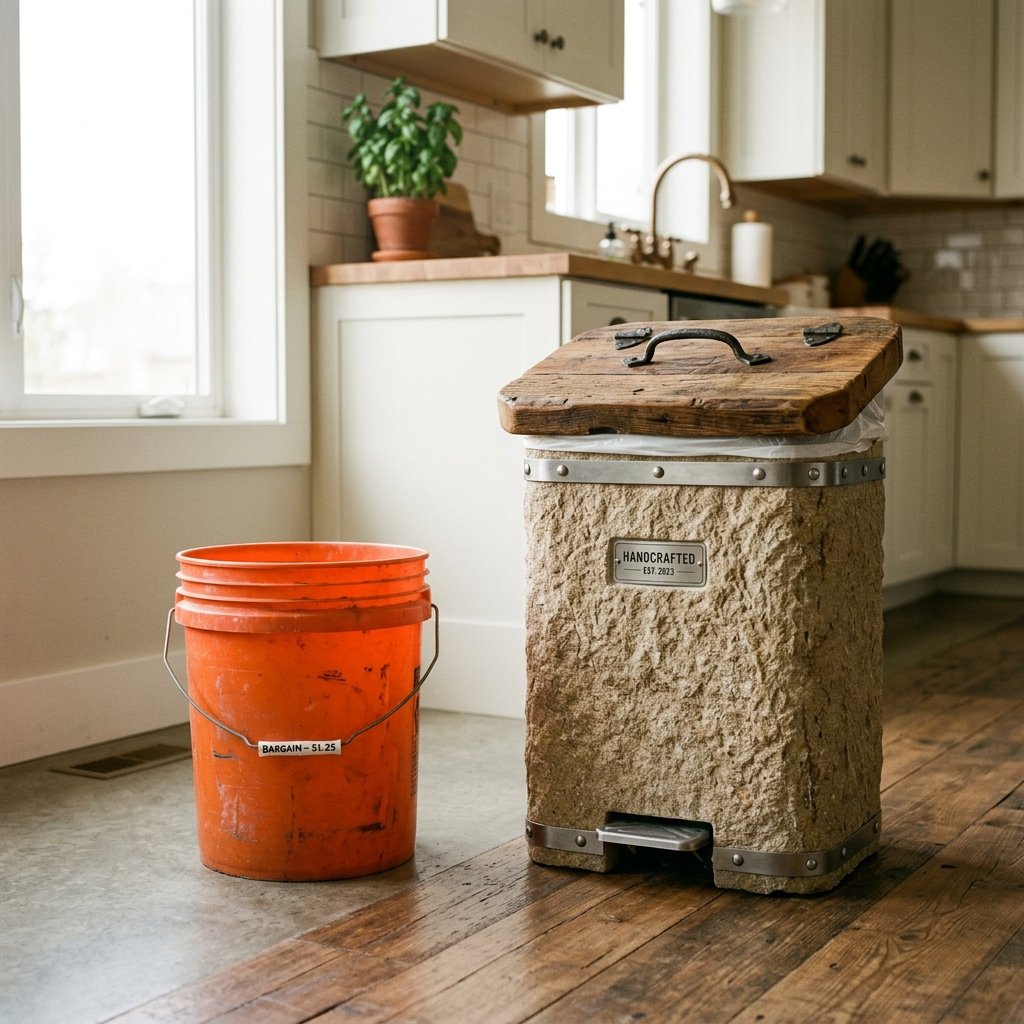
We’ve all been there: scrolling through high-end home decor websites or walking through boutiques like Pottery Barn or Anthropologie, only to see a $75 price tag on something as mundane as a trash can. It’s enough to make any budget-conscious homeowner wince. But what if I told you that the secret to that rugged, masculine-elegant farmhouse aesthetic isn’t a massive credit card limit, but a trip to the local dollar store and a little bit of ‘trash-to-treasure’ ingenuity? This project is the ultimate testament to the power of upcycling. We are taking a flimsy, bright-colored, $1.25 plastic bucket and transforming it into a heavy-duty, textured, farmhouse masterpiece that guests will swear you bought at a designer showroom. This isn’t just a craft; it’s a strategic home-styling heist. Whether you’re a seasoned DIYer or a frugal parent looking to elevate your space without sacrificing the grocery budget, this guide will walk you through every meticulous step to achieve a professional finish that defies its humble origins.
The Blueprint: Why the Dollar Store Bucket is Your Secret Weapon
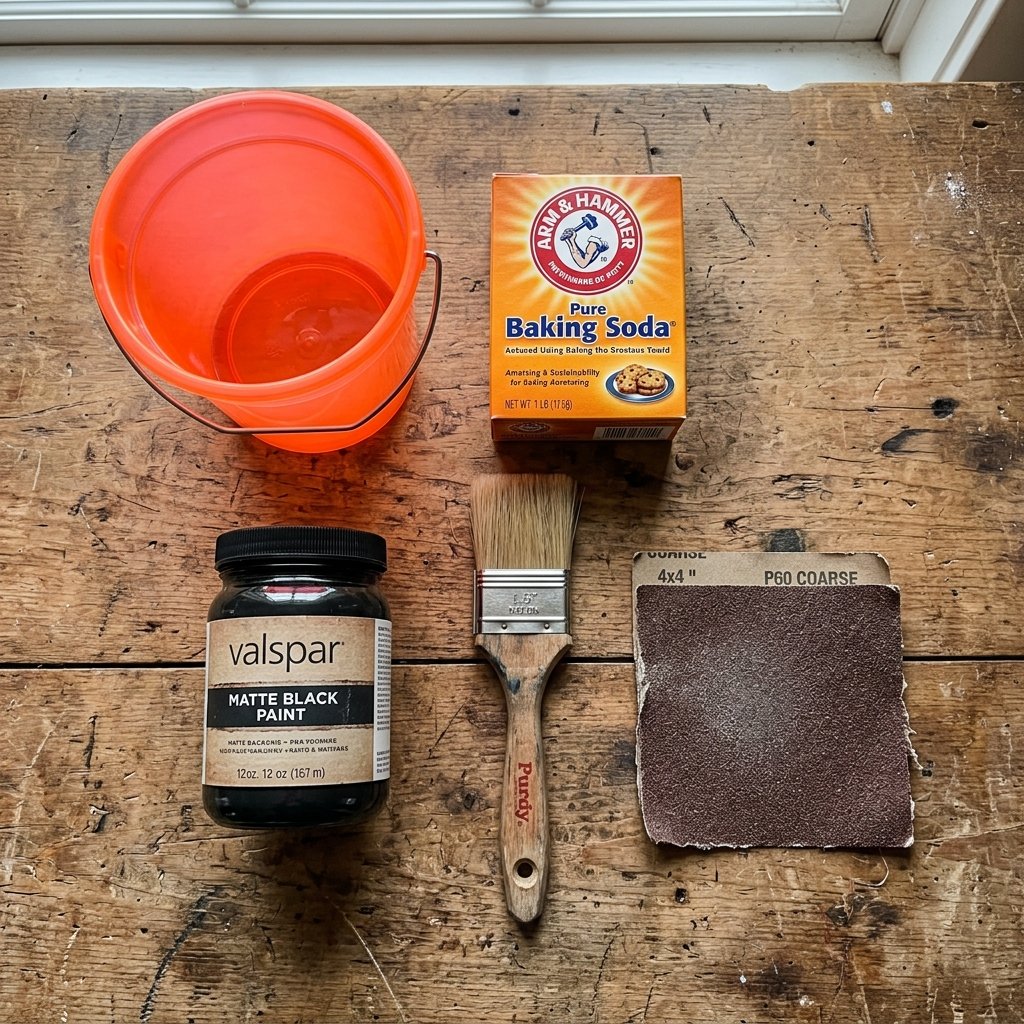
Sourcing the Foundation
The beauty of this project lies in the accessibility of the base material. Most dollar stores carry a variety of plastic buckets—ranging from cleaning pails to small wastebaskets. For this farmhouse transformation, we are looking for a bucket with a clean silhouette. Don’t worry about the color; even the most obnoxious neon green can be tamed with the right primer. The key is the structural integrity and the size. A standard 2-gallon bucket works perfectly for a bathroom or office wastebasket. By choosing a cheap plastic base, you are saving approximately 95% compared to buying a pre-made metal or ceramic farmhouse bin.
Budget Breakdown: Store-Bought vs. DIY
To truly appreciate the value of this project, let’s look at the numbers. A high-end textured metal or stone trash can usually retails for significant sums. Here is how our DIY version stacks up:
| Item | Retail Price (Avg.) | DIY Cost (Estimated) |
|---|---|---|
| Textured Farmhouse Bin | $45.00 – $85.00 | $1.25 (Bucket) |
| High-Quality Chalk Paint | Included | $2.00 (Pro-rated) |
| Texturizing Medium | Included | $0.50 (Baking Soda) |
| Sealer/Wax | Included | $1.00 (Pro-rated) |
| Total Cost | $65.00 | $4.75 |
The frugal DIYer doesn’t see a cheap plastic bucket; they see a blank canvas waiting for a rugged, high-end soul.
Phase One: The Science of Adhesion and Surface Prep
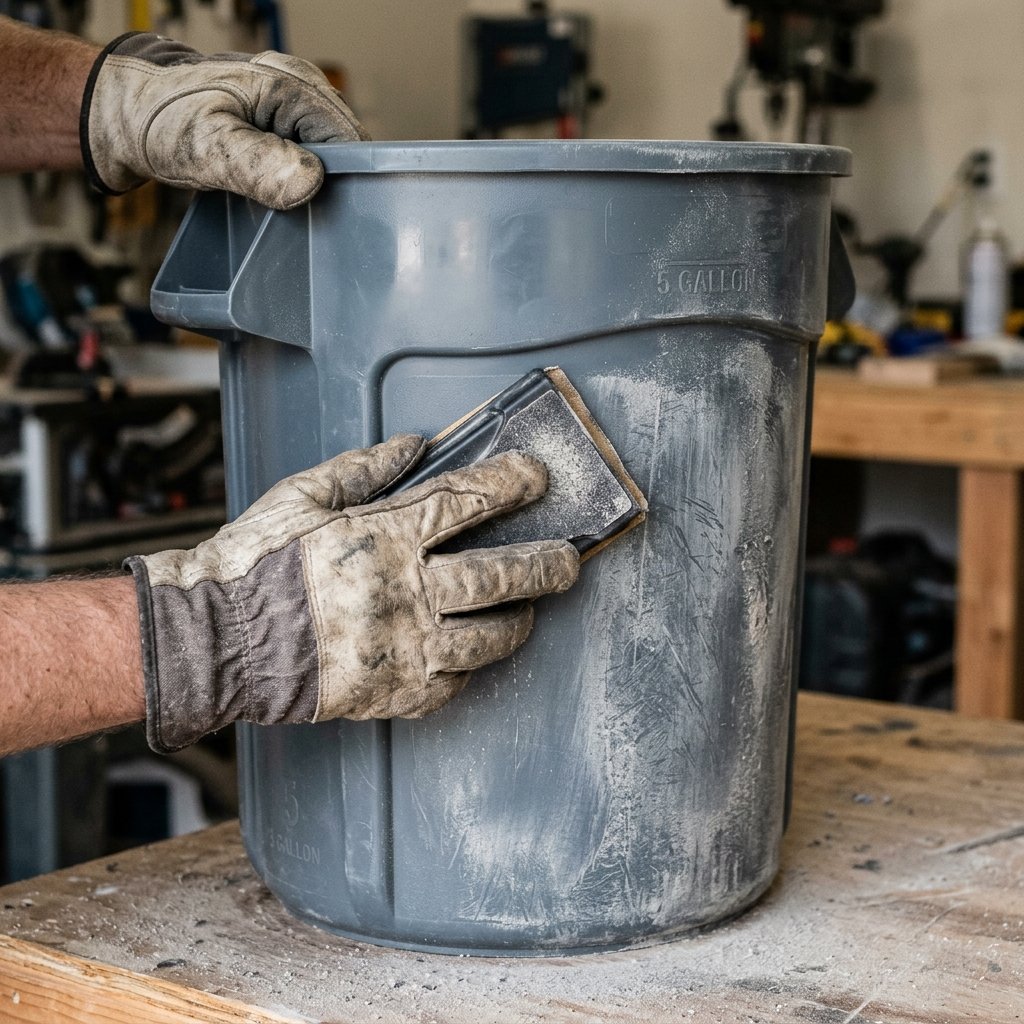
Conquering the Plastic Barrier
The biggest challenge when working with cheap plastic is getting paint to stick. Most dollar store buckets are made of high-density polyethylene, which is naturally slick and resistant to coatings. If you skip this step, your beautiful farmhouse finish will peel off within 24 hours. We need to create a ‘mechanical bond’ by scuffing the surface. Use 60-grit to 80-grit sandpaper to aggressively sand the entire exterior of the bucket. You want to remove the factory shine until the plastic feels slightly fuzzy or rough to the touch. This provides the ‘teeth’ necessary for the primer to grab onto.
The Degreasing Ritual
After sanding, the bucket will be covered in fine plastic dust and oils from your hands. Wash the bucket thoroughly with Dawn dish soap and warm water. For an extra level of security, wipe the entire surface down with isopropyl alcohol. This ensures a 100% clean surface. Once dry, apply a dedicated plastic primer or a high-quality ‘bonding’ primer. This is the secret handshake of the professional upcycler; it ensures your hard work lasts for years, not days.
Safety Note: Always wear a dust mask when sanding plastic to avoid inhaling micro-particles, and work in a well-ventilated area when applying primers or sprays.
The Baking Soda Revolution: Crafting the Faux-Stone Texture
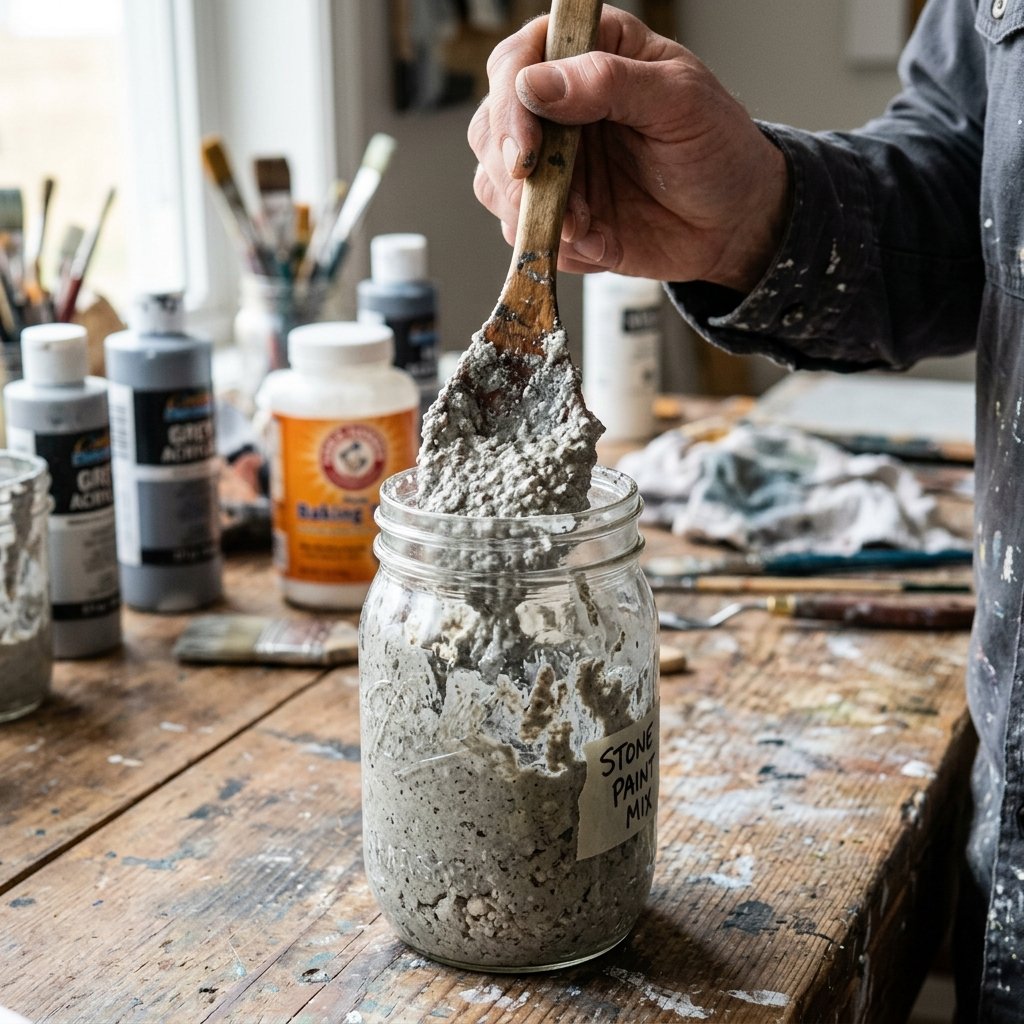
The Secret Formula
How do we make plastic look like heavy, expensive ceramic or cast iron? The answer is in your kitchen pantry: Baking Soda. By mixing baking soda into acrylic or chalk paint, you create a thick, gritty paste that mimics the look of aged stone or textured metal. This technique is a favorite among ‘dupe’ artists because it is incredibly cheap and yields professional results. The ratio is key to achieving the right ‘rugged’ look without making the paint too brittle.
Texture Recipe Ratios
| Desired Look | Paint Amount | Baking Soda Amount |
|---|---|---|
| Light Ceramic | 1 Cup | 1/4 Cup |
| Heavy Stone/Concrete | 1 Cup | 1/2 Cup |
| Rustic Stucco | 1 Cup | 3/4 Cup |
Application Techniques
Don’t just brush the paint on in long strokes. For an authentic farmhouse feel, use a stippling motion. Dip your brush into the thick mixture and ‘pounce’ it onto the bucket. This creates tiny peaks and valleys in the paint that, once dry, look exactly like weathered stone. Aim for two coats, allowing at least 2 hours of drying time between each. The result should be a matte, tactile surface that feels substantial and high-end.
Elevating the Aesthetic: Wood Accents and Industrial Hardware
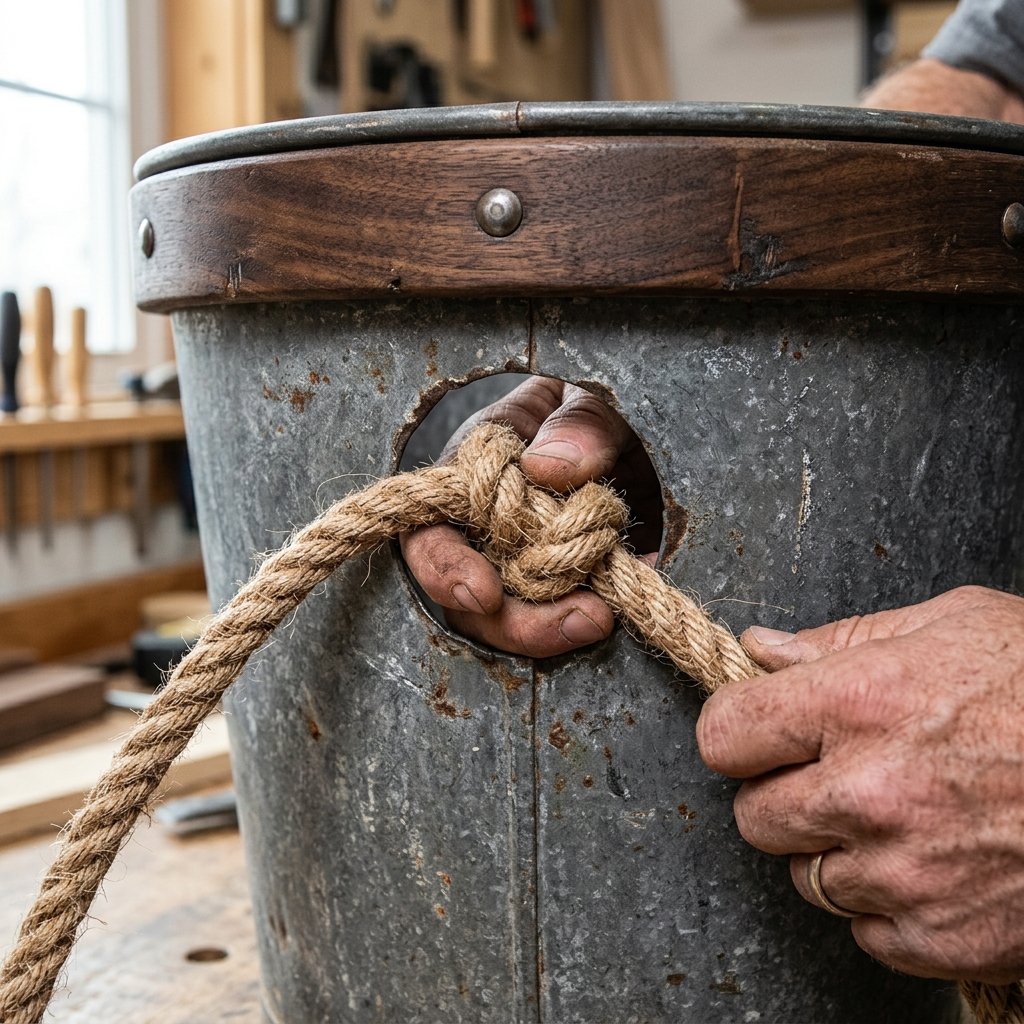
The Masculine-Elegant Touch
A plain grey bucket is a start, but a ‘high-end’ piece needs detail. To achieve that signature farmhouse look, we need to introduce natural elements like wood or jute. A clever trick is to create a faux-wood rim or base. You can use paint sticks (often free at hardware stores) or thin balsa wood strips. Cut them to size, stain them with a dark walnut finish, and adhere them to the top rim of the bucket using heavy-duty construction adhesive or a high-temp hot glue gun. This contrast between the ‘stone’ body and the ‘wood’ trim is what creates the designer aesthetic.
Adding Character with Rope Handles
If your dollar store bucket came with a flimsy plastic handle, rip it off immediately. Replace it with thick jute rope or sisal twine. Drill two small holes near the rim, thread the rope through, and tie substantial knots on the inside. This adds a rugged, functional element that screams ‘custom-made.’ For a more industrial look, you can use black spray-painted washers as ‘grommets’ where the rope enters the bucket. These small, inexpensive details are what bridge the gap between a ‘craft project’ and a piece of furniture.
- Pro Tip: Use a lighter to quickly singe the ‘fuzz’ off the jute rope for a cleaner, more high-end appearance.
- Measurement: Ensure your wood strips are exactly 1/8 inch apart for a professional shiplap effect if wrapping the whole bucket.
The Final Seal: Ensuring Durability and Longevity
Protecting Your Masterpiece
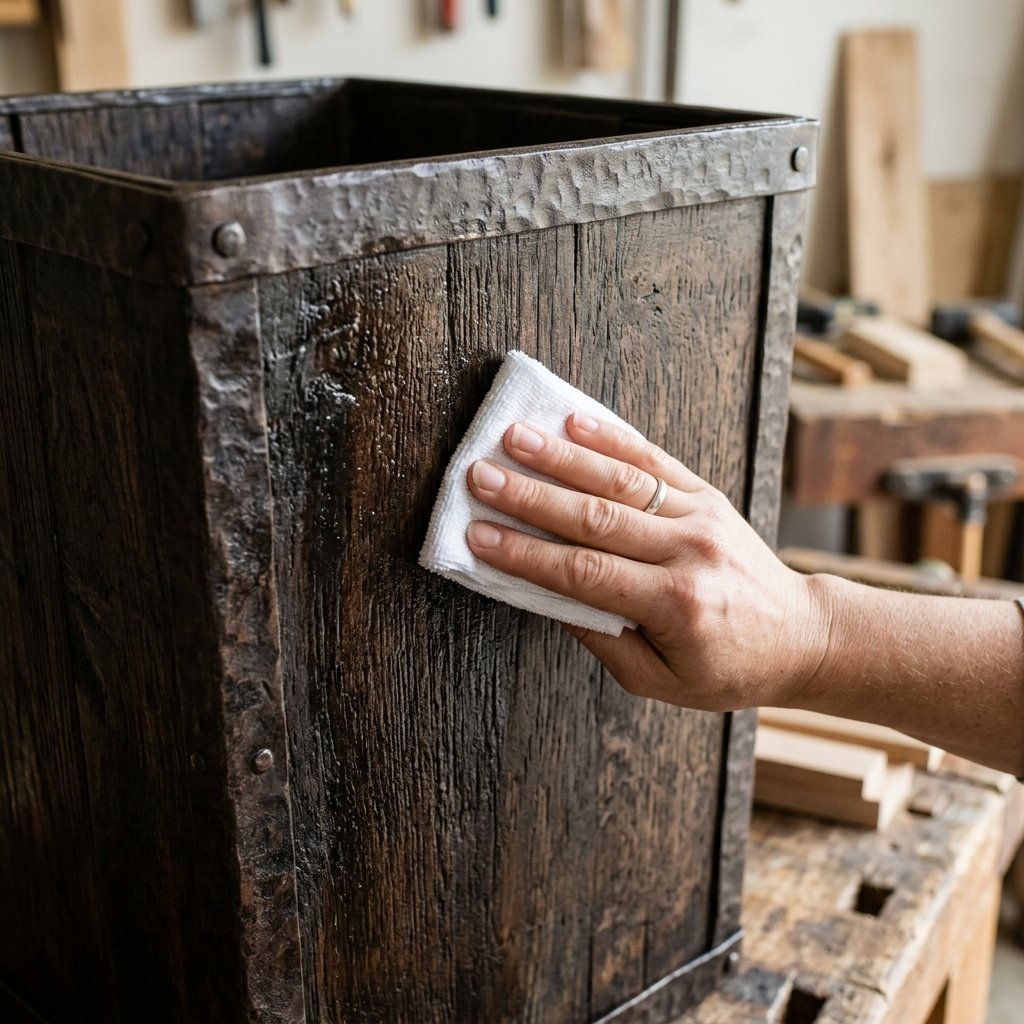
Since this is a functional trash can, it needs to withstand moisture, occasional bumps, and cleaning. A raw baking soda paint finish is porous and can pick up stains easily. To lock in the color and texture, you must seal it. For a masculine, matte look, avoid glossy sprays. Instead, use a matte polyurethane or a clear furniture wax. Applying wax with a soft cloth not only protects the surface but also allows you to buff it to a subtle, sophisticated sheen that highlights the texture you worked so hard to create.
Maintenance and Care
Cleaning your upcycled trash can is simple. Because of the sealant, you can wipe it down with a damp cloth. Avoid harsh chemical cleaners that might break down the wax or paint. If you notice any chips over time, the beauty of the farmhouse style is that it is forgiving. A quick dab of your original paint mixture will blend right in, adding to the ‘weathered’ charm of the piece. You’ve now created a durable, stylish home accessory for less than the cost of a fancy coffee.
| Sealer Type | Finish Style | Durability Level |
|---|---|---|
| Matte Polyurethane | Flat/No Shine | High (Waterproof) |
| Furniture Wax | Satin/Hand-rubbed | Medium (Water-resistant) |
| Clear Acrylic Spray | Slight Sheen | Medium-High |
Conclusion
From Plastic to Prestige
It is truly remarkable what can be achieved with a $1.25 bucket, a bit of baking soda, and a resourceful mindset. By following these steps, you haven’t just made a trash can; you’ve mastered the art of the ‘high-end dupe.’ You have successfully navigated the challenges of plastic adhesion, created a bespoke stone texture, and added the rugged elegance of wood and rope accents. This project proves that style isn’t about how much you spend, but how creatively you use what you have. So, the next time you’re walking through a dollar store, look past the bright plastic and see the potential for greatness. Your home—and your wallet—will thank you. Now, go forth and upcycle with confidence, knowing that the most beautiful things in your home are the ones you had the cleverness to build yourself!

Makenzie is the founder and lead writer at MoneyHackTips.com — a personal finance blog dedicated to delivering street-smart financial wisdom for real people on real budgets. With 300+ published articles covering everything from debt management to investing fundamentals, Makenzie’s mission is to make every dollar work harder. When not writing about money hacks, Makenzie is testing frugal living strategies, optimizing side hustles, and helping readers build financial freedom from scratch.