
The High-End Look on a Thrift-Store Budget
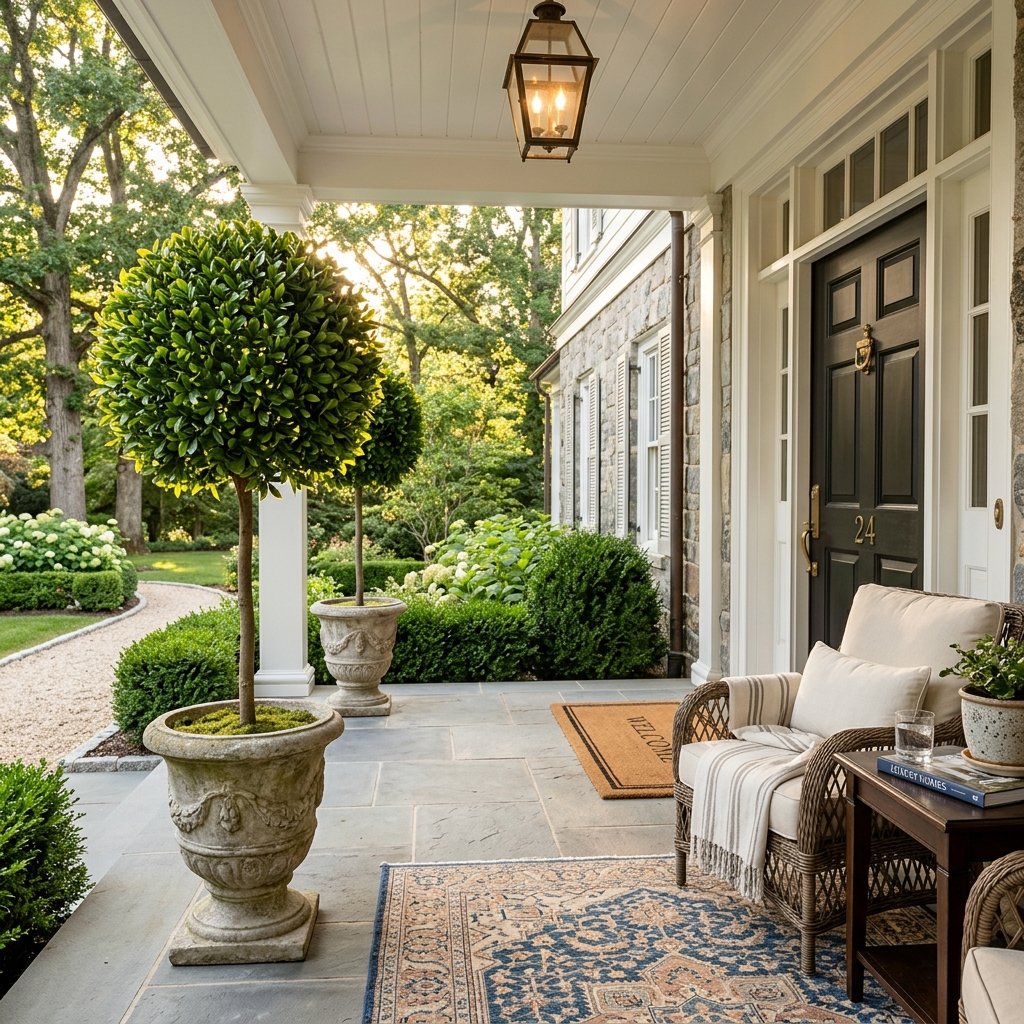
We have all seen them in the windows of high-end home boutiques: those perfectly manicured, lush green topiary trees that add an instant touch of ‘old money’ elegance to a front porch or a library corner. Then you look at the price tag and realize a single tree can cost upwards of $150 to $300. As a resourceful DIYer, your first thought shouldn’t be ‘I can’t afford that,’ but rather, ‘I can build that for the price of a sandwich.’ The secret to high-end decor isn’t the price you pay; it’s the technique you use to elevate humble materials. By raiding the aisles of your local dollar store and applying a few clever, rugged styling tricks, you can create professional-grade faux topiaries for under $15. This guide will walk you through the crafty-expert methods of deconstructing cheap plastic stems and rebuilding them into a masterpiece that will have your neighbors asking which boutique nursery you visited.
The Supply List: Scouting the Dollar Aisles Like a Pro
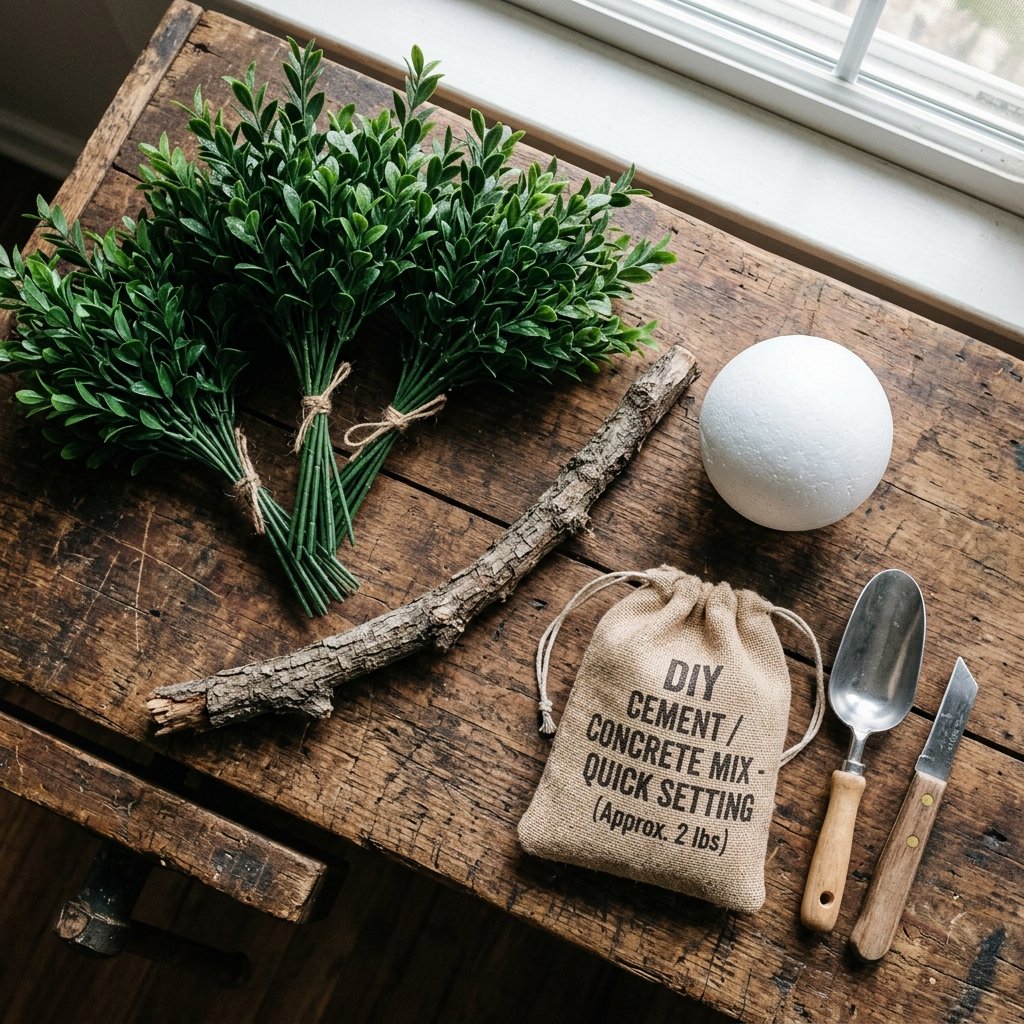
Success begins with the hunt. You aren’t just looking for any green plastic; you are looking for specific textures that mimic real boxwood, cedar, or eucalyptus. To keep this project budget-savvy, we will utilize the hidden gems found in the floral and hardware sections. Avoid the neon-green, ultra-shiny plastics; we want matte finishes and varied tones.
| Material Item | Source/Type | Estimated Cost |
|---|---|---|
| Greenery Bushes | Dollar Tree (Boxwood or Fern) | $1.25 each (need 6-10) |
| Floral Foam/Styrofoam Balls | Craft Aisle | $1.25 each |
| Real Tree Branches | Your Backyard | FREE |
| Plastic Pot or Bucket | Hardware/Garden Aisle | $1.25 |
| Quick-Set Concrete or Plaster | Hardware Store (Small Bag) | $5.00 |
The Secret Ingredient: Natural Elements
The biggest mistake people make with faux topiaries is using a plastic or perfectly straight dowel for the trunk. To achieve a rugged, masculine-elegant look, head outside. Find a sturdy, fallen branch from an oak or maple tree. The natural bark texture and slight imperfections are what sell the illusion of a living tree. Look for a branch that is roughly 1 inch thick and 24 to 36 inches long for a standard porch topiary.
The Foundation: Anchoring Your Masterpiece

A topiary that tips over in a light breeze is a dead giveaway that it’s a lightweight DIY. To give your tree the ‘heft’ of a high-end piece, we must create a solid, weighted base. This is where the handy parent skills come into play. We are going to ‘pot’ our natural branch using a permanent masonry method.
- Prepare your plastic dollar store pot by cleaning it and ensuring there are no drainage holes (tape them shut if necessary).
- Mix a small batch of quick-set concrete or plaster of Paris in a separate bucket until it reaches a peanut butter consistency.
- Pour the mixture into your decorative pot, filling it about 3/4 of the way.
- Insert your natural branch directly into the center. Use a level or simply eye it to ensure it is perfectly vertical.
- Hold or prop the branch for 10 to 15 minutes until the base is firm enough to stand on its own.
“A sturdy base is the difference between a ‘craft project’ and ‘furniture.’ Never skip the weight; the wind is the enemy of the frugal decorator.”
Deconstructing the Greenery: The ‘Realistic’ Hack
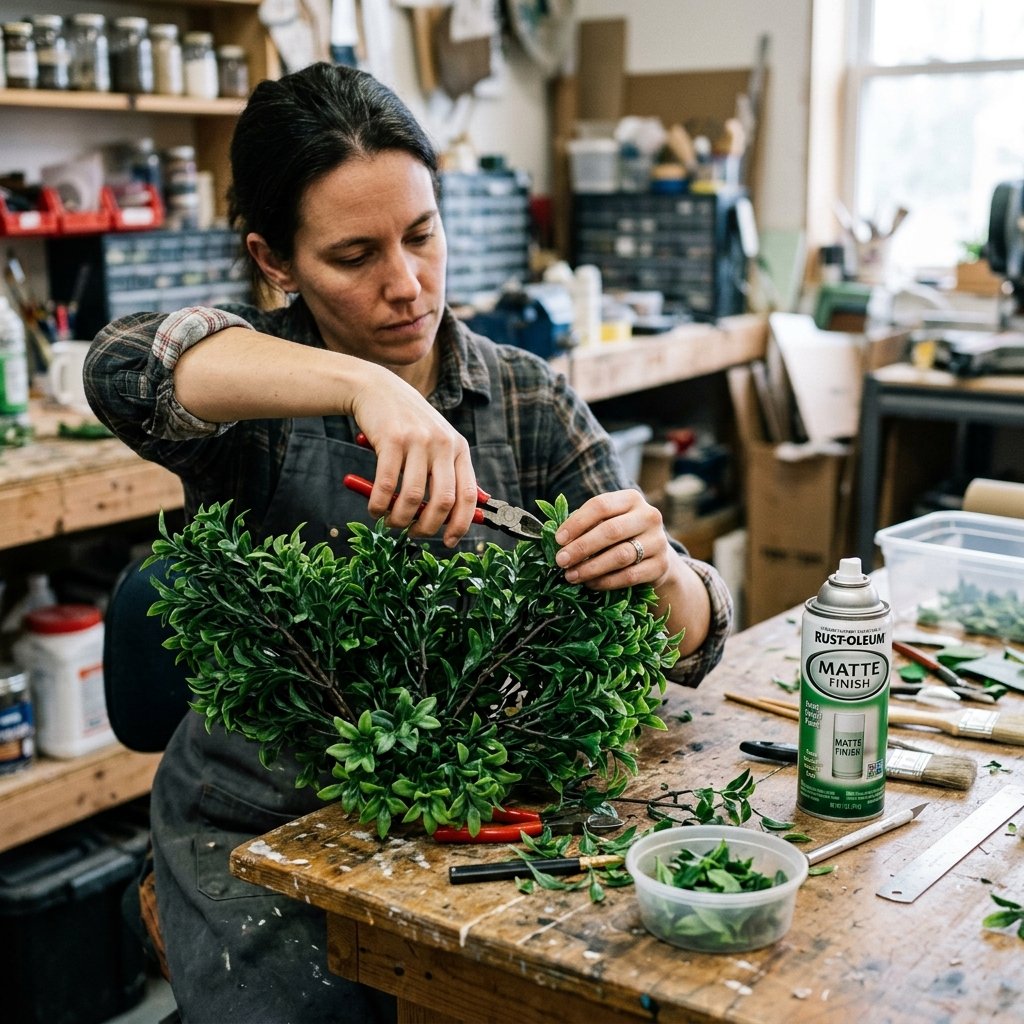
Here is the crafty-expert secret: never use the dollar store greenery bushes as they come. They are often too symmetrical and ‘plasticky.’ To make them look like premium nursery stock, we must deconstruct them entirely. Using a pair of wire cutters, snip every single individual stem off the main plastic ‘trunk’ of the bush. This gives you hundreds of small, manageable sprigs that we can layer for depth.
The Paint Trick for Depth
Cheap greenery is often a single, flat shade of green. Real plants have shadows and new growth. To fix this, take a can of matte black spray paint and a can of light sage green spray paint. Lightly mist the undersides of your sprigs with black to create artificial shadows, and ‘kiss’ the tips with the sage green to mimic new growth. This 5-minute step adds $50 of perceived value to your project.
| Technique | Visual Result | Time Required |
|---|---|---|
| Deconstruction | Increased Density & Flow | 15 Minutes |
| Shadow Painting | Depth and Realism | 5 Minutes |
| Layered Tipping | Natural Growth Illusion | 5 Minutes |
The Assembly: Building the Foliage Sphere
Sculpting the Topiary Head
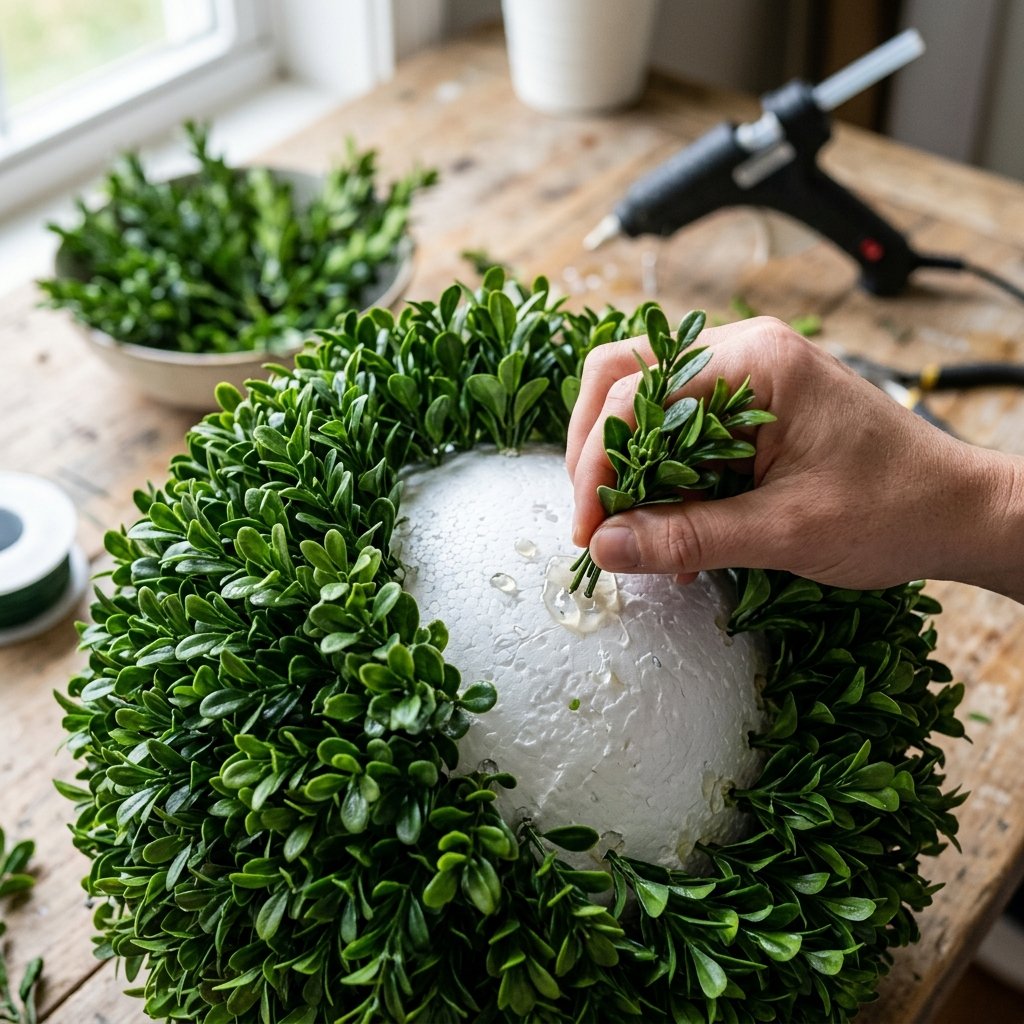
Now that your base is set and your greenery is prepped, it is time to assemble the ‘ball’ of the topiary. Attach your styrofoam ball to the top of the branch. For maximum security, carve a small hole in the bottom of the foam, fill it with hot glue, and jam it onto the top of the branch.
The Insertion Pattern
Don’t just stick the stems in randomly. To get that thick, lush look, follow this resourceful pattern:
- Start at the equator of the ball, inserting stems in a horizontal ring.
- Work your way up to the north pole, angling the stems slightly upward.
- Work your way down to the south pole, angling them downward to hide the foam and the branch connection.
- Pro Tip: Dip the end of each plastic stem in hot glue before pushing it into the foam. This ensures your tree won’t lose its ‘leaves’ during a summer storm.
“Patience is your best tool here. Overlap the stems like shingles on a roof to ensure no white foam is peeking through. If you can see the foam, you haven’t used enough greenery!”
The Finishing Touches: Weathering and Dressing
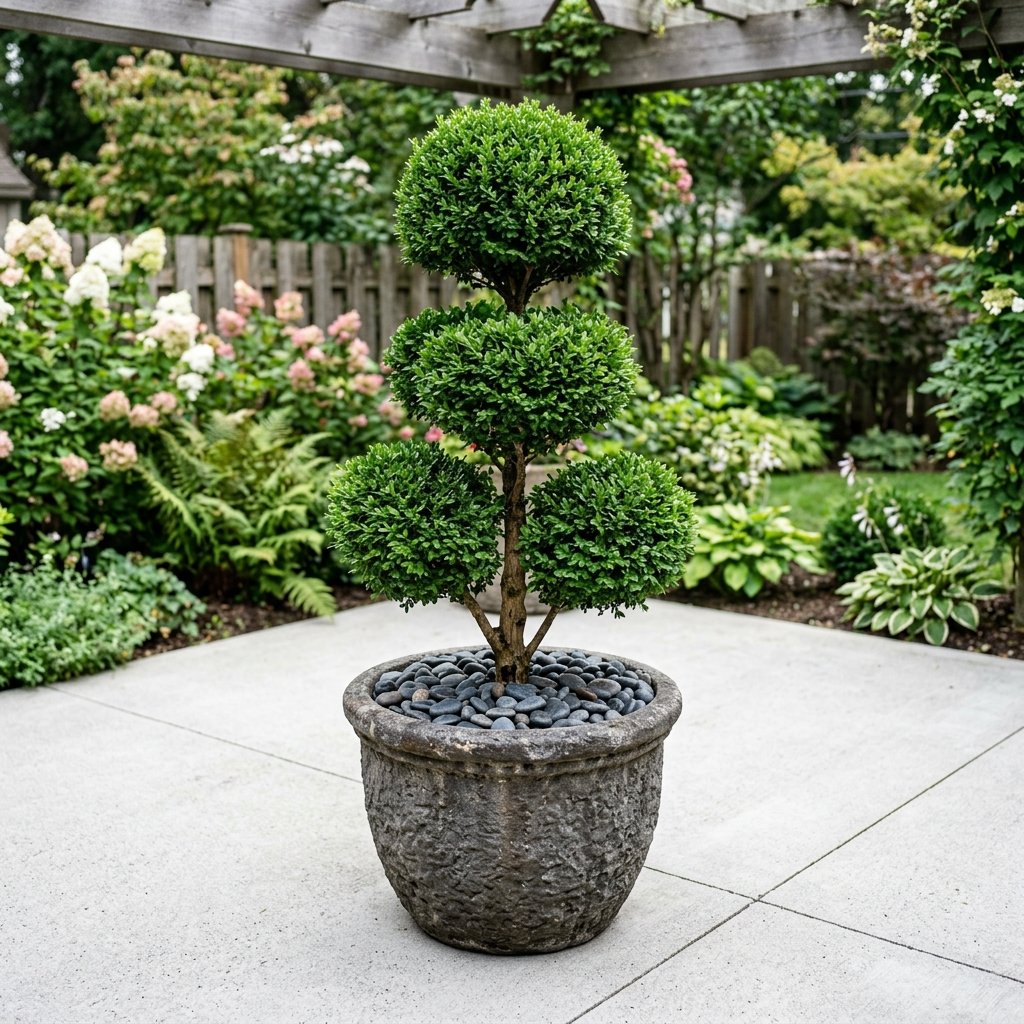
The final step in our trash-to-treasure journey is ‘dressing’ the pot. A shiny plastic pot looks cheap, but a weathered stone or terracotta pot looks timeless. Use the ‘Baking Soda Paint Trick’: mix 1 cup of acrylic paint with 1/2 cup of baking soda. Brush this onto your plastic pot. As it dries, it will create a gritty, ceramic-like texture that looks like heavy stone.
Ground Cover Secrets
Don’t leave the concrete exposed at the base of the tree. Cover it with one of these budget-savvy options:
- Spanish Moss: Found in the Dollar Tree floral aisle for a classic look.
- River Rocks: Use the small bags of decorative stones for a modern, masculine feel.
- Dried Coffee Grounds: Mixed with a little glue, these look exactly like rich, dark potting soil.
| Finishing Option | Aesthetic Style | Cost |
|---|---|---|
| Baking Soda Paint | Aged Stone / Concrete | $2.00 |
| Spanish Moss | Traditional / Southern | $1.25 |
| Black River Stones | Modern / Minimalist | $1.25 |
Conclusion
The Final Verdict: Designer Elegance for Pennies
By following these clever and resourceful steps, you have successfully bypassed the massive markups of home decor retailers. You’ve taken $1.25 plastic stems and transformed them into a sophisticated, masculine-elegant architectural element for your home. These topiaries are UV-resistant (if you used the spray paint trick), maintenance-free, and most importantly, they carry the pride of being handmade. Whether you place them flanking your front door or as a statement piece in your home office, you now hold the ‘secret’ to high-end realistic greenery. Remember: in the world of DIY, it’s not about what the item is—it’s about what you have the creativity to make it become. Now, go forth and upcycle!

Makenzie is the founder and lead writer at MoneyHackTips.com — a personal finance blog dedicated to delivering street-smart financial wisdom for real people on real budgets. With 300+ published articles covering everything from debt management to investing fundamentals, Makenzie’s mission is to make every dollar work harder. When not writing about money hacks, Makenzie is testing frugal living strategies, optimizing side hustles, and helping readers build financial freedom from scratch.