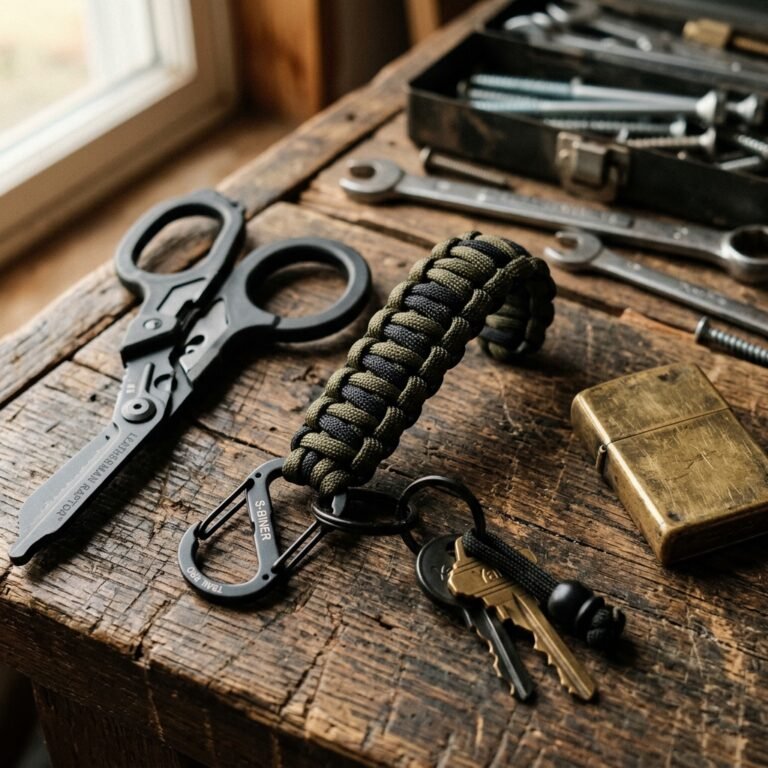

The Quest for the Missing Keychain
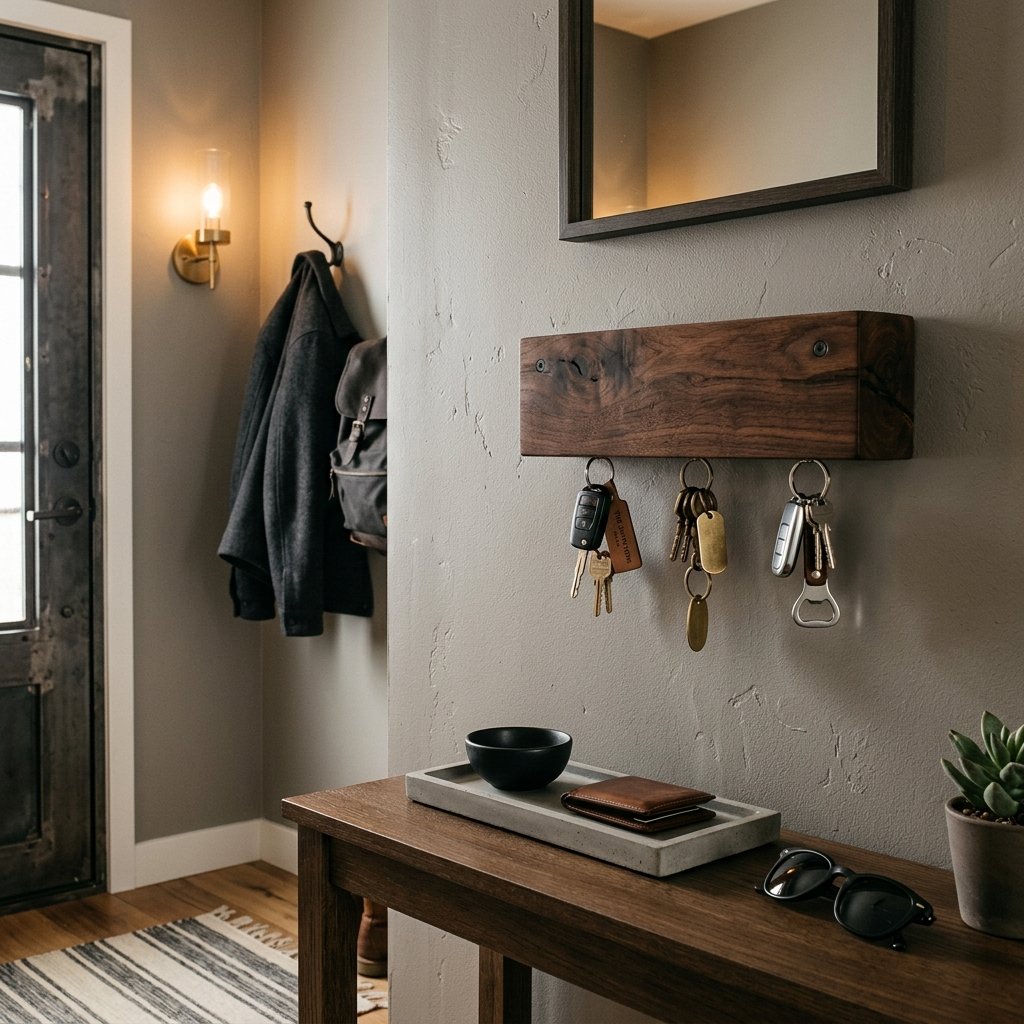
We have all been there: you are already five minutes late, one shoe is on, and the car keys have seemingly vanished into another dimension. For the man who values efficiency, rugged aesthetics, and a place for everything, the standard plastic hook-and-loop system just doesn’t cut it. Enter the Genius DIY Magnetic Key Holder. This isn’t just a piece of wood on a wall; it is a masterclass in resourceful engineering and masculine-elegant design. By using high-strength neodymium magnets hidden behind a beautiful slab of reclaimed or budget-friendly wood, you create a ‘magic’ effect where keys simply snap to the surface. It is the perfect gift for Father’s Day, a housewarming, or a ‘just because’ project for the frugal DIYer who wants to turn $5 in materials into a $60 boutique-style home accessory.
The Blueprint: Why Magnetic is Superior

Traditional key hooks are prone to bending, breaking, or simply looking cluttered. A magnetic holder offers a sleek, minimalist profile that complements a modern or industrial aesthetic. The secret lies in the ‘depth of pull’—finding the sweet spot between the thickness of your wood and the strength of your magnets. We aren’t just gluing magnets to the front; we are embedding them from the rear so the face of the wood remains pristine and untouched.
Budget Mantra: A man’s home is his castle, but his entryway is his command center. Build it once, build it right, and never hunt for keys again.
Before we pick up the drill, let’s look at the financial logic of this project. Why spend $45.00 at a high-end home goods store when you can scavenge the wood for free?
| Feature | Store-Bought Boutique | Our Genius DIY Version |
|---|---|---|
| Material | Thin Veneer / Plastic | Solid Reclaimed Hardwood |
| Magnet Strength | Standard Ferrite | N52 Neodymium (Industrial Grade) |
| Customization | None | Full (Stain, Size, Engraving) |
| Total Cost | $40.00 – $75.00 | $7.50 – $12.00 |
The Master Materials List & Budget Breakdown

To achieve that rugged, practical finish, you don’t need a professional workshop. You just need a few specific items. If you are a handy parent or a frugal crafter, you likely have half of these in your garage already. If not, a quick trip to the local hardware store or a clever scavenge at a construction site will provide the rest.
Essential Supplies
- Hardwood Scrap: Look for walnut, oak, or cherry. Dimensions: 8″ x 3″ x 1″ is ideal. (Cost: $0.00 – $3.00)
- Neodymium Magnets: You want 20mm x 3mm N52 grade discs. (Cost: $5.00 for a pack of 10)
- Wood Glue: High-strength carpenter’s glue. (Cost: $1.00 per use)
- Sandpaper: 80, 120, and 220 grit. (Cost: $2.00)
- Finish: Beeswax, Linseed oil, or a dark walnut stain. (Cost: $2.00 per use)
| Item | Frugal Source | Estimated Cost |
|---|---|---|
| Wood Block | Pallet scrap / Firewood bin | $0.00 |
| Magnets | Bulk online order | $4.50 |
| Mounting Tape | Dollar Tree (Heavy Duty) | $1.25 |
| Total Project Cost | Crafty Expert Level | $5.75 |
Safety Note: Neodymium magnets are incredibly strong. Keep them away from pacemakers, credit cards, and electronic devices during the assembly process. Always wear eye protection when drilling into hardwood.
Step-by-Step Construction: The Invisible Pull
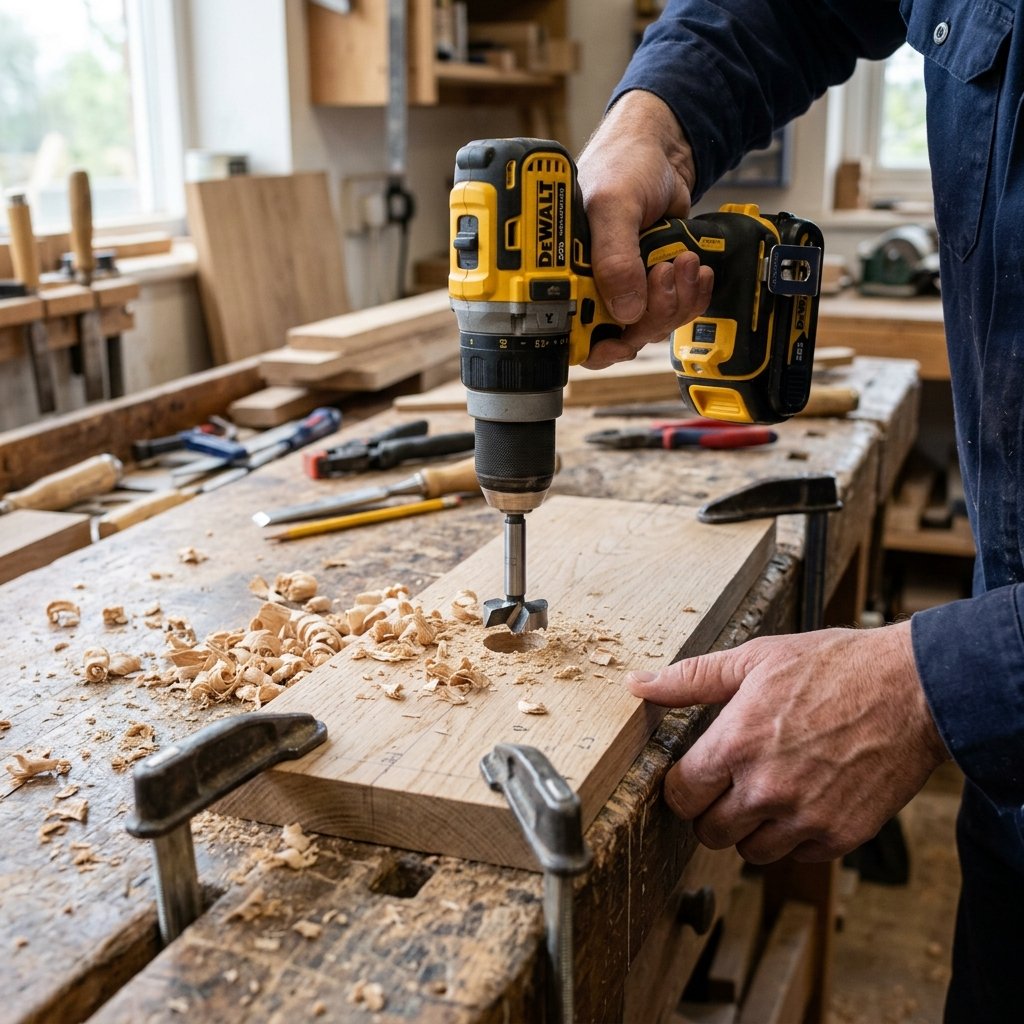
Follow these steps with precision to ensure the magnets are strong enough to hold heavy keychains without being visible from the front.
- Prep the Timber: Sand your wood block thoroughly. Start with 80 grit to remove imperfections and finish with 220 grit for a buttery-smooth feel.
- Mark the Holes: On the back of the wood, mark three to five spots where you want the keys to hang. Space them at least 2 inches apart.
- The Critical Drill: Using a Forstner bit that matches the diameter of your magnets, drill into the back. CRITICAL: Stop when there is only about 1/8th of an inch (3mm) of wood left at the front. If you go too deep, you’ll break through; too shallow, and the magnet won’t be strong enough.
- Set the Magnets: Place a drop of wood glue in each hole. Stack two magnets per hole for extra lifting power. This ensures even a heavy ring of work keys won’t budge.
- Seal the Back: You can glue a thin piece of felt or a veneer strip over the holes to keep the magnets permanently encased.
Pro Tip: To test the depth before gluing, place a magnet in the hole and see if it holds a heavy wrench through the front of the wood. If it slides, drill one millimeter deeper.
Rugged Finishes & Masculine Customization
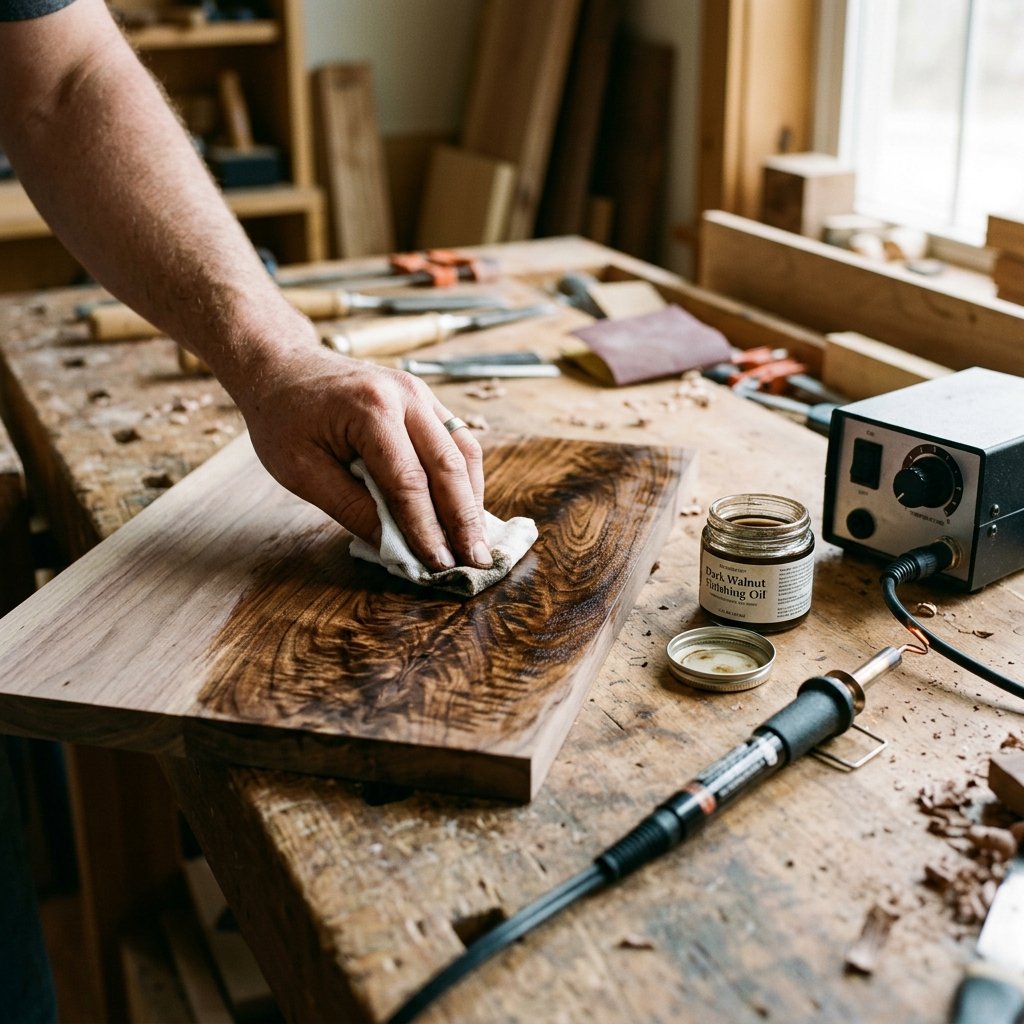
A clever gift-giver knows that the finish is what makes the project look ‘expensive.’ For a masculine-elegant look, avoid high-gloss lacquers. Instead, opt for a matte, hand-rubbed oil finish that highlights the natural grain of the wood.
Style Options:
- The Industrialist: Use reclaimed pallet wood with visible nail holes. Finish with a grey wash stain.
- The Executive: Use dark walnut wood and brass inlays. Engrave the recipient’s initials in the bottom corner.
- The Outdoorsman: Leave one edge ‘live’ (bark attached) and seal with a clear matte polyurethane.
If you are making this as a Father’s Day gift, consider using a wood burner to add a simple ‘Dad’s Keys’ or a coordinate of his favorite fishing spot. It adds 100% more value with 0% extra cost.
Installation: Mounting for Heavy-Duty Use
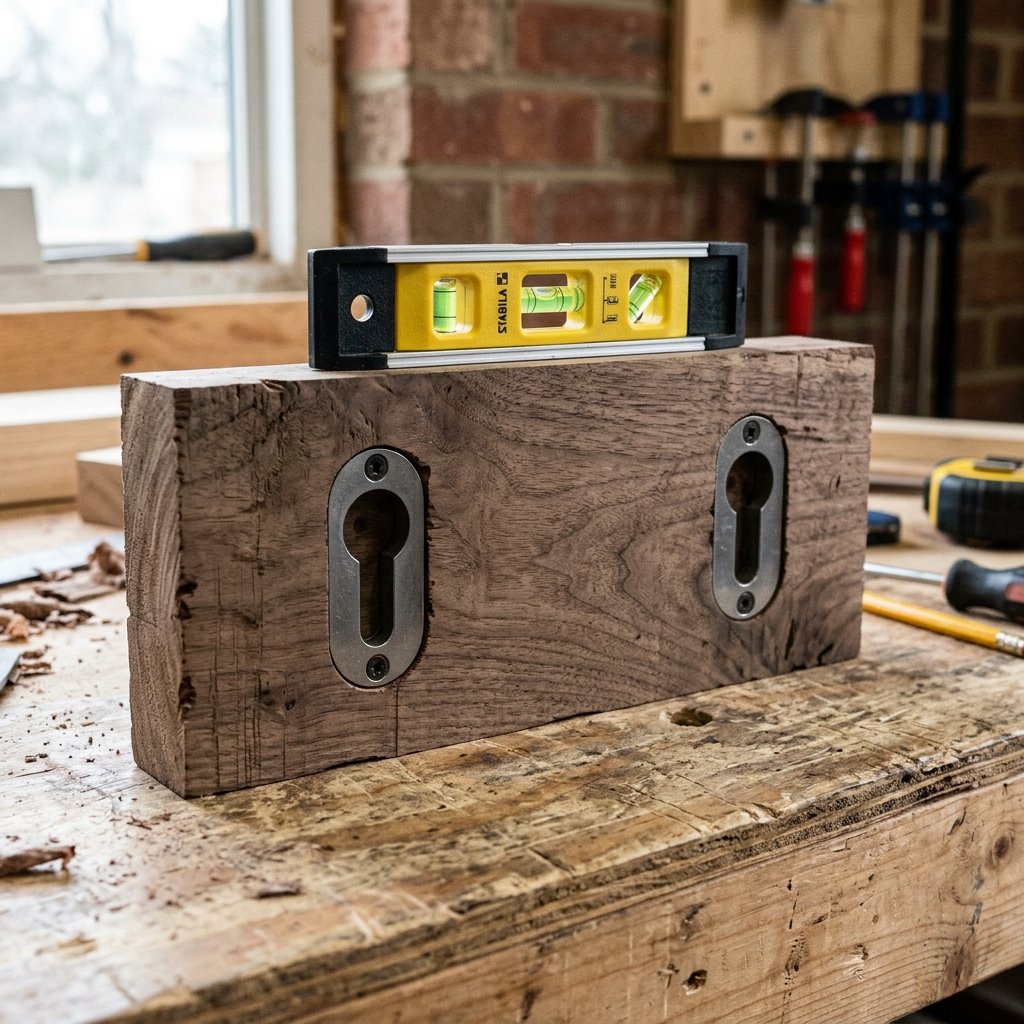
You don’t want the holder to fly off the wall every time he grabs his keys. You need a rugged, secure mount. You have two budget-savvy options:
- Keyhole Slots: If you have a router, cut keyhole slots into the back for a flush, screw-mounted finish.
- Heavy-Duty Command Strips: For renters or those who want a 5-minute install, use 16lb-rated industrial velcro strips.
Ensure the mounting surface is clean. If you’re using adhesive, wipe the wall with rubbing alcohol first to ensure a permanent bond.
| Mounting Method | Best For | Effort Level |
|---|---|---|
| Screw & Anchor | Heavy key bundles / Permanent | High |
| Command Strips | Renters / Lightweight keys | Low |
| French Cleat | Ultra-premium / Large holders | Medium |
Conclusion
Mastering the Entryway
By following this guide, you have turned a simple scrap of wood and a few industrial magnets into a functional piece of art. This DIY magnetic key holder is the epitome of budget-savvy craftsmanship—it solves a daily problem with elegance and grit. Whether you are building this for your own home or as a thoughtful gift for a man in your life, the result is a high-end ‘dupe’ that rivals anything found in a luxury catalog. Now, take that $50 you saved and put it toward your next project. Happy crafting!

Makenzie is the founder and lead writer at MoneyHackTips.com — a personal finance blog dedicated to delivering street-smart financial wisdom for real people on real budgets. With 300+ published articles covering everything from debt management to investing fundamentals, Makenzie’s mission is to make every dollar work harder. When not writing about money hacks, Makenzie is testing frugal living strategies, optimizing side hustles, and helping readers build financial freedom from scratch.