
The Blueprint: Budget Breakdown and Material Scouting
Strategic Sourcing for the $15 Build
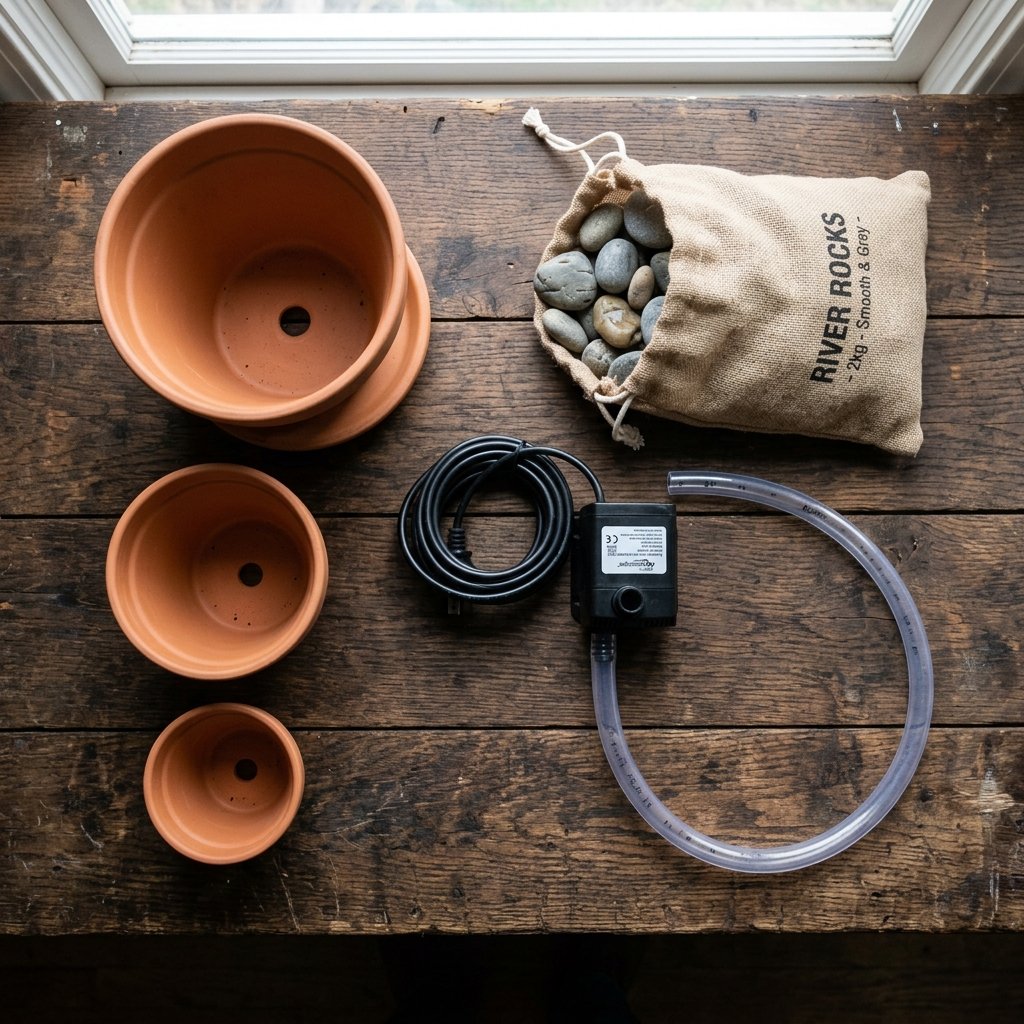
Success in frugal DIY starts with a clear inventory. While the local Dollar Tree is our primary supplier, we are looking for specific shapes and sizes to ensure the fountain’s structural integrity. You need a base large enough to act as a reservoir and smaller pots to create the tiered waterfall effect. The key is finding ‘unpainted’ terracotta, which offers that classic, masculine-elegant aesthetic that looks far more expensive than it is.
| Item Description | Source | Estimated Cost |
|---|---|---|
| Large Terracotta Pot (8-10 inch) | Hardware Store/Discount Aisle | $5.00 |
| Medium Terracotta Pot (6 inch) | Dollar Store | $1.25 |
| Small Terracotta Pot (4 inch) | Dollar Store | $1.25 |
| Small Submersible Water Pump | Online/Discount Retailer | $5.50 |
| Decorative River Stones | Dollar Store | $1.25 |
| Plastic Tubing (1/2 inch) | Hardware Store (per foot) | $0.75 |
| TOTAL PROJECT COST | – | $15.00 |
The Anatomy of the Fountain
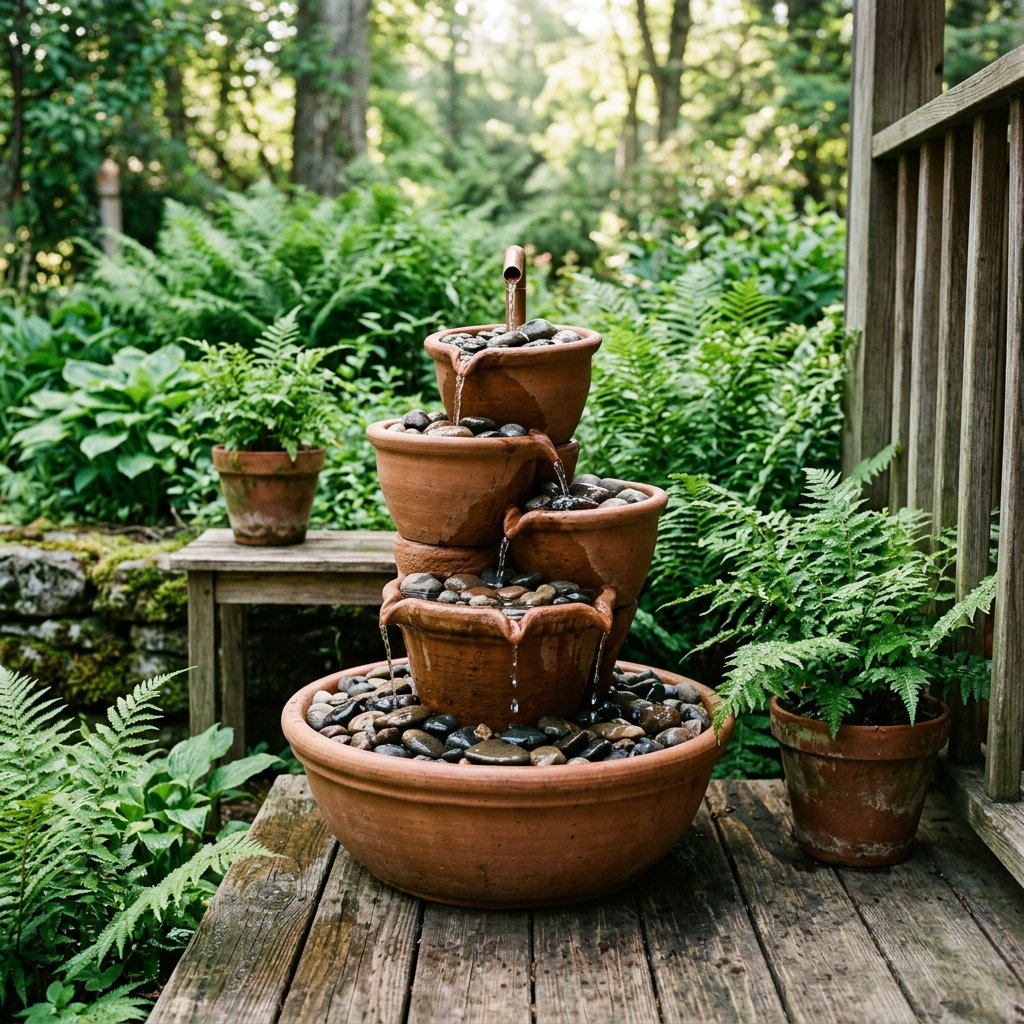
- The Reservoir: The largest pot at the bottom. It must be watertight.
- The Risers: These are inverted pots or plastic spacers that hold the upper tiers in place.
- The Spillways: The smaller pots where water will pool before cascading down.
Engineering the Flow: Waterproofing and Drilling
Preparing Your Vessels
Terracotta is naturally porous, which means it breathes. For a planter, that is great; for a fountain, it can lead to water loss and salt buildup (efflorescence). To ensure your fountain lasts through the seasons, we need to treat the ‘reservoir’ pot. Additionally, we need a pathway for the water tube to reach the top tier.
Budget-Savvy Tip: To seal your pots without buying expensive specialty sprays, use a mixture of 50% white craft glue and 50% water. Brush it on the inside of the reservoir pot. Once dry, it creates a clear, water-resistant barrier for pennies.
Step-by-Step Drilling Instructions
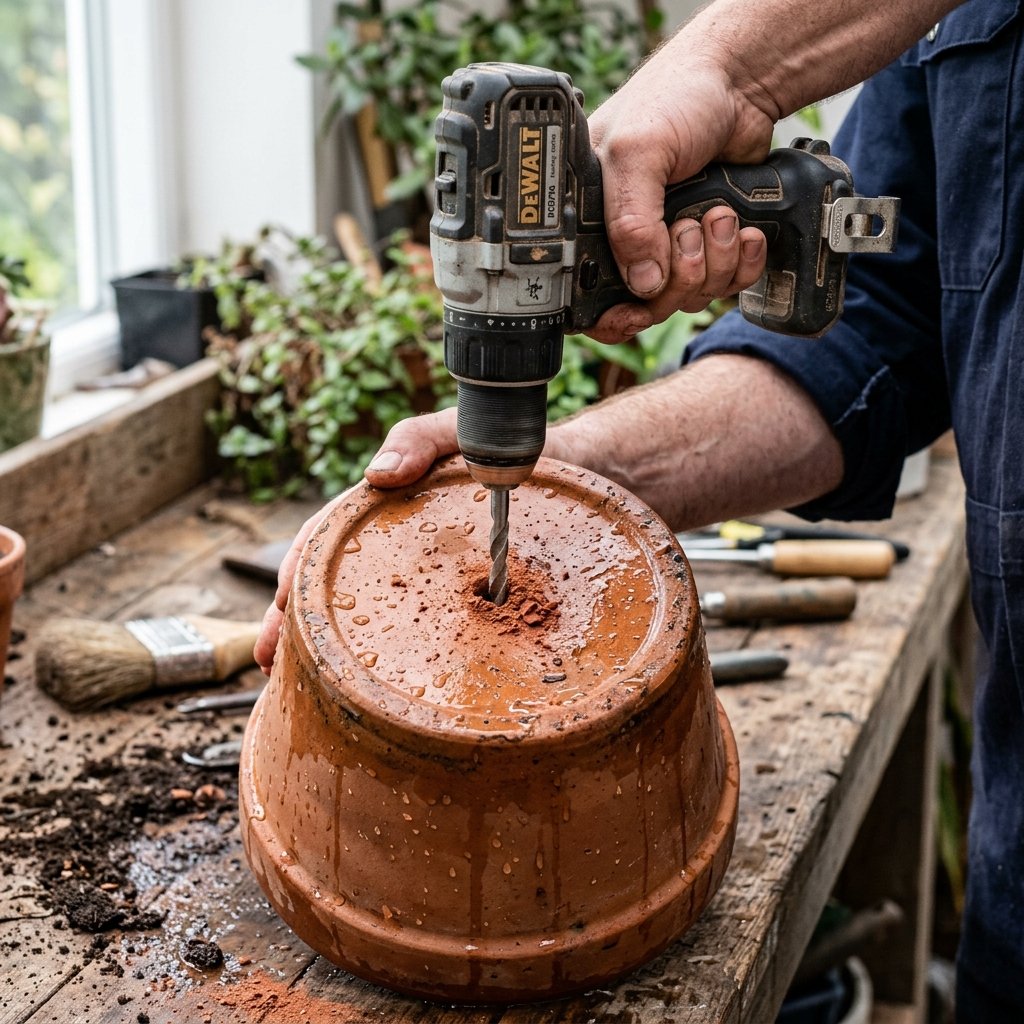
Most clay pots have a drainage hole. If yours does not, or if the hole is too small for your 1/2-inch tubing, follow these steps:
- Soak the Pot: Submerge the pot in a bucket of water for 24 hours. This softens the clay and prevents cracking during drilling.
- The Tape Trick: Place a piece of masking tape over the area you intend to drill. This provides grip for the drill bit.
- Slow and Steady: Use a masonry bit. Do not apply heavy pressure; let the weight of the drill do the work at a medium speed.
- Safety First: Always wear eye protection when drilling ceramic.
The Assembly: Stacking for Stability and Sound
Building the Tiered Structure
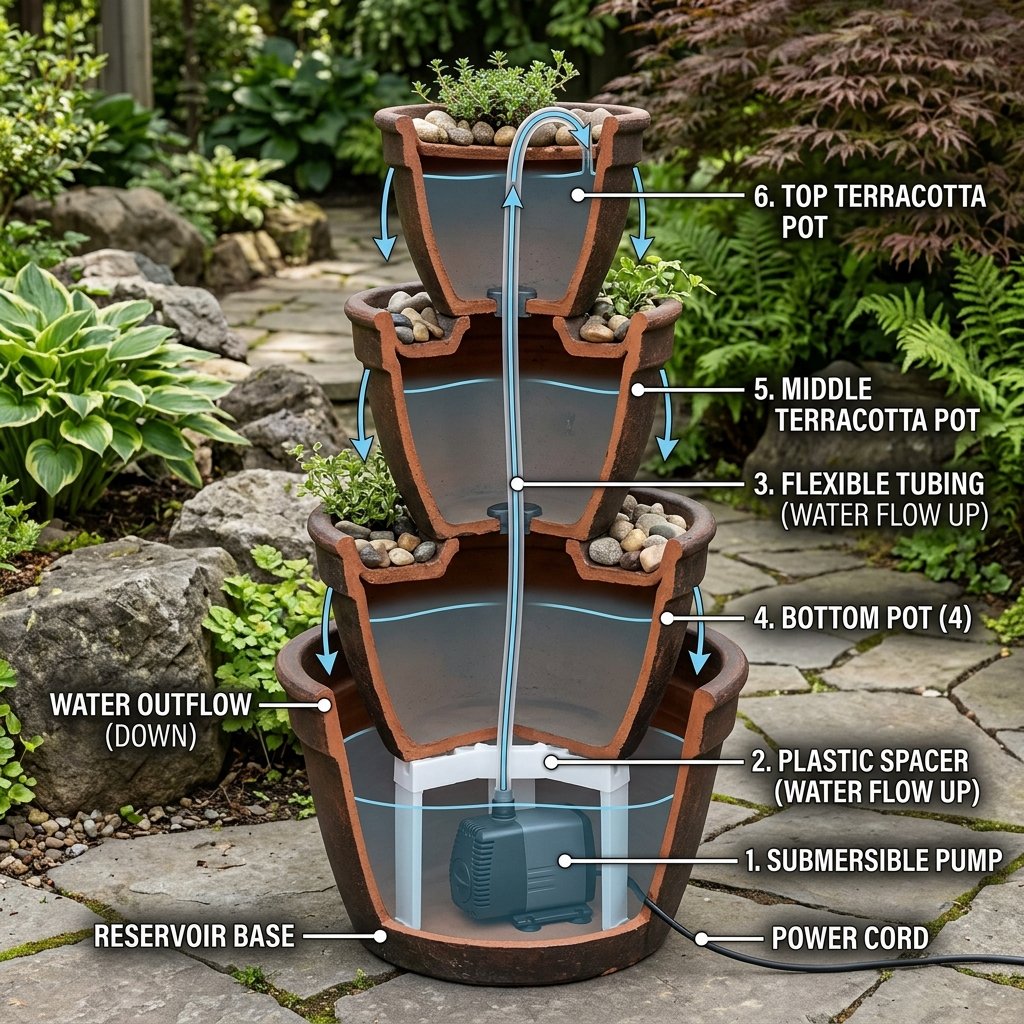
The magic of a fountain lies in the sound. To get that perfect ‘trickle,’ the water needs to fall from a specific height and hit a hard surface (like a stone). We will use a ‘tower’ method where the pump sits in the bottom, and the tube runs straight up through the center of the stacked pots.
The Internal Support System
You cannot simply stack the pots on top of each other, as they will crush the pump or block the water flow. You need an internal ‘pedestal.’ A cheap plastic storage container (inverted) or a smaller, upside-down terracotta pot works perfectly. Notch the bottom of this pedestal with a file or hacksaw so the pump cord can sneak out from underneath.
The Stacking Sequence
- Place the Pump in the center of the large reservoir pot.
- Thread the Tubing onto the pump outlet.
- Place your Internal Pedestal over the pump, ensuring the tube goes through the center hole.
- Thread the Medium Pot onto the tube, resting it on the pedestal.
- Fill the gap around the pedestal with River Stones to hide the mechanics and provide stability.
- Repeat for the Smallest Pot at the very top.
Aesthetic Mastery: The Finishing Touches
Elevating the ‘Dollar Store’ Look
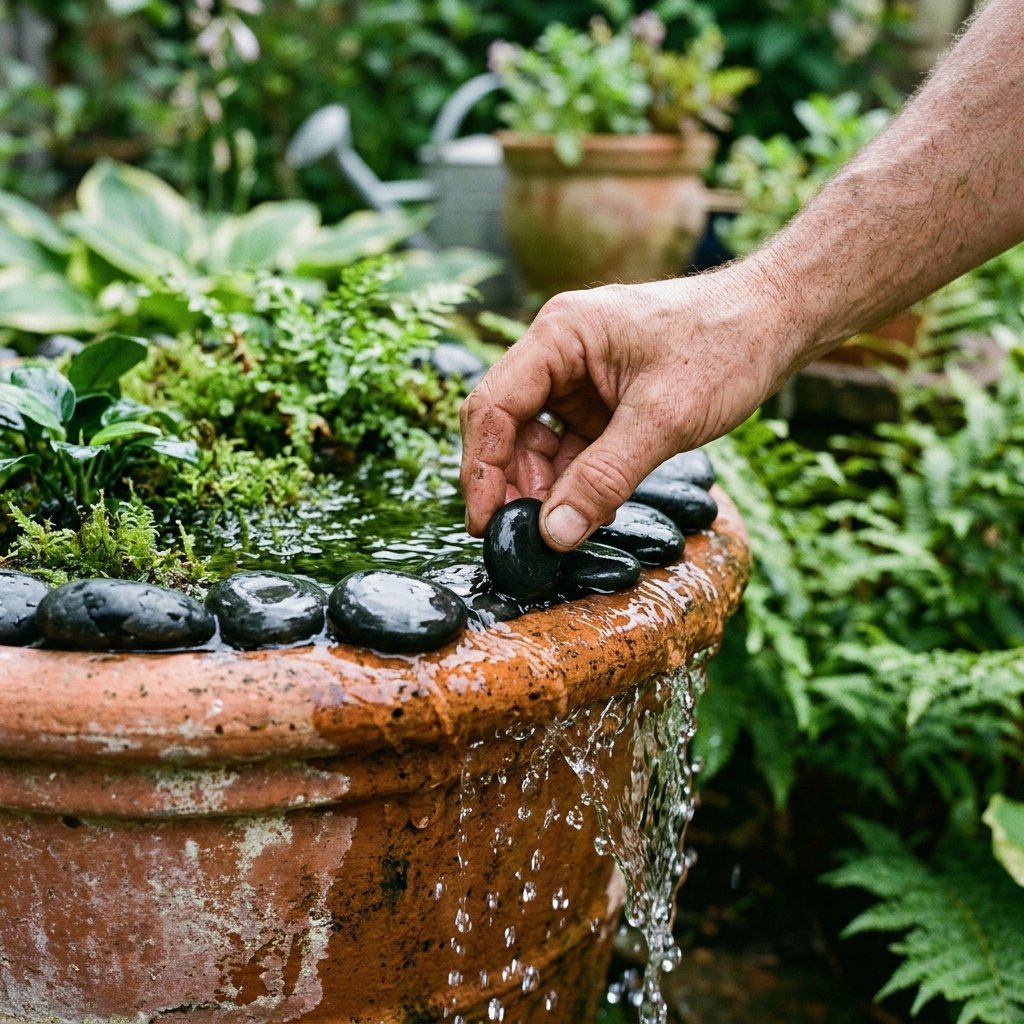
A pile of pots looks like a project; a curated water feature looks like a centerpiece. This is where we apply the ‘Masculine-Elegant’ aesthetic. We want to avoid bright, plastic colors and lean into natural textures like stone, moss, and weathered clay.
The Rock Layering Technique
Don’t just dump the rocks in. You want to create ‘spillways.’ Place larger, flatter stones where the water exits the upper pots. This forces the water to fan out, creating a wider ‘sheet’ of water rather than a single boring stream. This also increases the splashing sound, which is excellent for masking neighborhood noise.
- Add Greenery: Tucking small sprigs of artificial moss (also found at the Dollar Store) into the crevices between pots adds an aged, ‘secret garden’ vibe.
- Leveling: Use a spirit level. If your fountain is even slightly tilted, the water will only run down one side. Use small pebbles as shims to get it perfectly level.
| Feature | Material Needed | Visual Impact |
|---|---|---|
| Sound Amplification | Flat Slate or Large Rocks | Deepens the trickling sound |
| Visual Texture | Green Moss Sprigs | Creates an ‘antique’ garden look |
| Evening Ambiance | Submersible LED (Optional) | Illuminates the water from within |
Troubleshooting and Maintenance
Keeping the Water Crystal Clear
Because this is a small-volume fountain, it requires a bit of clever upkeep to prevent algae and ensure the pump doesn’t burn out. As a savvy DIYer, you want a ‘set it and forget it’ system, but even the best engineering needs a tune-up.
The Maintenance Checklist
- Water Levels: Check the water daily during summer. Small fountains evaporate quickly. If the pump starts ‘sucking air,’ it will make a loud grinding noise and eventually fail.
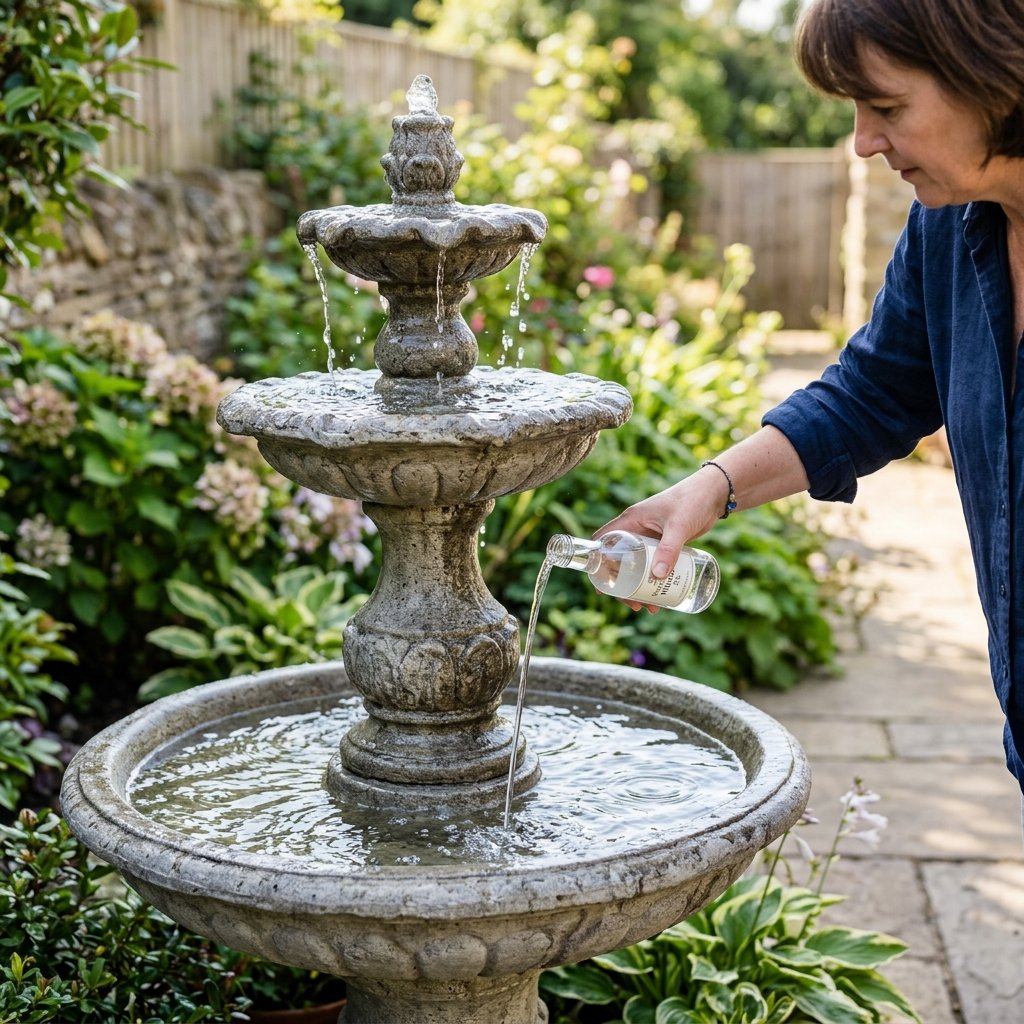
- Algae Control: Add a tablespoon of white vinegar to the water once a week. It’s a natural, budget-friendly way to keep the water clear without harming local birds who might stop by for a drink.
- Winterizing: If you live in a climate with freezing temperatures, drain the fountain and bring the pump indoors. Water trapped in the terracotta will expand as it freezes, shattering your hard work.
Pro Tip: If your pump flow is too strong and splashing water out of the reservoir, simply kink the plastic tubing slightly and secure it with a zip-tie. This acts as a manual flow restrictor to dial in the perfect pressure.
Conclusion

Makenzie is the founder and lead writer at MoneyHackTips.com — a personal finance blog dedicated to delivering street-smart financial wisdom for real people on real budgets. With 300+ published articles covering everything from debt management to investing fundamentals, Makenzie’s mission is to make every dollar work harder. When not writing about money hacks, Makenzie is testing frugal living strategies, optimizing side hustles, and helping readers build financial freedom from scratch.