Turning Trash into a Childhood Masterpiece
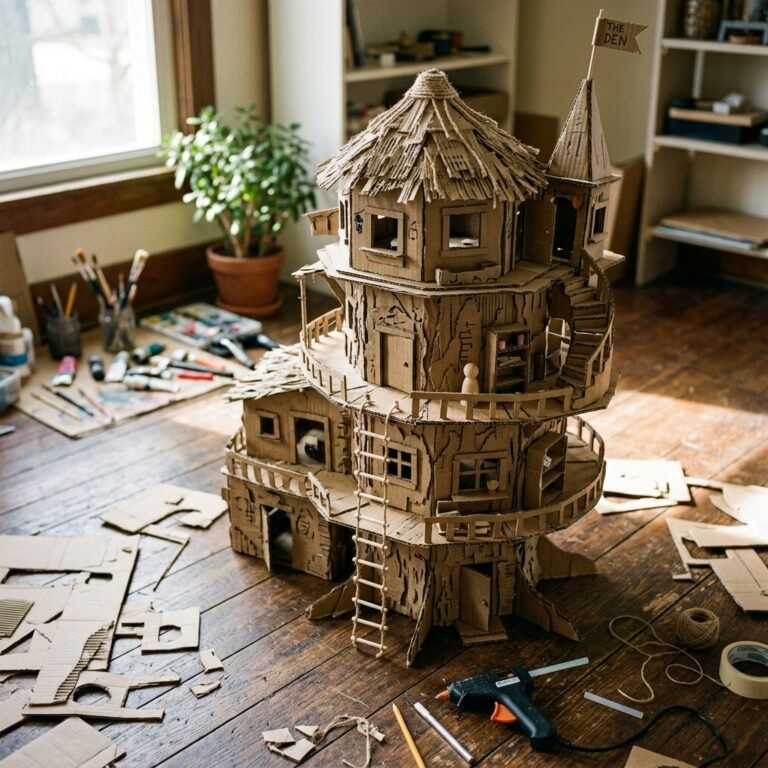
We’ve all been there: the rain is lashing against the windows, the kids are vibrating with pent-up energy, and the screen-time limit was reached hours ago. As a frugal DIYer, you don’t reach for the car keys to head to a big-box toy store; you head to the garage. That stack of shipping boxes isn’t just recycling—it’s the raw material for a $0 world-class veterinary clinic. Building a cardboard vet clinic is the ultimate ‘trash-to-treasure’ project. It combines rugged engineering, crafty aesthetics, and hours of imaginative play. In this guide, we’ll show you how to channel your inner architect to create a durable, sophisticated play space that makes those $50 plastic sets look like junk. Let’s get to work and save the day (and your budget).
The Master Builder’s Inventory: Materials and Cost Comparison
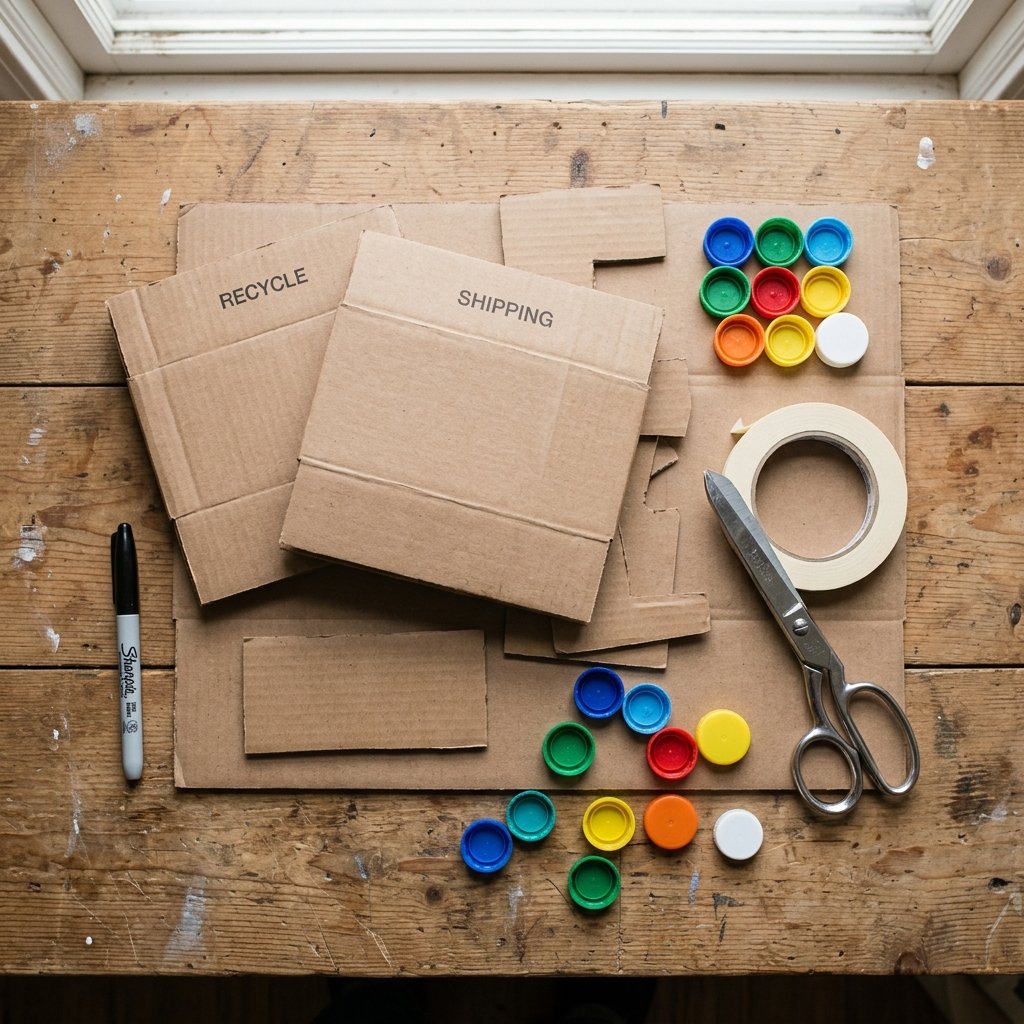
Before we make the first cut, we need to gather our supplies. The beauty of this project is that you likely already own everything required. We are looking for structural integrity and aesthetic potential. A thick, double-walled shipping box makes for a sturdy ‘Exam Table,’ while cereal boxes are perfect for ‘Medicine Bottles’ or ‘Patient Files.’ Let’s look at how much you’re actually saving by being a resourcefully creative parent.
| Material Item | Store-Bought Equivalent Cost | DIY Upcycled Cost |
|---|---|---|
| Main Clinic Structure | $45.00 | $0.00 (Shipping Boxes) |
| Medical Tools (Stethoscope, etc.) | $15.00 | $0.00 (Bottle Caps & String) |
| Patient Charts & Signage | $10.00 | $0.00 (Scrap Paper) |
| Furniture (Chairs/Desks) | $25.00 | $0.00 (Shoe Boxes) |
| Total Investment | $95.00 | $0.00 |
You’ll also need a few basic tools: a sharp utility knife (for the adults), a hot glue gun or heavy-duty packing tape, and markers for the ‘branding’ of your clinic. Remember, the goal is a rugged, masculine-elegant finish—clean lines and purposeful design.
Safety First: Always handle utility knives and hot glue guns personally. If the kids are helping, give them the ‘Architect’ role of drawing the blueprints and the ‘Interior Designer’ role of decorating with crayons.
Phase 1: Engineering the Foundation and Exam Table
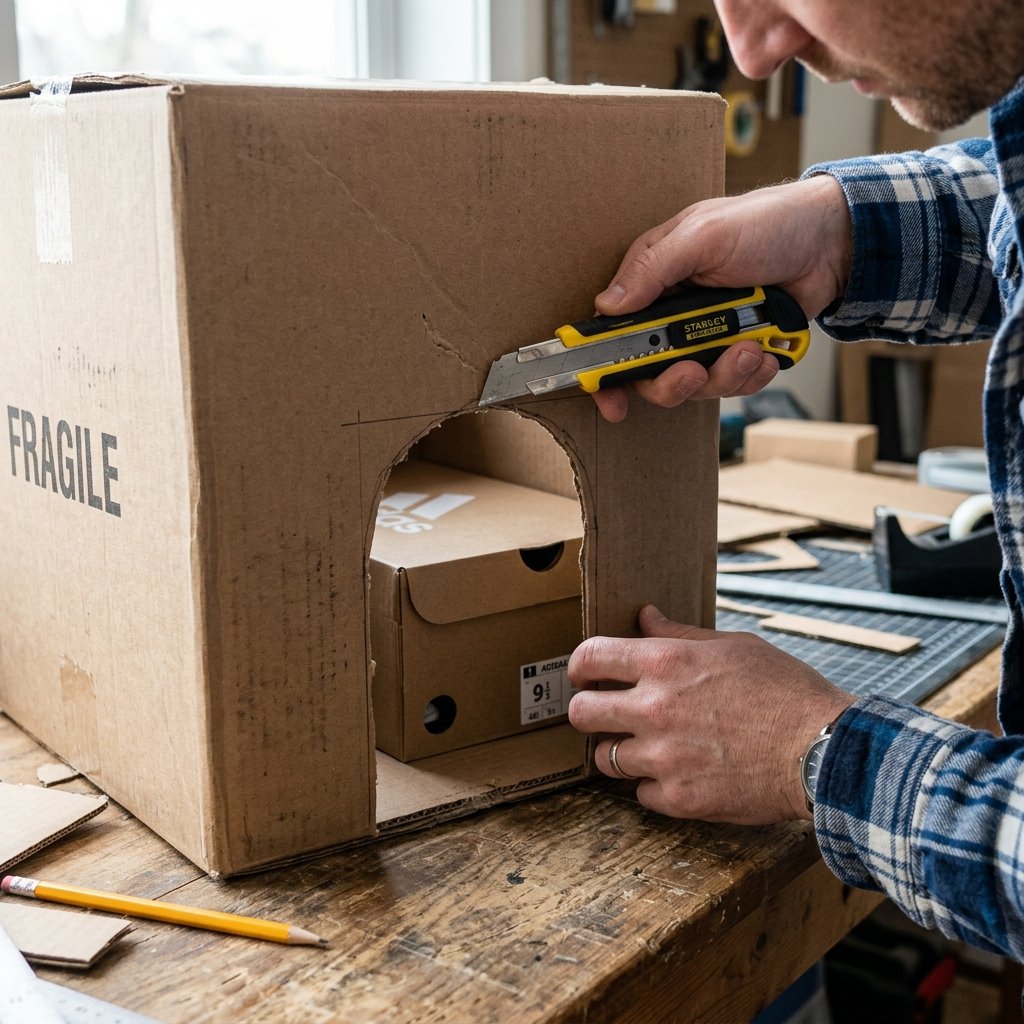
Constructing the ‘Exam Room’ Shell
The core of your clinic is the main exam room. Find your largest box—ideally one that is at least 24 inches wide. We want to keep the bottom intact for stability but cut away the top flaps to create an open-air play environment. This allows multiple children (or one very busy vet) to access the ‘patients’ from all sides.
- The Entrance: Cut a large archway on one side of the box. This is the ‘Staff Only’ entrance to the exam area.
- The Waiting Room: Use the discarded top flaps to create a partition wall, separating the clinic from the waiting area.
- The Exam Table: This is the centerpiece. Find a smaller, sturdy box (like a boot box) and glue it directly to the center of the main floor. It should be approximately 10 inches high to be the perfect height for a seated child to work on a stuffed teddy bear.
To ensure the structure is ‘rugged,’ reinforce the corners with extra strips of cardboard glued vertically. This prevents the clinic from collapsing if a ‘heavy’ patient (like a large stuffed St. Bernard) is admitted for surgery.
Phase 2: Crafting High-Tech Medical Gadgets
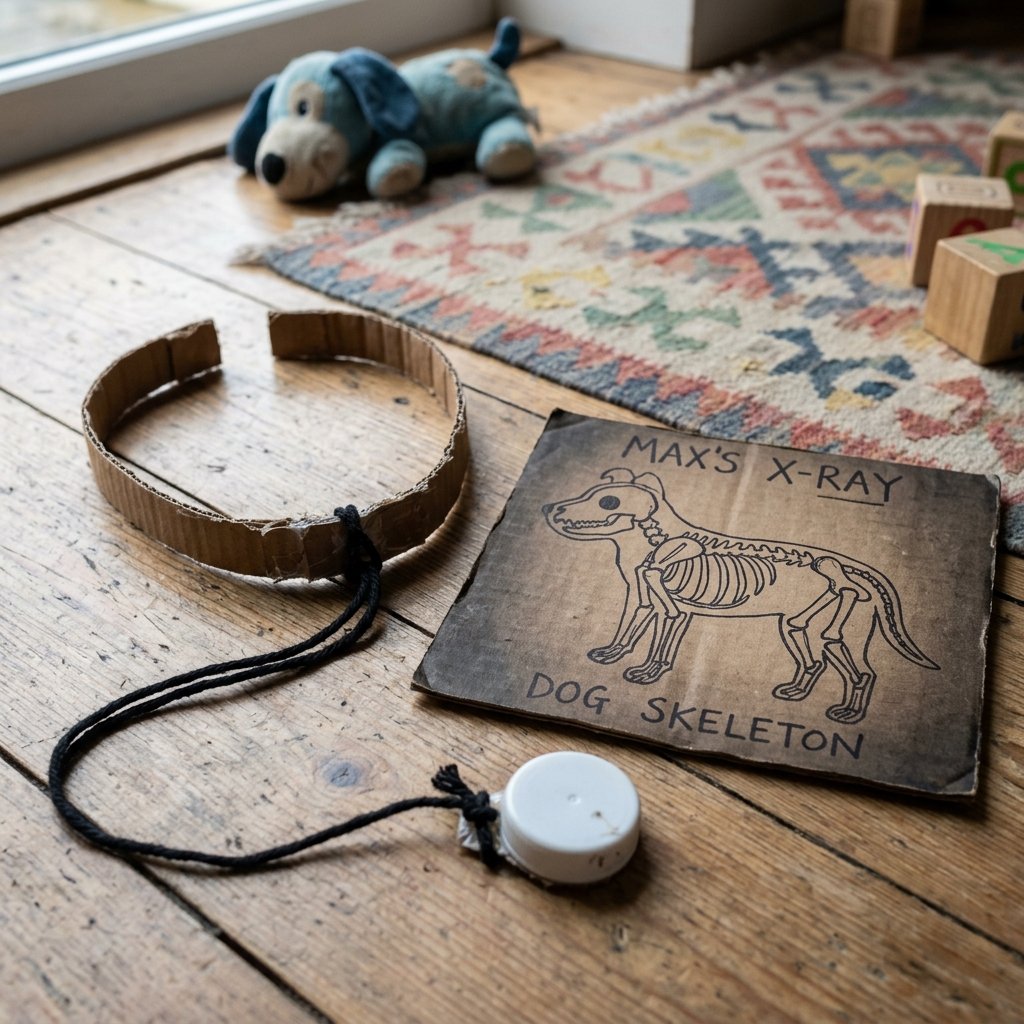
The Cardboard Stethoscope and X-Ray Machine
A vet is only as good as their tools. Instead of buying cheap plastic ones that break in 5 minutes, we are going to craft durable versions. For the stethoscope, use a strip of cardboard about 1 inch wide. Dampen it slightly so it curves into a ‘U’ shape without snapping. Attach a piece of yarn or an old shoelace to the center, and glue a plastic milk jug cap to the end. It’s simple, clever, and remarkably effective for pretend play.
The Interactive X-Ray Station
This is where you can really show off your crafty-expert skills. Find a piece of clear plastic—perhaps from a toy’s old packaging or a salad container lid. Tape it to a cardboard frame. Use a white chalk marker or silver Sharpie to draw ‘bones’ on the plastic. Slide a piece of black paper behind it to make the ‘X-ray’ pop.
- Cut a rectangular slot in the side of your main clinic box.
- Insert the ‘X-ray’ frame so it can slide in and out.
- Label it ‘Radiology Department’ in bold, professional lettering.
Budget Mantra: A little bit of ink and a lot of imagination turn a piece of trash into a professional tool.
Phase 3: The Pharmacy and Patient Records
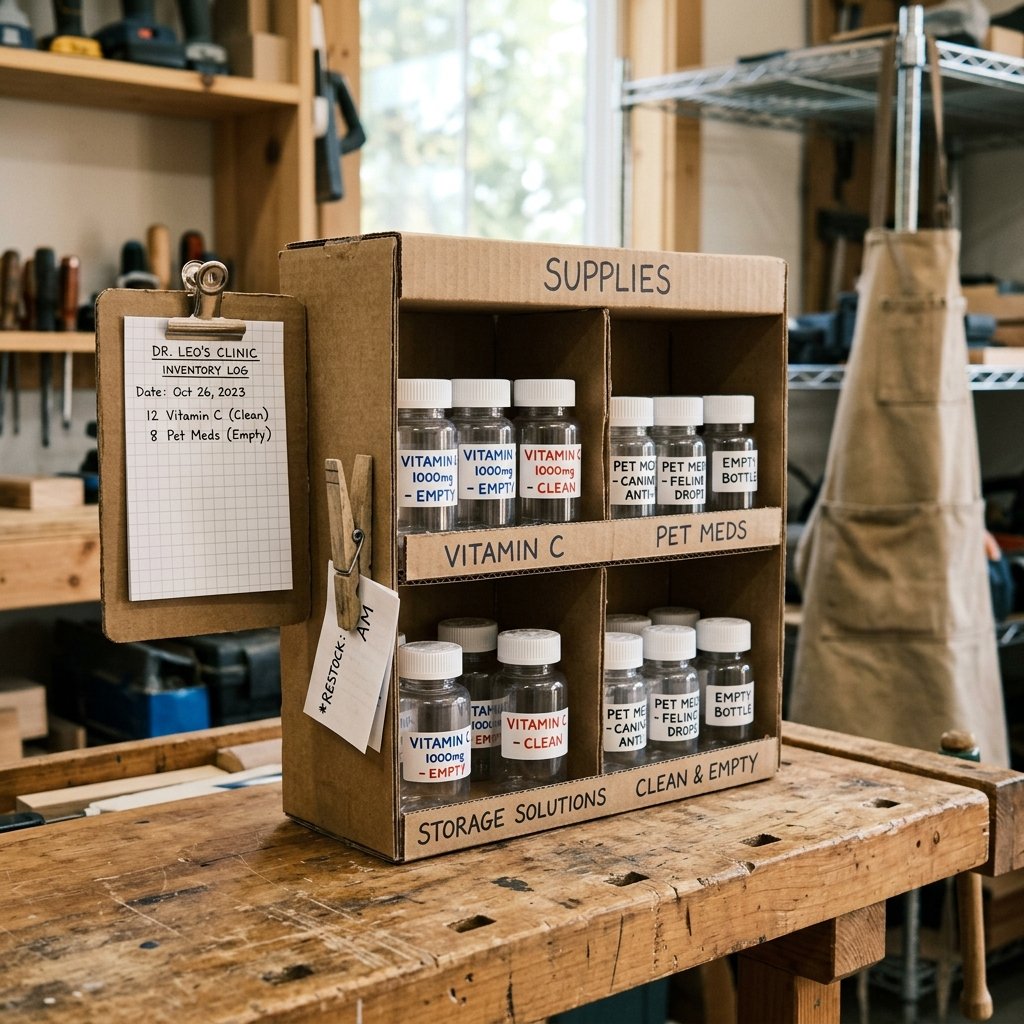
Organizing the ‘Meds’ and Paperwork
Every professional clinic needs a system. Use a small egg carton to create a ‘Pharmacy’ tray. Each slot can hold different ‘treatments’ (like colorful buttons or pom-poms). For the patient files, cut small rectangles of cardstock or scrap paper. Create a ‘Check-in’ clipboard using a small piece of cardboard and a clothespin glued to the top.
| Clinic Accessory | DIY Method | Play Value |
|---|---|---|
| Medicine Bottles | Empty pill bottles (washed) or film canisters | Fine motor skills (opening/closing) |
| Patient Charts | Scrap paper + clothespin clipboard | Encourages early writing and literacy |
| Recovery Cones | Paper plates with a slit cut to the center | Hilarious and realistic pet care |
| Bandages | Old strips of white T-shirts or felt | Hand-eye coordination practice |
To give it that ‘Masculine-Elegant’ touch, use a consistent color palette. Brown cardboard paired with black ink and white accents looks surprisingly high-end. It feels like a boutique clinic rather than a cluttered playroom.
Phase 4: Aesthetic Branding and Finishing Touches
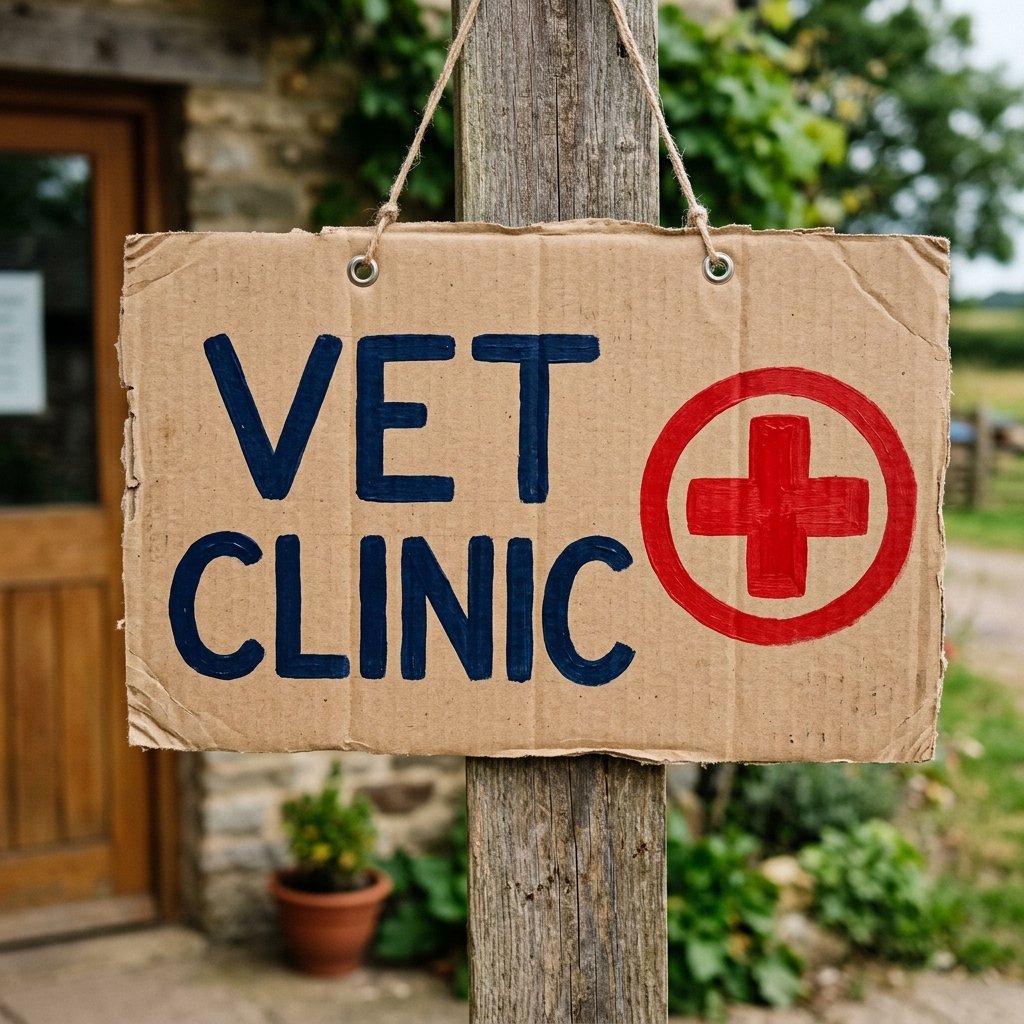
The Final Polish: Branding Your Clinic
Now that the structure is sound, it’s time for the ‘Dollar Tree Interior Designer’ in you to shine. A clinic needs a name. Whether it’s ‘The Paws & Claws Hospital’ or ‘Dr. Kiddo’s Pet Care,’ use a thick black marker to create a professional-looking sign for the front.
- The Red Cross: Use red markers or red tape to put the universal medical symbol on the sides of the clinic.
- Flooring: If you want to get fancy, use a white paint pen to draw ’tiles’ on the floor of the exam room. It’s a 2-minute detail that adds massive visual appeal.
- Storage: Glue a few toilet paper rolls vertically to the side of the exam table. These act as ‘holsters’ for the stethoscope, a thermometer (a popsicle stick), and a flashlight.
By focusing on these small, clever details, you’re teaching your kids that quality doesn’t come from a price tag—it comes from effort and creativity. You’ve just turned a rainy afternoon into a lesson in resourcefulness.
Conclusion
The Reward of Resourceful Play
As the rain continues to pour, your living room has been transformed. You didn’t spend a dime, you didn’t create any plastic waste, and you’ve provided a platform for hours of empathetic, educational play. This cardboard stuffed animal vet clinic isn’t just a toy; it’s a testament to your skills as a budget-savvy, crafty parent. When the kids finally tire out and the ‘patients’ are all cured, you can take pride in the fact that the best toys aren’t bought—they’re built. Keep that utility knife handy; you never know when the next shipping box will arrive, ready to be turned into your next masterpiece. Happy building!

Makenzie is the founder and lead writer at MoneyHackTips.com — a personal finance blog dedicated to delivering street-smart financial wisdom for real people on real budgets. With 300+ published articles covering everything from debt management to investing fundamentals, Makenzie’s mission is to make every dollar work harder. When not writing about money hacks, Makenzie is testing frugal living strategies, optimizing side hustles, and helping readers build financial freedom from scratch.