
The Power of Emotional Intelligence on a Zero-Dollar Budget
In the world of modern parenting, the ‘Montessori’ label often comes with a premium price tag that can make any budget-savvy caregiver wince. However, the core of the Montessori philosophy isn’t about expensive wooden toys; it’s about purposeful activity, real-world connection, and resourcefulness. One of the most critical skills we can teach our toddlers is the ability to identify and process emotions—a skill known as Social-Emotional Learning (SEL). Instead of dropping $40 or $50 on a store-bought plastic set, we are going to dive into the recycling bin and engineer a rugged, tactile, and highly effective DIY Cardboard Emotion Matching Face Set.
This project is the ultimate ‘Trash-to-Treasure’ win. By using double-walled cardboard from your latest delivery and a few basic tools, you can create a modular system that allows your child to mix and match eyes and mouths to explore the nuances of human expression. It’s practical, it’s clever, and it’s a project that any handy parent can knock out in a single afternoon. Let’s get our hands dirty and build something meaningful for the little ones.
The Blueprint: Why Cardboard Engineering Wins

When we talk about ‘Cardboard Engineering,’ we aren’t just talking about cutting out circles. We are creating a modular interface for a toddler’s developing brain. Cardboard is the perfect medium because it is rigid enough to handle rough play but light enough for small hands to manipulate. By creating a base face with recessed slots or simple overlay areas, we provide a structured environment where a child can focus purely on the visual cues of emotion.
The Educational ROI
- Visual Discrimination: Learning to spot the difference between an upward curve (happy) and a downward curve (sad).
- Fine Motor Precision: The act of aligning the cardboard strips within the face frame.
- Vocabulary Expansion: Moving beyond ‘good’ or ‘bad’ to words like ‘frustrated,’ ‘ecstatic,’ or ‘pensive.’
“The goal of this project isn’t just to make a toy; it’s to build a bridge between a child’s internal feeling and their external vocabulary. Doing it for free is just the icing on the cake.”
The Supply List: Raid Your Recycling Bin
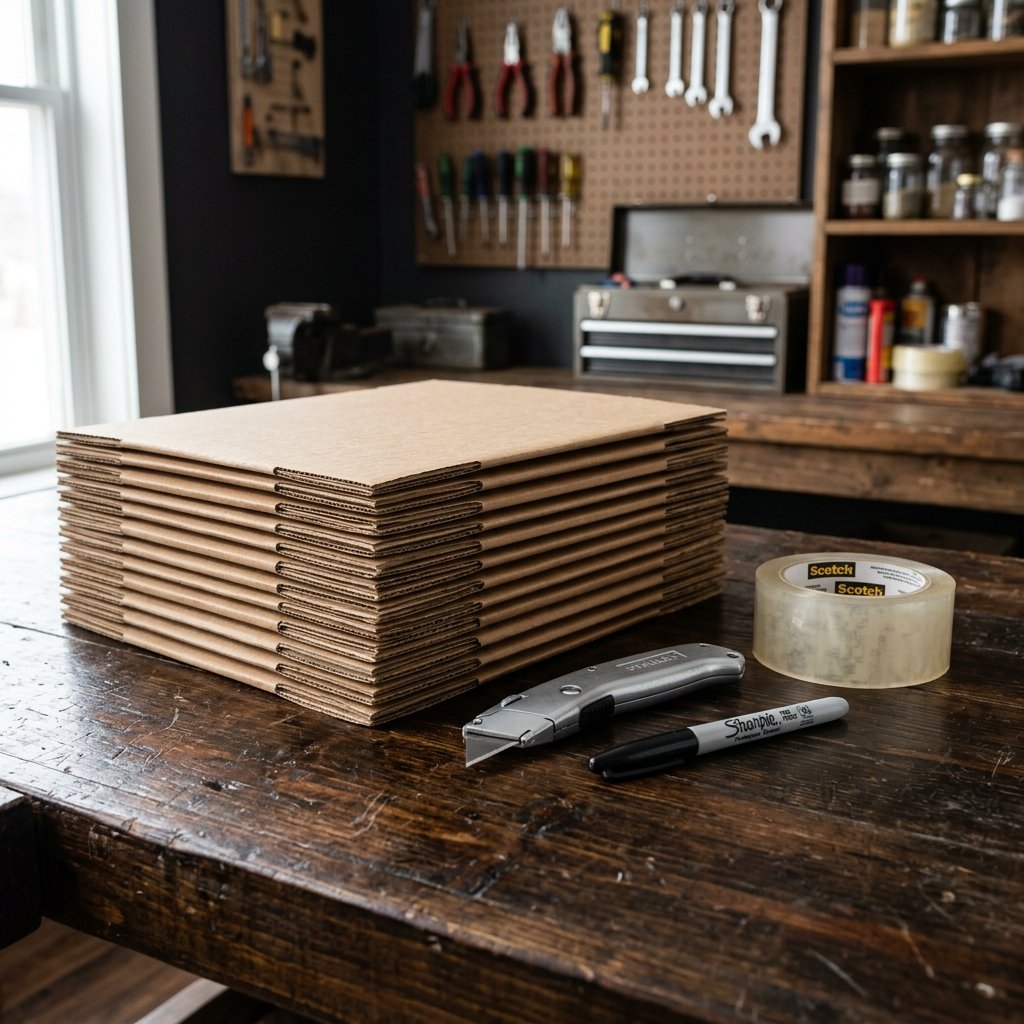
You don’t need a craft store haul for this one. In fact, the more ‘rugged’ and industrial the cardboard, the better the final product will feel. Look for double-walled corrugated cardboard (the kind used for heavy appliance boxes) for the base, as it provides a satisfying weight and durability.
| Material | Purpose | Estimated Cost |
|---|---|---|
| Heavy-Duty Cardboard | The face base and feature strips | $0.00 (Upcycled) |
| Utility Knife/Box Cutter | Precision cutting of thick layers | Owned |
| Black Permanent Marker | Drawing bold, high-contrast features | $1.25 |
| Metal Ruler | Ensuring straight edges for modular pieces | Owned |
| Clear Packing Tape | ‘Poor man’s lamination’ for durability | $2.00 |
| Total Project Cost | Professional Grade Toy | $3.25 |
Pro Tip: The ‘Sharp Blade’ Rule
When working with thick cardboard, a dull blade is your worst enemy. It will tear the fluting and leave jagged edges. Always snap off a fresh blade before starting to ensure those clean, professional-looking cuts that mimic high-end wooden sets.
Step-by-Step Construction: Building the Base
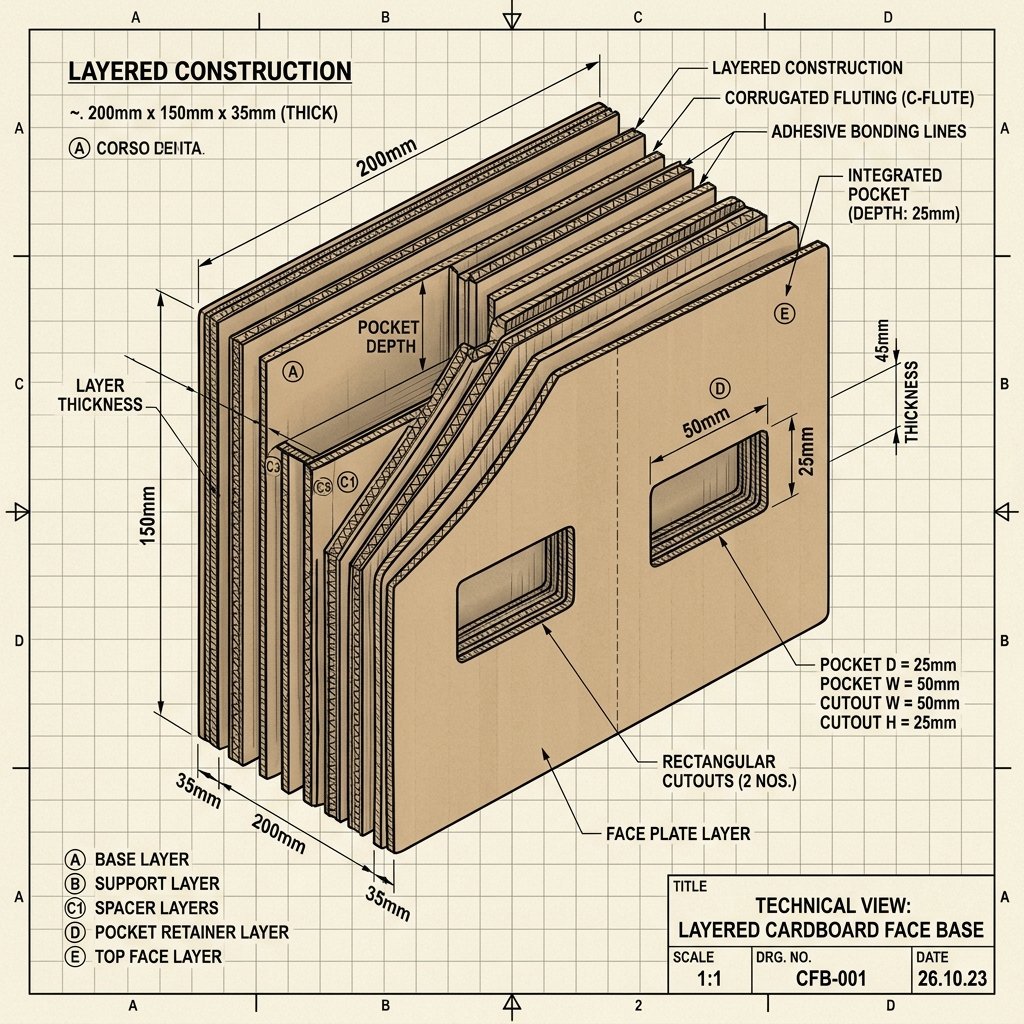
We want this set to be intuitive. We will create a ‘Master Face’ and a series of ‘Feature Strips’ that slide or lay across it. Follow these steps for a perfect build:
- The Master Base: Cut a large circle (approx. 10 inches in diameter) from your thickest cardboard. This is your canvas.
- The Feature Channels: Cut two rectangular strips out of the center of the face—one for the eye area and one for the mouth area. These should be roughly 2 inches high and 6 inches wide.
- The Backing Plate: Glue a second, solid piece of cardboard to the back of the face. This creates a ‘well’ or a ‘pocket’ where the feature strips will sit, preventing them from sliding around during play.
- Sanding the Edges: Use a bit of high-grit sandpaper or even a nail file to smooth the cut edges of the cardboard. This gives it a masculine-elegant, finished feel and prevents paper cuts.
“Precision in the cutting phase ensures the modular pieces swap in and out with satisfying ease. Think like a carpenter, even if you’re just using a box cutter.”
The Art of Expression: Illustrating the Emotions

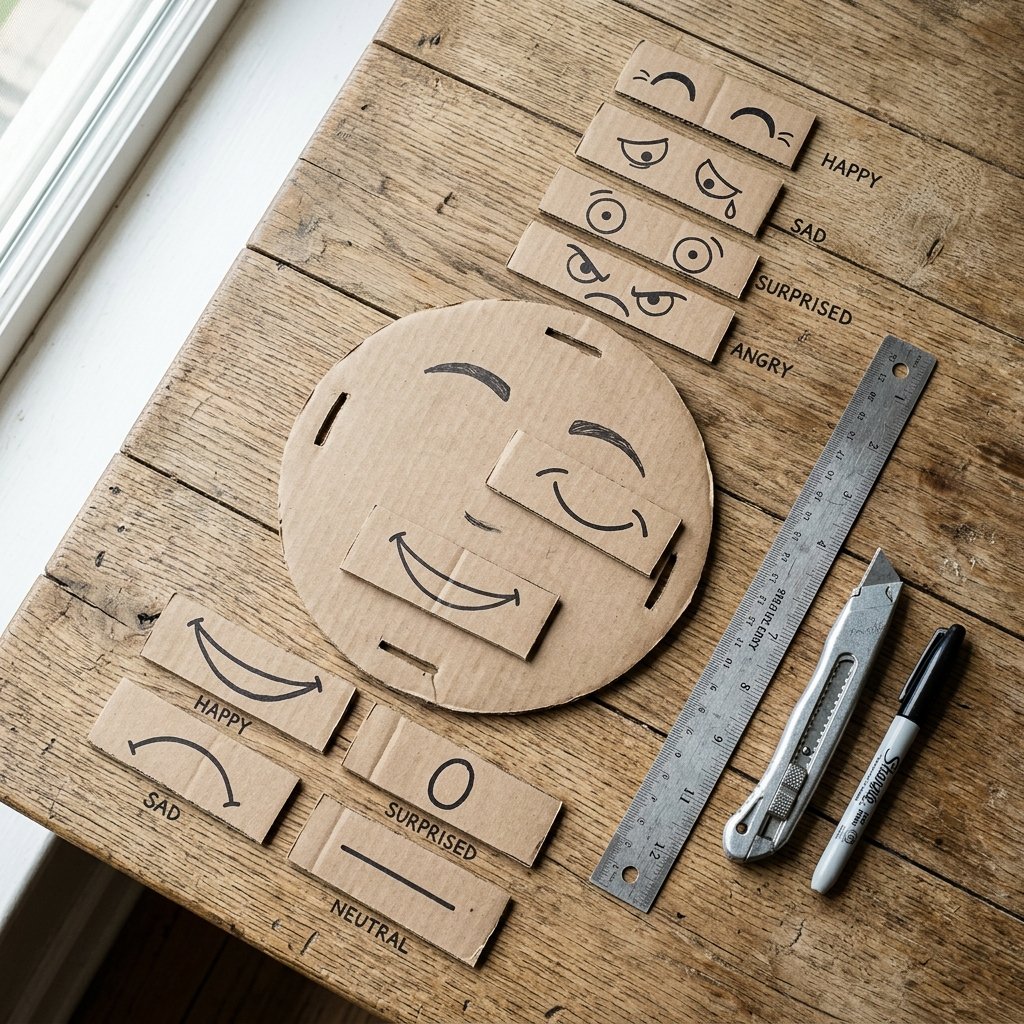
Now for the creative part. You don’t need to be an artist; minimalism is actually better for Montessori-style learning as it removes unnecessary distractions. We will create sets of eyes and mouths that represent the ‘Big Five’ emotions: Happy, Sad, Angry, Scared, and Surprised.
The Feature Strip Formula
- Happy: Arched eyebrows, upward-curving mouth, ‘twinkling’ eyes (simple U-shapes).
- Sad: Inner eyebrows turned up, downward-curving mouth, heavy eyelids.
- Angry: V-shaped eyebrows, squared-off mouth or tight line, focused pupils.
- Scared: High, centered eyebrows, wide circular eyes, small ‘O’ mouth.
- Surprised: High arched eyebrows, wide eyes, large open ‘O’ mouth.
Draw these on strips of cardboard that fit perfectly into the channels you cut in the base. Using bold black lines on the raw brown cardboard creates a high-contrast look that is visually striking and very ’boutique toy’ in its aesthetic.
Durability Hacks: Making It Toddler-Proof
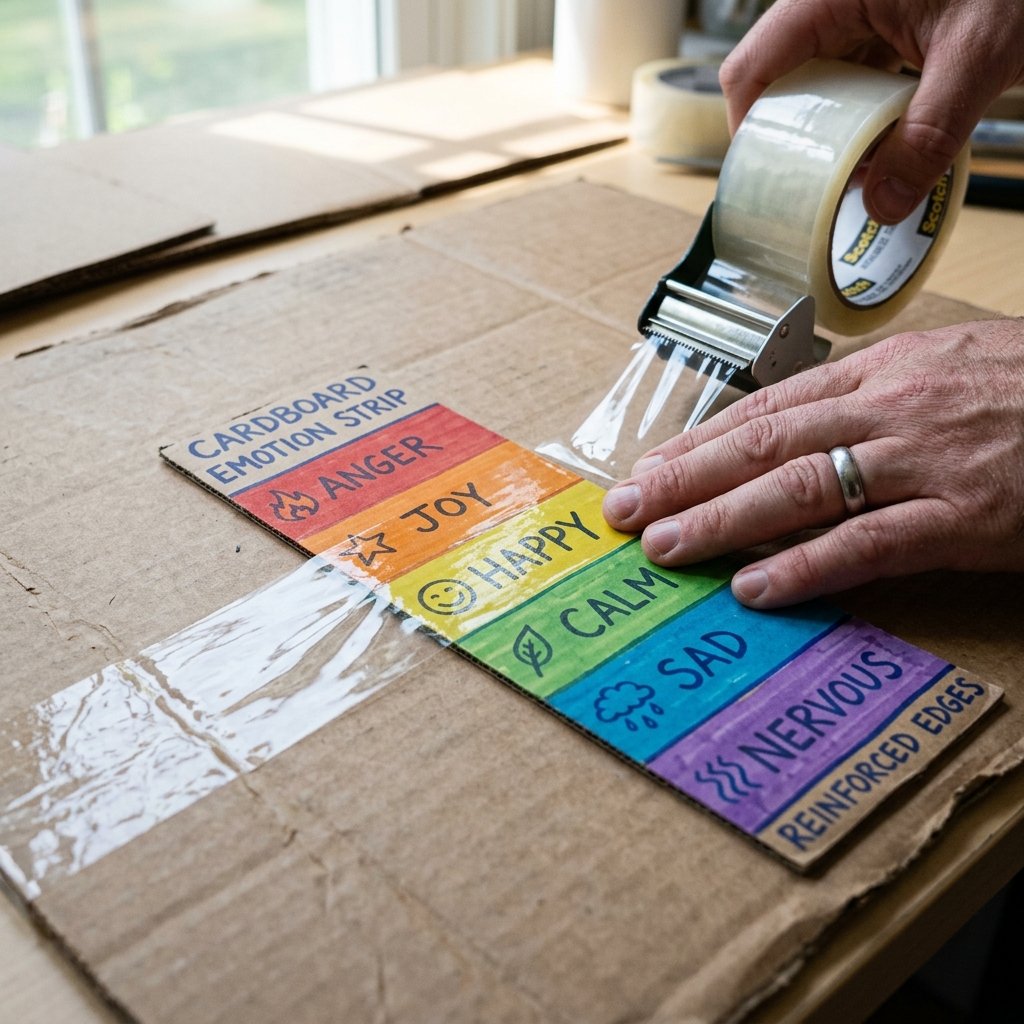
Toddlers are notoriously ‘rugged’ with their toys. To ensure your hard work lasts longer than a week, we need to reinforce the cardboard. Since we are being budget-savvy, we won’t use an expensive laminator.
The Packing Tape Lamination Method
Cover the front of every feature strip and the face base with clear packing tape. Overlap the edges slightly and fold them over the back. This does three things:
- Prevents the cardboard from fraying or delaminating.
- Makes the surface wipeable (essential for sticky toddler fingers).
- Gives the ink a slight sheen, making the drawings pop like professional prints.
If you want to go the extra mile, you can add small Velcro dots to the back of the strips and the center of the channels. This adds a ‘click’ feel to the matching process, providing great sensory feedback for the child.
Guided Play: How to Use the Set
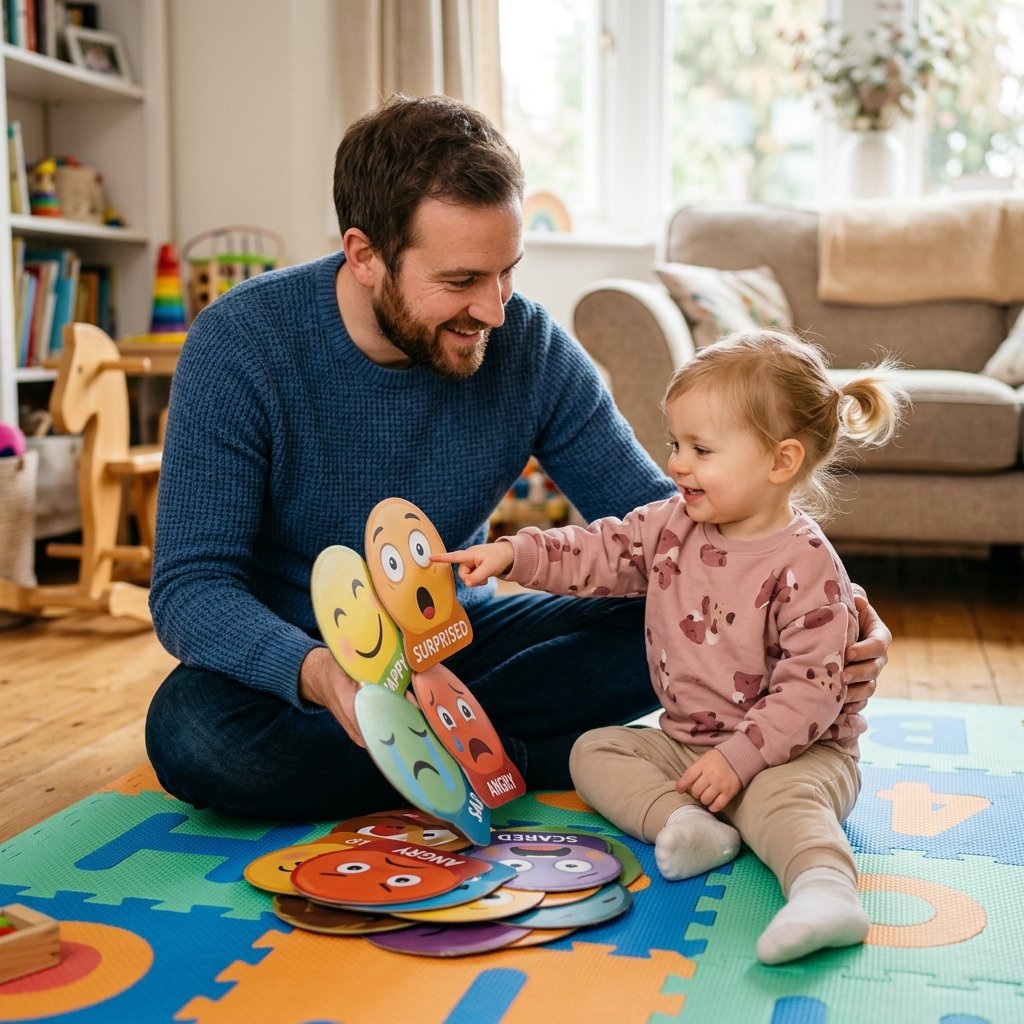
Once the glue is dry and the edges are taped, it’s time for the ‘Grand Opening.’ Don’t just hand it over; scaffold the experience for your toddler. Start with the basics of facial recognition and move toward complex emotional scenarios.
The Play Progression
- Mirroring: Set the face to ‘Happy.’ Ask your child, ‘Can you make a happy face like the cardboard friend?’
- Scenario Matching: Tell a story. ‘The little bear lost his favorite ball. How does he feel?’ Help the child find the ‘Sad’ eyes and the ‘Sad’ mouth.
- Mix and Match: Sometimes we feel ‘Silly’ or ‘Confused.’ Encourage the child to put ‘Angry’ eyes with a ‘Happy’ mouth. Ask them, ‘What does this feeling look like?’ This builds creative thinking.
| Age Group | Activity Focus | Skill Developed |
|---|---|---|
| 18 – 24 Months | Basic Identification | Visual Recognition |
| 2 – 3 Years | Scenario Matching | Empathy & Logic |
| 4+ Years | Complex Mix-and-Match | Nuanced Expression |
Conclusion
The $0 Investment with a Priceless Return
Building a DIY Cardboard Emotion Matching Face Set is more than just a crafty afternoon project; it is a testament to the fact that great parenting doesn’t require a massive bank account. By upcycling what others call ‘trash,’ you’ve created a sophisticated, durable, and pedagogically sound tool that will help your child navigate the complex world of human emotions. You’ve saved $40, reduced waste, and provided a tactile experience that plastic toys simply cannot replicate. Keep that utility knife handy—once you see how much your toddler loves this set, you’ll be looking at every cardboard box in your house as a potential masterpiece. Happy crafting, and stay resourceful!

Makenzie is the founder and lead writer at MoneyHackTips.com — a personal finance blog dedicated to delivering street-smart financial wisdom for real people on real budgets. With 300+ published articles covering everything from debt management to investing fundamentals, Makenzie’s mission is to make every dollar work harder. When not writing about money hacks, Makenzie is testing frugal living strategies, optimizing side hustles, and helping readers build financial freedom from scratch.