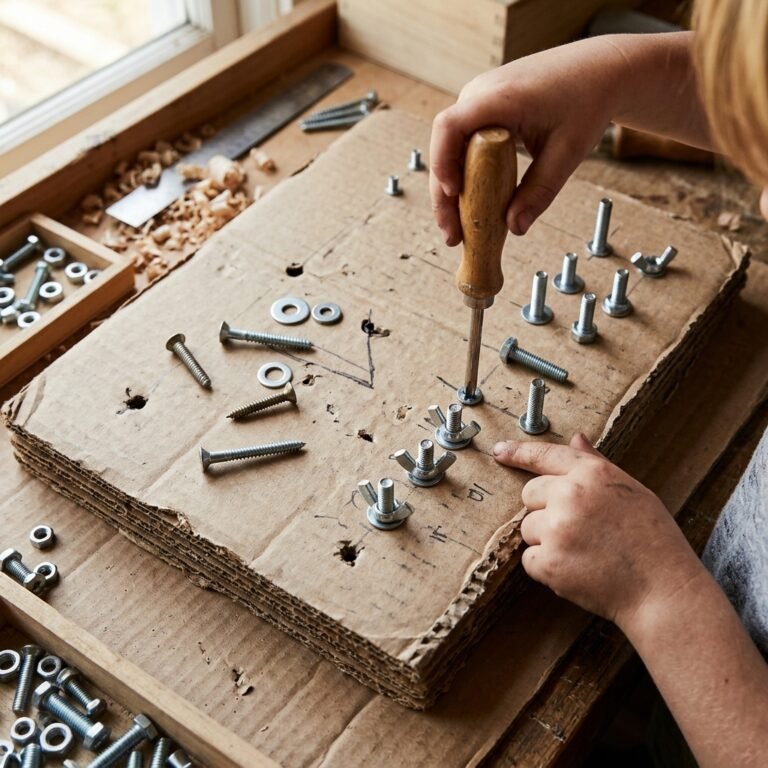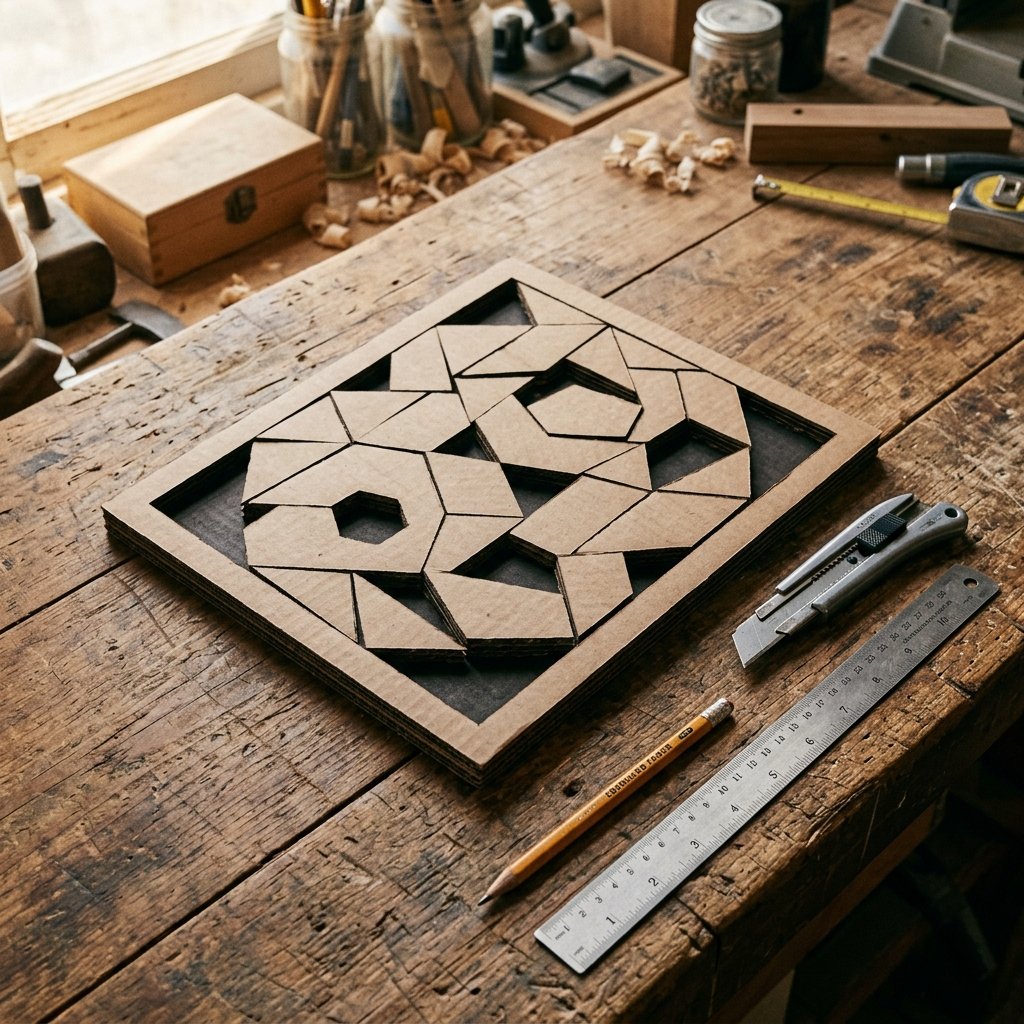

Let’s face it: the toy aisle is a graveyard of overpriced, neon-colored plastic that loses its charm faster than you can check out at the register. As a resourceful DIYer, you know that the best tools for development aren’t found in a big-box store; they are often found in the recycling bin. Today, we are reclaiming the humble shipping box and transforming it into a high-performance cognitive tool. This isn’t just about saving $20 or $30 on a puzzle; it’s about the rugged satisfaction of building something with your own two hands that sharpens a child’s spatial reasoning, fine motor skills, and problem-solving abilities.
We are going to execute a 5-minute blueprint to create a durable, professional-looking cardboard puzzle. This project is perfect for the budget-savvy parent, the crafty grandparent, or anyone who believes that ‘trash’ is just a lack of imagination. Grab your utility knife and a straight edge—we’re about to turn a corrugated box into a masterpiece of frugal engineering.
The Anatomy of the Build: Materials & Tools
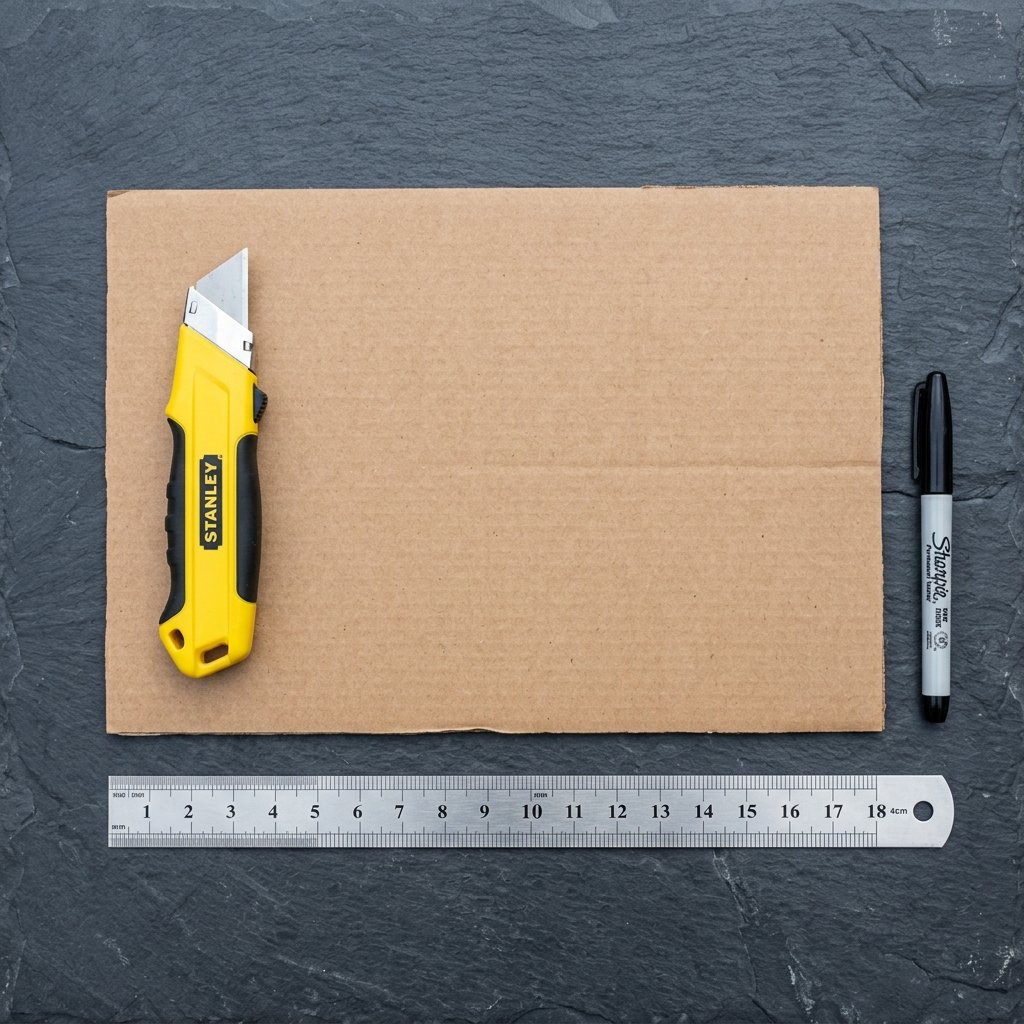
Before we make the first cut, we need to gather our supplies. The beauty of this project is the zero-dollar entry fee. You likely have every single one of these items in your junk drawer or garage right now. We aren’t looking for flimsy cereal boxes here; we want the sturdy, double-walled corrugated cardboard used for shipping heavy items. This ensures the puzzle can withstand the ‘enthusiasm’ of a toddler.
| Material/Tool | The Frugal Source | Estimated Cost |
|---|---|---|
| Corrugated Cardboard | Amazon/Shipping Boxes | $0.00 |
| Utility Knife/Box Cutter | Workshop Tool Kit | $0.00 |
| Steel Ruler | Home Office/Toolbox | $0.00 |
| Permanent Marker | Kitchen Drawer | $0.00 |
| Hot Glue or School Glue | Craft Bin | $0.00 |
The Frugal Mantra: Use what you have, mend what you can, and never pay for what a box and a blade can build.
The 5-Minute Blueprint: Step-by-Step Construction
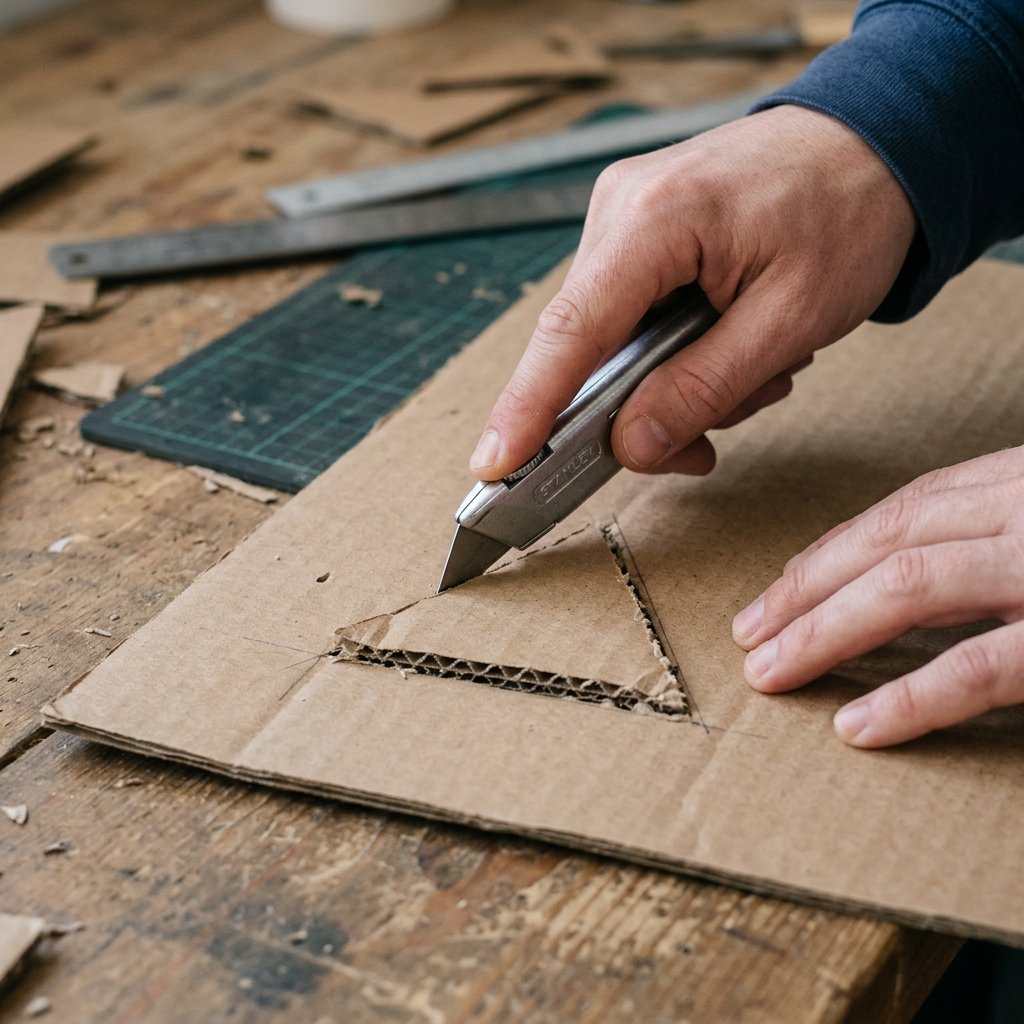
Phase 1: The Base and Frame
First, cut two identical rectangles from your cardboard. A standard 8×10 inch size works perfectly. One will be your solid base, and the other will become the ‘frame’ or the puzzle pieces themselves. Using your steel ruler, ensure your edges are crisp and square—precision is the hallmark of a master crafter.
Phase 2: The Geometric Layout
On one of the cardboard sheets, draw 4 to 6 large geometric shapes (triangles, squares, or circles). For a brain-boosting challenge, vary the sizes. Pro Tip: Use a coffee mug to trace perfect circles or a spice jar for smaller ones.
Phase 3: The Precision Cut
This is where the ‘rugged’ part comes in. Using your utility knife, cut out the shapes carefully. Safety Note: Always cut away from your body and ensure your blade is fresh. A dull blade is a dangerous blade.
Folding Step: To create the ‘inset’ feel, glue the frame (the sheet you just cut shapes out of) directly onto the solid base sheet. This creates a recessed pocket for each piece to fit back into.
Phase 4: The Finishing Touches
Pop the cut-out shapes back into their respective holes. If they are a bit snug, give the edges a quick rub with a piece of sandpaper or even a nail file. This gives the toy a professional, ’boutique’ feel for zero extra cents.
Why Cardboard Beats Plastic: The Cognitive Advantage
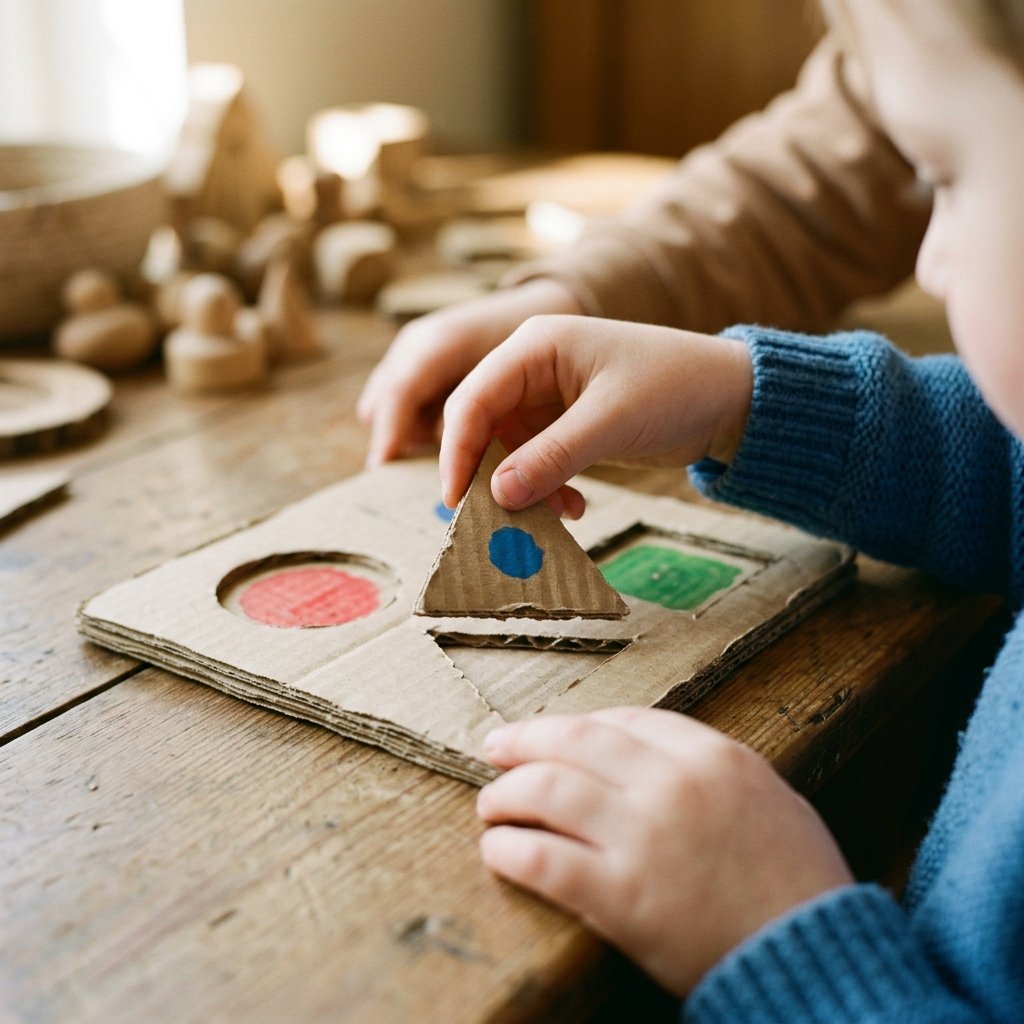
In a world of flashing lights and pre-programmed sounds, cardboard offers a ‘quiet’ play experience that forces the brain to do the heavy lifting. When a child plays with a homemade cardboard puzzle, they aren’t just matching shapes; they are engaging in tactile feedback. The slight friction of the cardboard, the earthy smell, and the lack of distractions allow for deep focus.
- Spatial Awareness: Navigating the 3D depth of the recessed frame.
- Problem Solving: Unlike digital puzzles, these have physical weight and orientation.
- Eco-Conscious Values: You are teaching the next generation that we don’t need to consume to create joy.
By choosing cardboard over plastic, you are saving approximately $150 per year in toy expenses while reducing your household’s plastic footprint by roughly 10-15 pounds of non-recyclable waste.
Upgrading Your Build: Advanced Variations
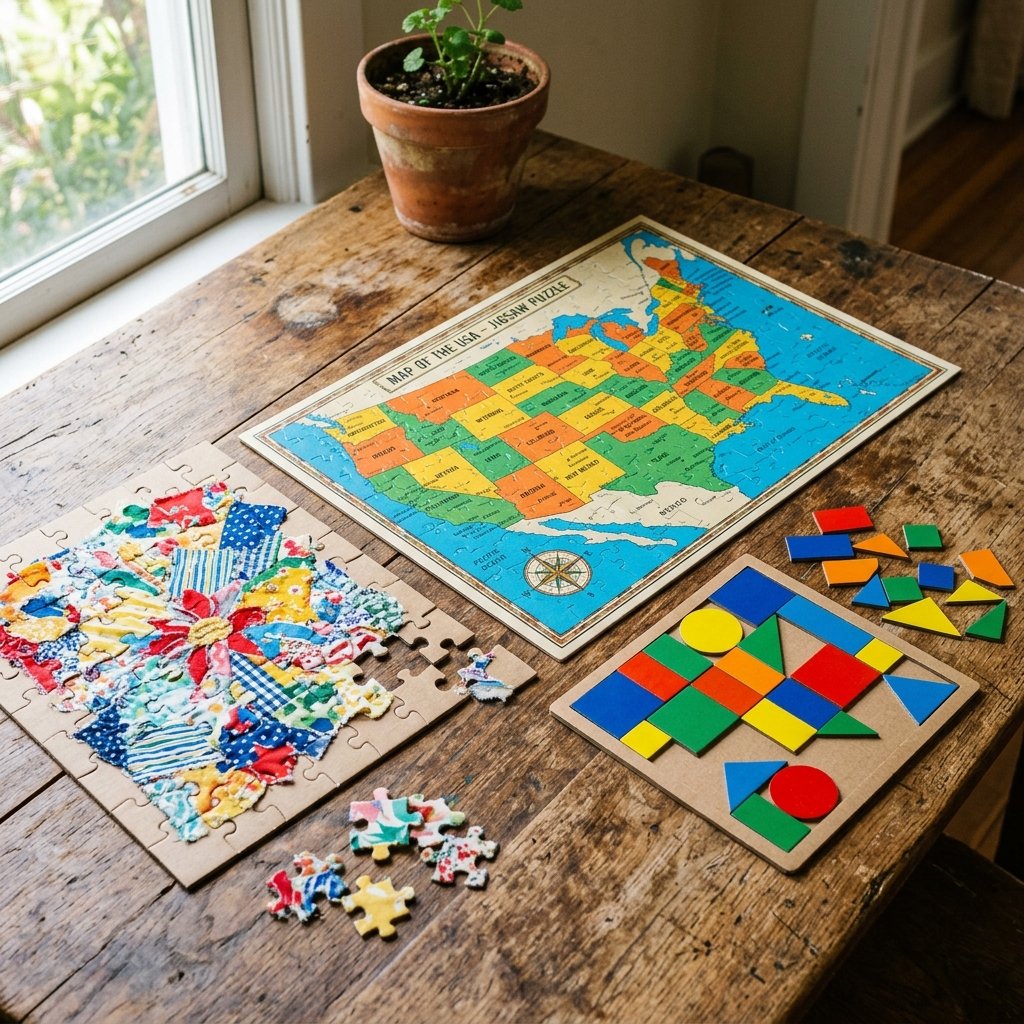
Once you’ve mastered the basic shape puzzle, it’s time to level up. You can adapt this 5-minute method to create more complex challenges for older children without spending a dime.
The Map Puzzle
Print a map of your country or state, glue it to the cardboard, and cut along the borders. This turns a simple toy into a geography masterclass.
The Tangram Challenge
Cut a square into seven specific pieces (the classic Tangram set). This is a mathematical powerhouse that encourages infinite creativity as the pieces can be rearranged to form hundreds of different silhouettes.
The ‘Search and Find’ Texture Puzzle
Glue different materials onto the puzzle pieces—think sandpaper, scrap fabric, or corrugated ridges. This adds a sensory processing layer to the brain-boosting benefits.
| Puzzle Type | Target Age | Skill Focus |
|---|---|---|
| Basic Shapes | 1-3 Years | Motor Skills |
| Tangrams | 5-8 Years | Geometry/Logic |
| Map Outlines | 7+ Years | Geography |
Durability Hacks: Making Cardboard Last
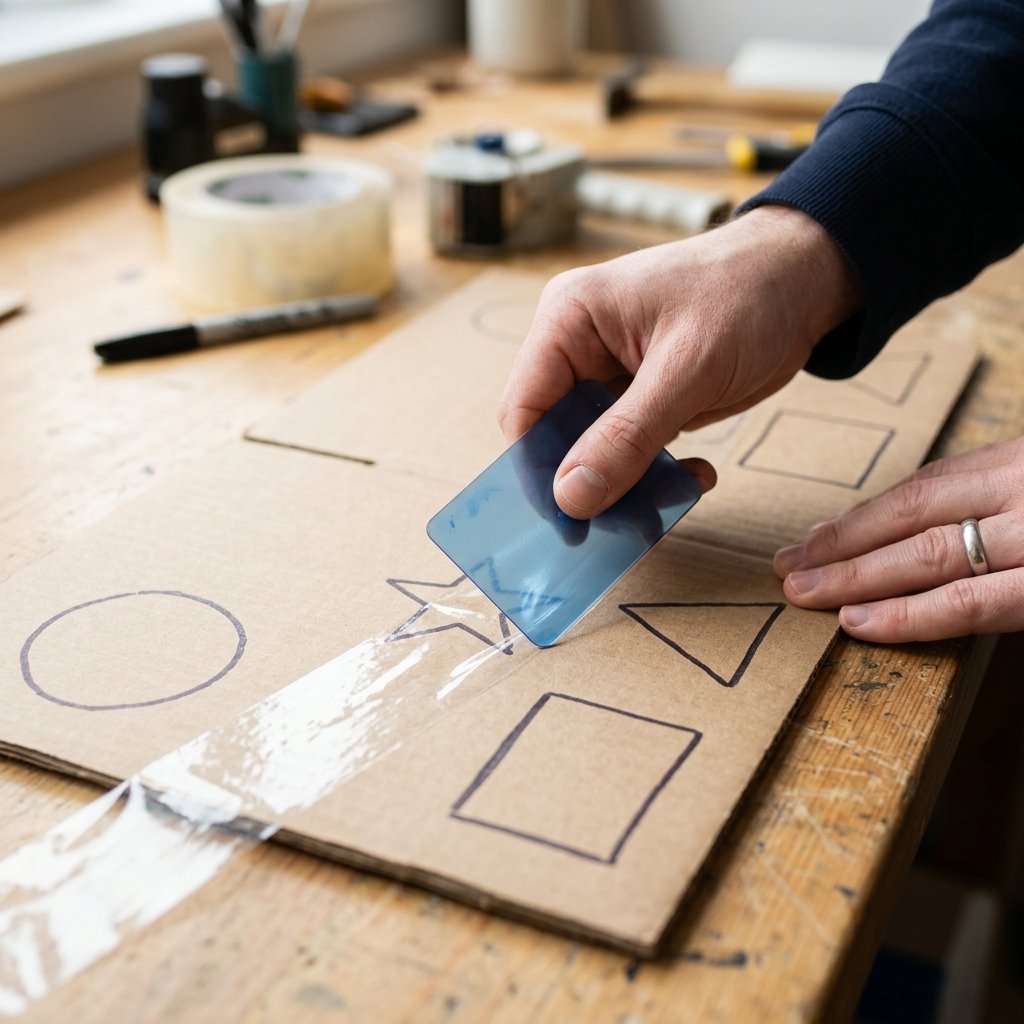
One critique of cardboard is its longevity. However, with a few ‘crafty-expert’ tricks, you can make these puzzles last for years. It’s all about the seal.
- The Packing Tape Laminate: Cover your shapes in clear packing tape before cutting. This makes them water-resistant and easy to wipe clean.
- The Beeswax Finish: Rub a bit of beeswax or a candle stub over the edges to prevent fraying and give it a smooth, wood-like glide.
- Reinforced Backing: Use a double layer of cardboard for the base to prevent warping over time.
Pro Tip: If a piece gets lost, you don’t have to buy a new set. Just grab a scrap of cardboard and cut a replacement in 60 seconds. That is the ultimate frugal freedom.
Conclusion
Stop letting big toy companies dictate your child’s playtime and your bank account’s balance. With a simple box, a sharp blade, and 5 minutes of your time, you have created a tool that is scientifically proven to boost brainpower. This project is a testament to the power of the resourceful DIYer—it’s practical, it’s masculine-elegant in its simplicity, and it’s 100% budget-friendly. So, the next time a delivery arrives at your door, don’t just see trash. See a puzzle, see a game, and see an opportunity to build something brilliant. Happy crafting!

Makenzie is the founder and lead writer at MoneyHackTips.com — a personal finance blog dedicated to delivering street-smart financial wisdom for real people on real budgets. With 300+ published articles covering everything from debt management to investing fundamentals, Makenzie’s mission is to make every dollar work harder. When not writing about money hacks, Makenzie is testing frugal living strategies, optimizing side hustles, and helping readers build financial freedom from scratch.