There is a specific kind of magic that happens when the sun dips below the horizon and your outdoor space begins to glow. For many of us, that magic usually comes with a hefty price tag from high-end home decor boutiques. But what if I told you that the secret to a gorgeous, rugged, and sophisticated outdoor chandelier isn’t a three-figure receipt from a designer store, but a clever trip to the Dollar Tree? If you are a frugal DIYer or a handy homeowner looking to elevate your porch without draining your wallet, you have come to the right place. We are going to take basic, $1.25 components and forge them into a piece of lighting that looks like it belongs in a mountain lodge or a high-end garden magazine.
The beauty of this project lies in its simplicity and its adaptability. We aren’t just taping lights to a hoop; we are using practical engineering and crafty styling to create a weather-resistant, functional piece of art. Whether you’re a budget bride looking for venue lighting or a dad wanting to brighten up the backyard deck, this guide will walk you through the process with the precision of a master craftsman and the savings of a professional couponer.
The Blueprint: Gathering Your $1.25 Building Blocks
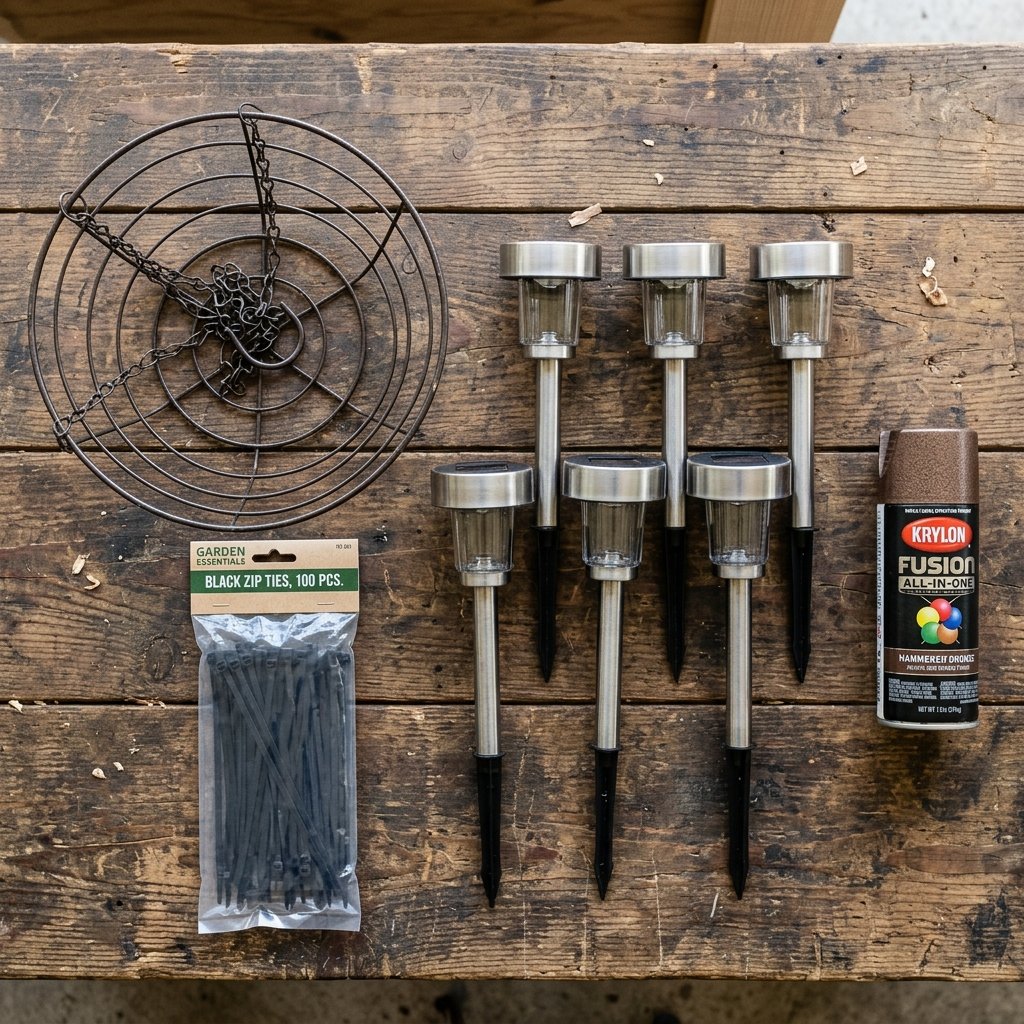
Before we pick up a single tool, we need to gather our materials. The ‘secret’ to making this look expensive is choosing the right base. We aren’t looking for flimsy plastic; we want items with structural potential. A wire hanging basket or a sturdy hula hoop serves as the perfect skeleton for our light fixture. By selecting components with clean lines, we set the stage for a masculine-elegant finish.
Essential Materials List
| Material Item | Purpose | Estimated Cost |
|---|---|---|
| Wire Hanging Basket (12-14″) | The main chandelier frame | $1.25 |
| Solar Path Lights (4-6 units) | The light source | $5.00 – $7.50 |
| Heavy-Duty Zip Ties (Black) | Structural fastening | $1.25 |
| Matte Black or Hammered Bronze Spray Paint | High-end finish | $6.00 |
| Decorative Chain or Nautical Rope | Hanging mechanism | $1.25 – $5.00 |
| Total Estimated Cost | Luxury Look | $15.00 – $21.00 |
Compare this to a retail price of $120.00 to $250.00 for similar solar outdoor chandeliers at specialty stores. You are saving over 90% by utilizing your own labor and these budget-savvy hacks.
Prepping the Skeleton: Structural Integrity on a Dime
Refining the Frame
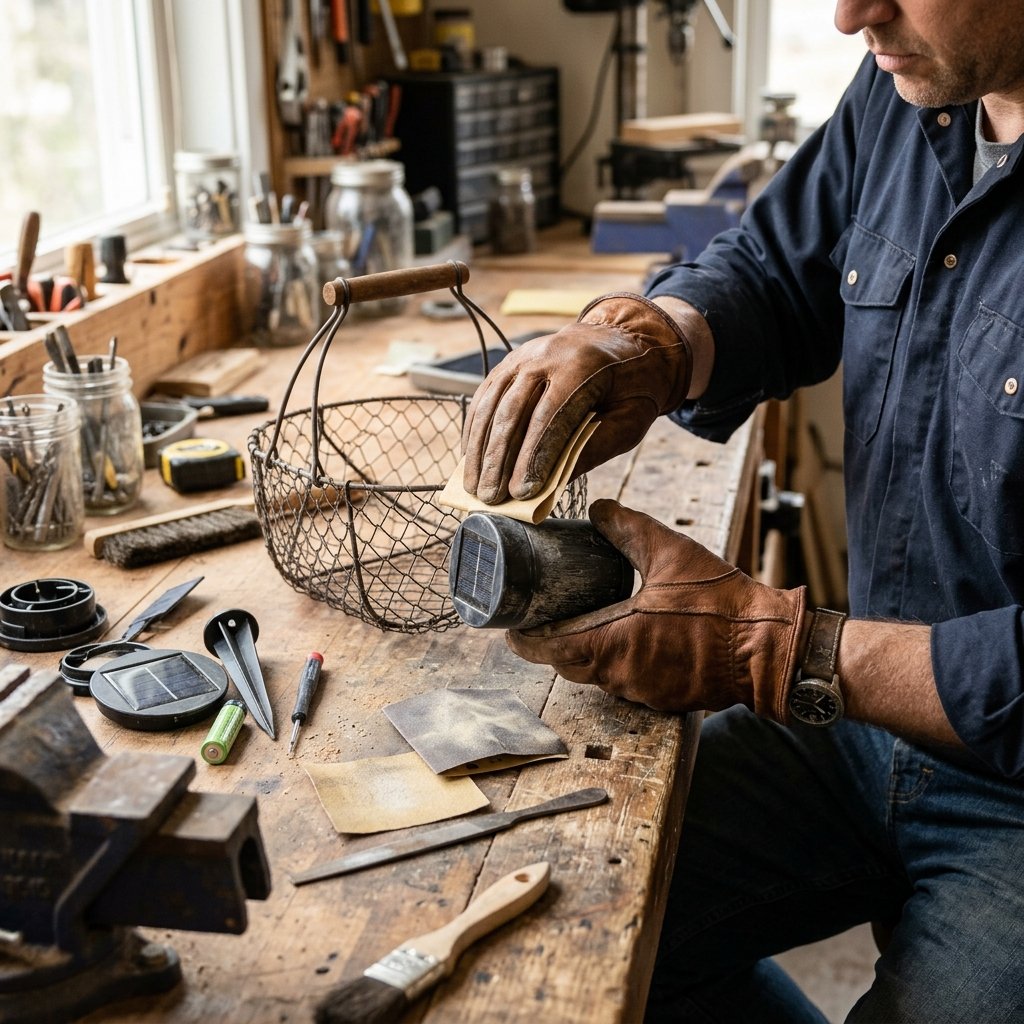
The first step in our transformation is stripping away the ‘cheap’ look. If you are using a Dollar Tree wire basket, remove the flimsy clip-on chains it comes with. We want a clean slate. Use a bit of sandpaper to scuff the surface of the wire and the plastic tops of the solar lights. This ensures our paint adheres perfectly, preventing chips and flakes during summer storms.
The Art of the Industrial Finish
To achieve that rugged, masculine-elegant aesthetic, the choice of paint is paramount. Avoid high-gloss finishes which can highlight imperfections in cheap plastic. Instead, opt for a Matte Black, Satin Charcoal, or a Hammered Metal spray paint. This gives the illusion of heavy wrought iron or cast aluminum.
Pro-Tip: Always spray in thin, even coats. Three light coats are infinitely better than one heavy, drippy coat. Allow 20 minutes of drying time between layers to ensure a professional-grade bond.
The Solar Hack: Modifying Path Lights for Maximum Glow
Disassembling for Greatness
Most Dollar Tree solar lights come with a plastic stake intended for the ground. For our chandelier, these are dead weight. Gently pull the light housing away from the stake. You will be left with the solar cap (the ‘brain’ of the light) and the clear plastic lens.
Securing the Lights
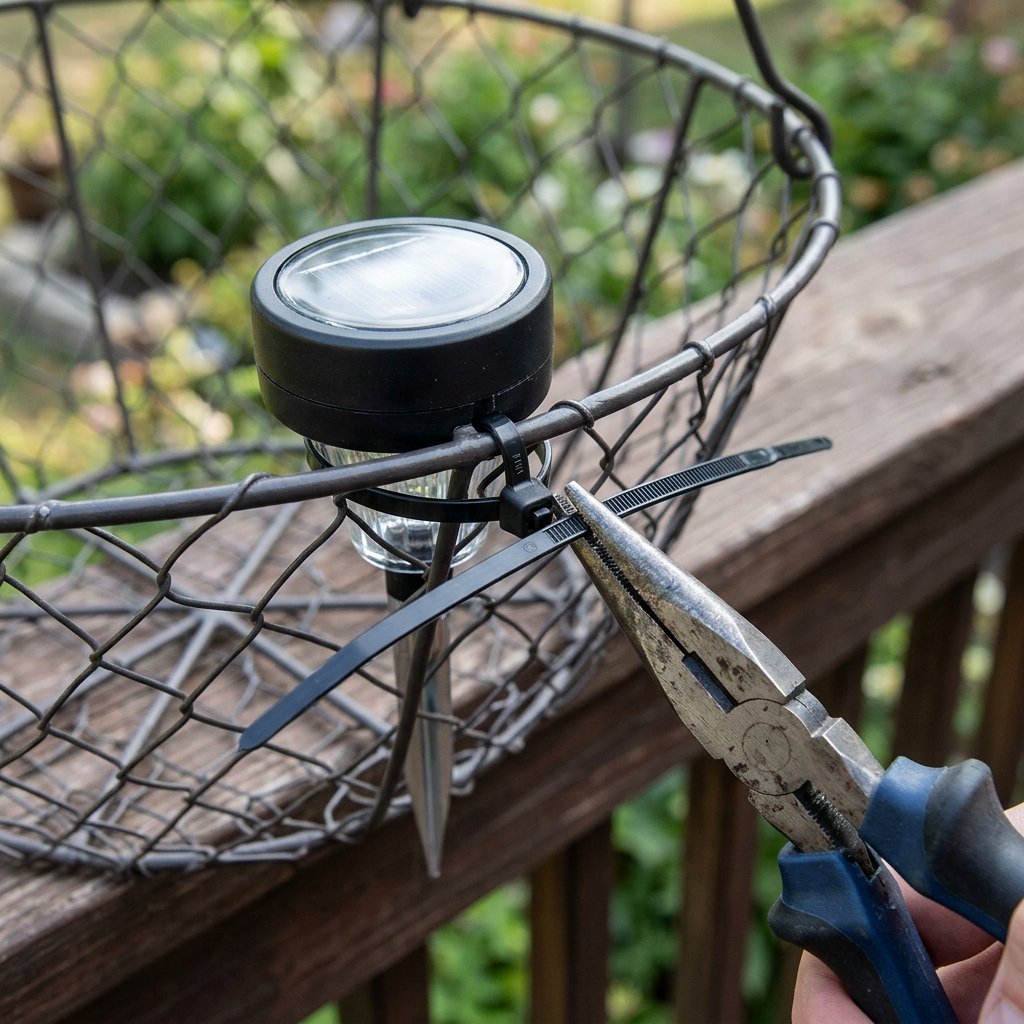
The secret to the ‘gorgeous’ look is symmetry. We will attach the lights to the rim of the wire basket using our heavy-duty zip ties. Space them evenly—if you have a circular basket, think of it like a clock face: 12, 2, 4, 6, 8, and 10 o’clock positions.
- Place the solar light housing against the top wire rim of the basket.
- Thread a zip tie through the basket wire and around the neck of the light.
- Pull the tie extra tight using a pair of pliers for a rock-solid fit.
- Snip the excess tail of the zip tie flush with the locking head to maintain a clean appearance.
Safety Note: Be careful not to cover the small solar panel on top of the light with your zip ties or decorative elements, as this will prevent the battery from charging.
The Finishing Touch: Adding Chains and Decorative Flair
Elevating the Aesthetic
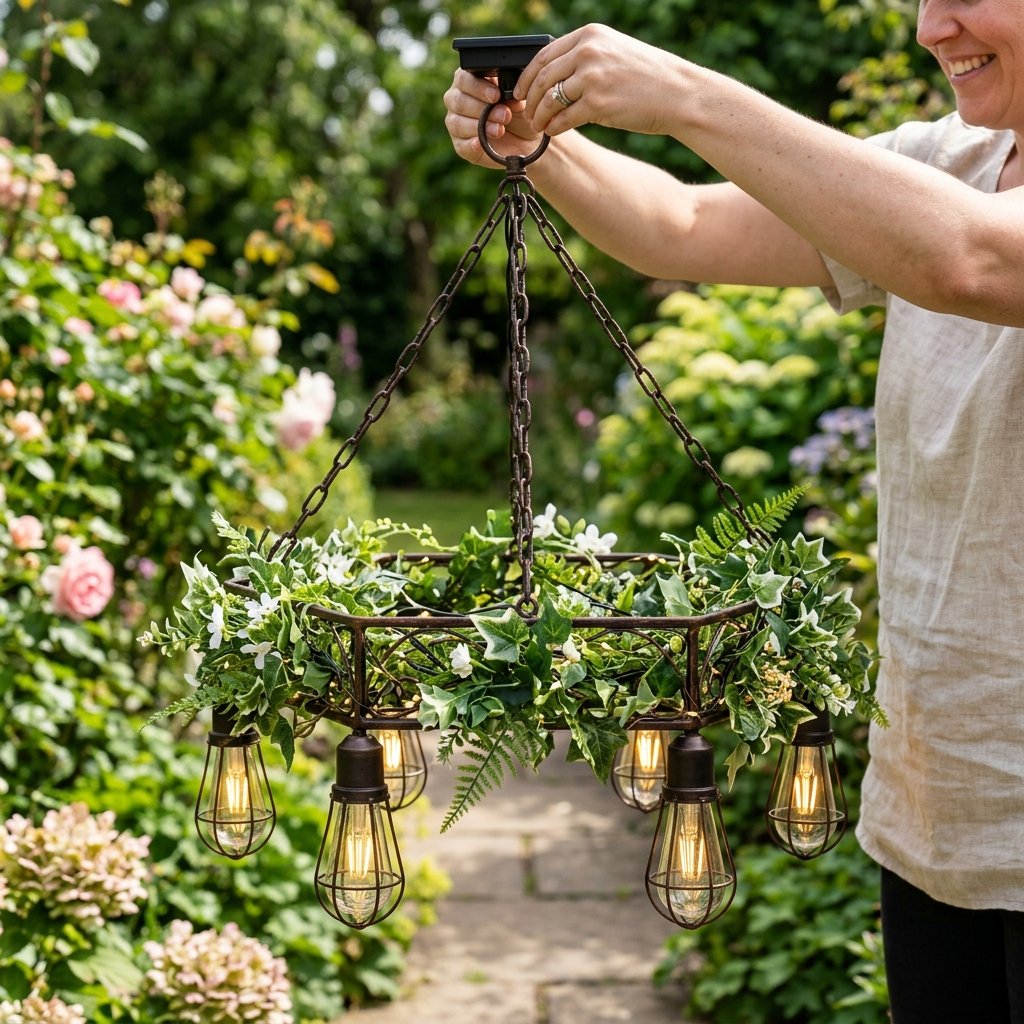
Now that the structure is sound, we add the elements that scream ‘high-end.’ Instead of the original thin wire, we will use a heavy-gauge decorative chain or even thick nautical cotton rope for a coastal, rugged vibe. Attach three lengths of chain to the basket rim at equal intervals (120 degrees apart) and bring them together at a central ‘S’ hook.
Optional Embellishments
Depending on your style, you can further customize your chandelier:
- The Modern Farmhouse: Wrap the wire frame in twine or jute before attaching the lights.
- The Industrial Loft: Leave the matte black finish bare and use Edison-style solar bulbs if available.
- The Secret Garden: Interweave faux eucalyptus or ivy around the wire frame to hide the zip ties and add a lush, organic feel.
| Style Option | Key Material | Vibe |
|---|---|---|
| Industrial | Matte Black Paint | Rugged & Modern |
| Boho-Chic | Macrame Cord | Soft & Artistic |
| Rustic | Burlap & Twine | Handmade & Cozy |
Installation and Maintenance: Keeping the Glow Alive
Strategic Placement
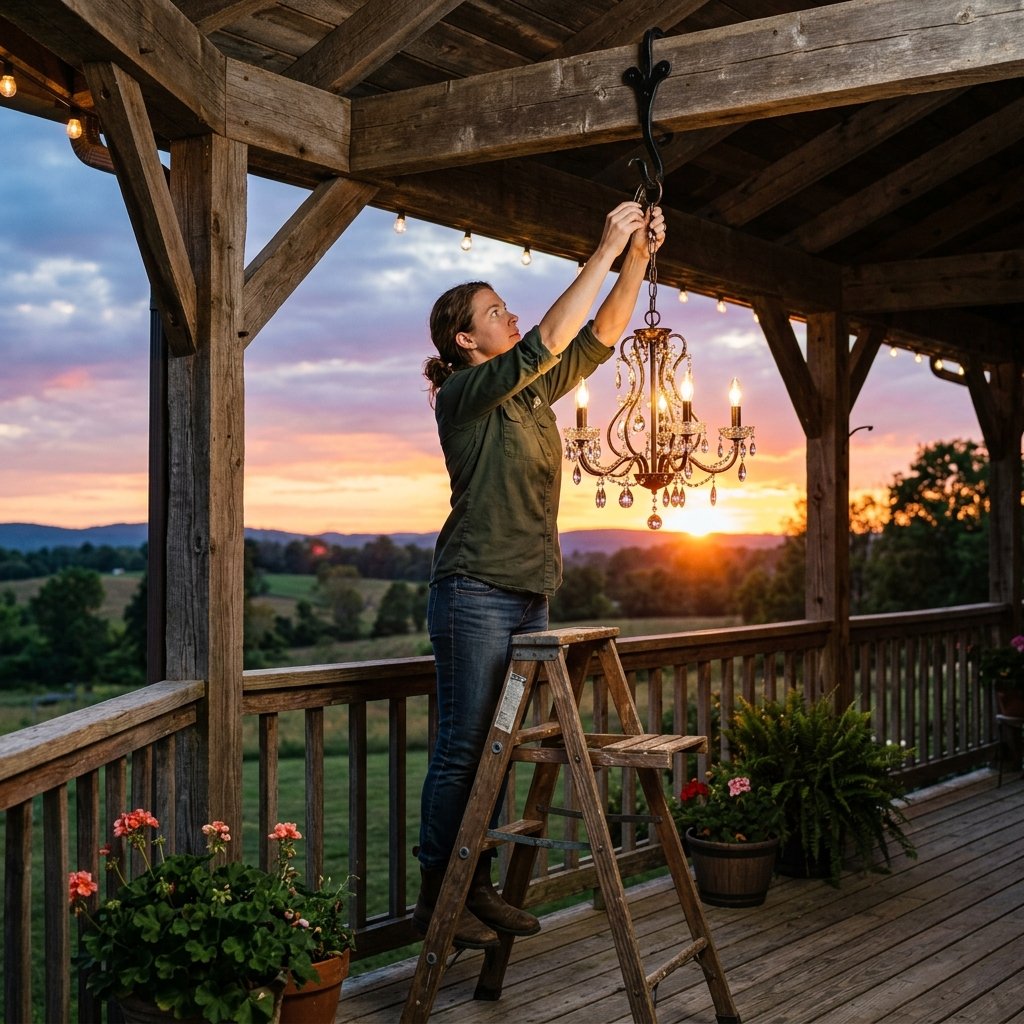
Because this is a solar-powered masterpiece, placement is everything. Your chandelier needs at least 6 to 8 hours of direct sunlight to provide a strong glow through the night. Hang it from a shepherd’s hook in the garden, a sturdy tree limb, or an overhead beam on a sun-drenched porch.
Longevity Tips
To keep your DIY creation looking gorgeous for years, follow these maintenance steps:
- Clean the Panels: Every few months, wipe the solar panels with a damp cloth to remove dust and pollen.
- Battery Swap: Dollar Tree solar lights usually contain a single AAA Ni-Cd or Ni-MH battery. If the light dims after a year, simply pop the cover and replace the battery with a high-quality rechargeable one for 100% restored brightness.
- Winter Storage: If you live in a climate with heavy snow, bring your chandelier inside during the harshest months to protect the plastic components from cracking.
Conclusion
Creating a DIY Dollar Tree Solar Light Chandelier is more than just a weekend project; it is a testament to the power of resourceful creativity. By looking past the price tag and seeing the potential in basic shapes and materials, you have crafted a functional piece of decor that rivals expensive retail alternatives. You have saved over $100, diverted items from a potential landfill, and added a unique, personal touch to your home. Now, pour yourself a cold drink, head out to your porch, and enjoy the warm, sophisticated glow of your very own handmade masterpiece. You earned it!

Makenzie is the founder and lead writer at MoneyHackTips.com — a personal finance blog dedicated to delivering street-smart financial wisdom for real people on real budgets. With 300+ published articles covering everything from debt management to investing fundamentals, Makenzie’s mission is to make every dollar work harder. When not writing about money hacks, Makenzie is testing frugal living strategies, optimizing side hustles, and helping readers build financial freedom from scratch.